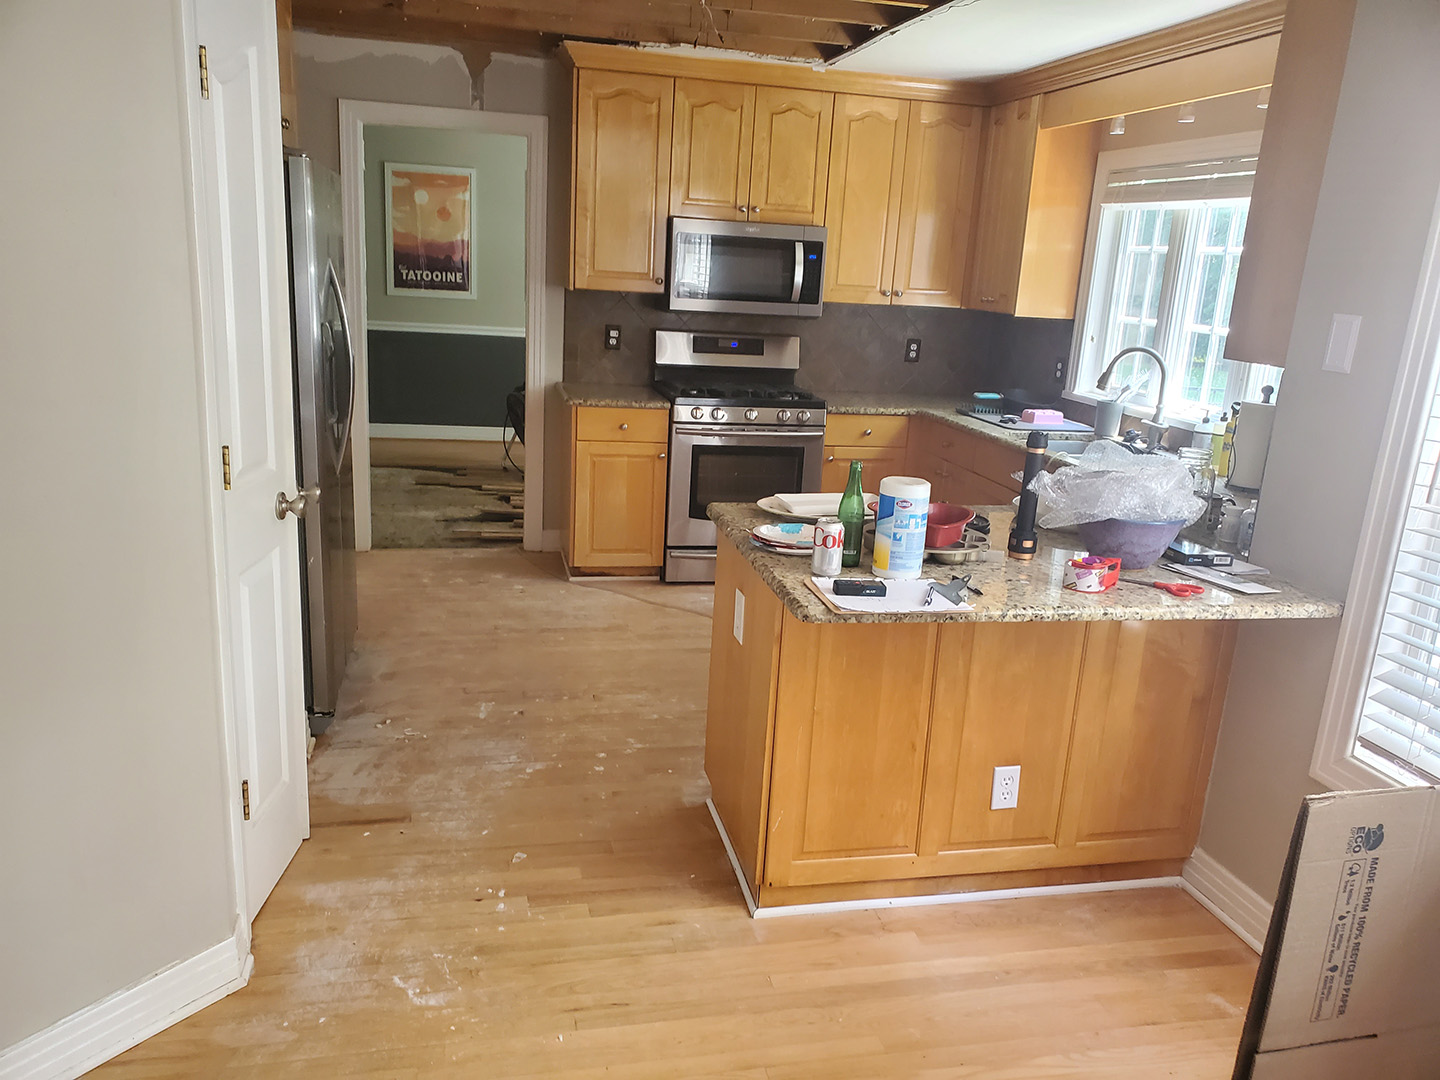
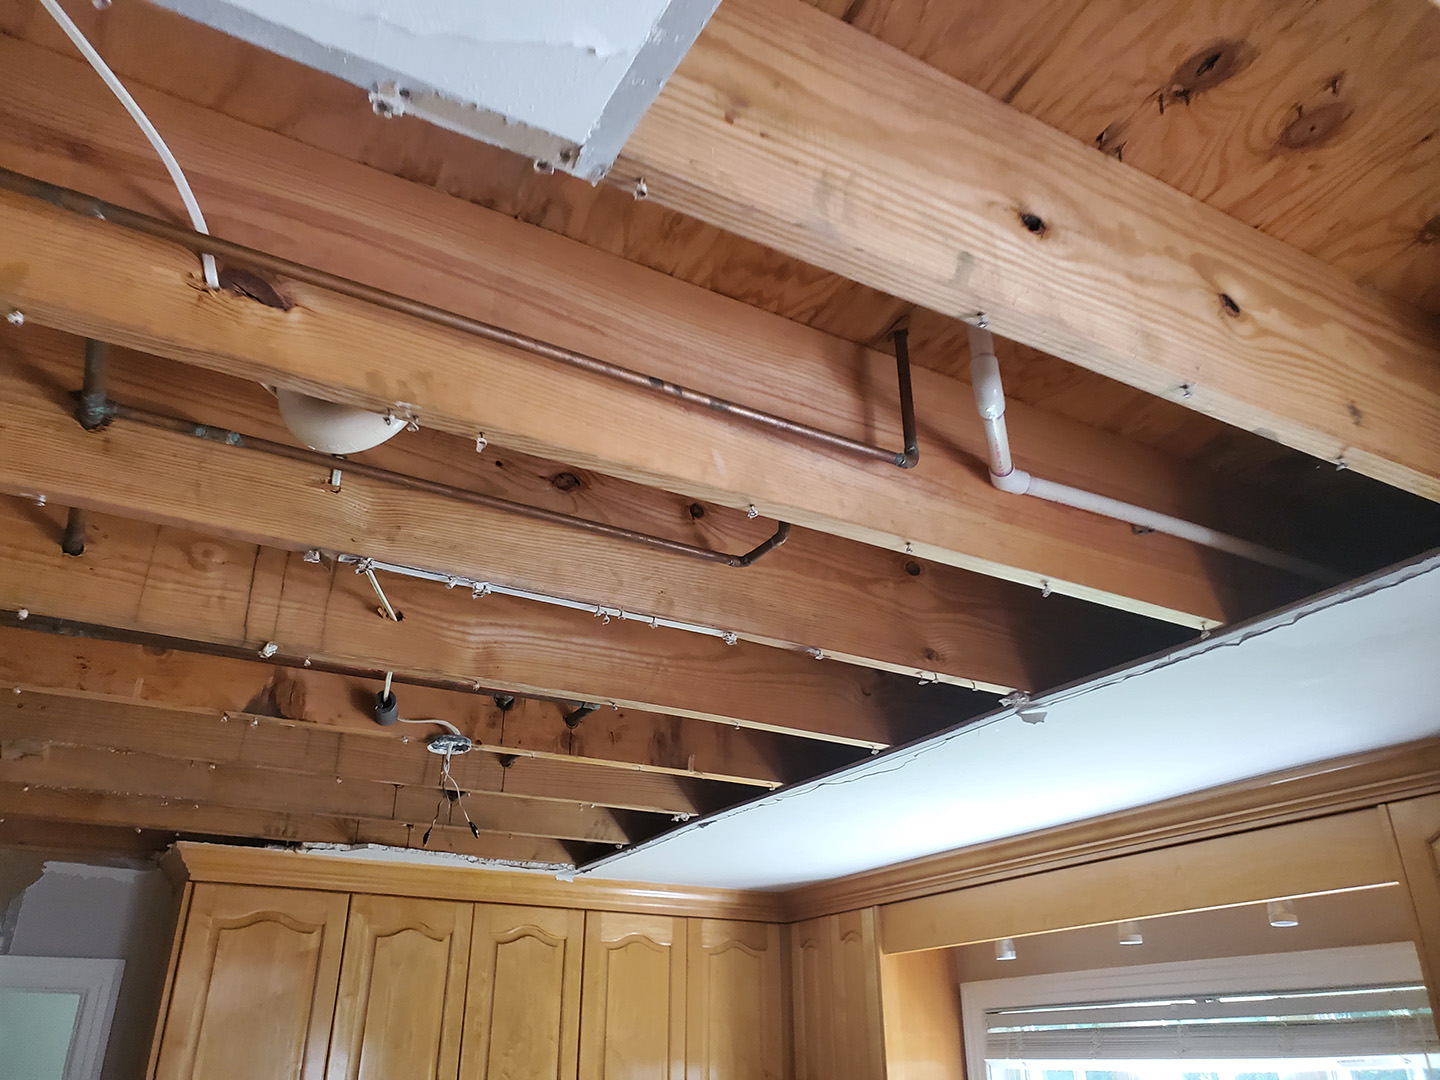
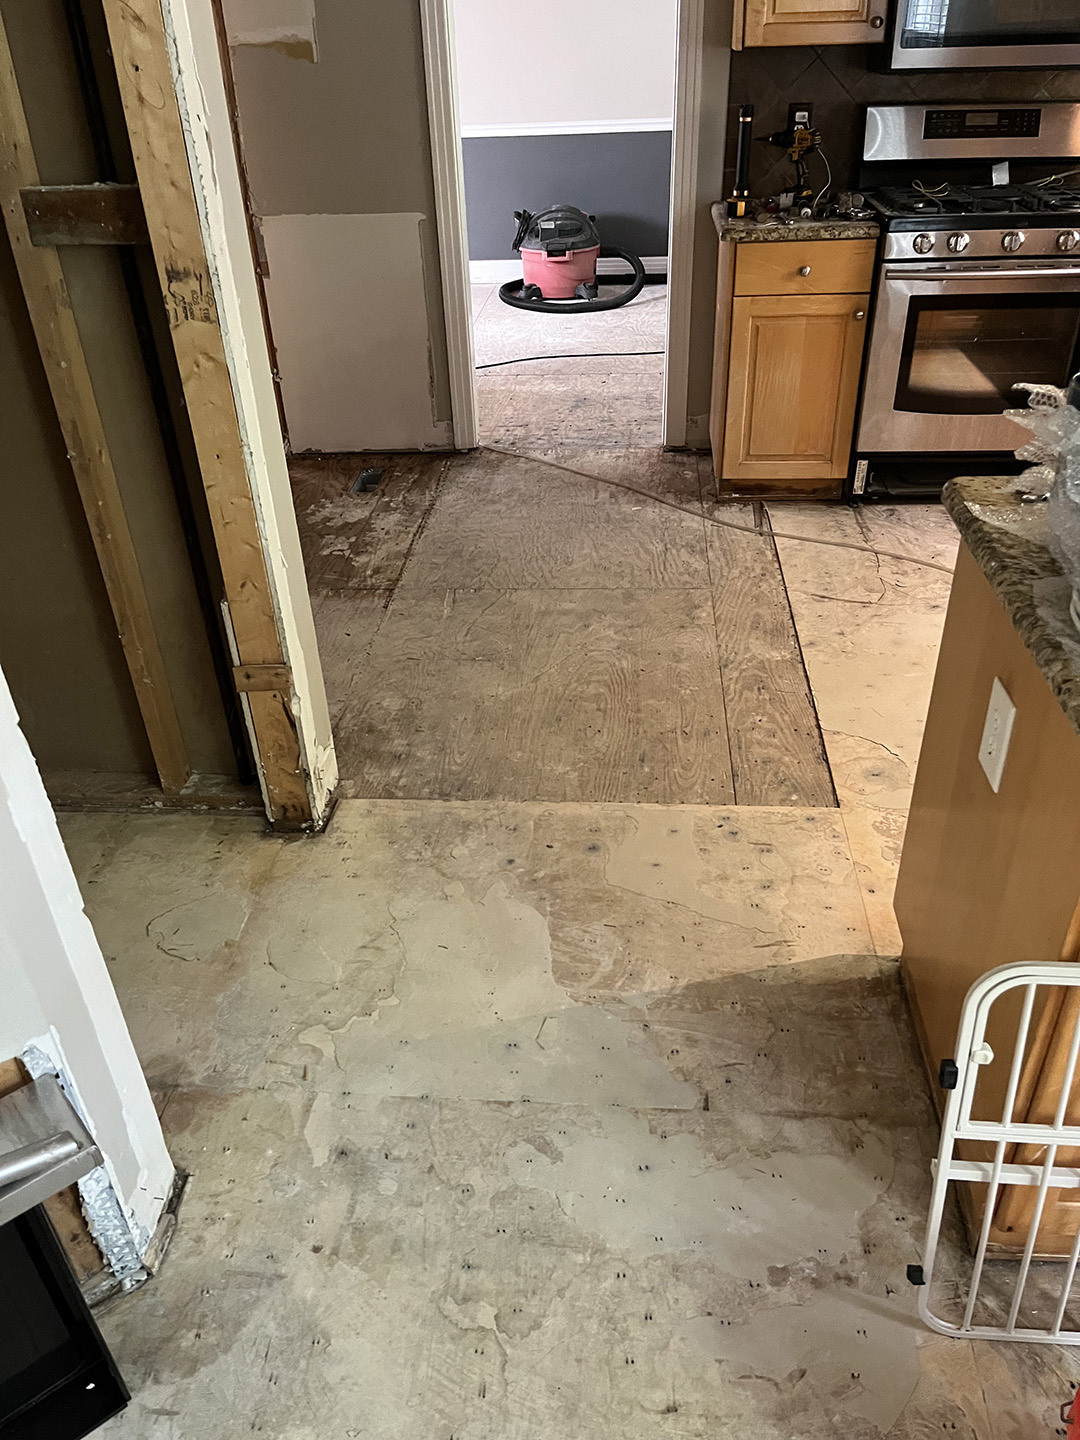
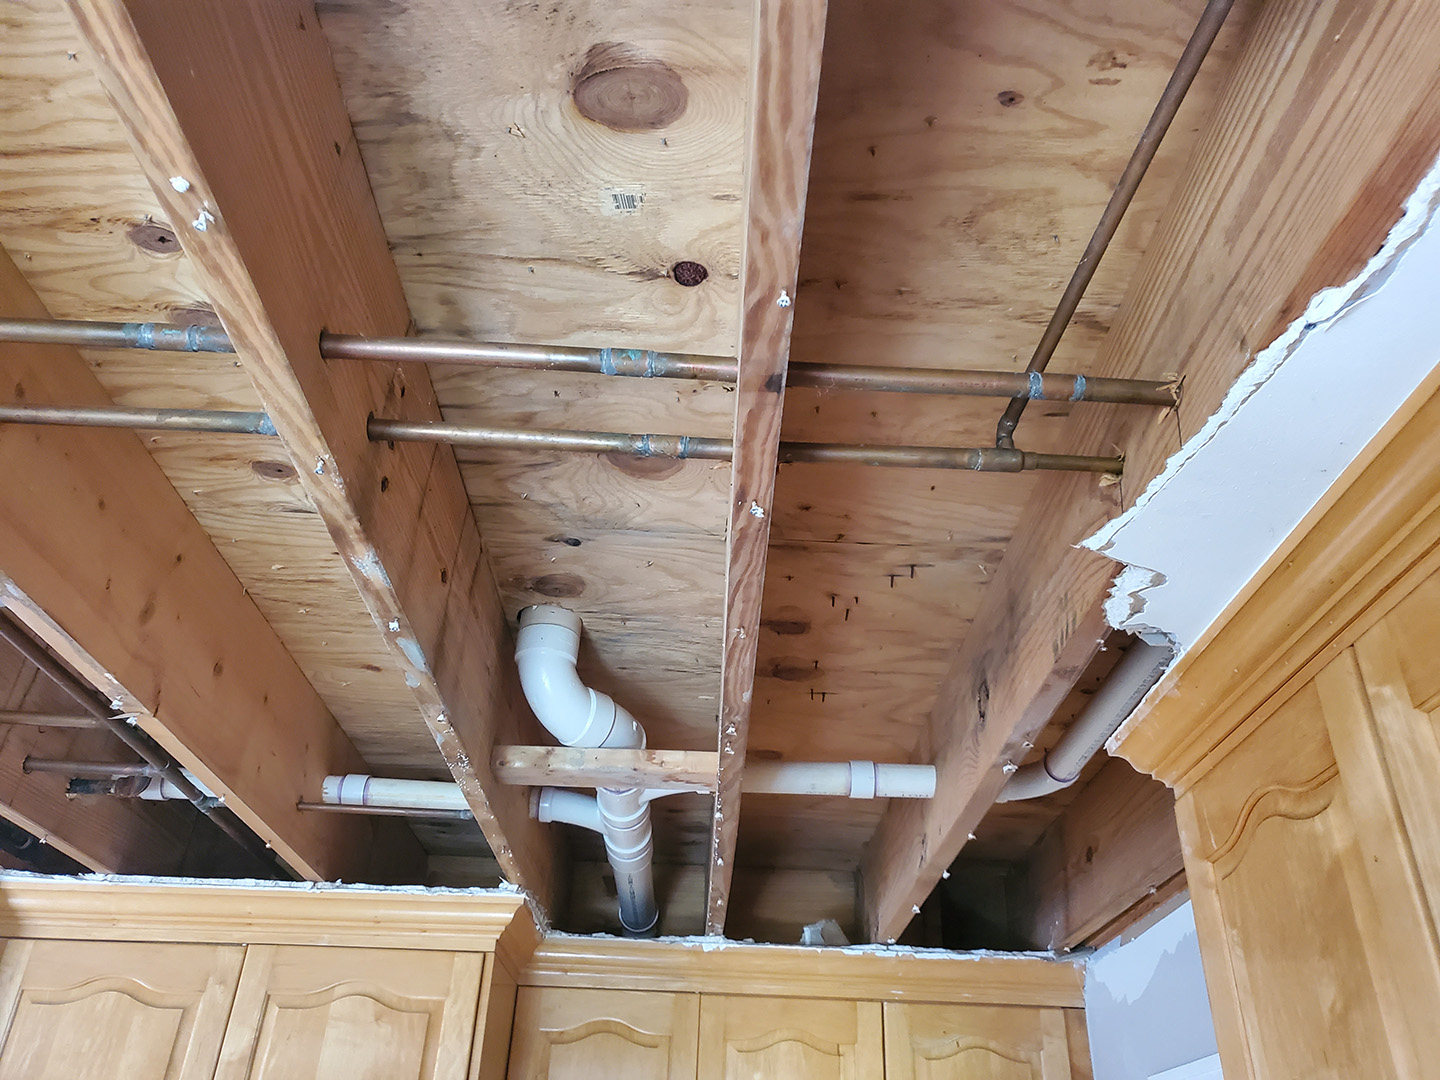
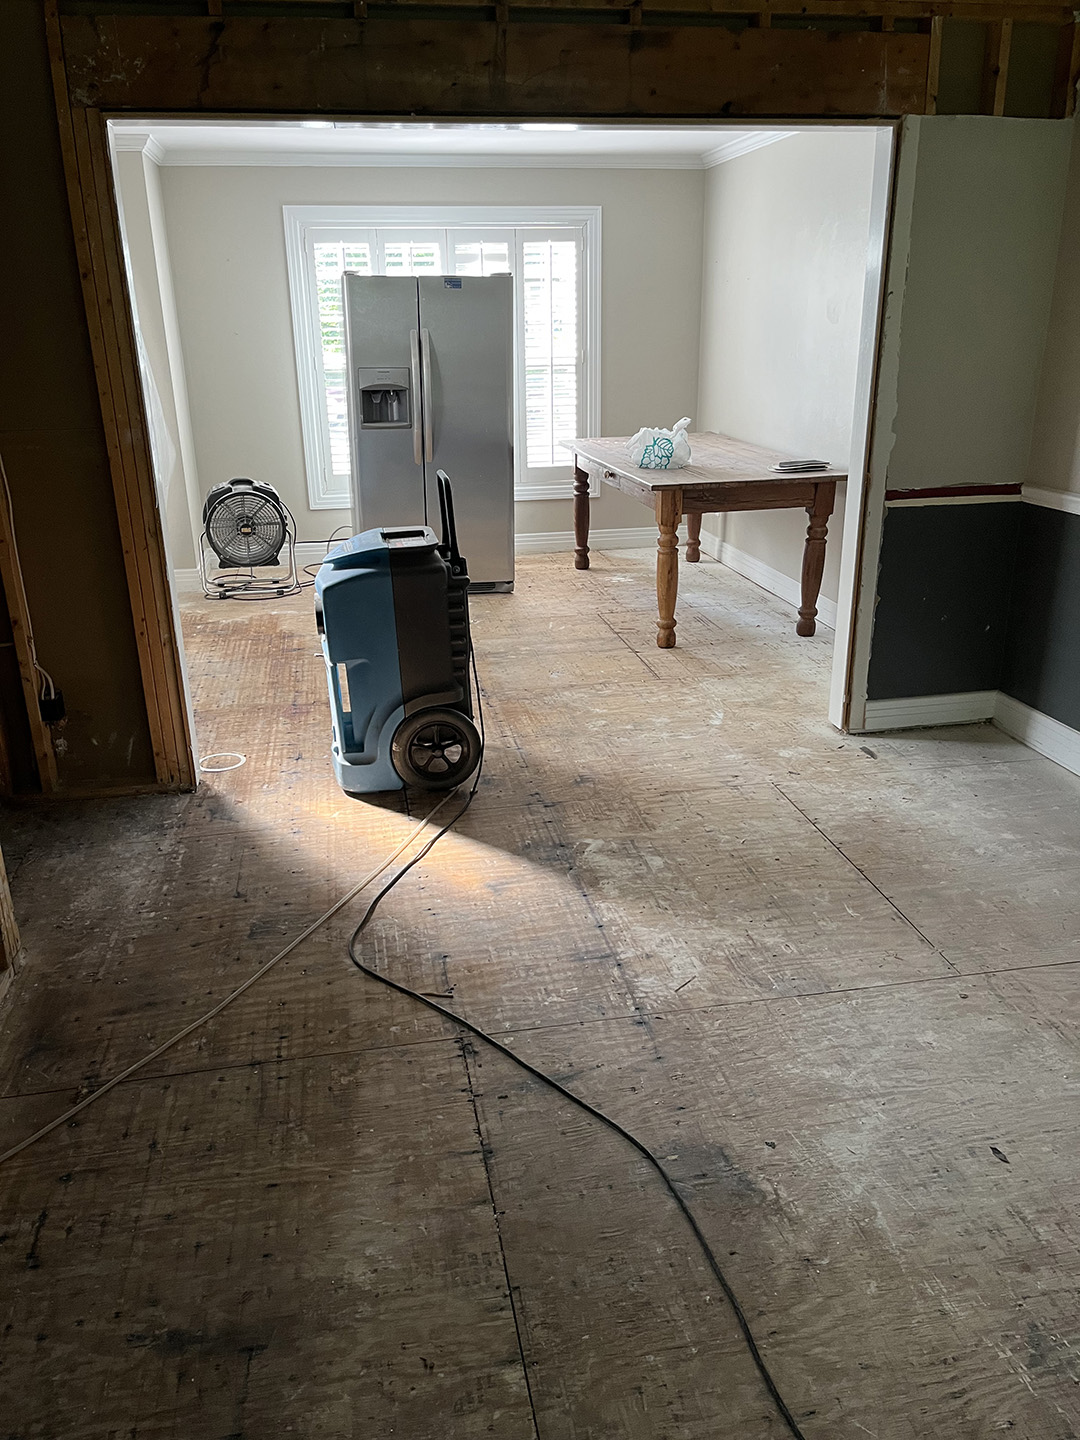
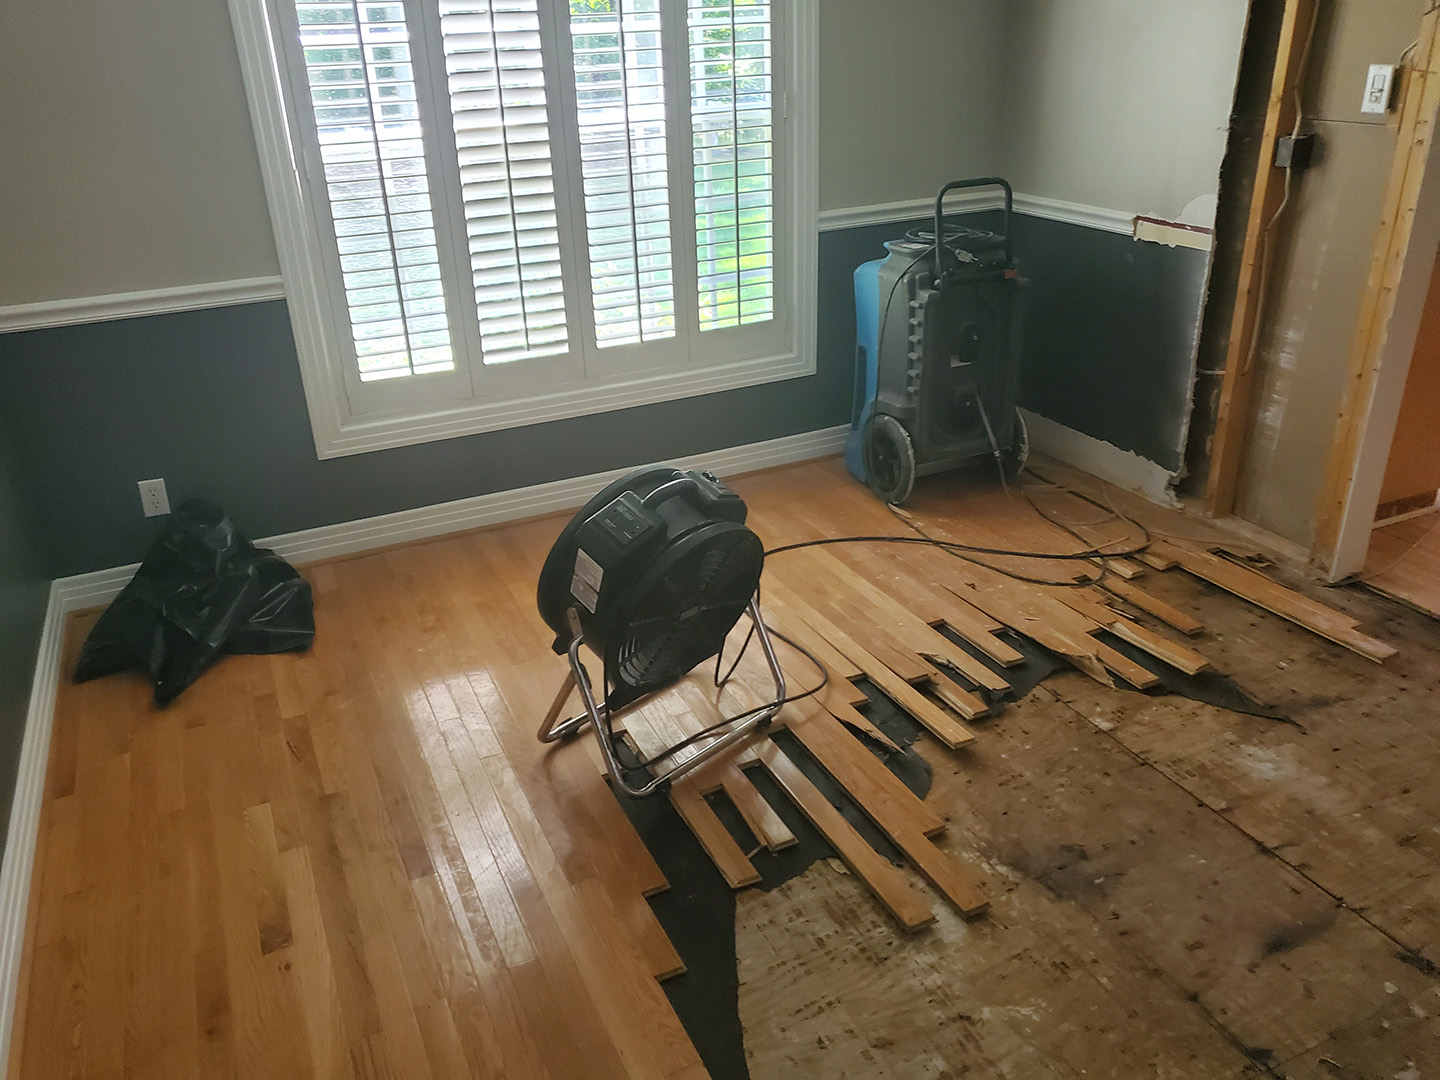
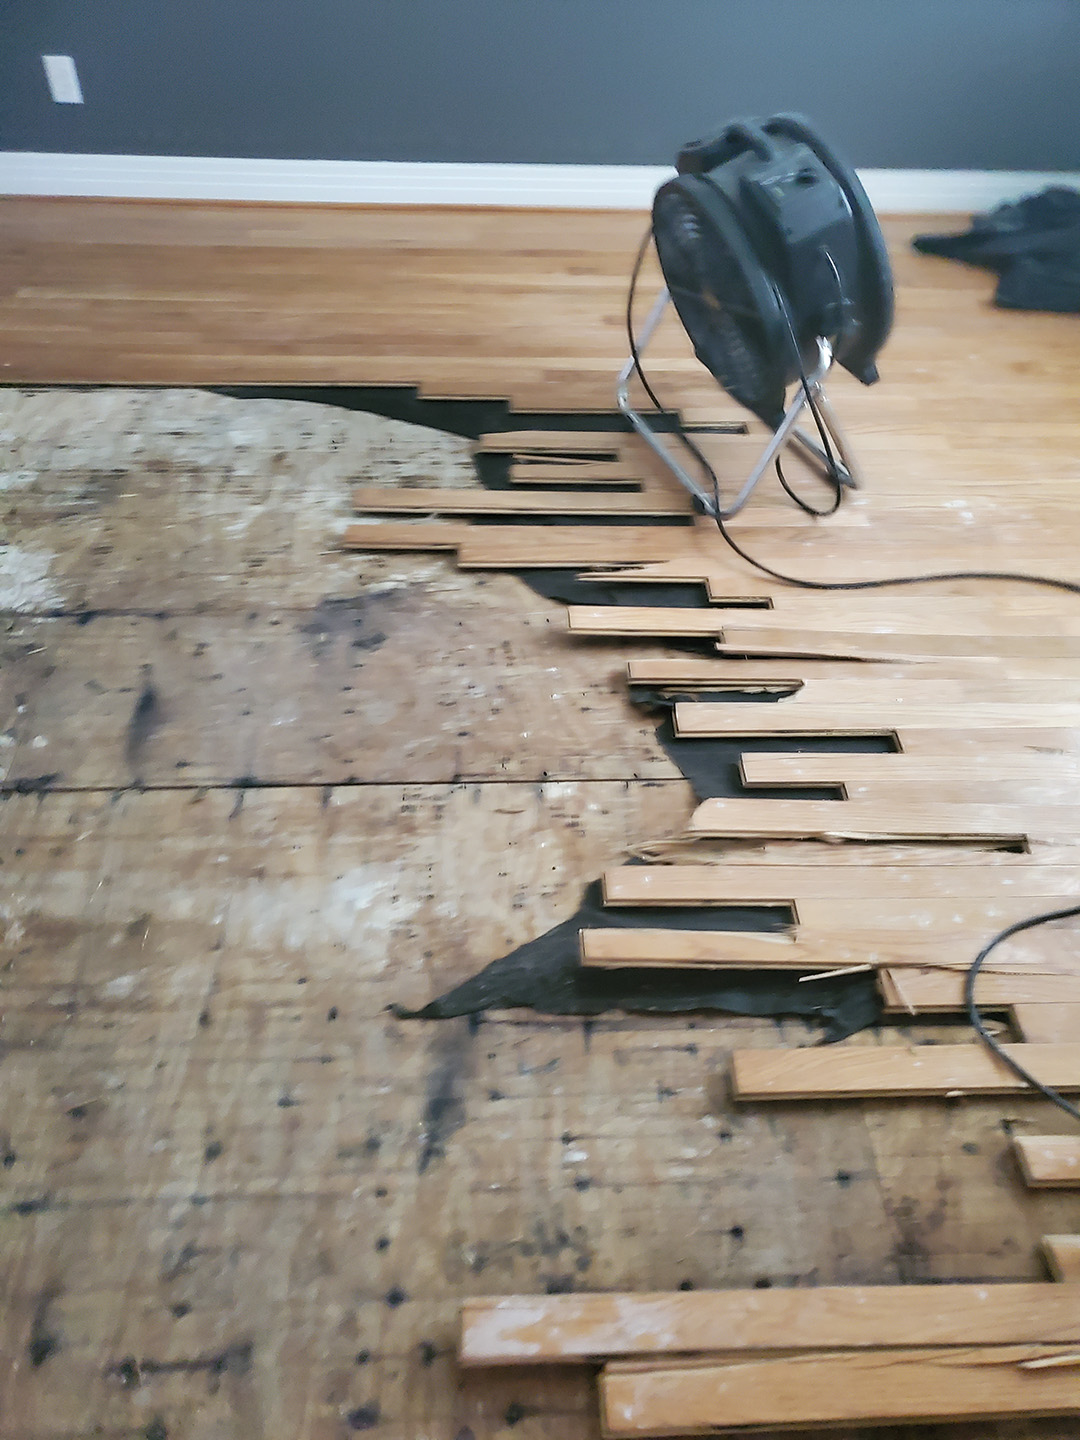
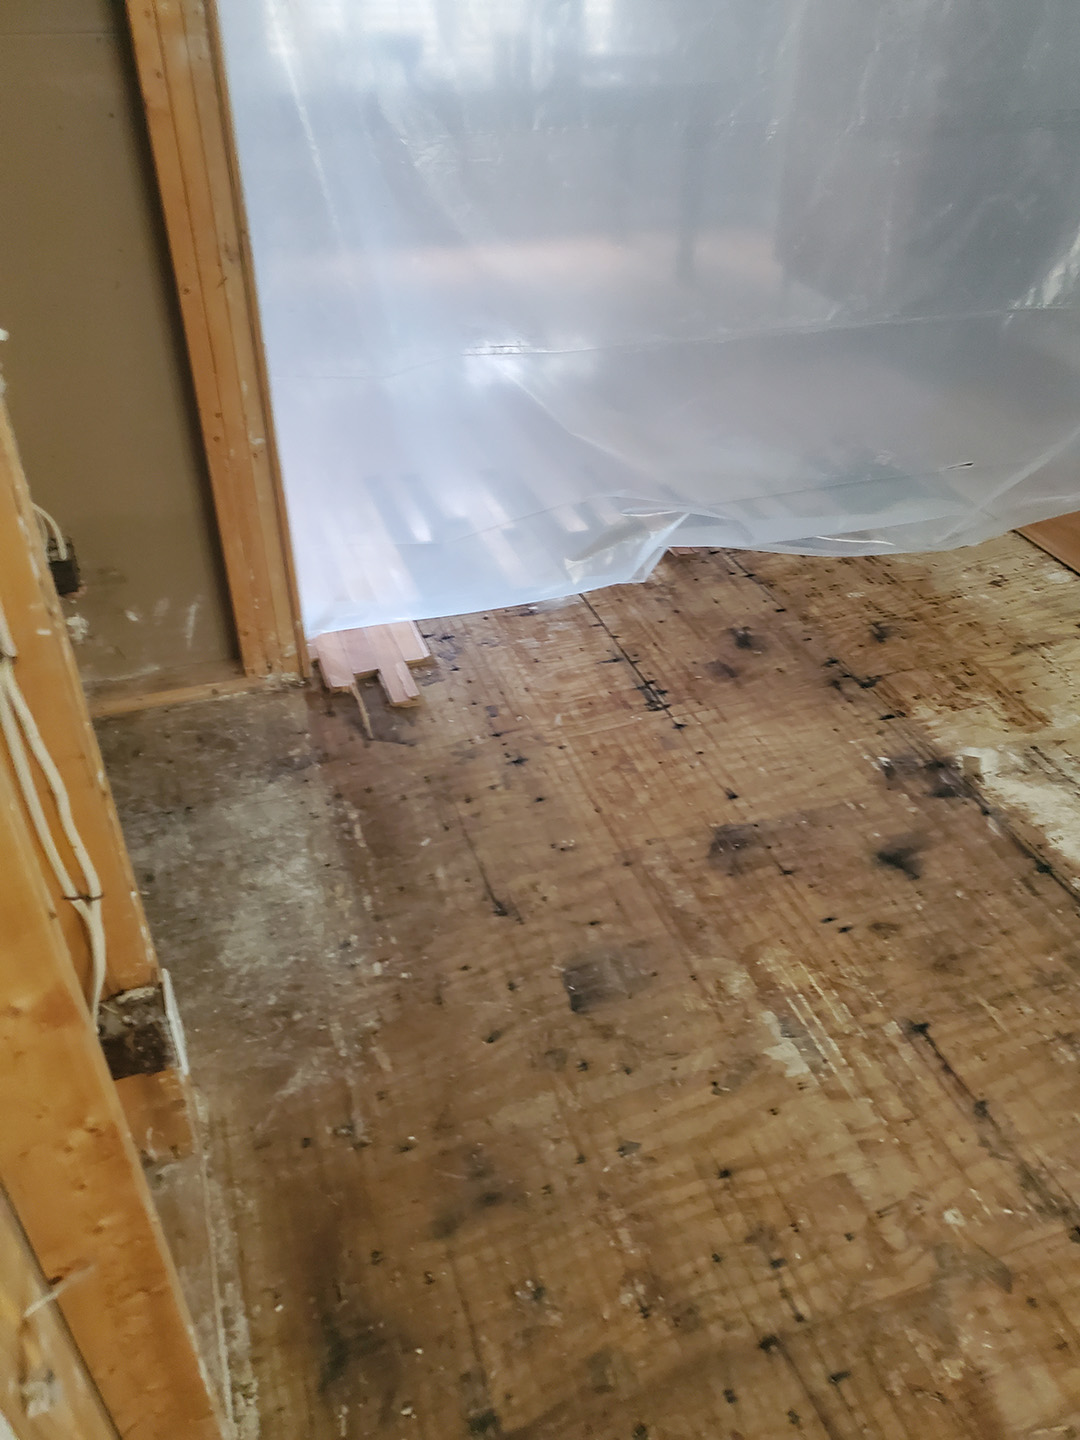
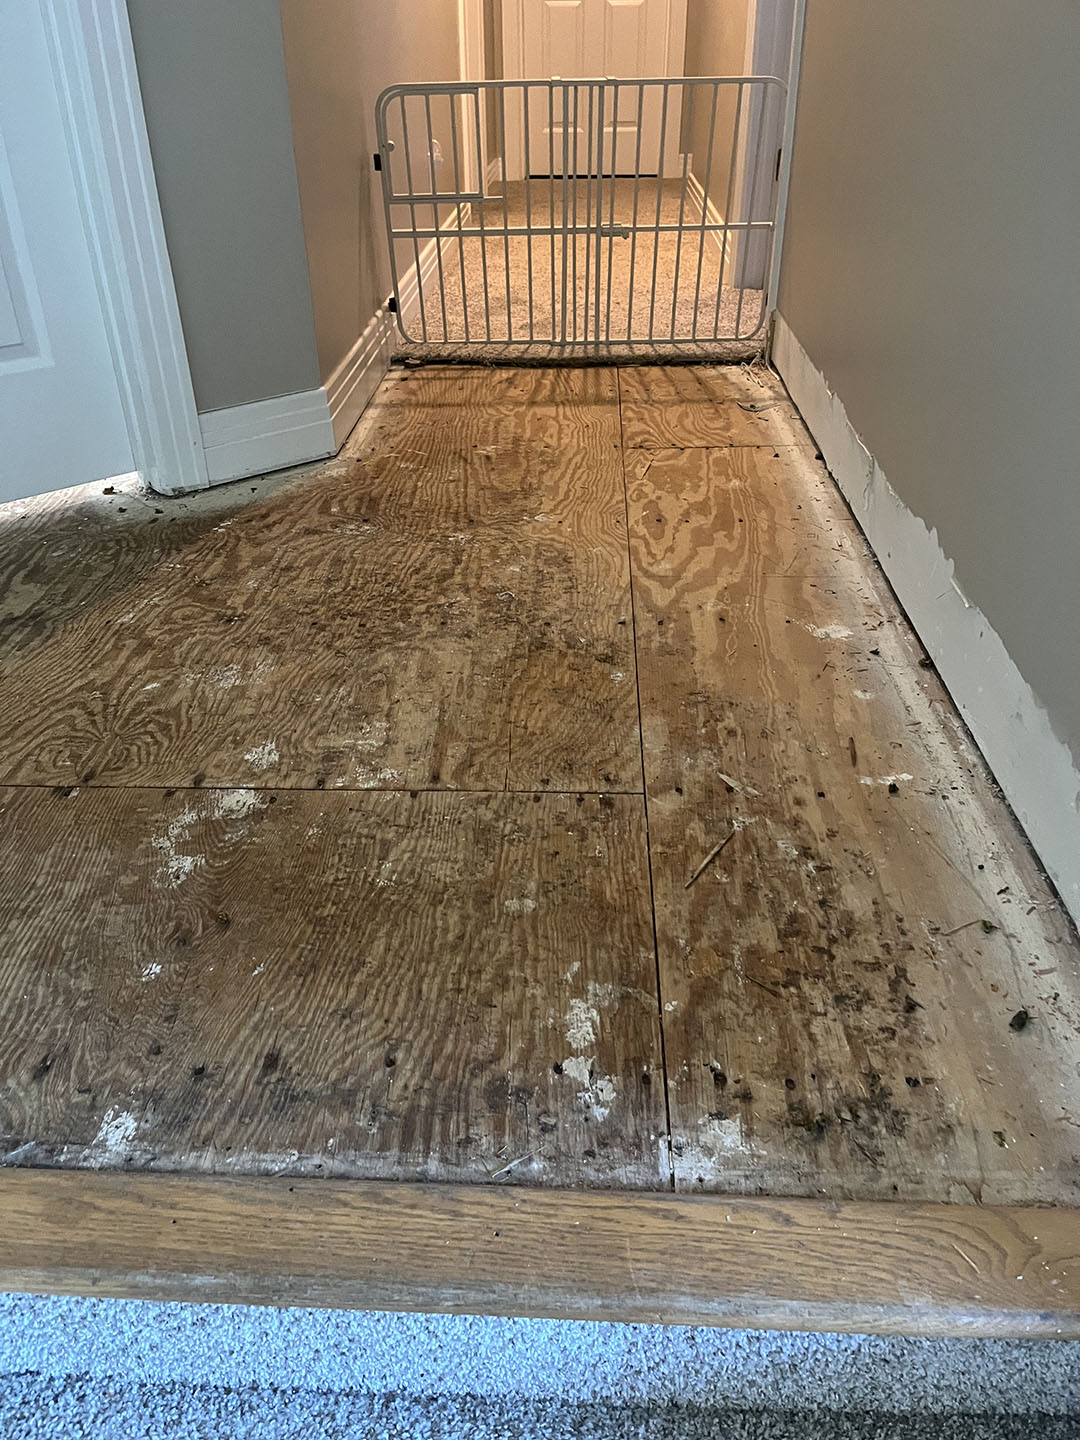
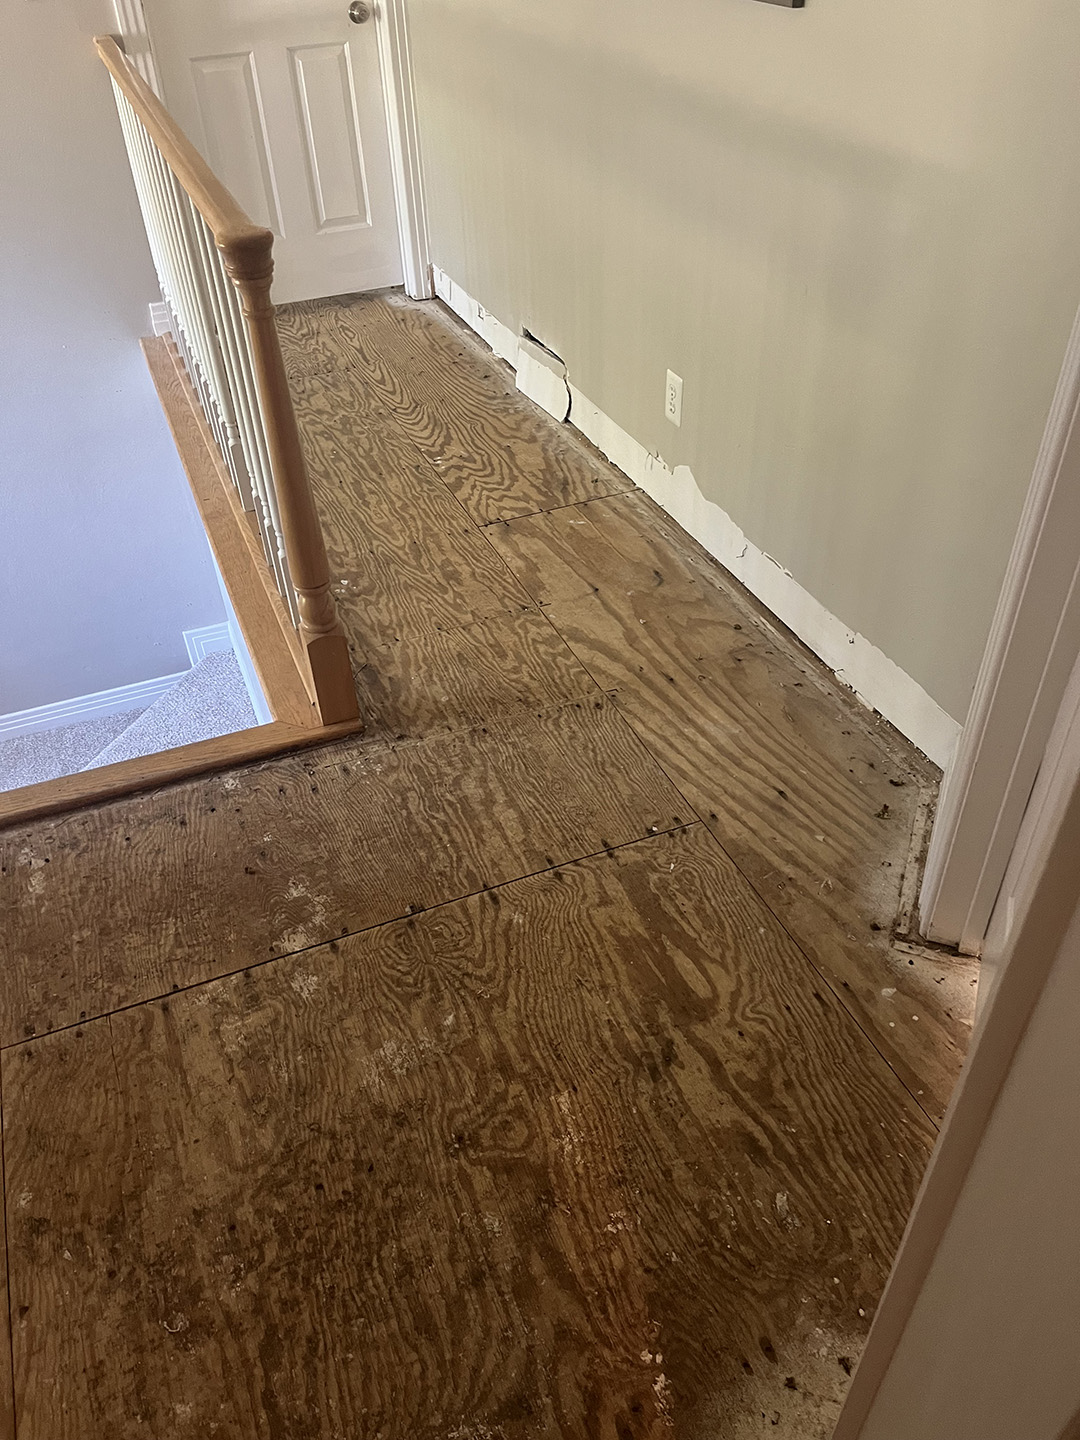
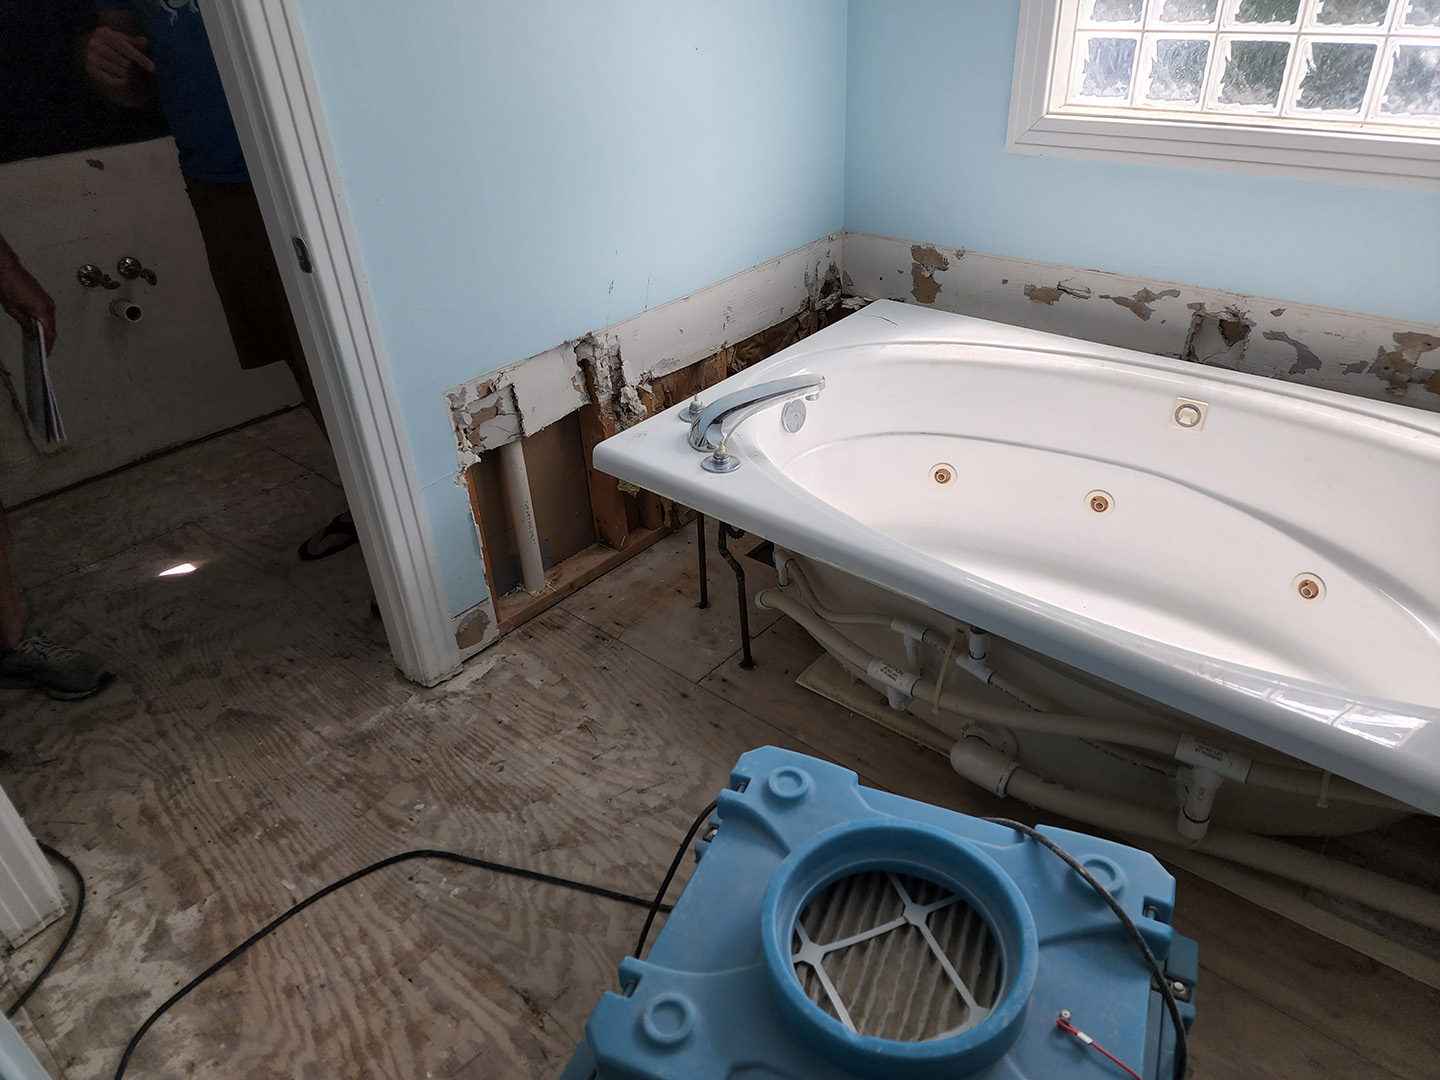
Our clients in Smithfield came home from vacation to find that the water supply line to their upstairs toilet had broken and flooded the entire house. Upstairs, there was damage to the bathroom and all the bedrooms, to include flooring, drywall, and the bathroom vanity. Downstairs was a similar story. The kitchen cabinets, drywall, and continuous hardwood floor were soaked.
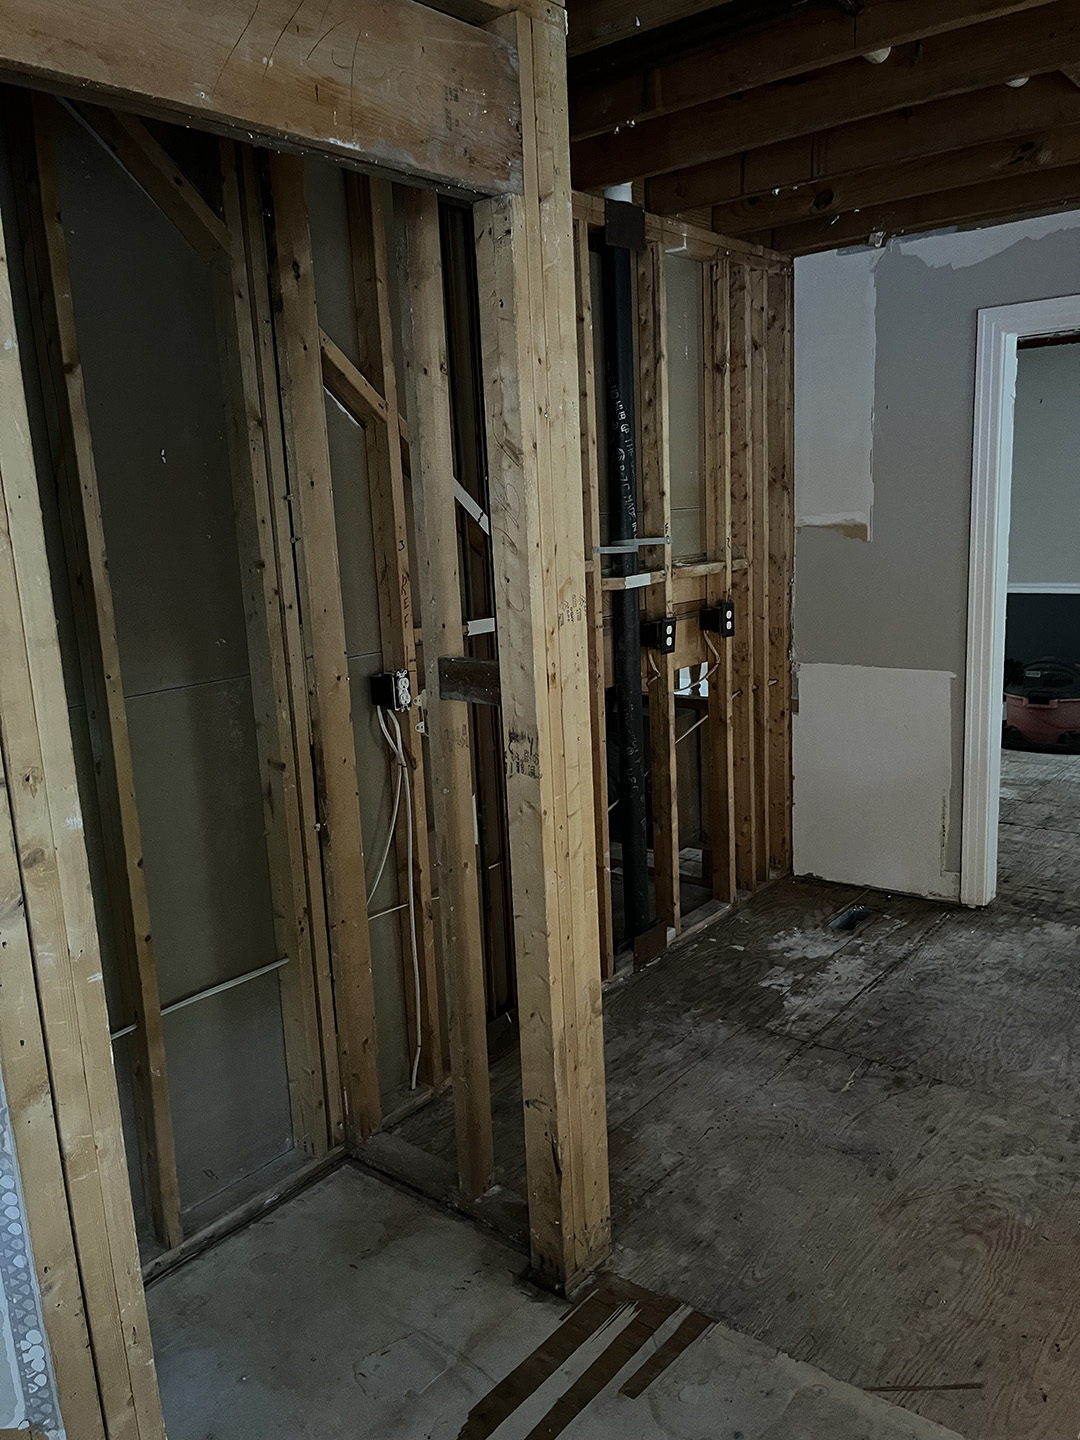
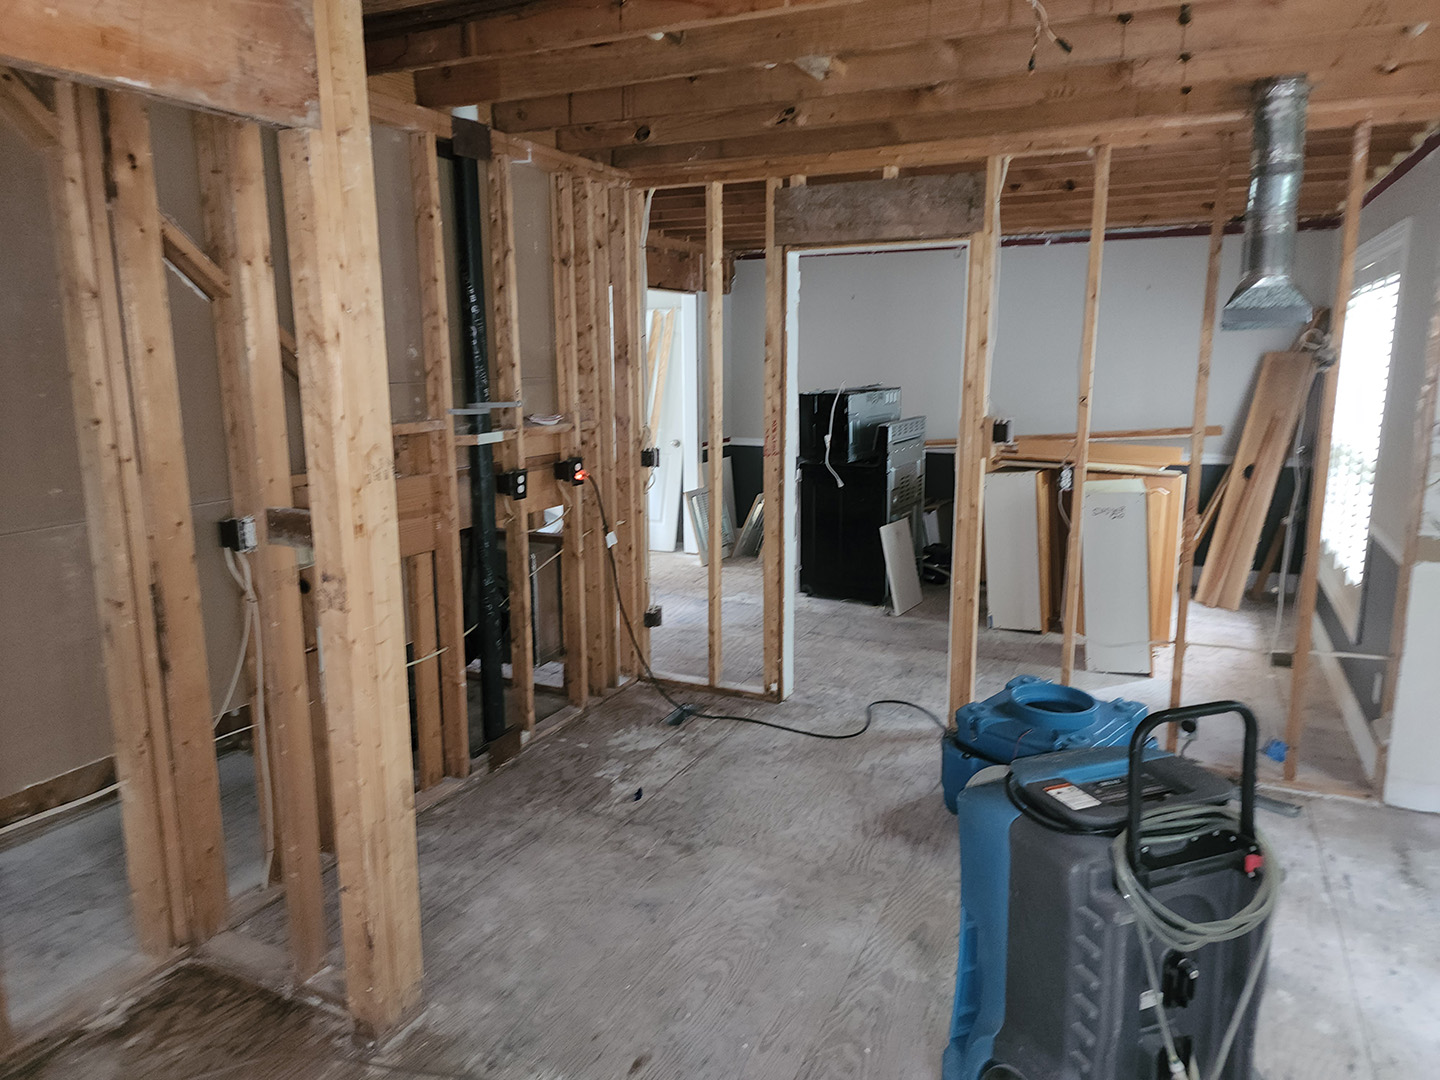
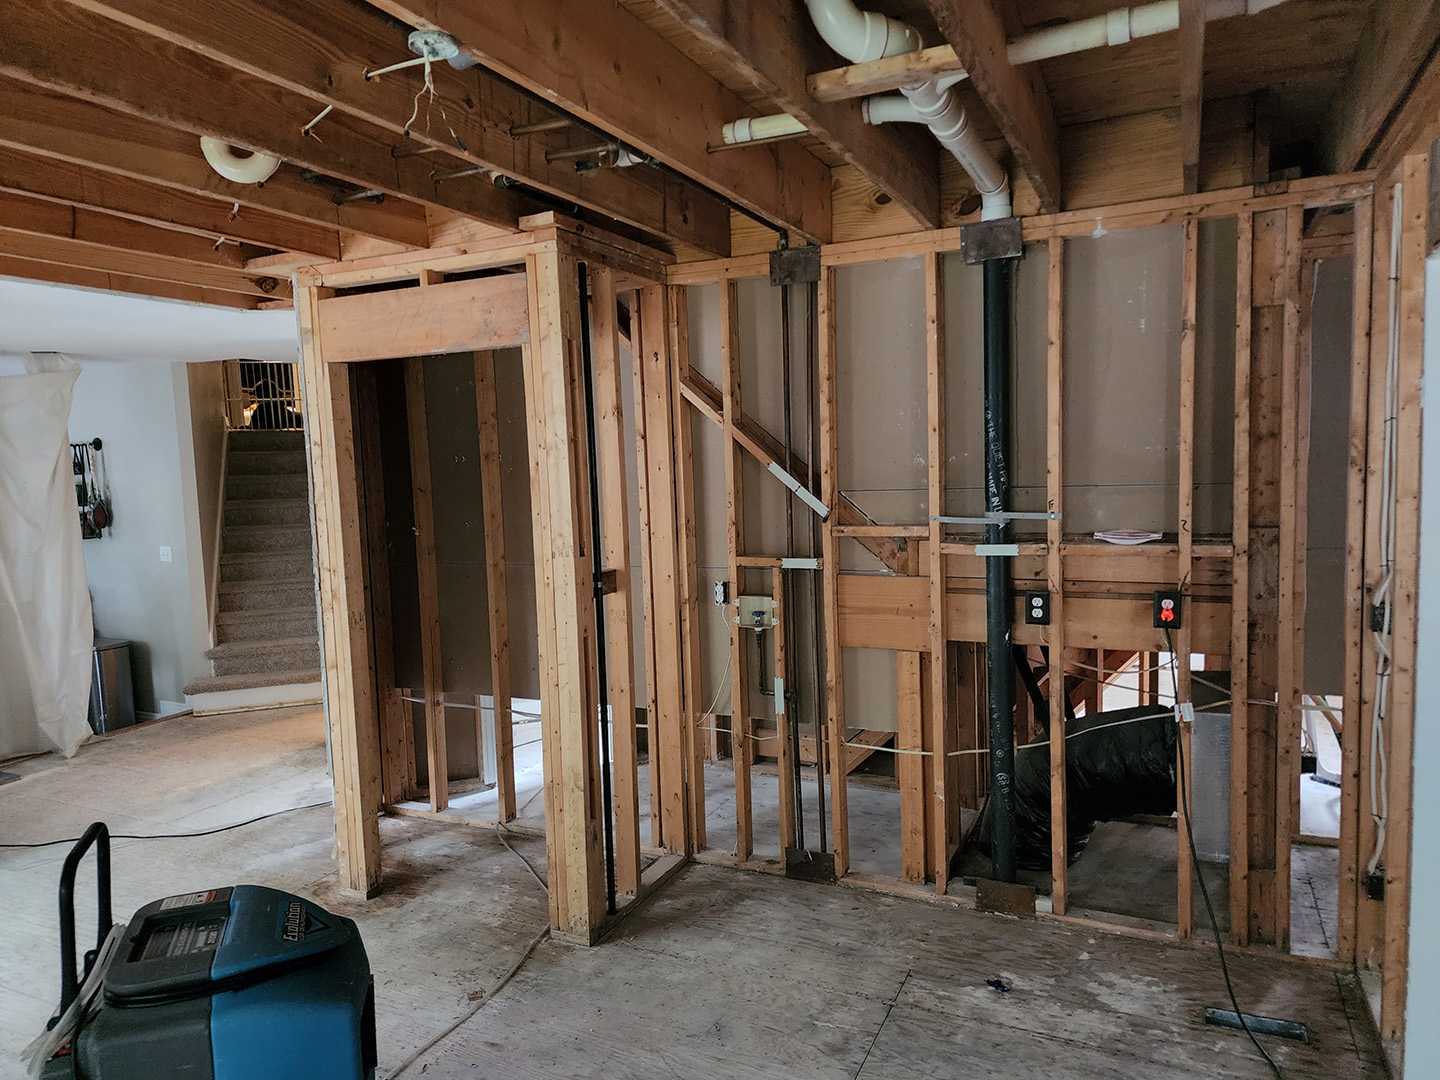
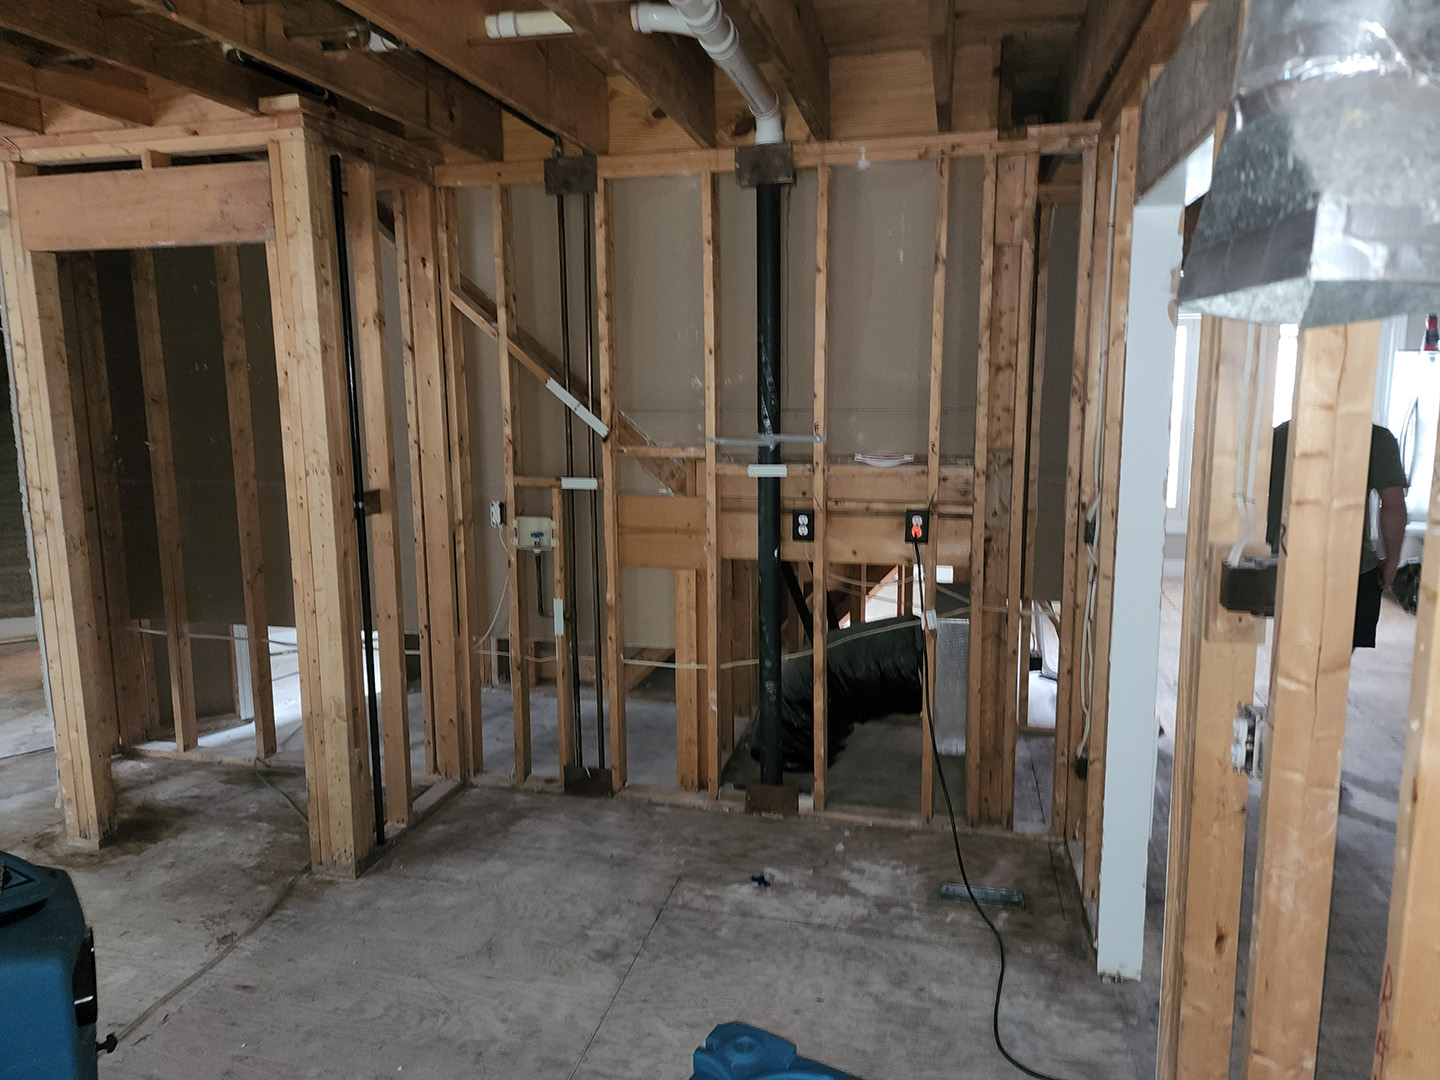
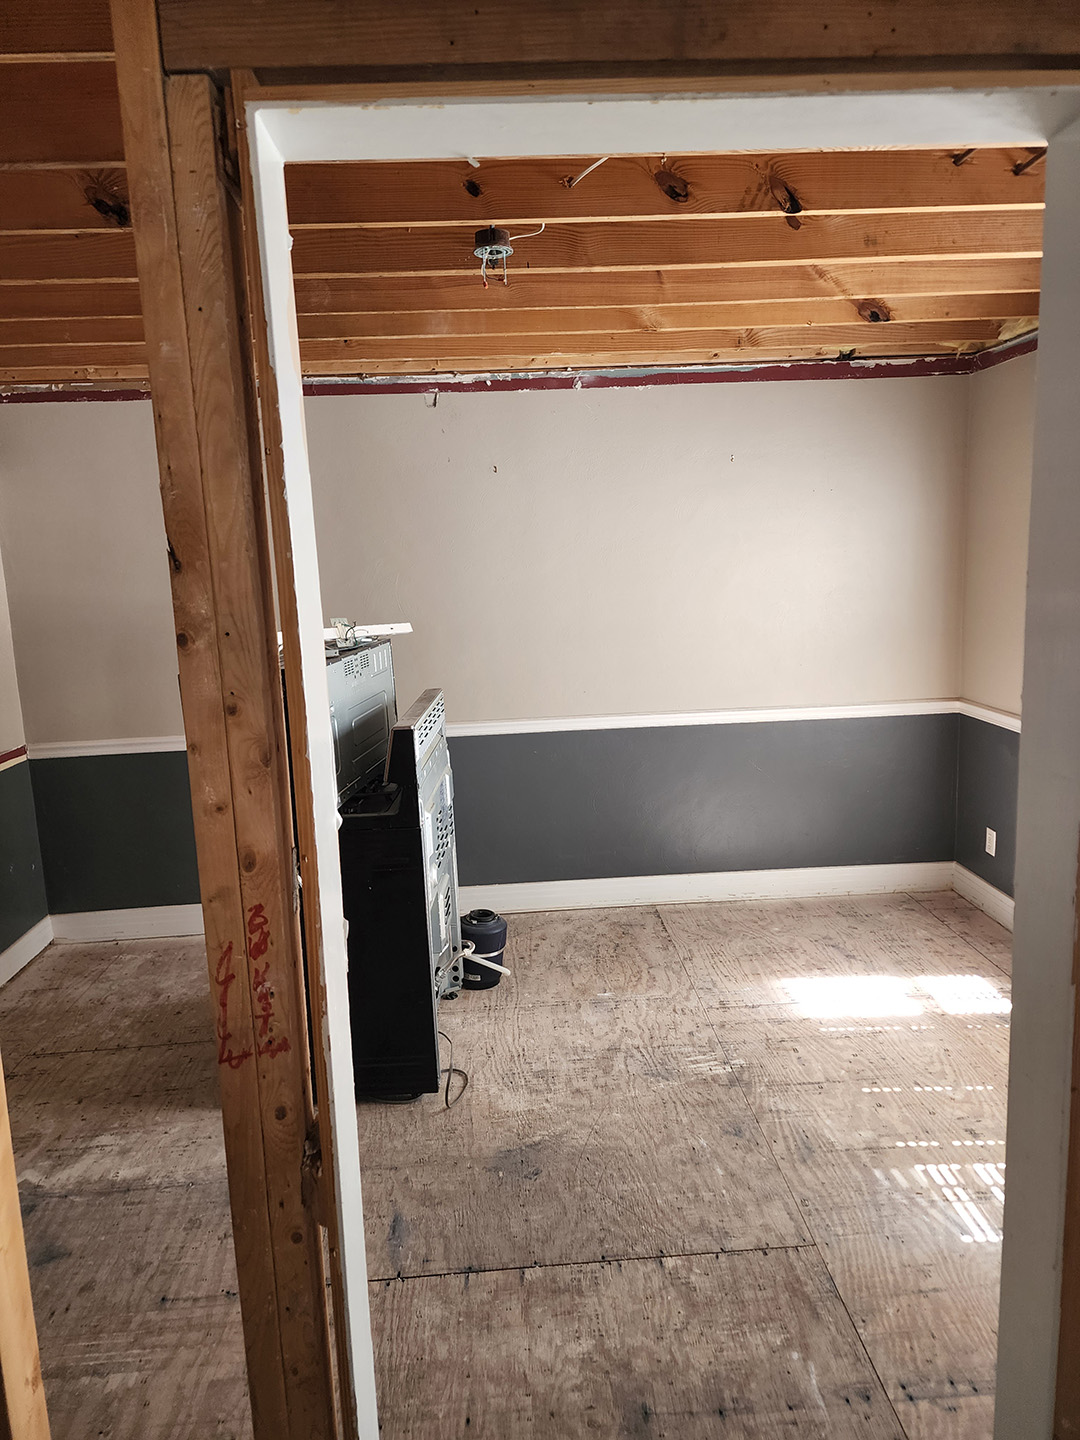
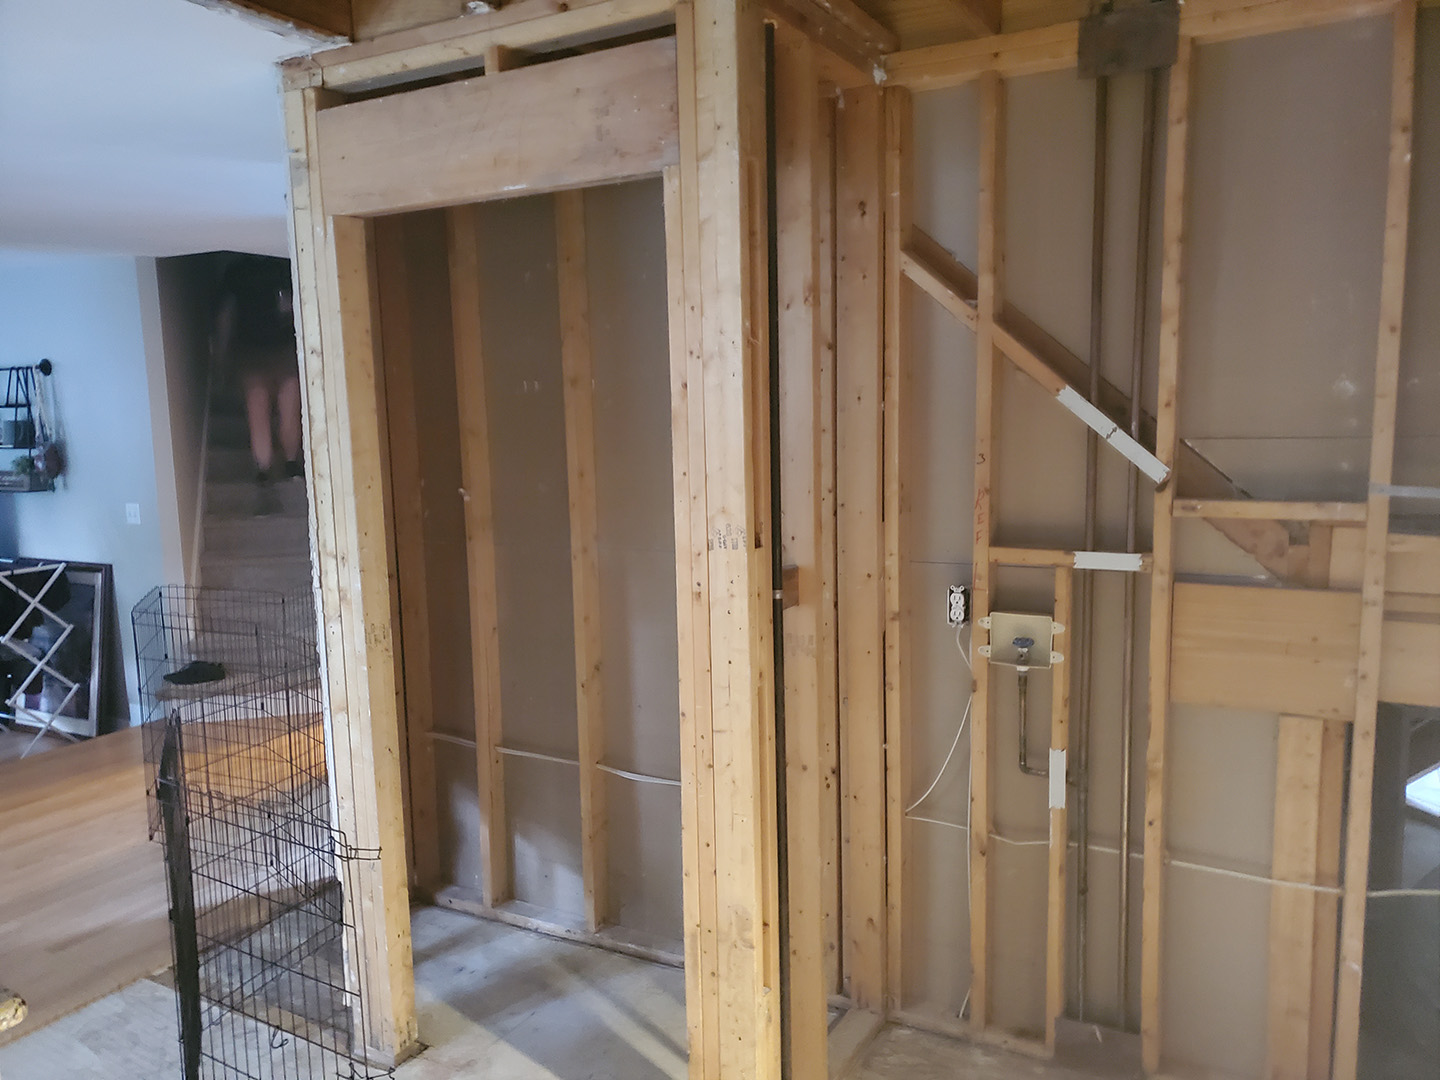
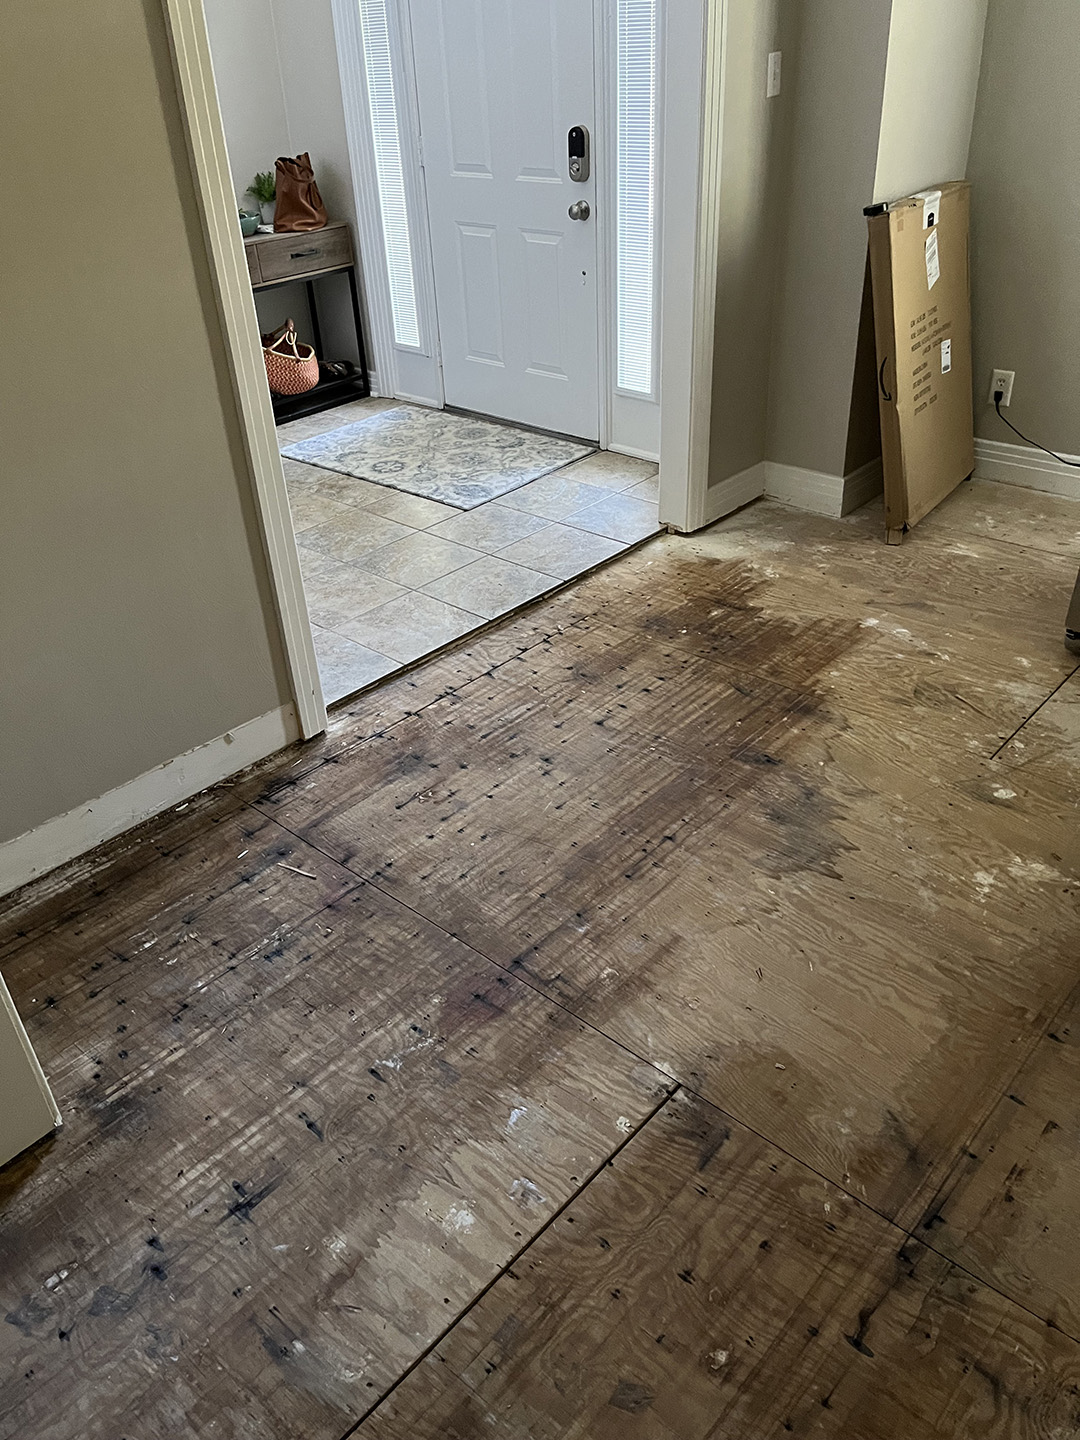
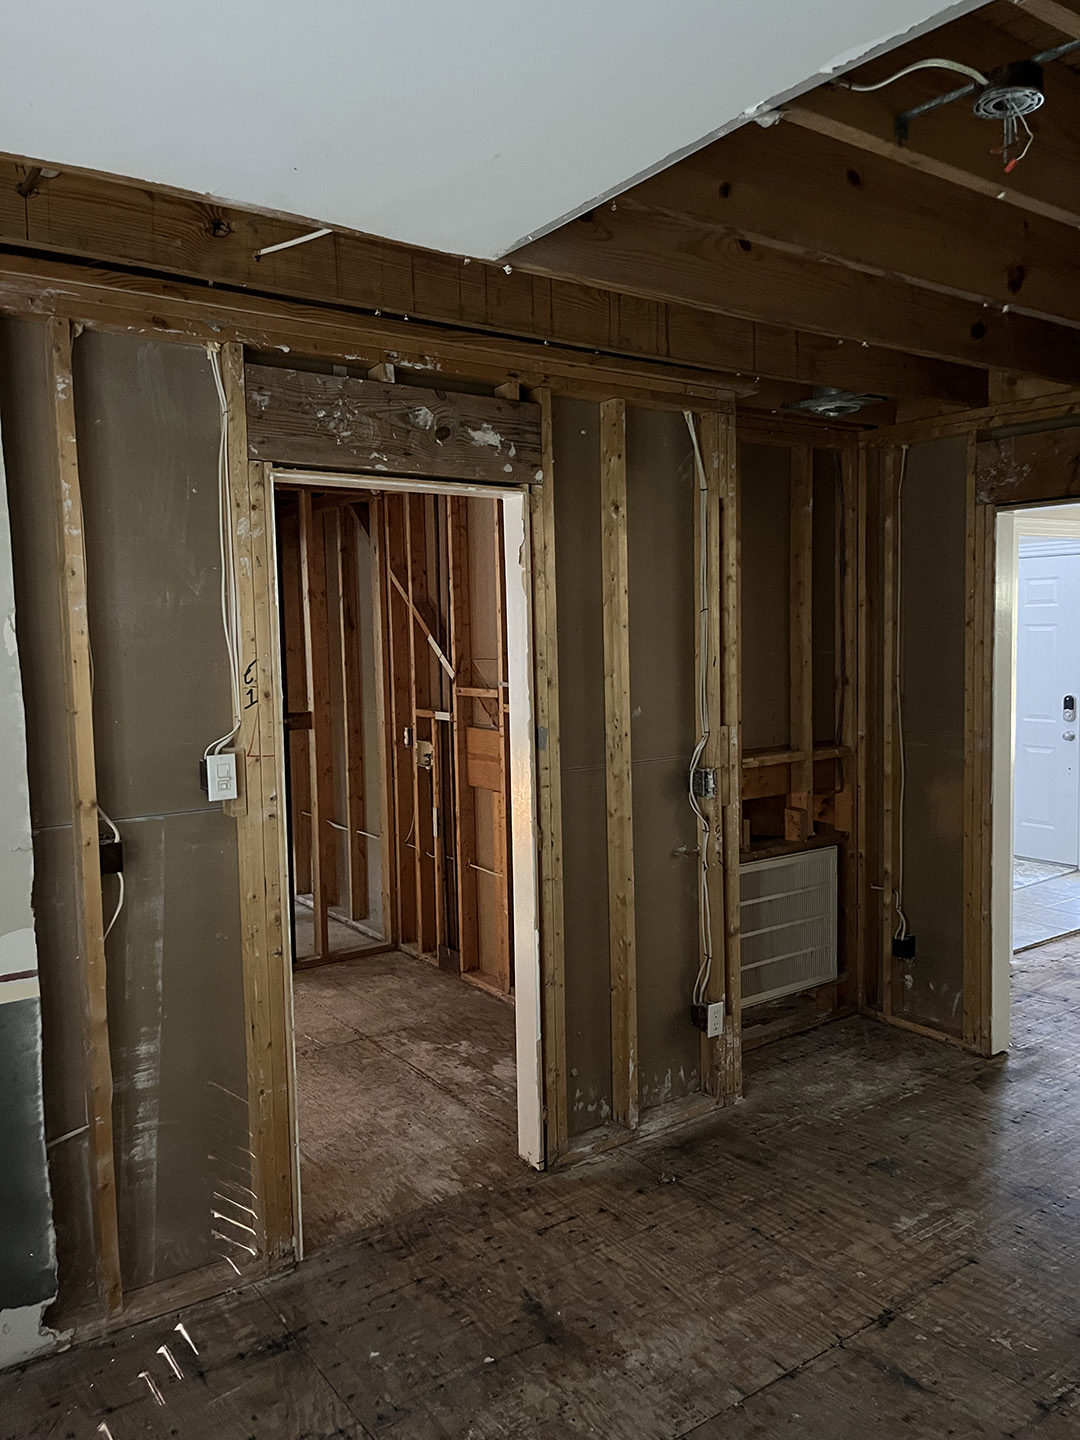
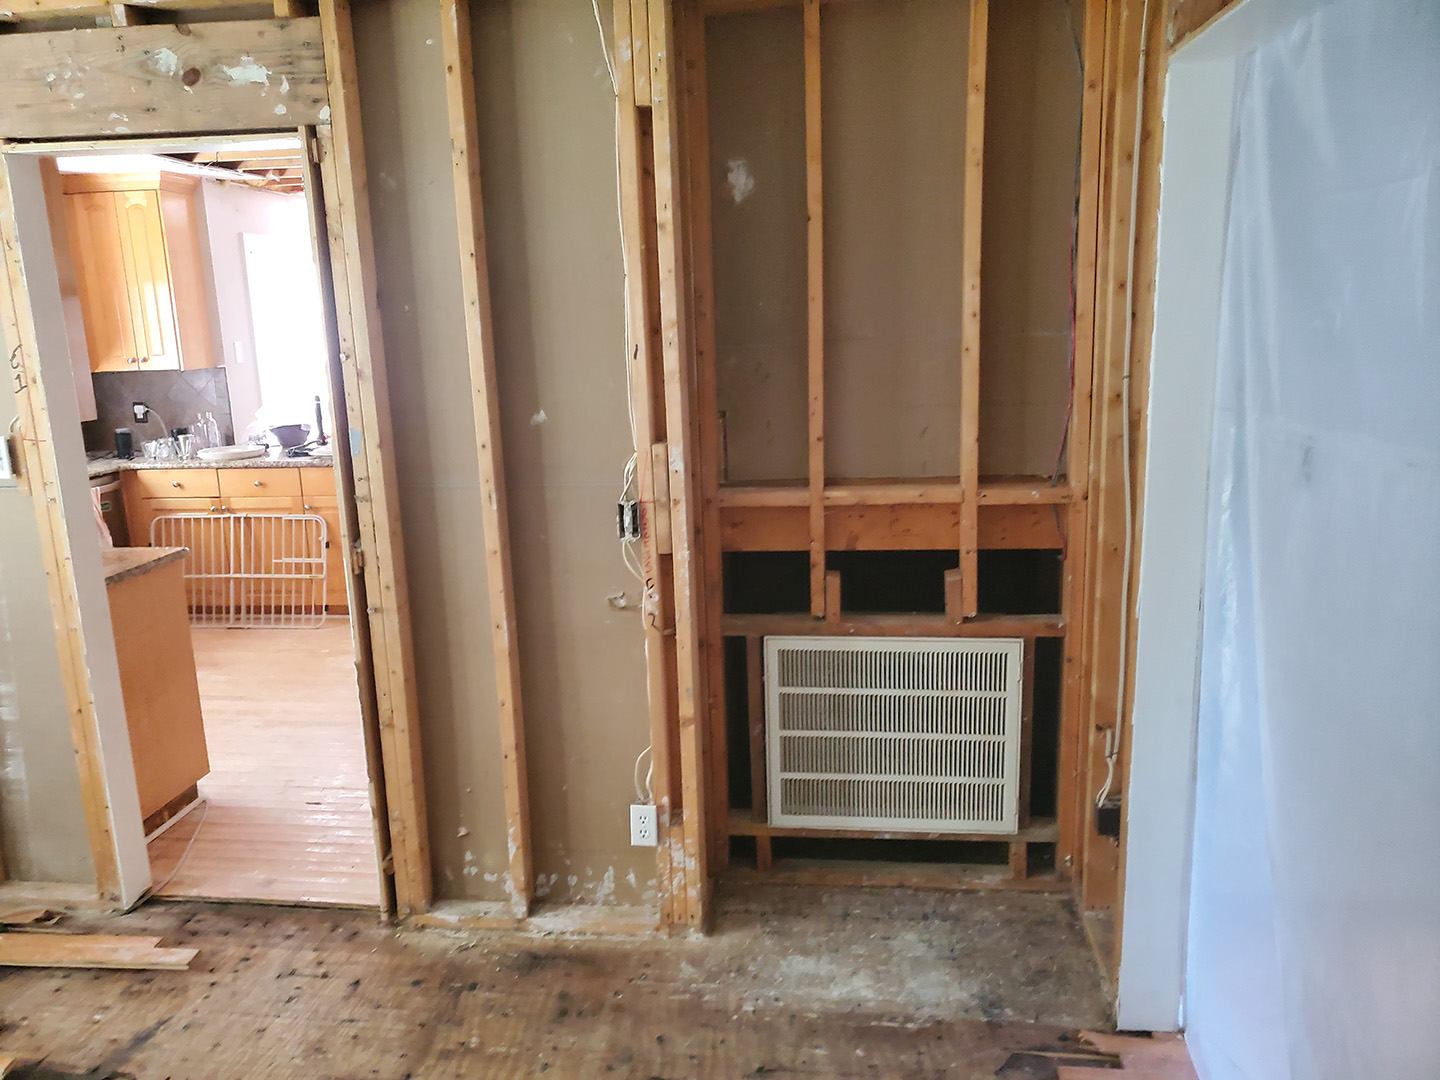
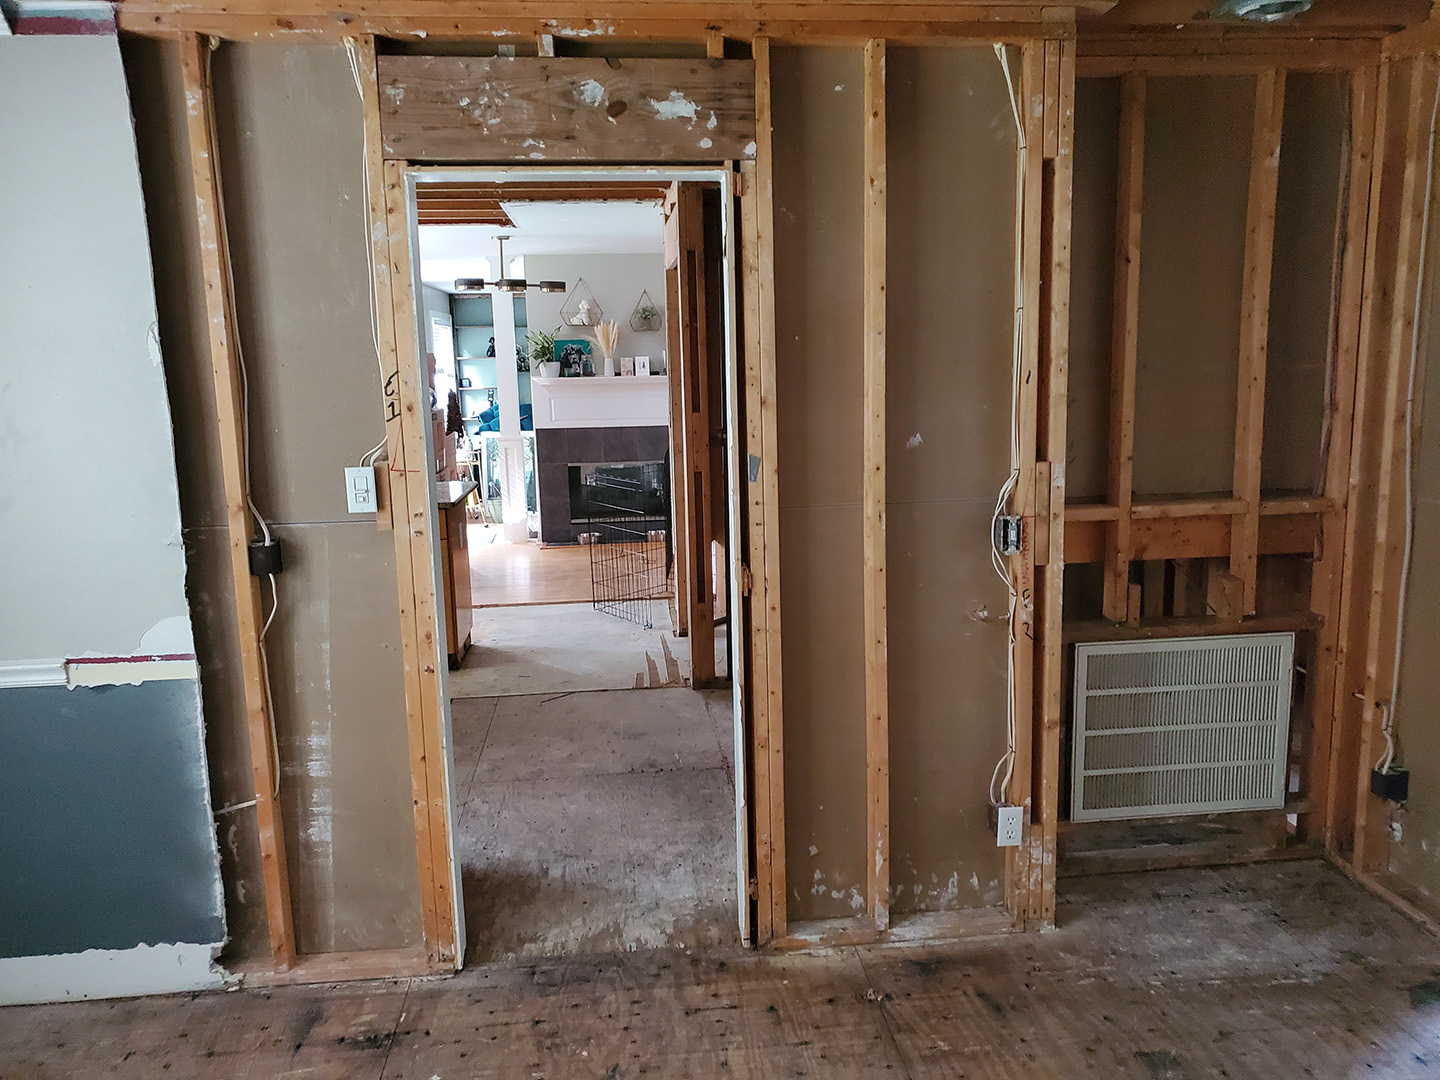
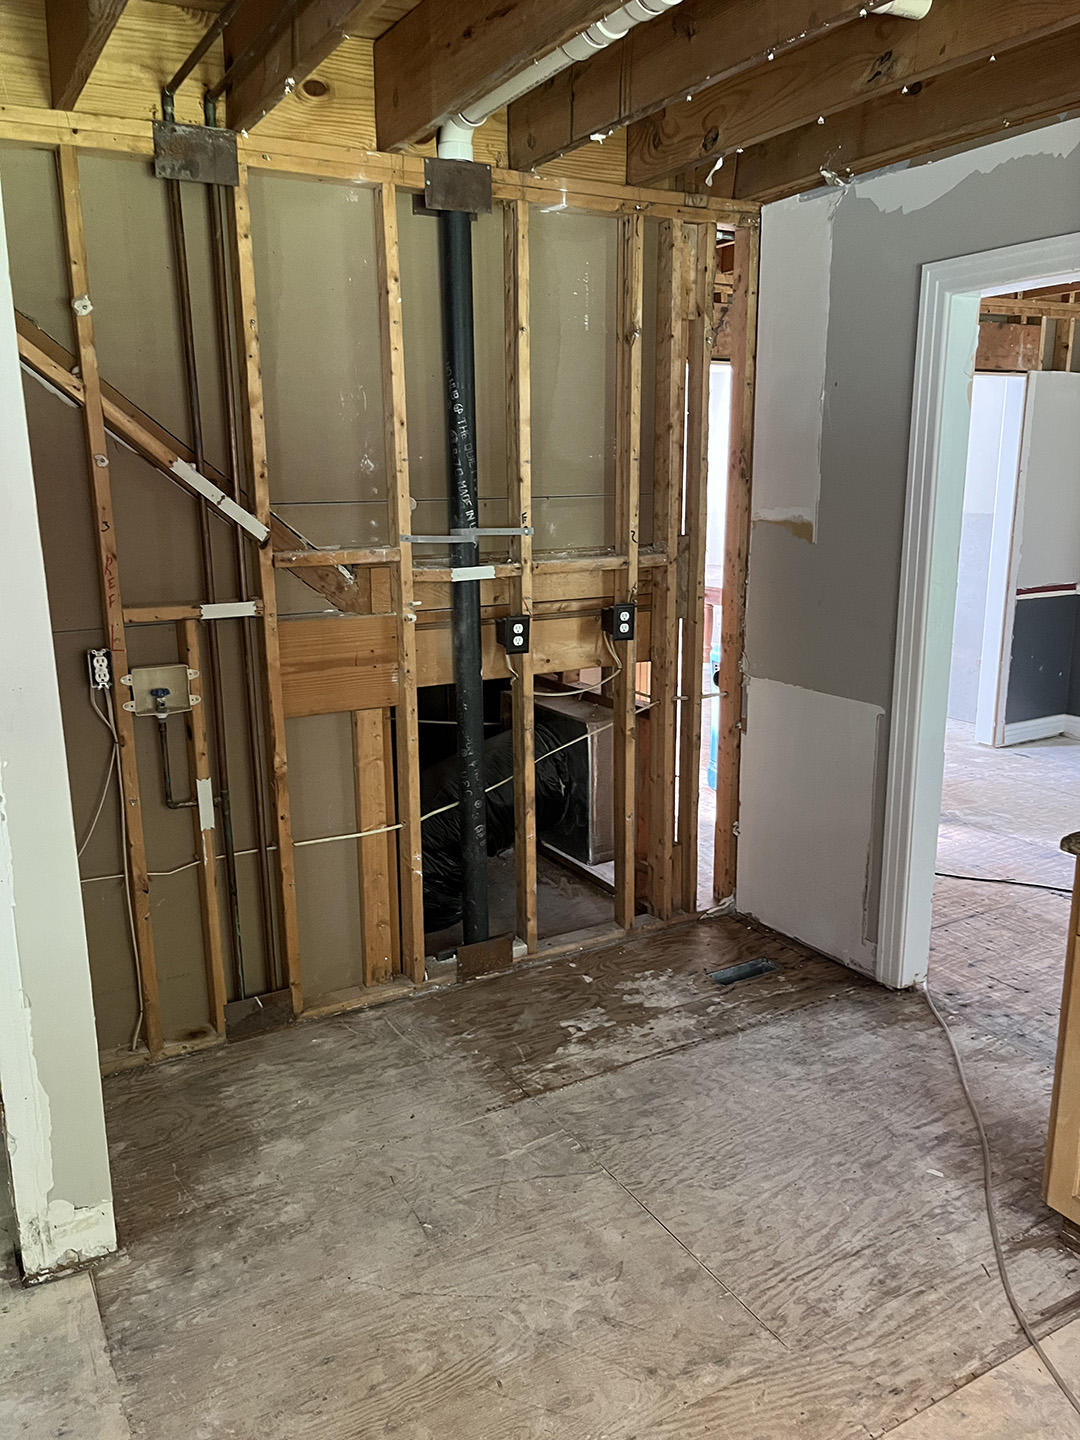
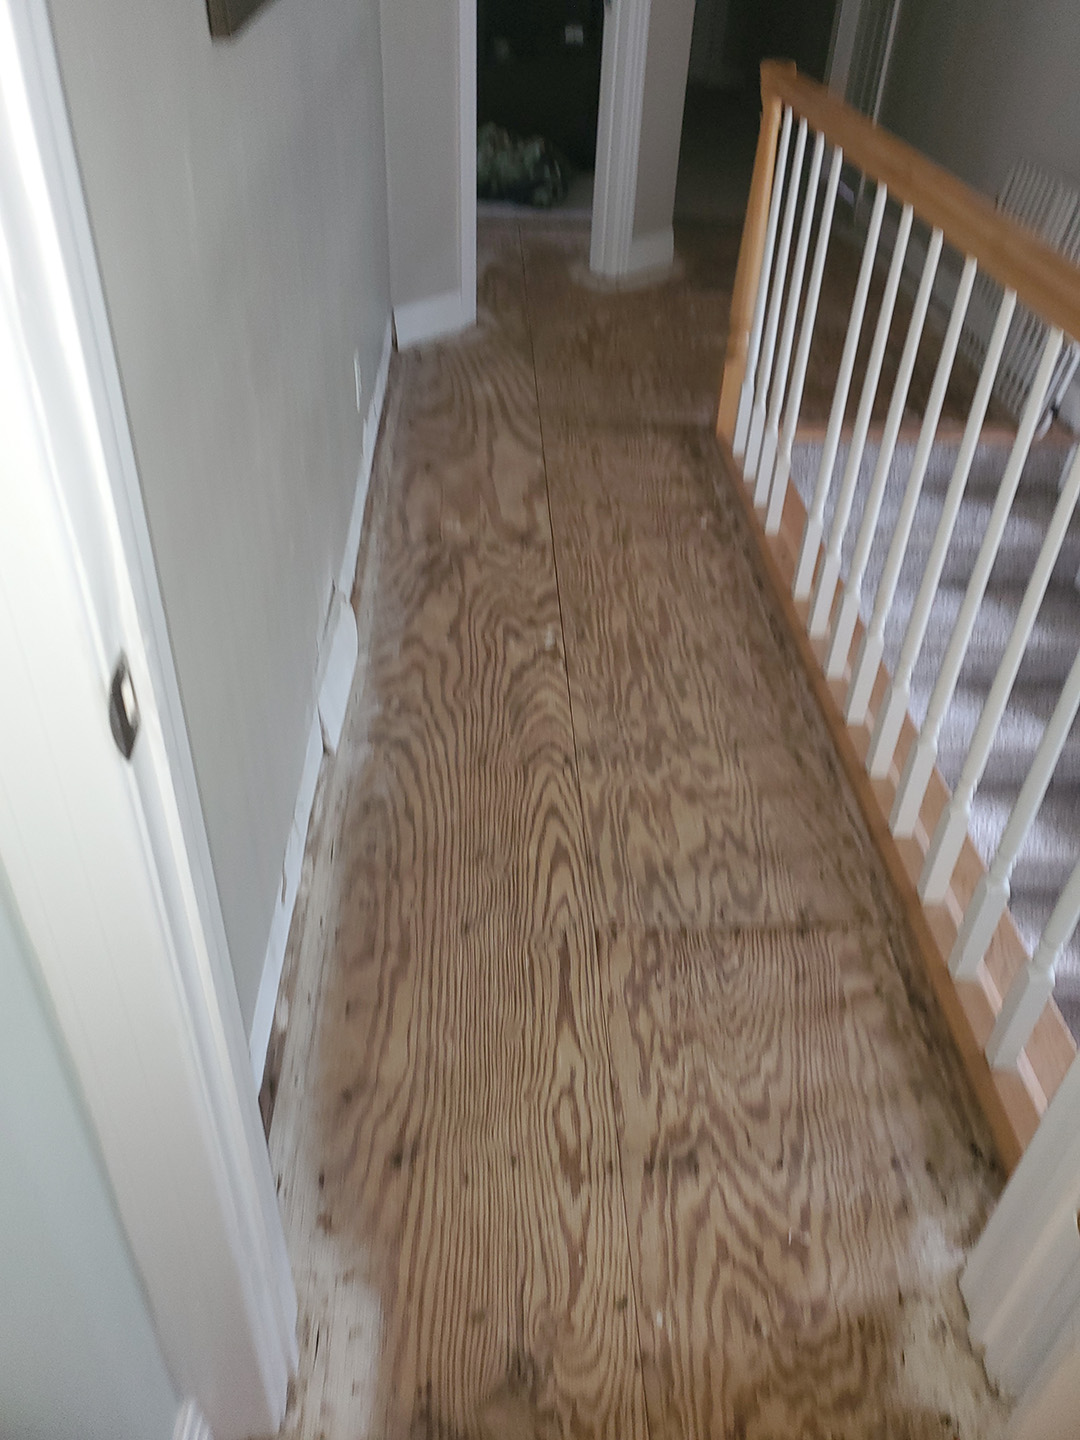
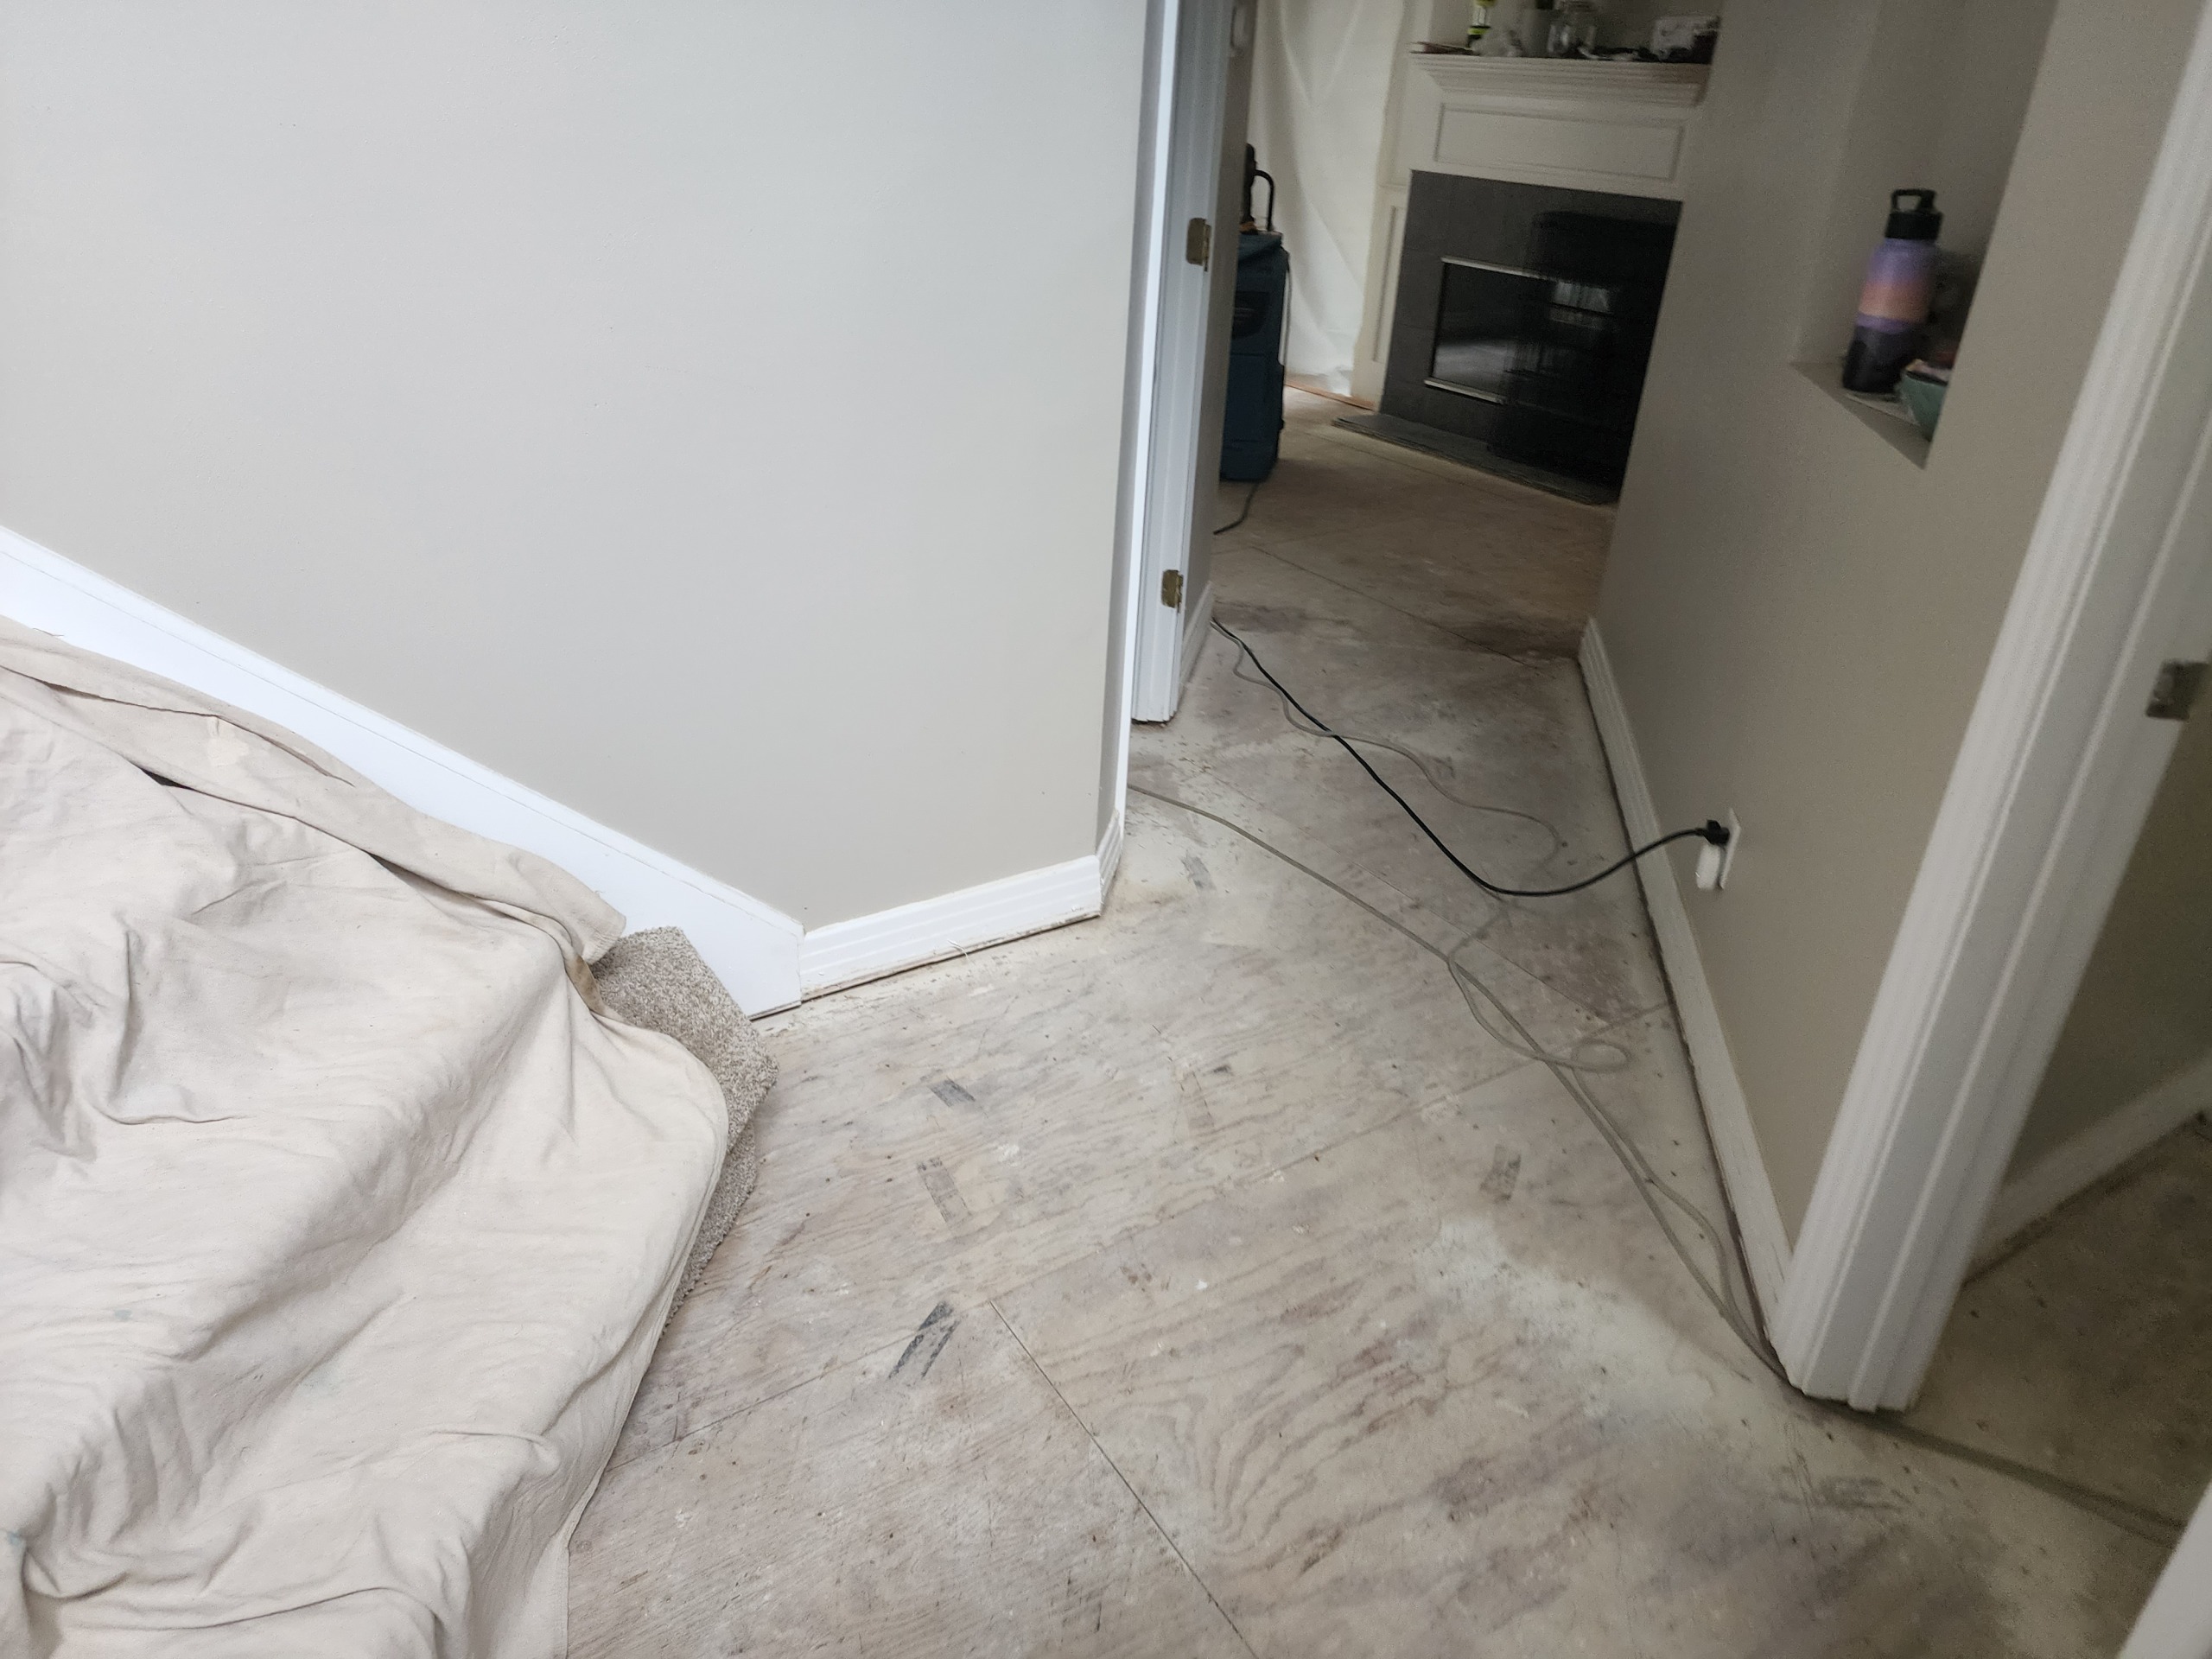
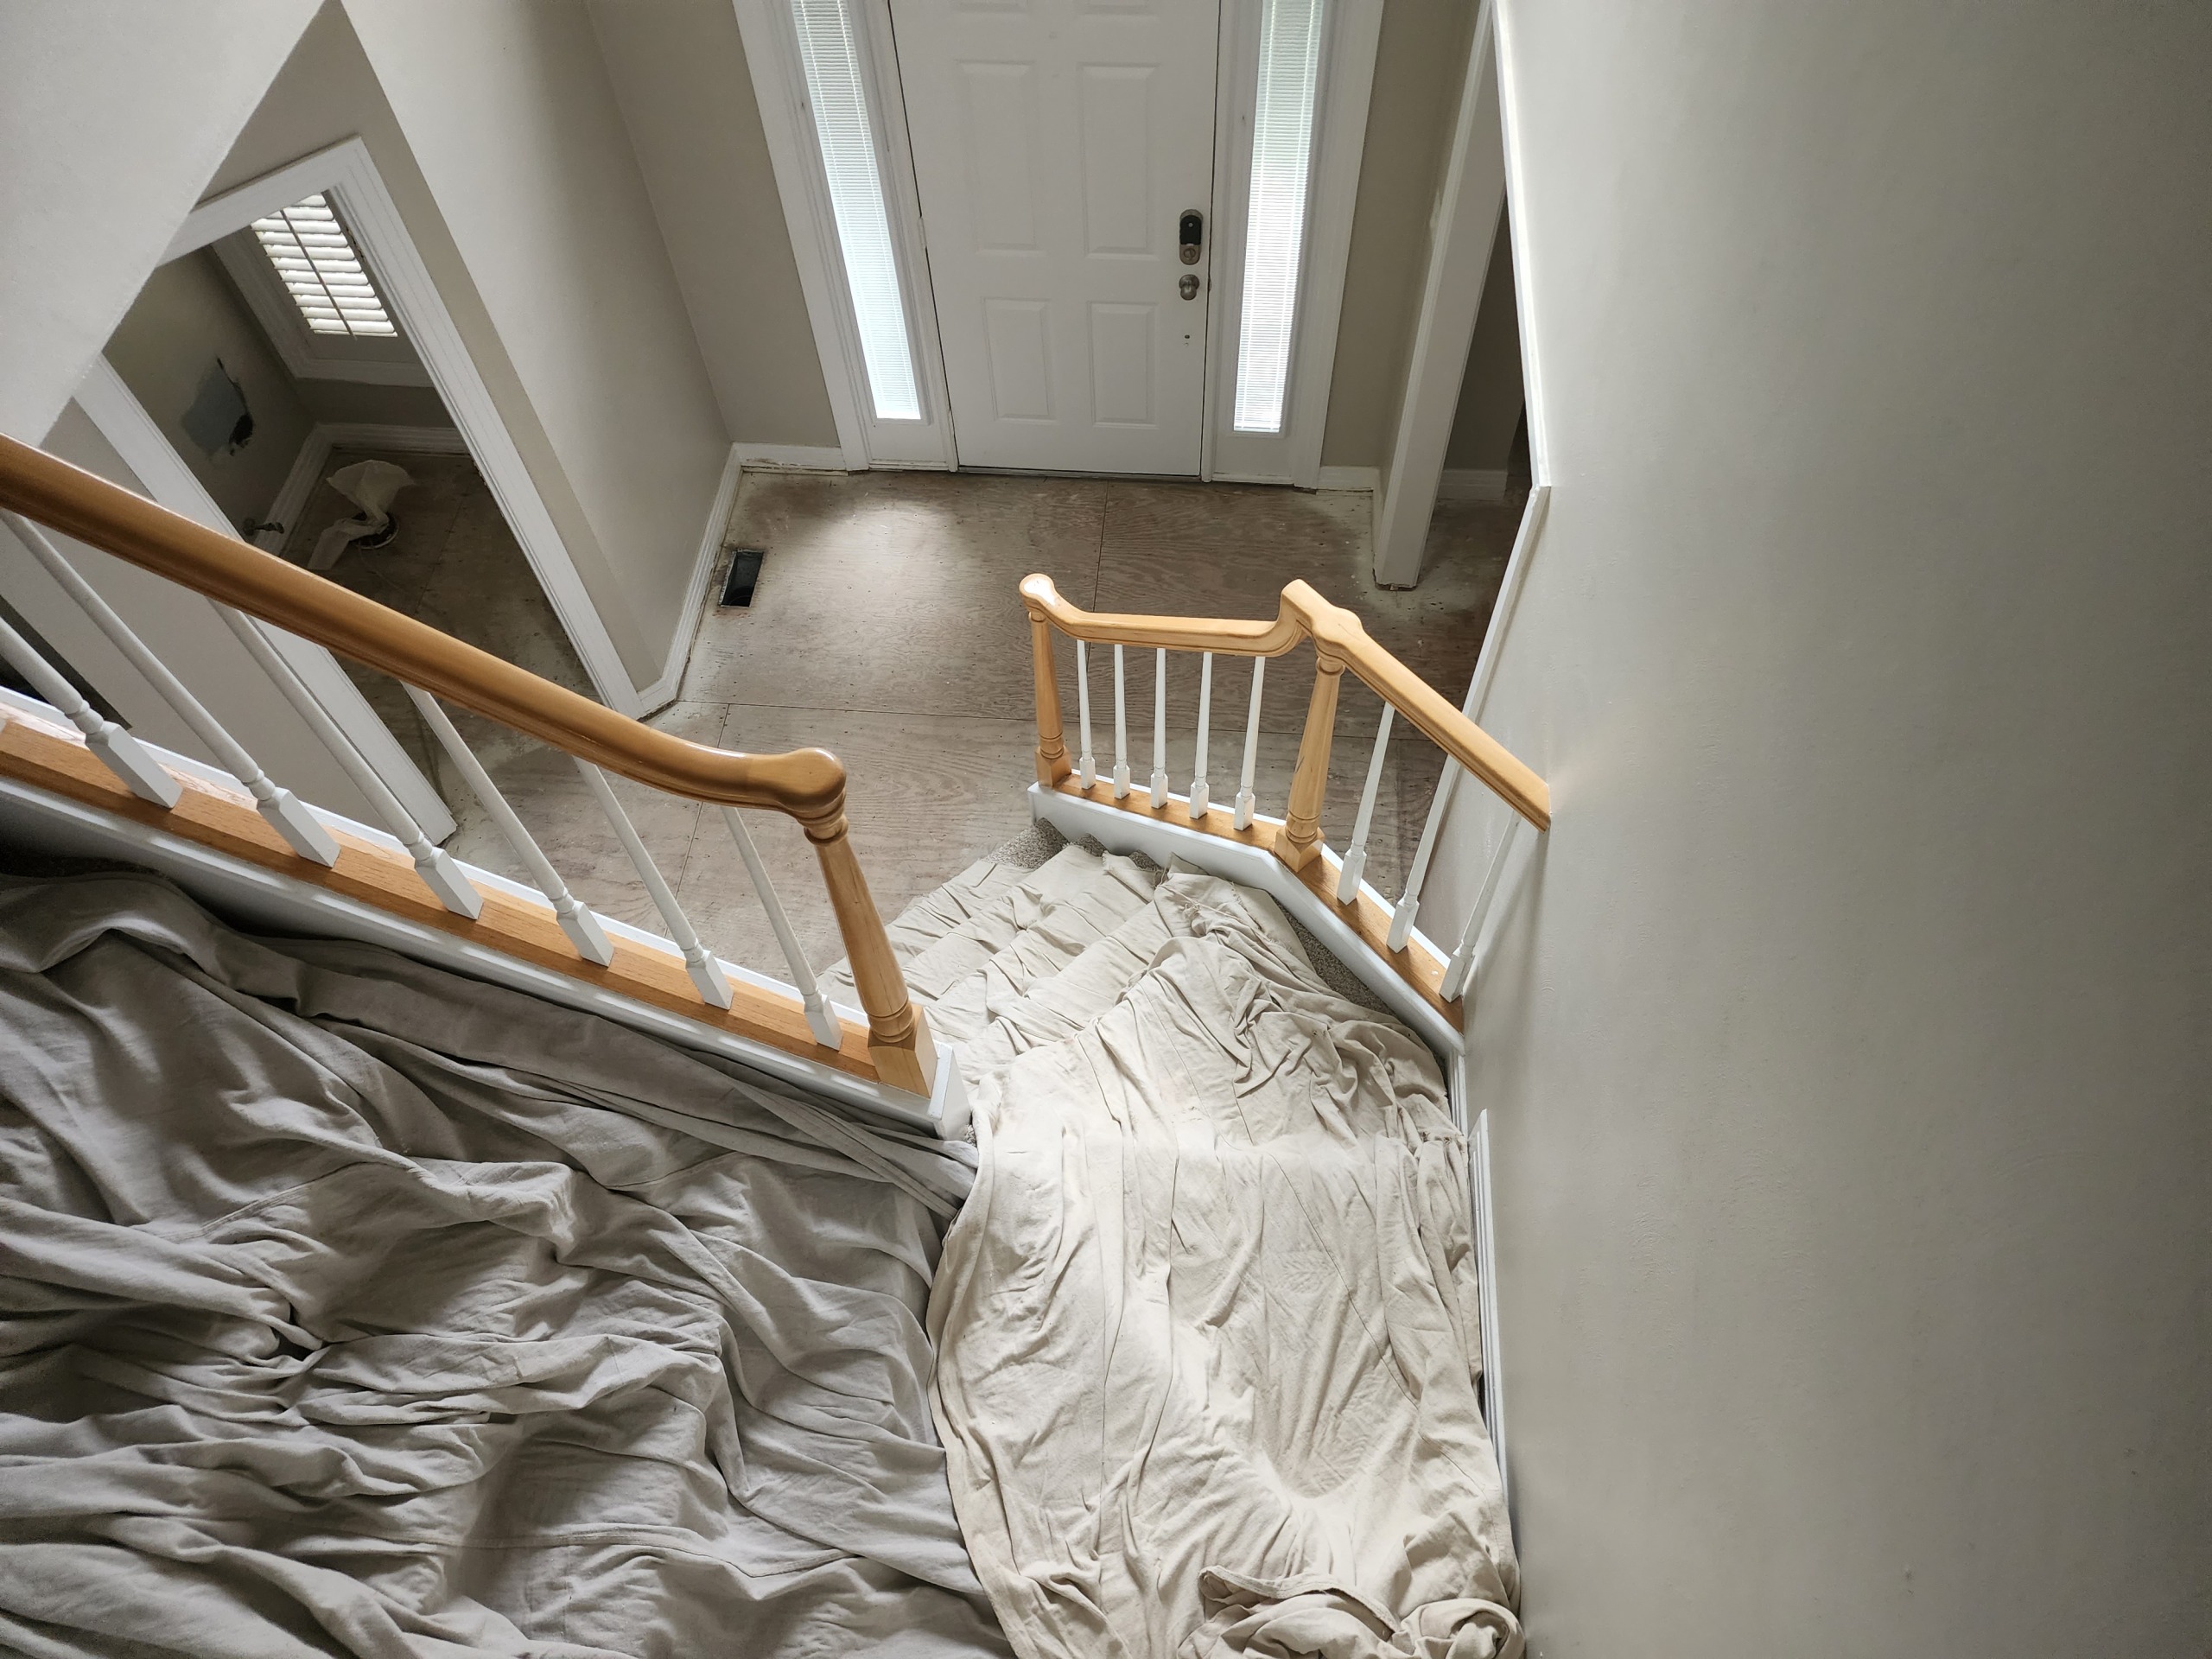
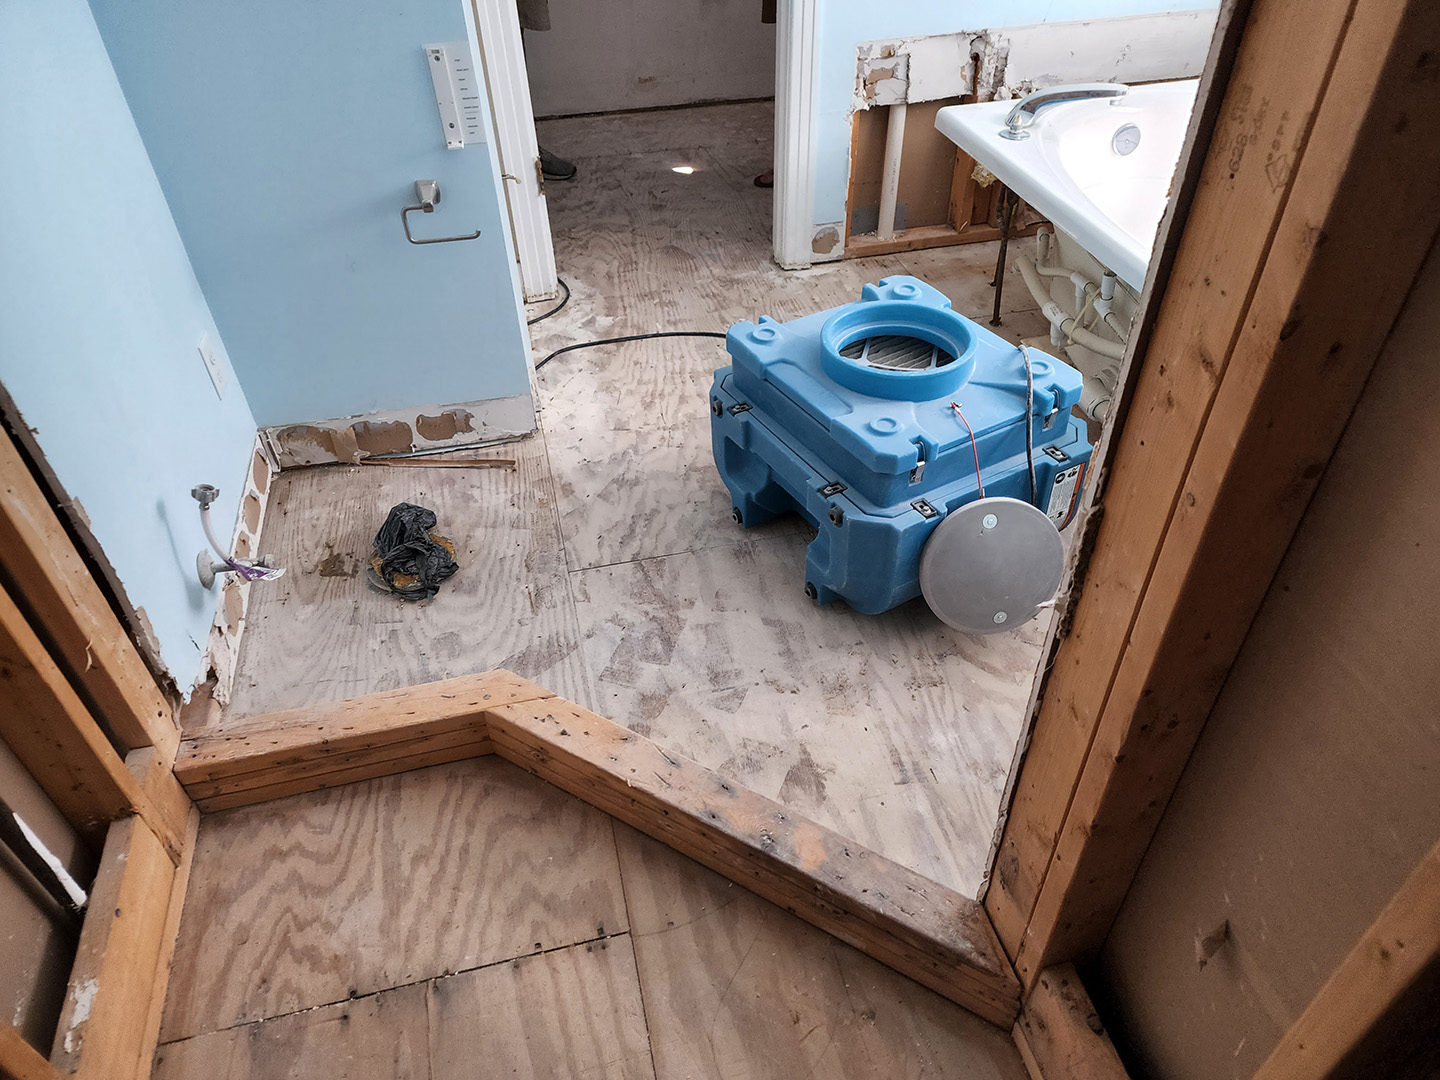
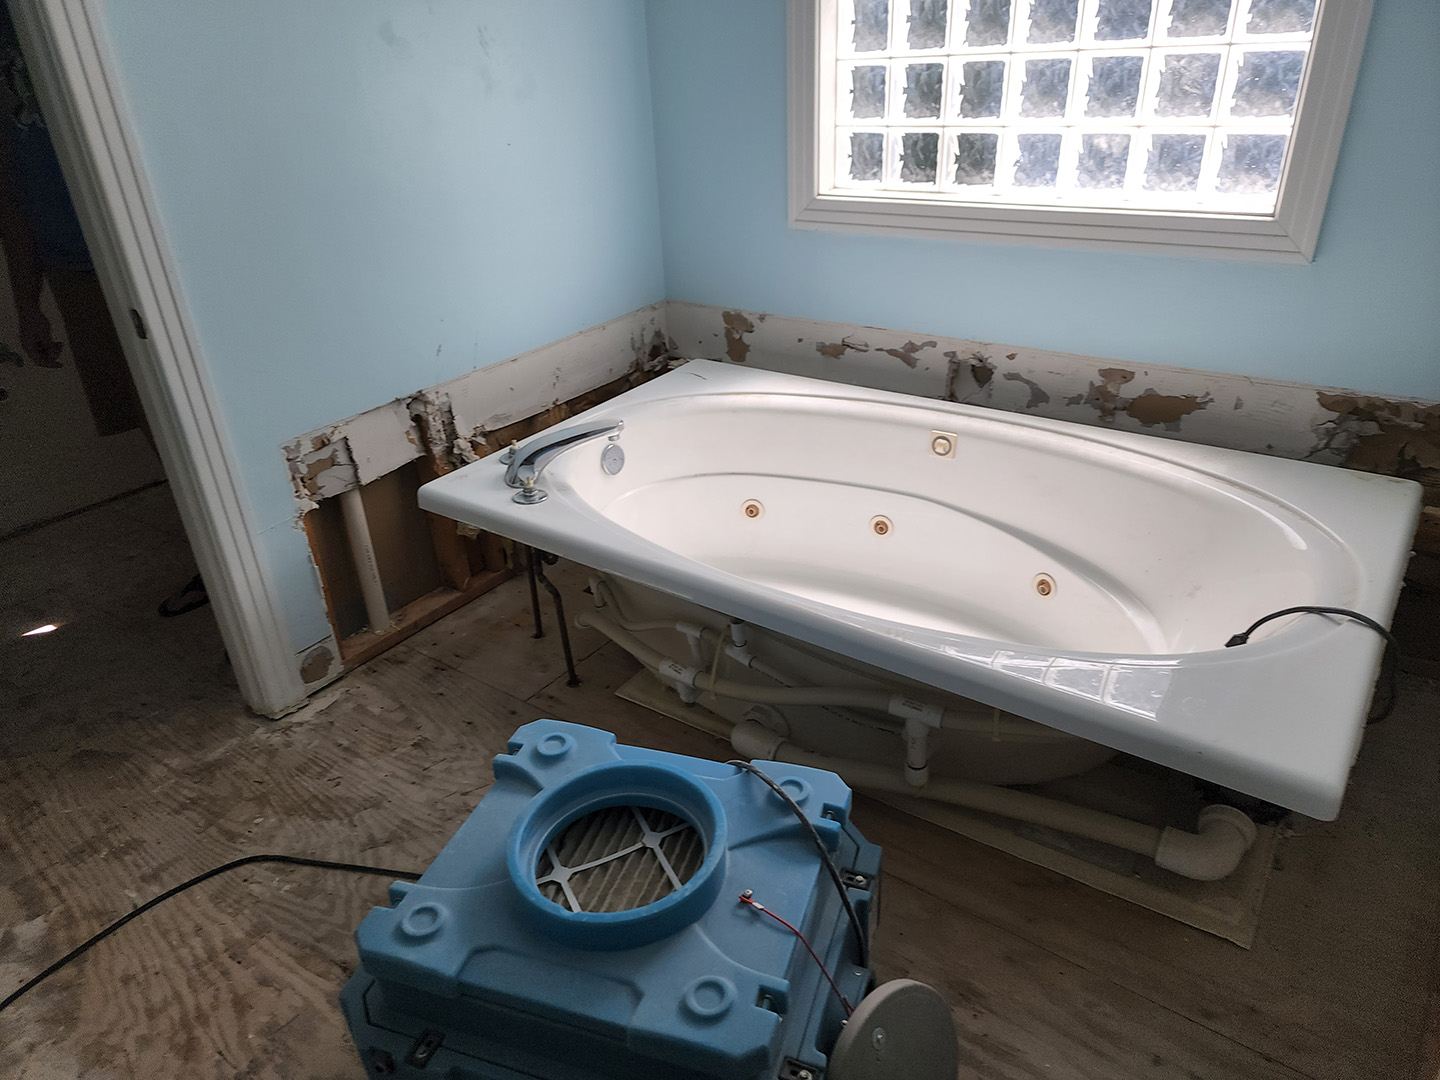
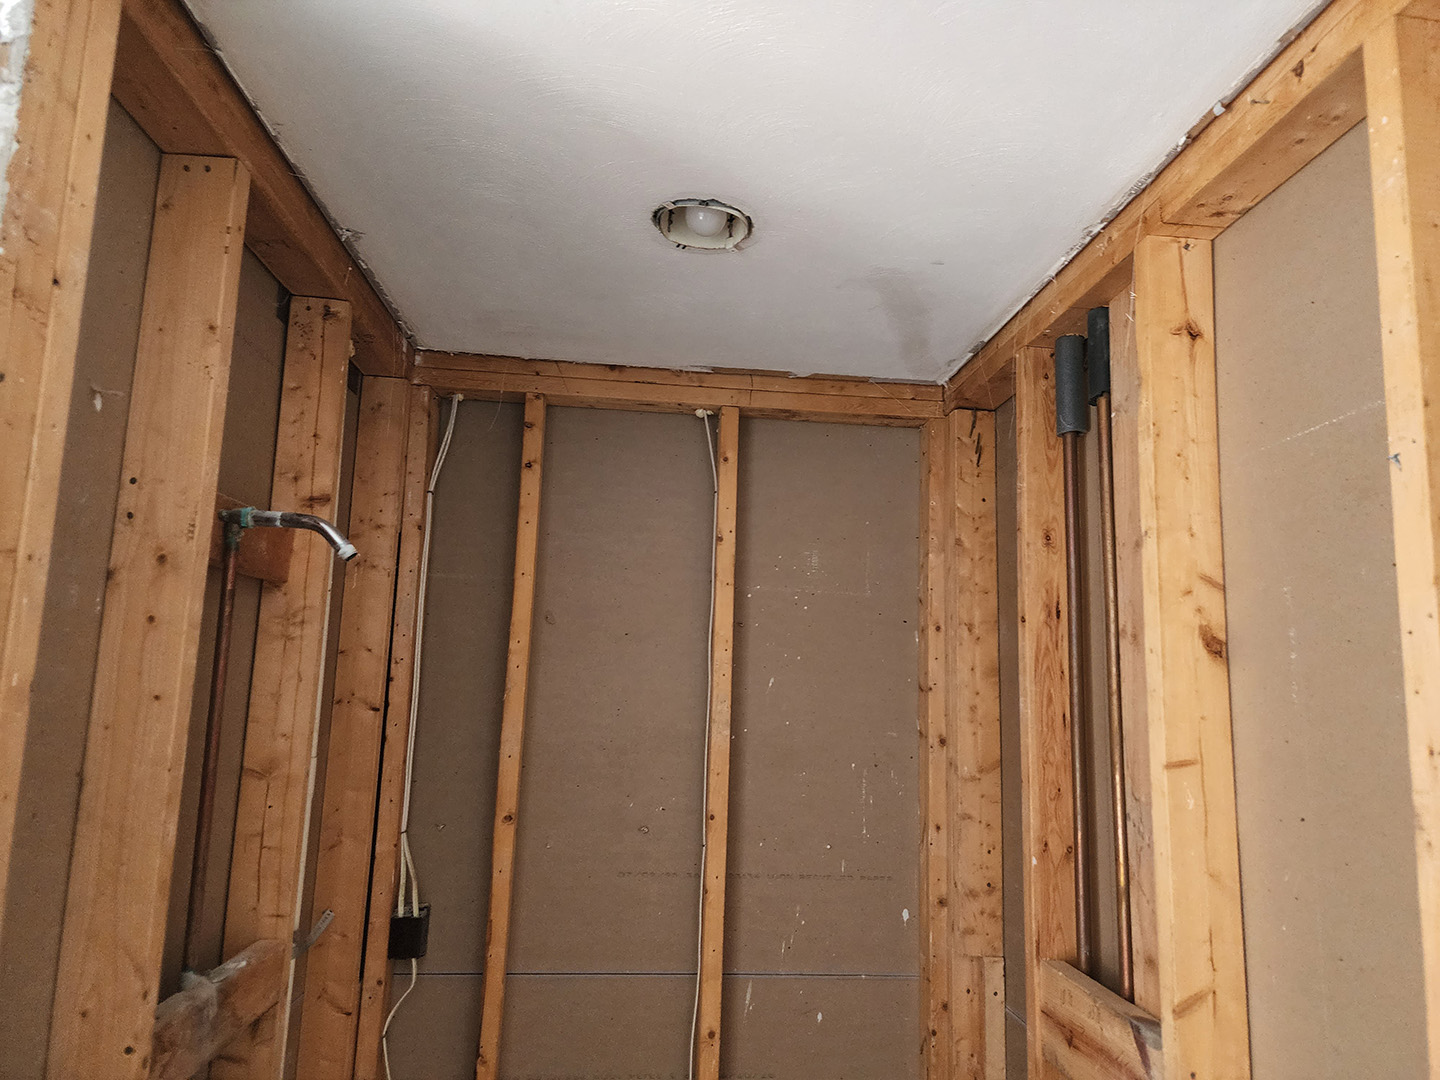
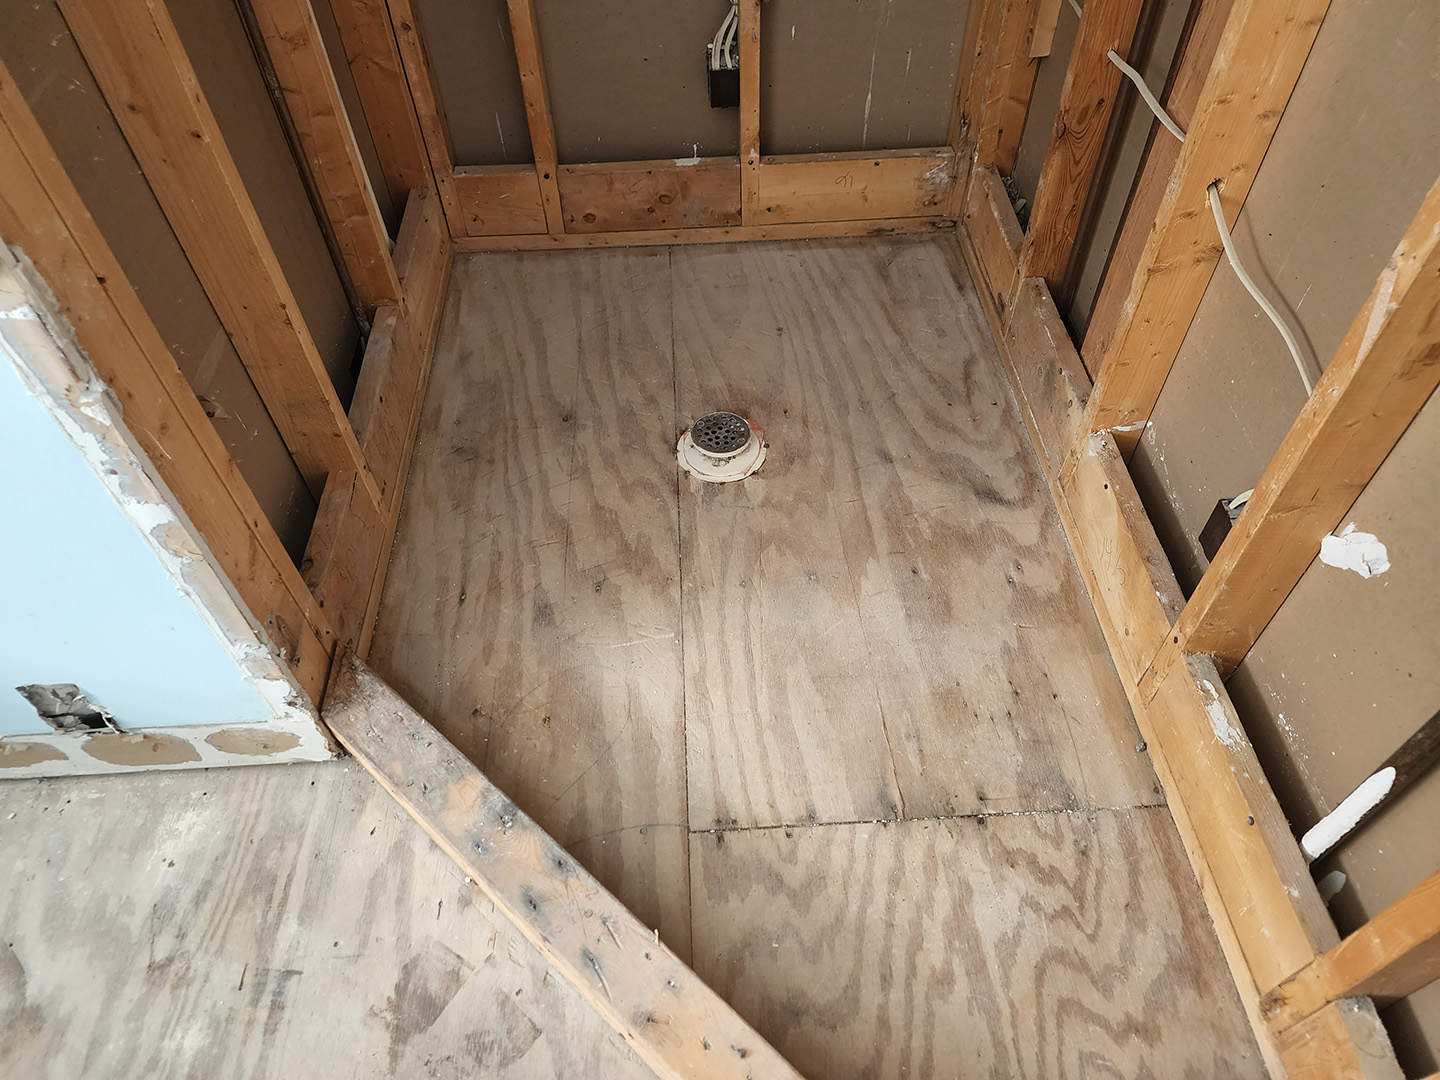
The first step was to dry everything out and remove the damaged material. By the time the mitigation contractors finished their work, much of the home’s interior was torn out to the wall studs and the subfloor.
Now that we had a better picture of what needed to be done, we began advocating for our clients with their insurance company, to ensure that they were fully compensated for the cost of the repairs. We began with a detailed estimate, backed up by material and trade quotes. After a bit of back and forth with the adjuster, to answer questions and provide additional details, our clients were notified that the claim had been approved for the amount of our estimate.
With insurance clients, once the claim has been settled, we give them the opportunity to add to the scope of work at their own cost. In this case, the clients chose to update their master bathroom and the kitchen, turning a difficult restoration into an opportunity for home remodeling and improvements they had wanted to make.
Master Bath and Vanity Room:
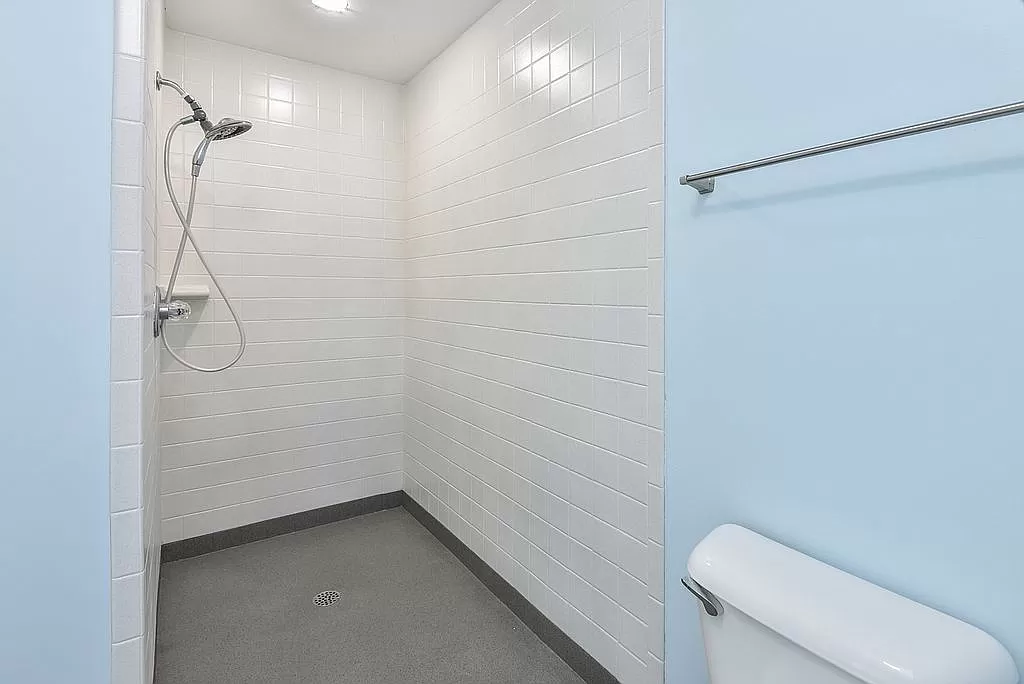
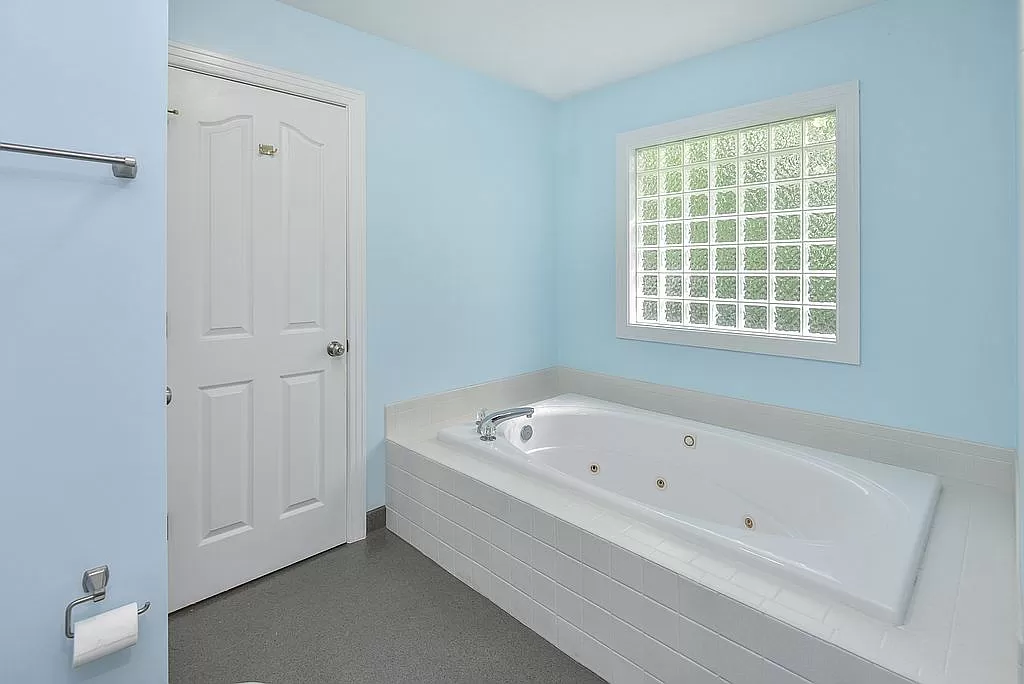
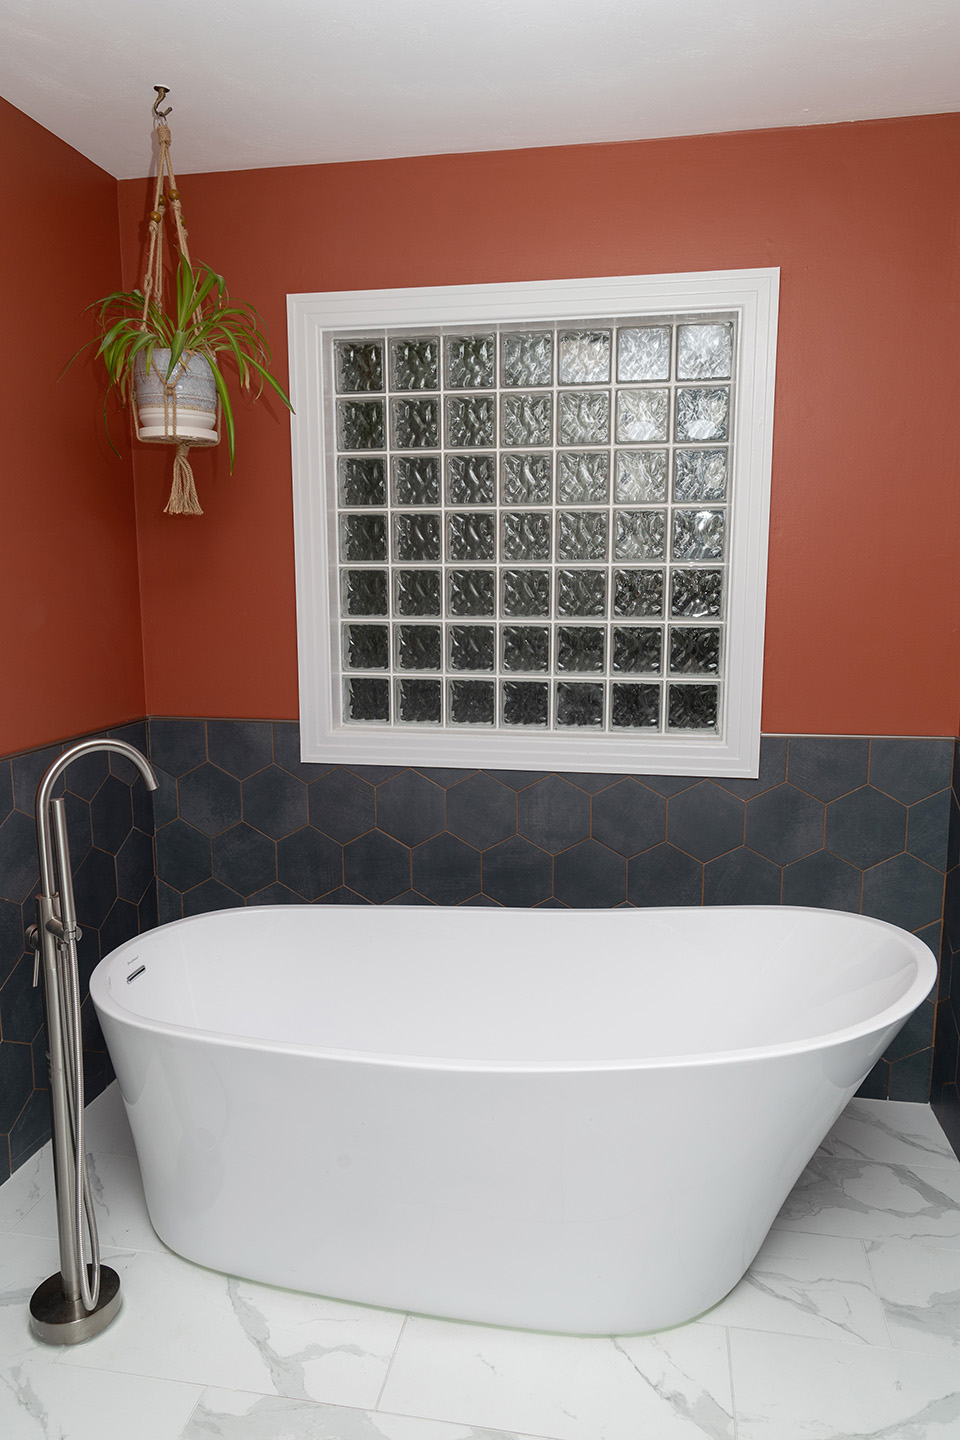
Prior to the water damage, the master bath had a garden tub and a walk-in shower done in simple 4” white tile. The vanity in the adjacent room was white with a double sink. Since everything had been removed during the mitigation process, we had a clean slate to work with.
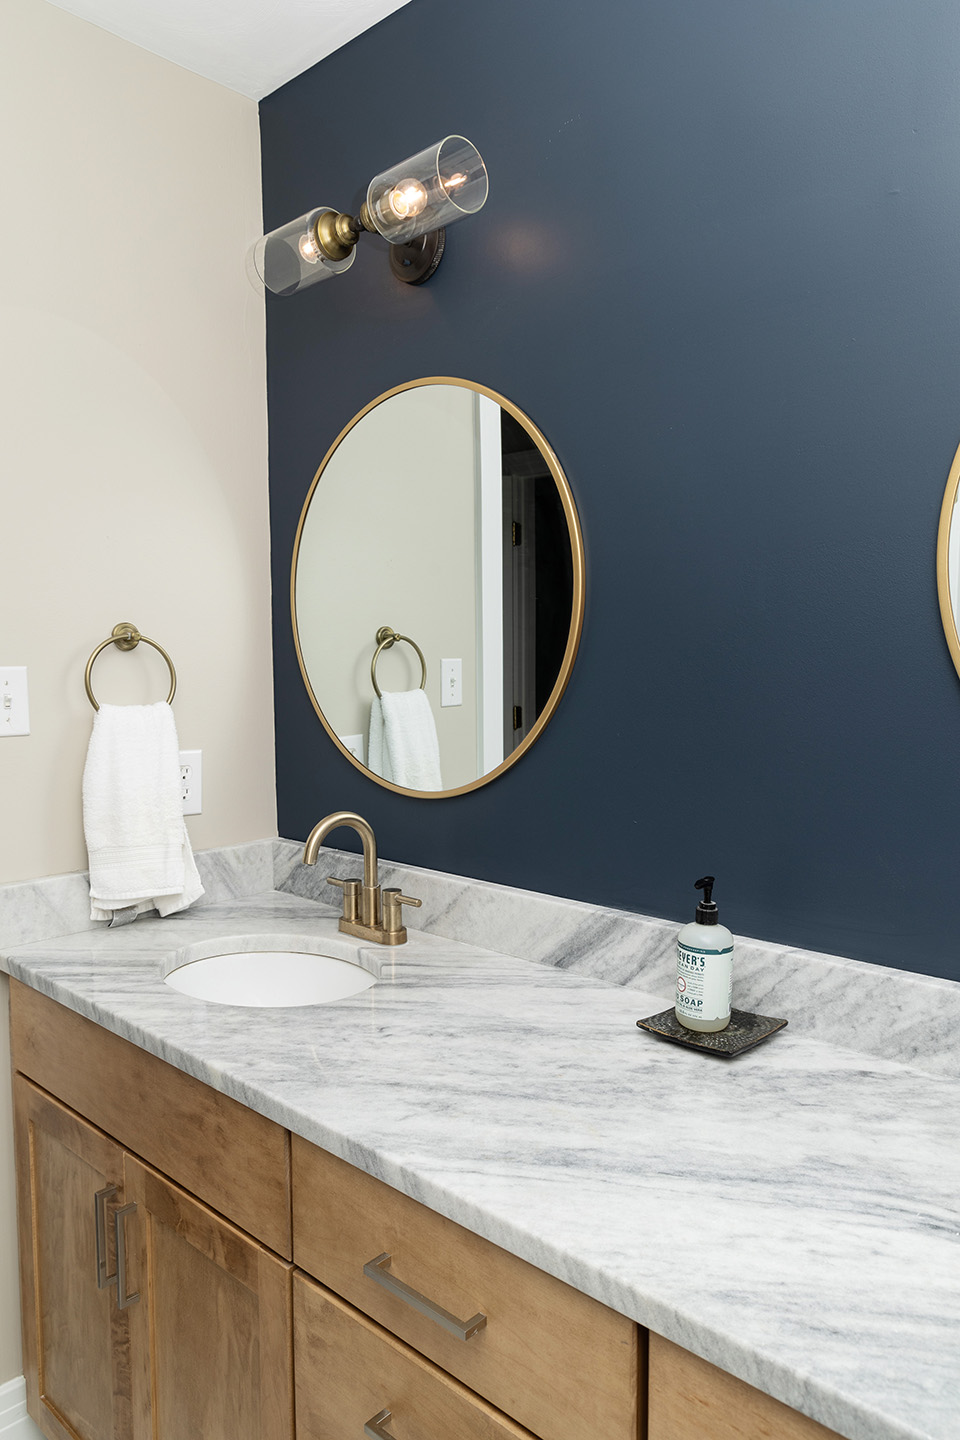
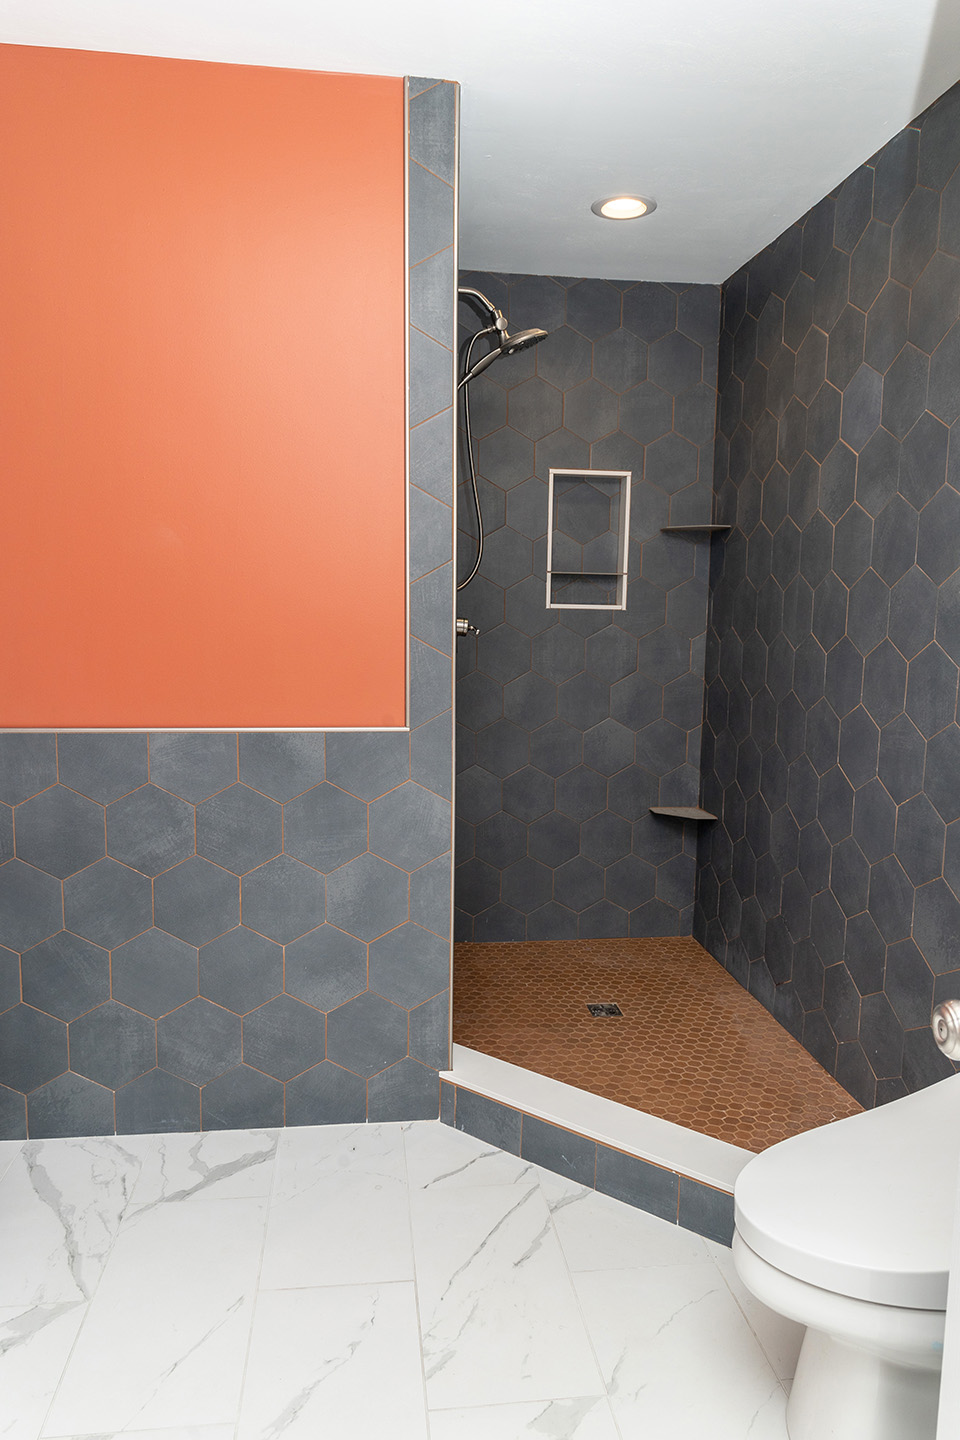
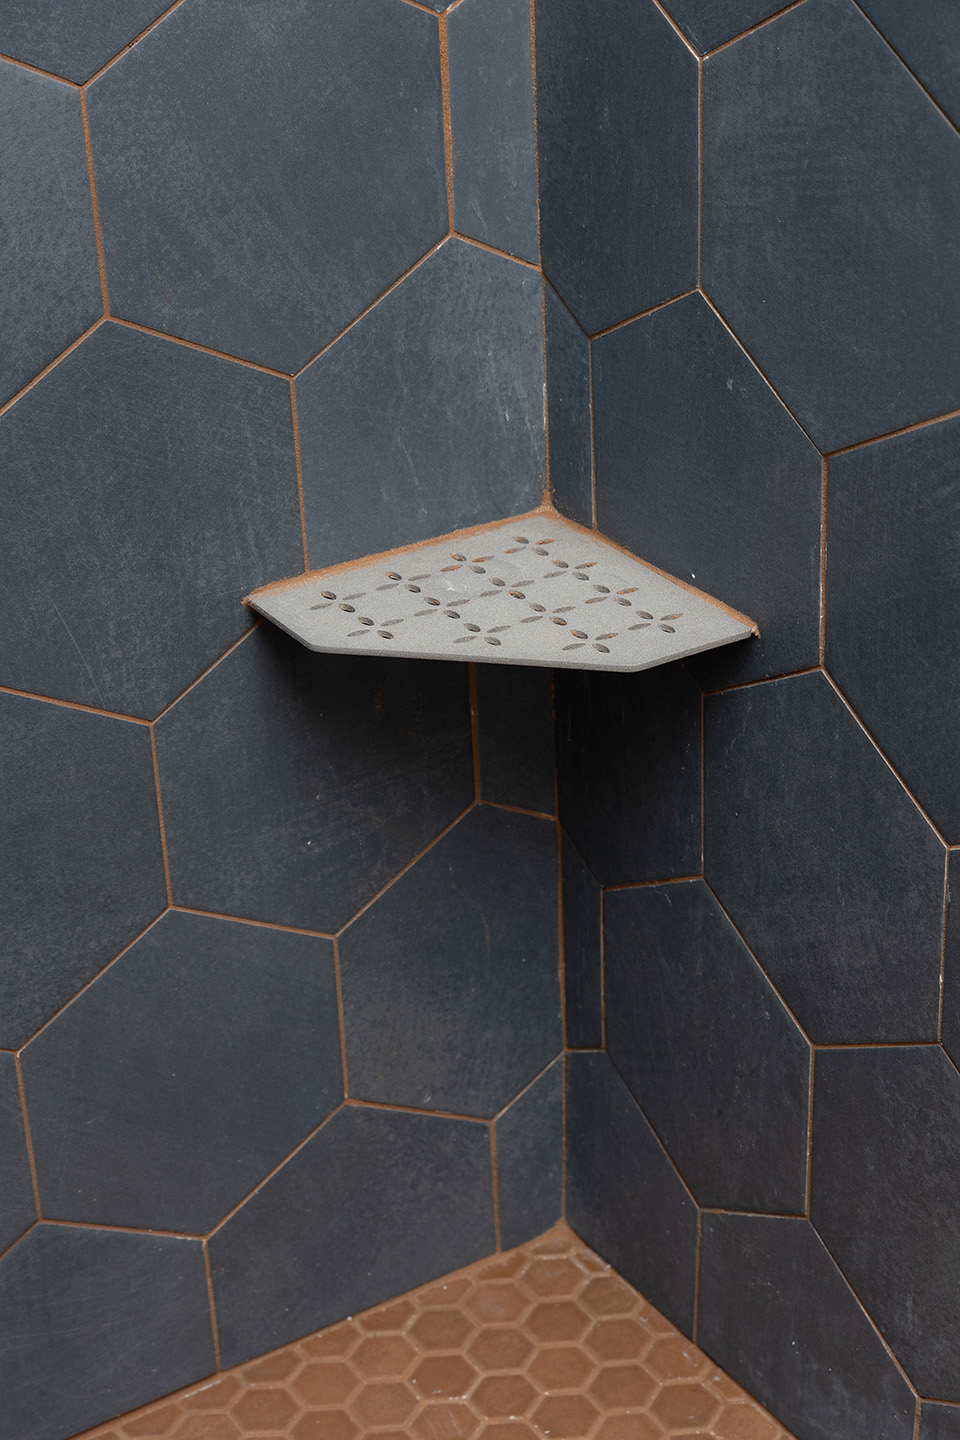
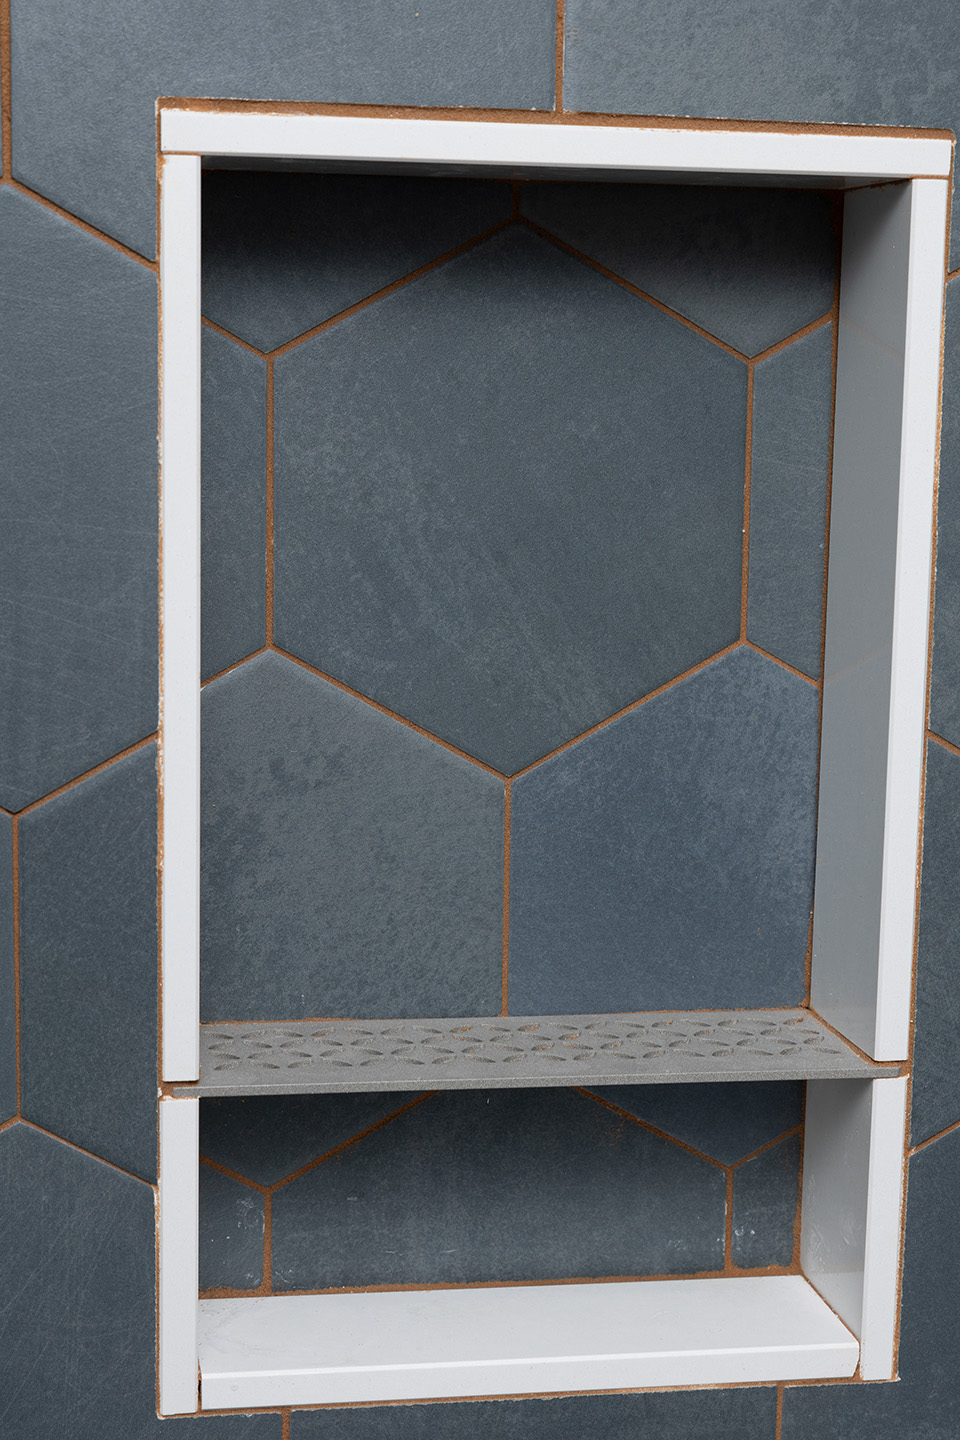
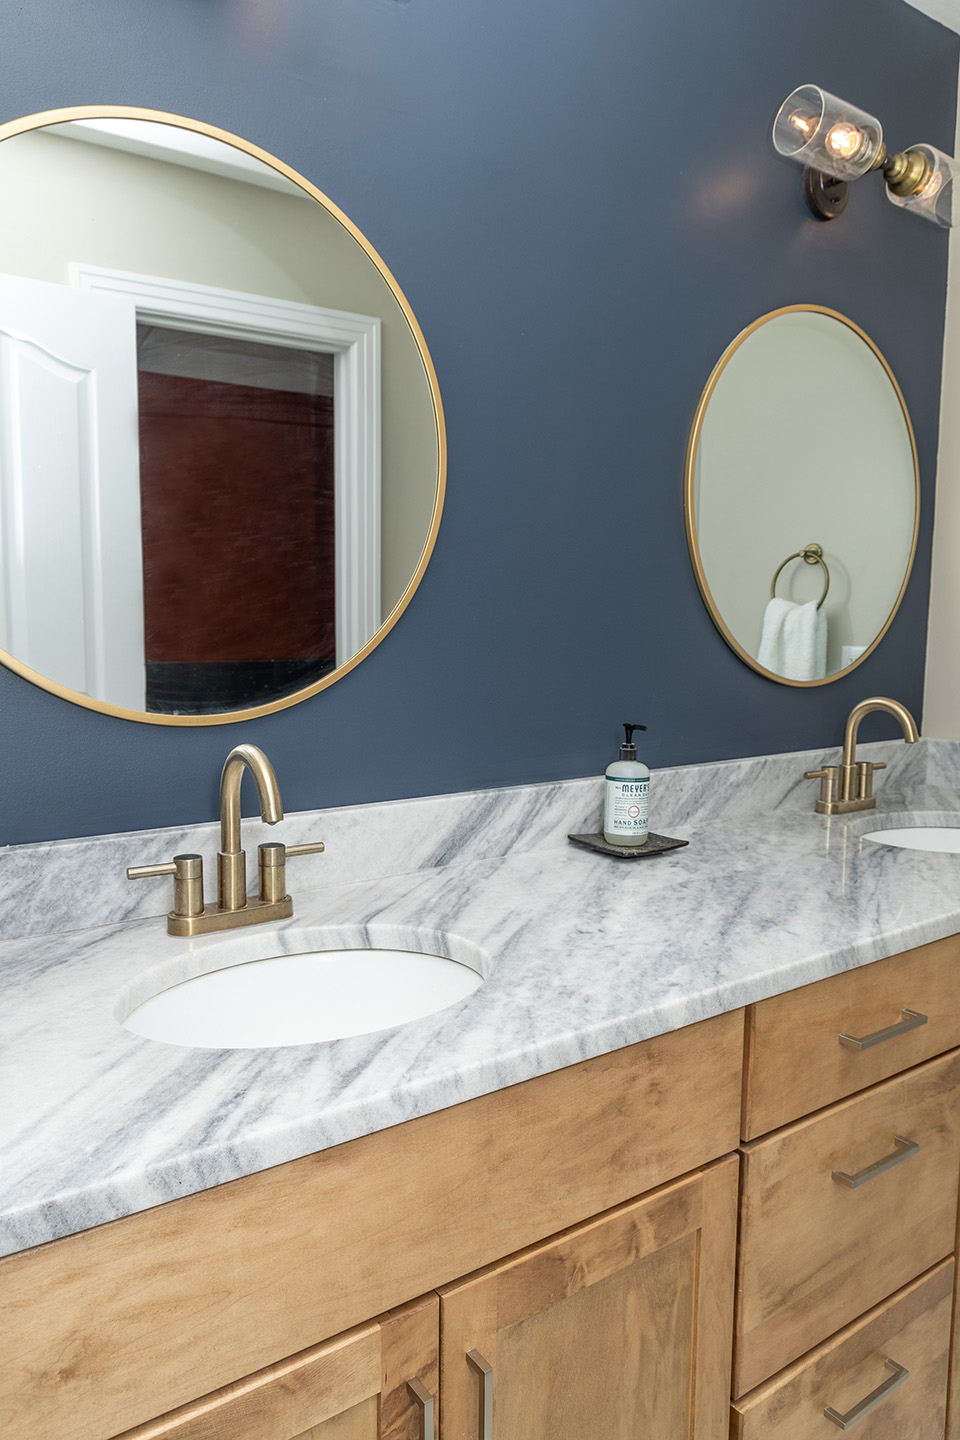
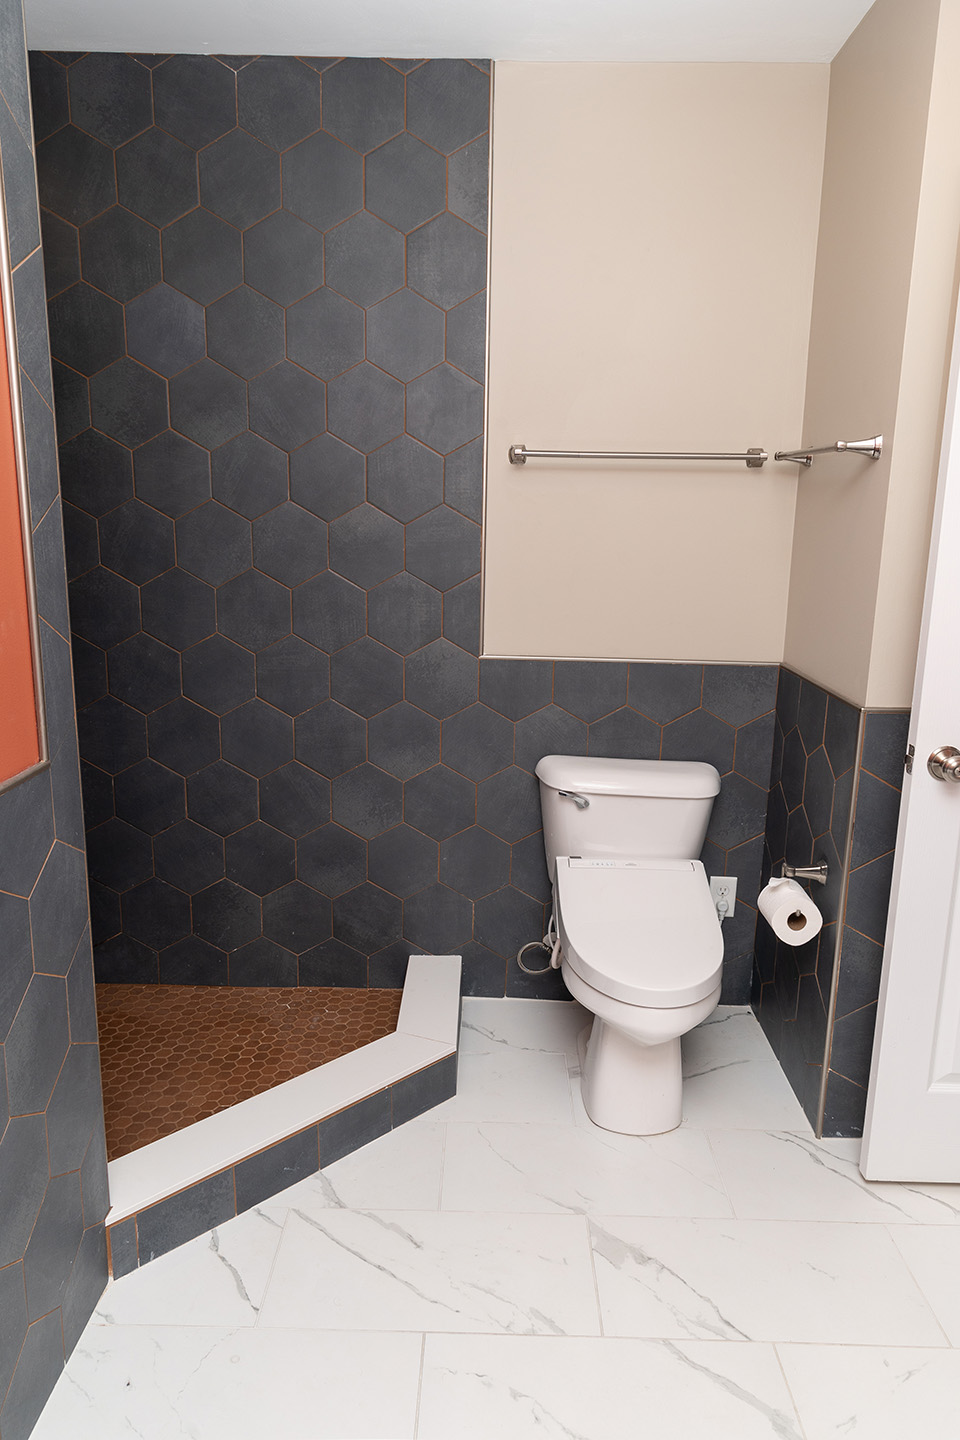
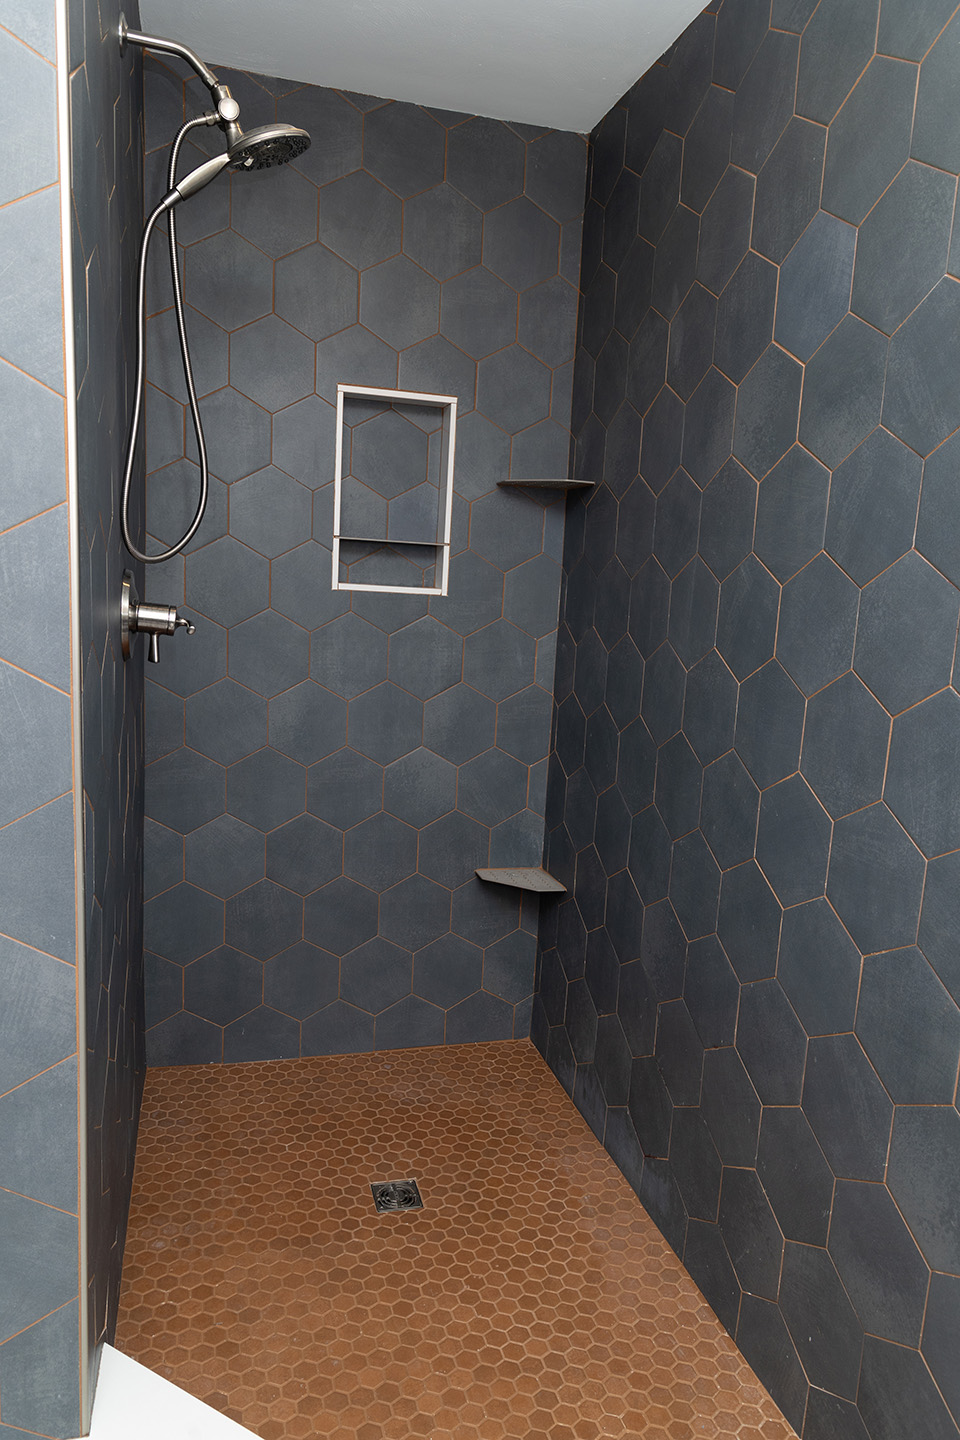
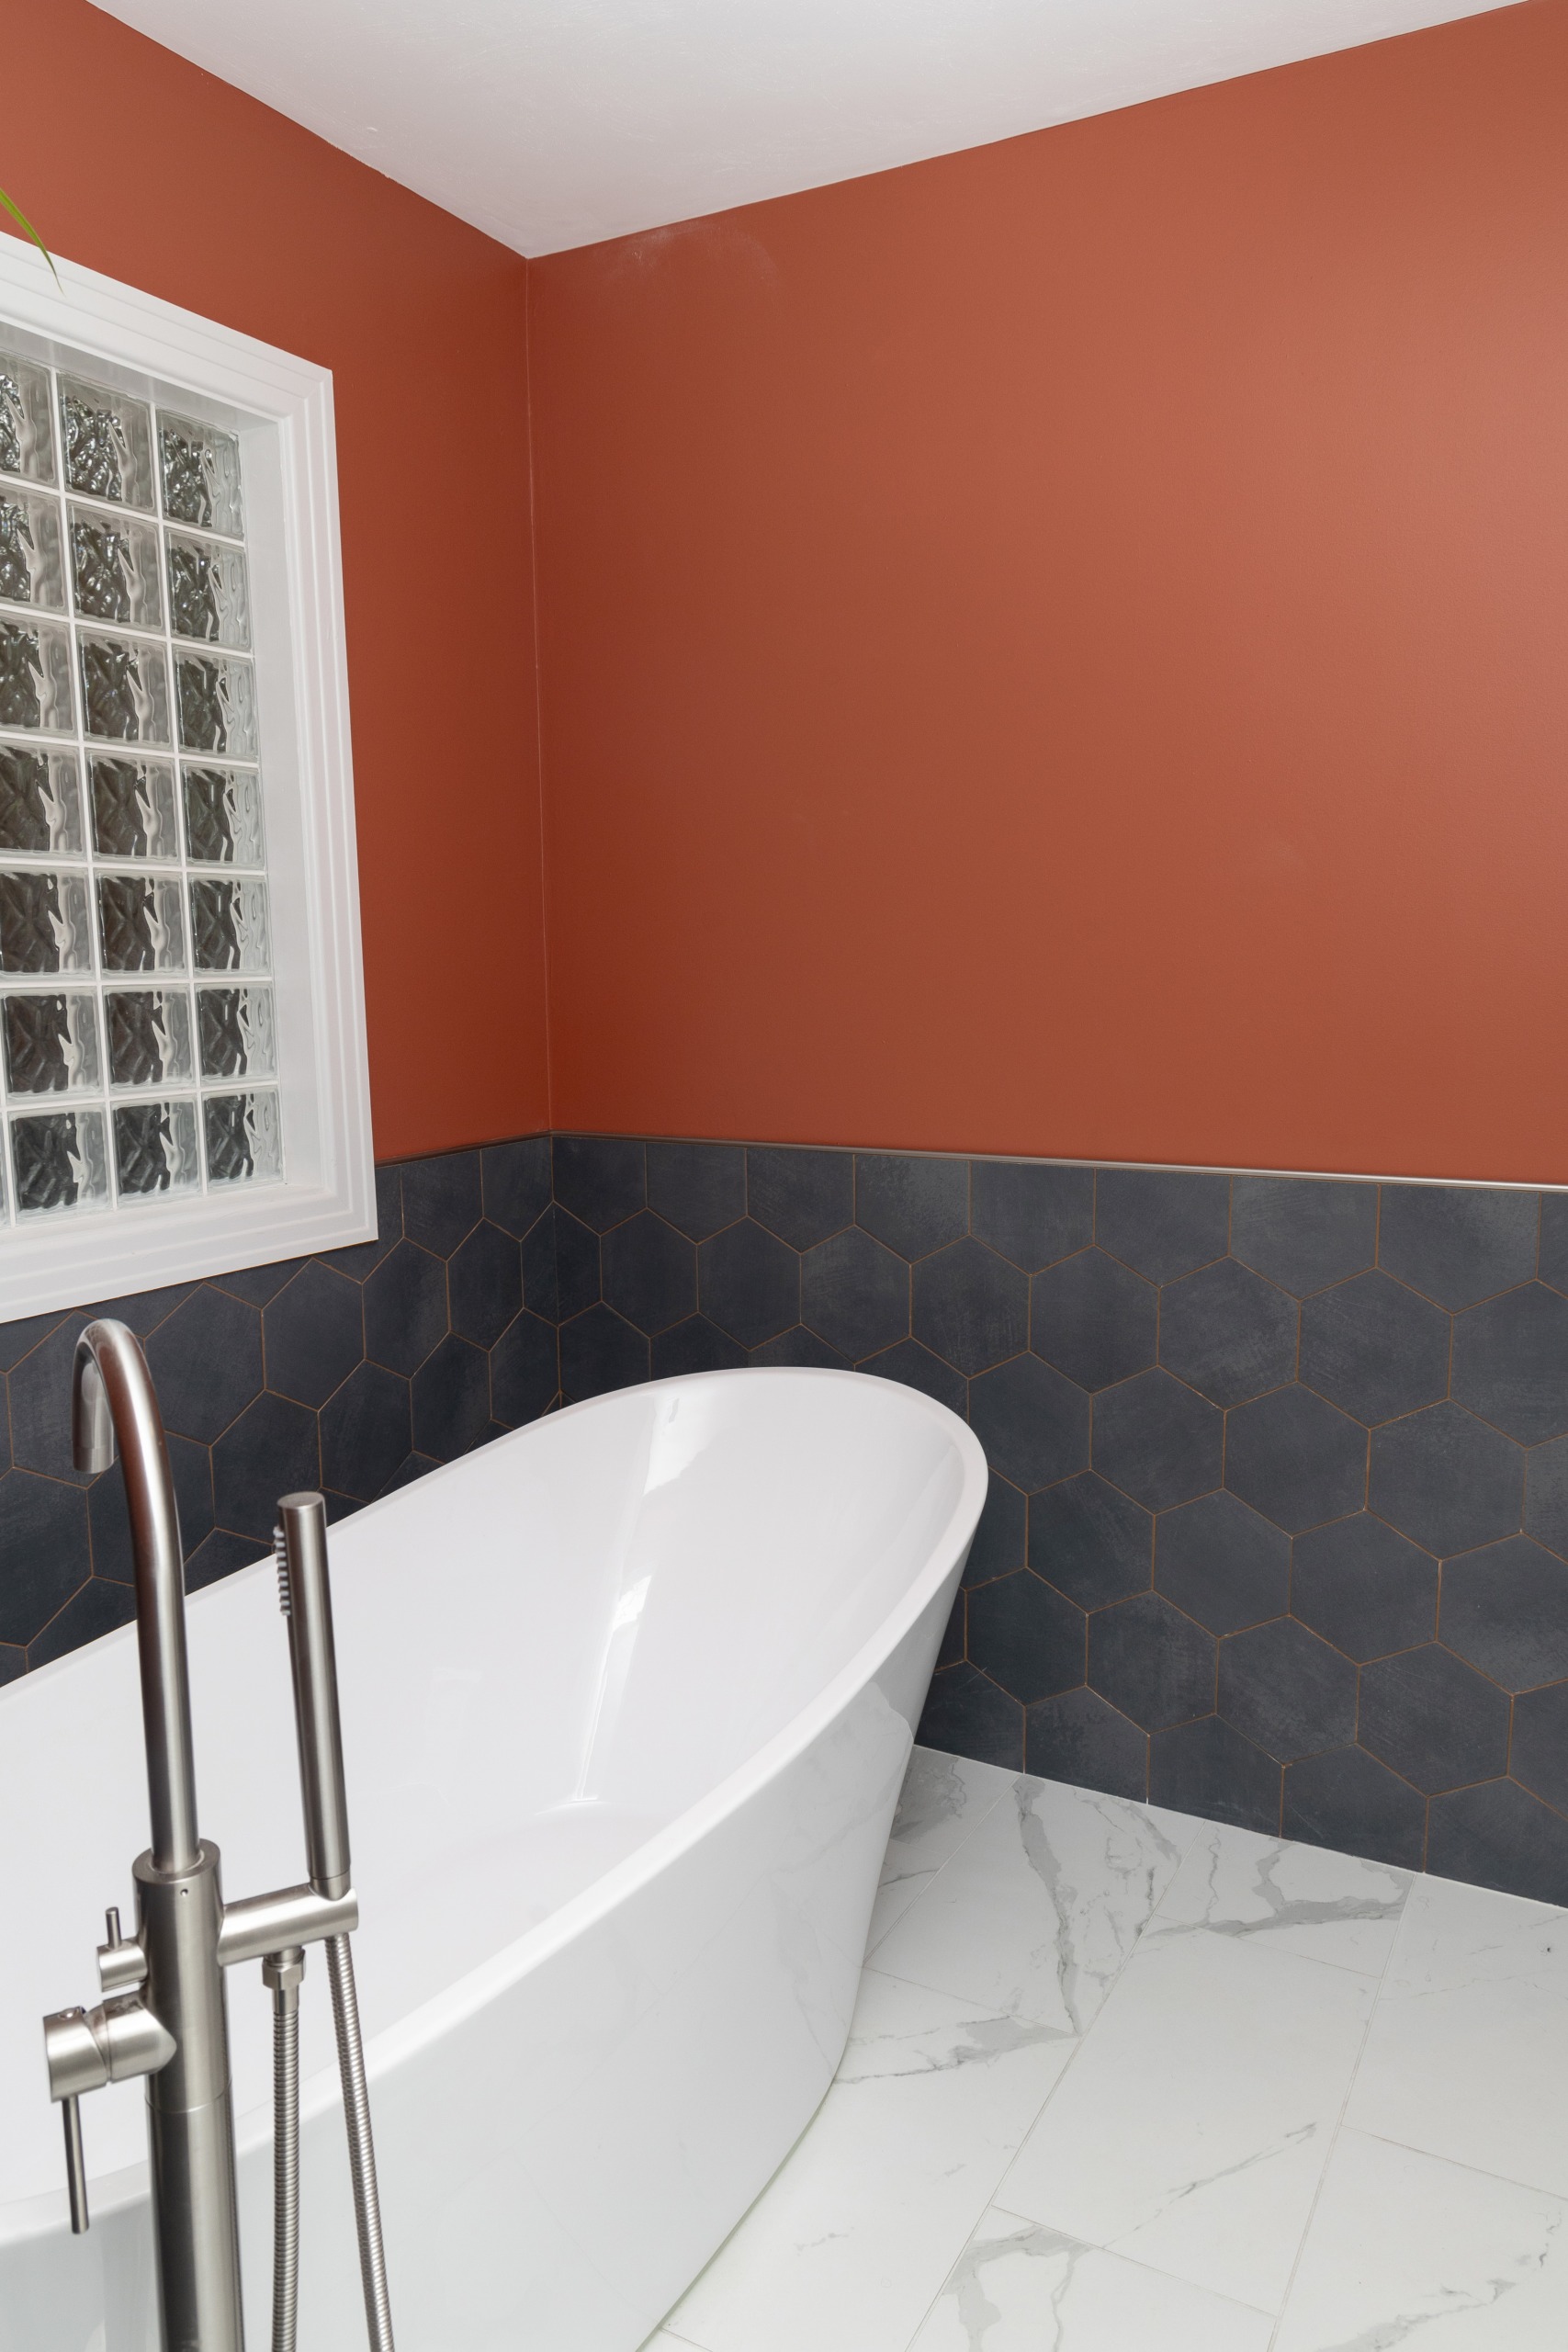
Starting with the floors, we installed 12×24 tile in matte white with grey veining in both spaces. This coordinated well with the reused vanity top. For the walls surrounding the new soaker tub, and the shower walls, the clients chose an 8” blue-grey hexagon tile. The shower floor was done with a 1 -1/2” terra cotta hexagon mosaic tile. The caramel-colored grout tied the two tile colors together, and a similar shade of paint was used on the walls.
We installed a new 80” shaker-style vanity in “Honey,” reinstalled the vanity top and sinks, and added new brushed nickel faucets. New mirrors and lighting completed the master bath and vanity room make-over.
Kitchen and Dining Area:
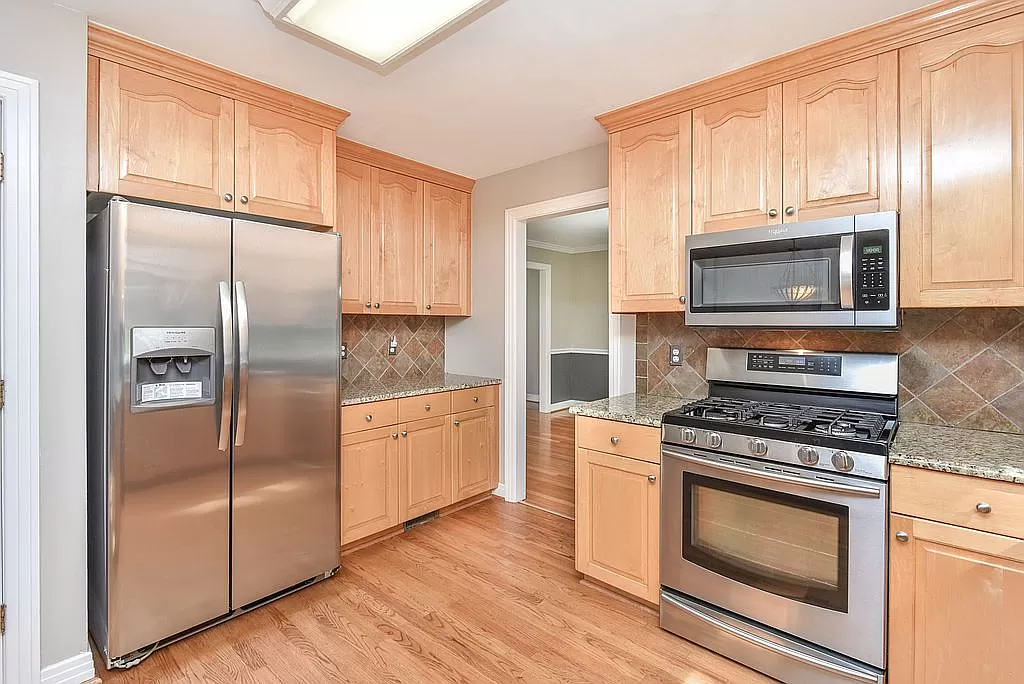
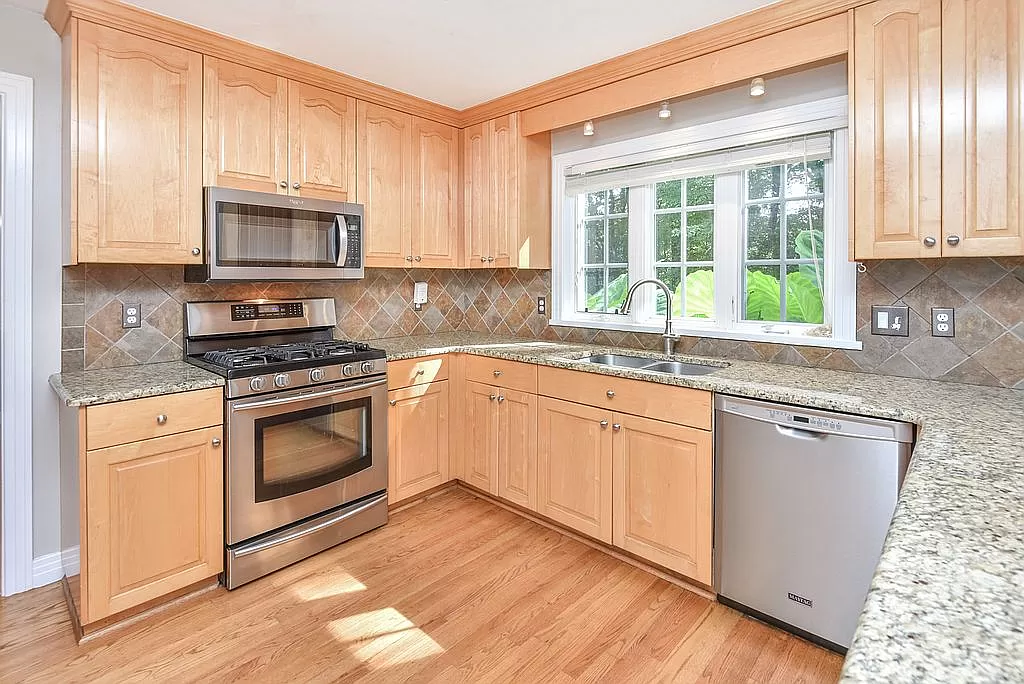
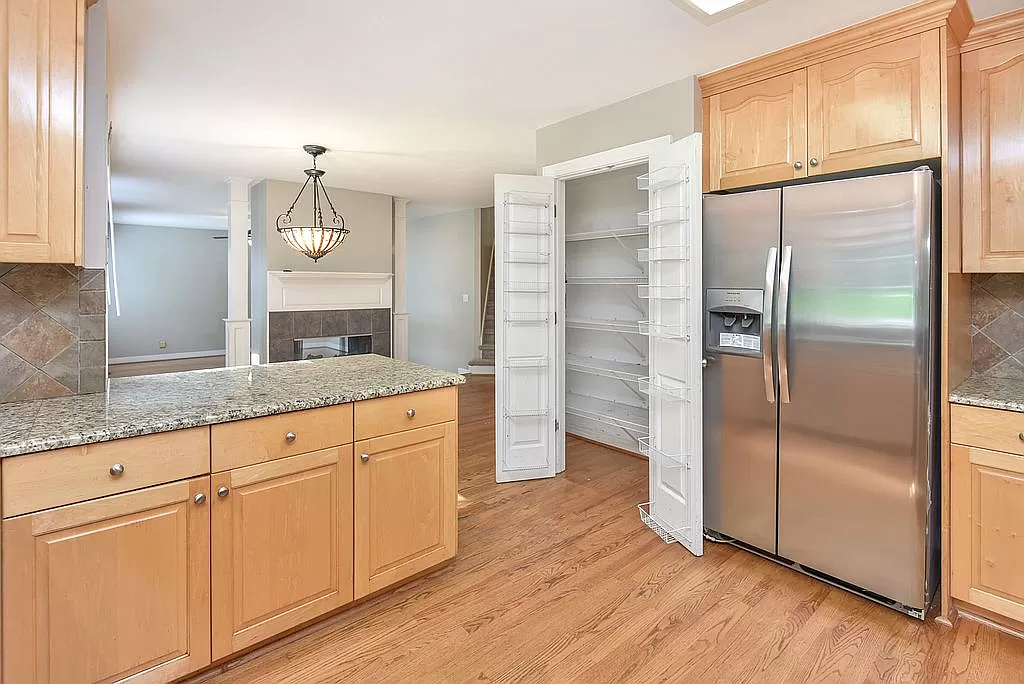
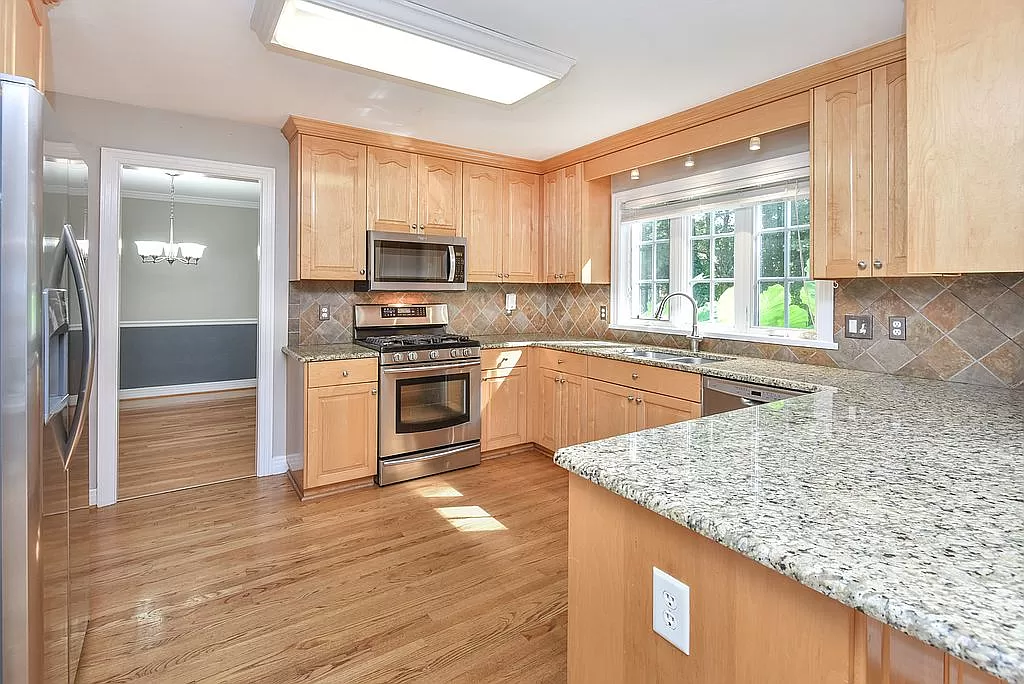
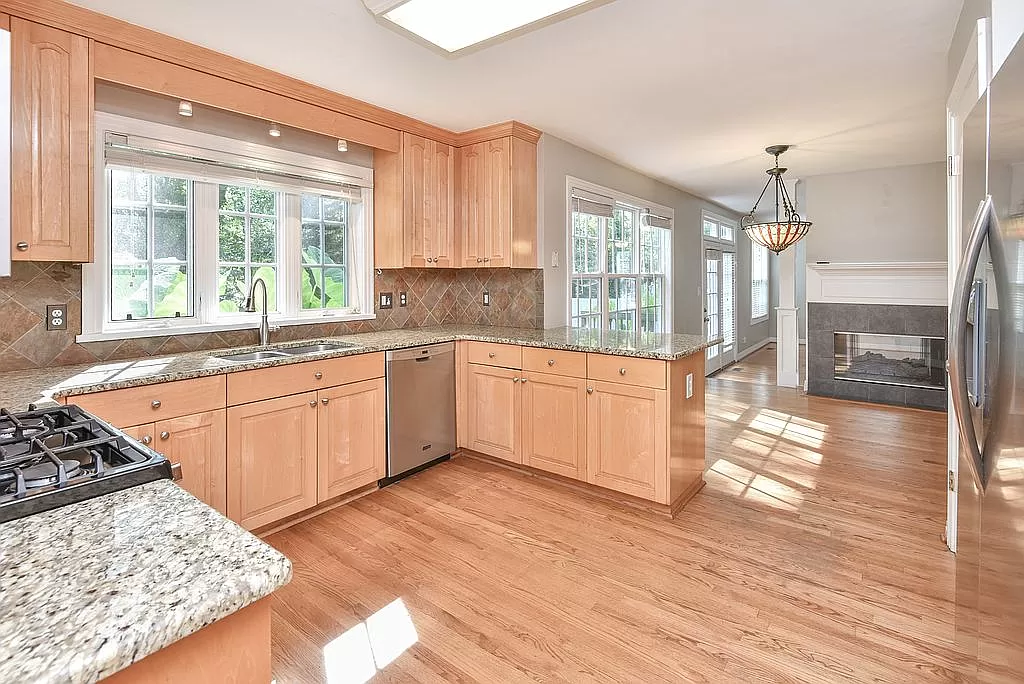
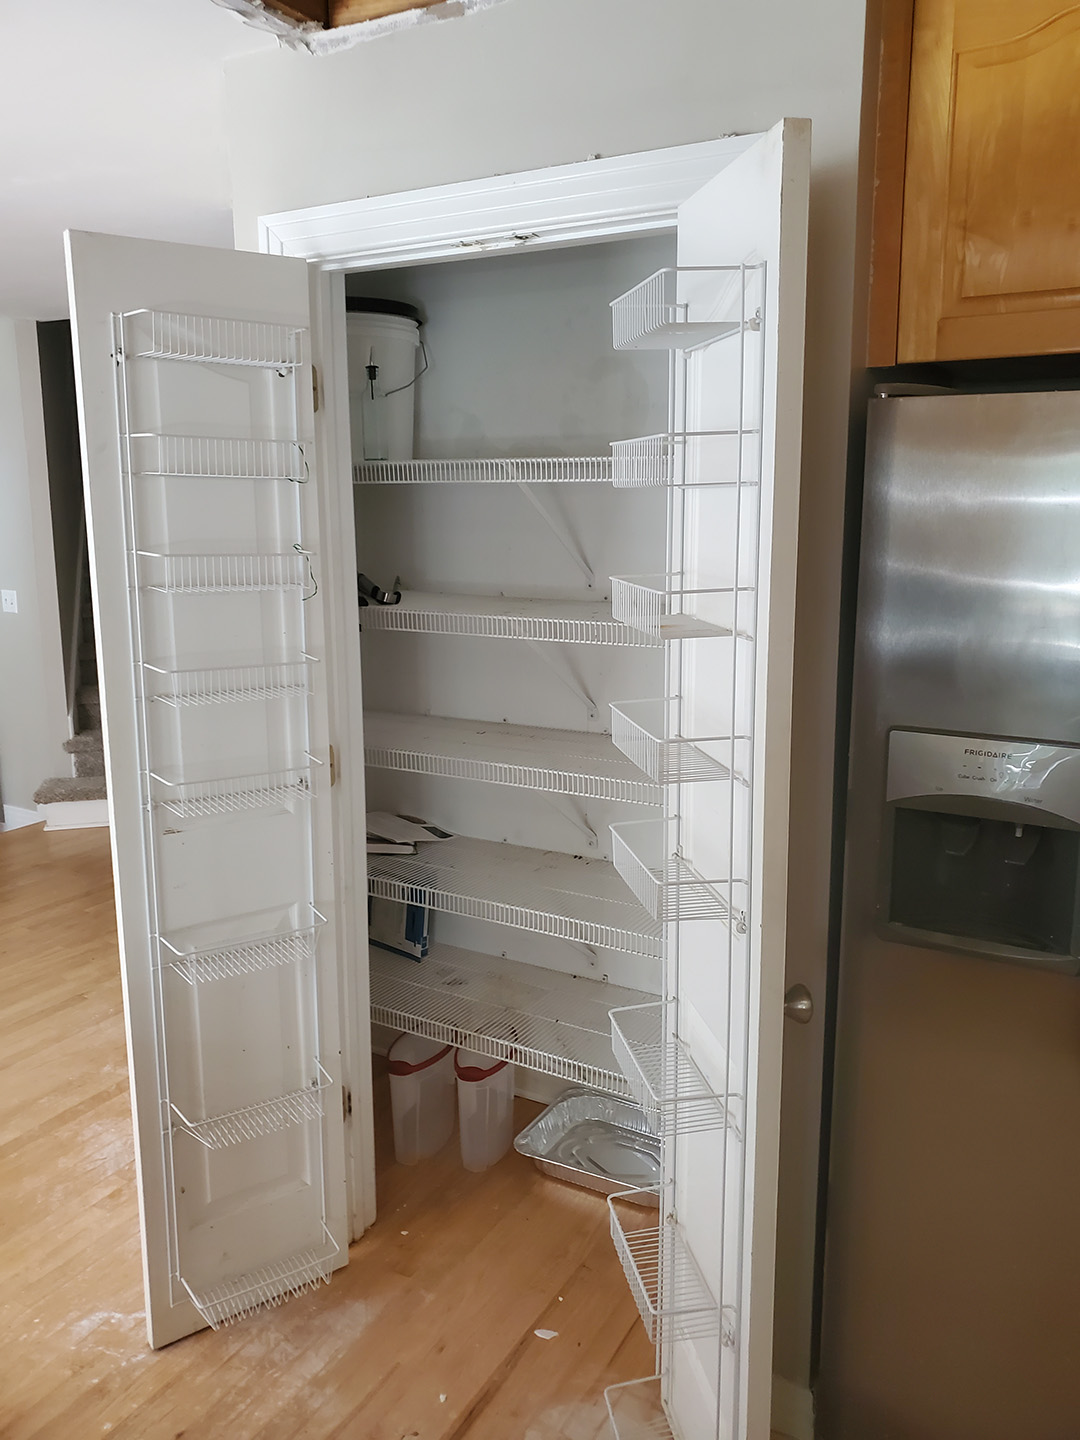
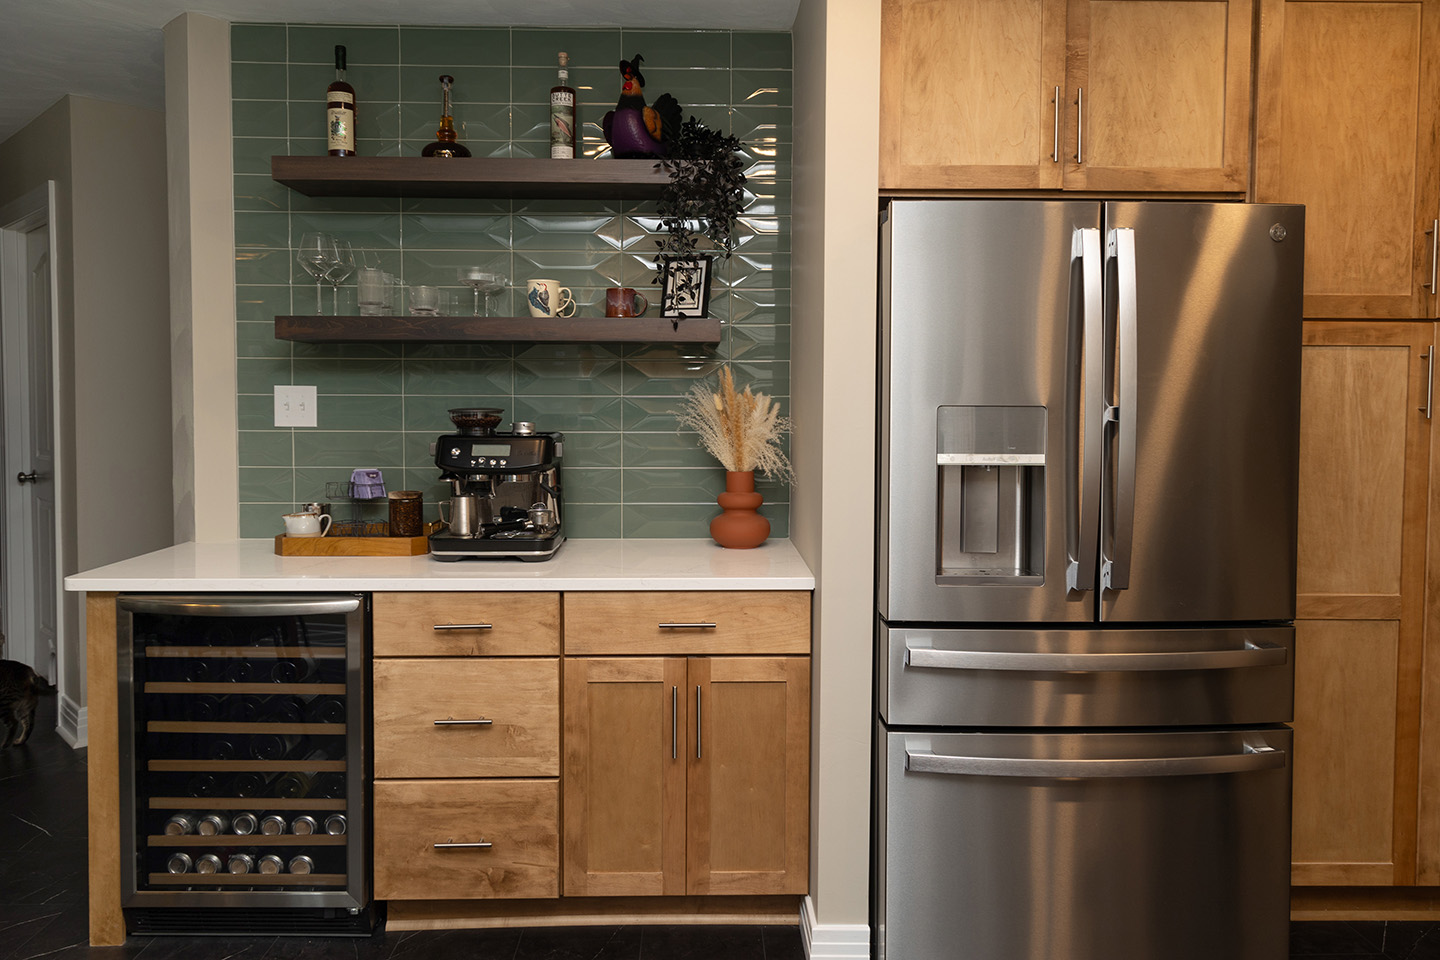
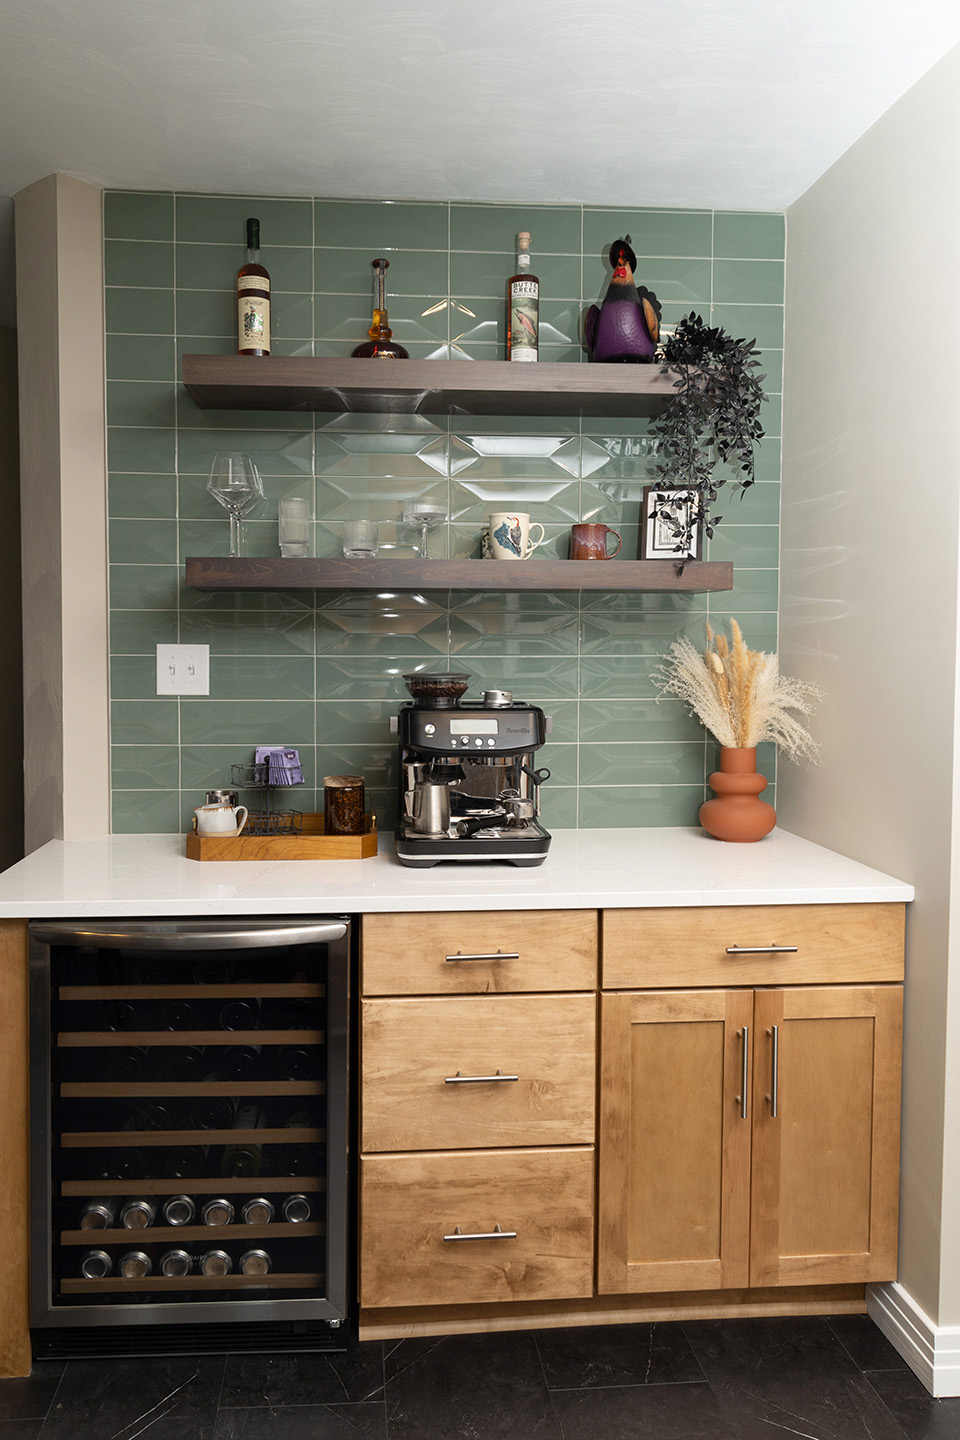
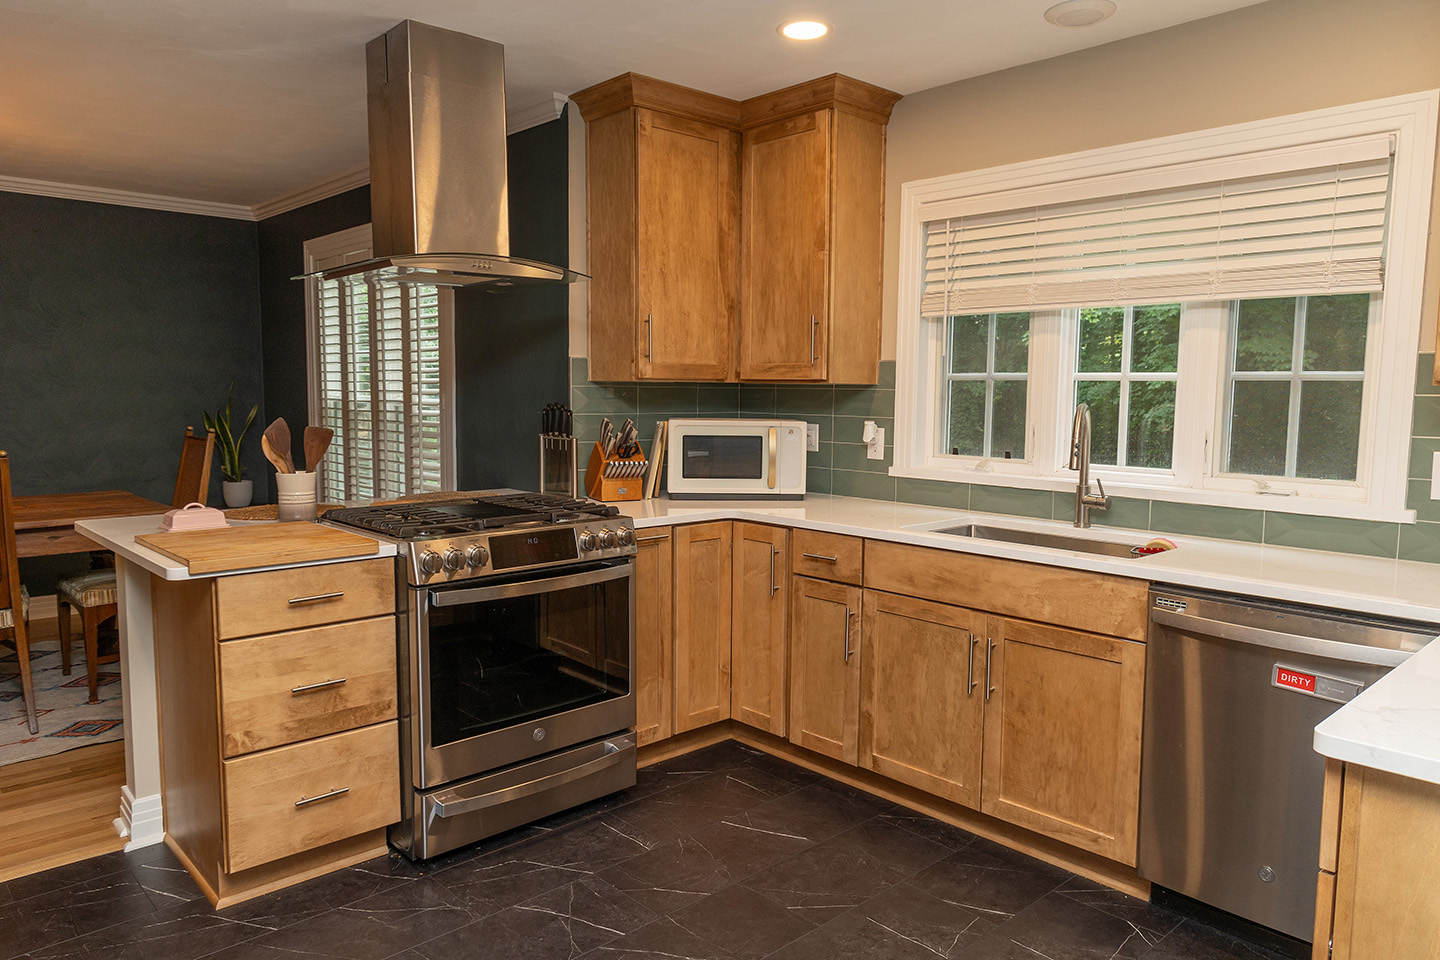
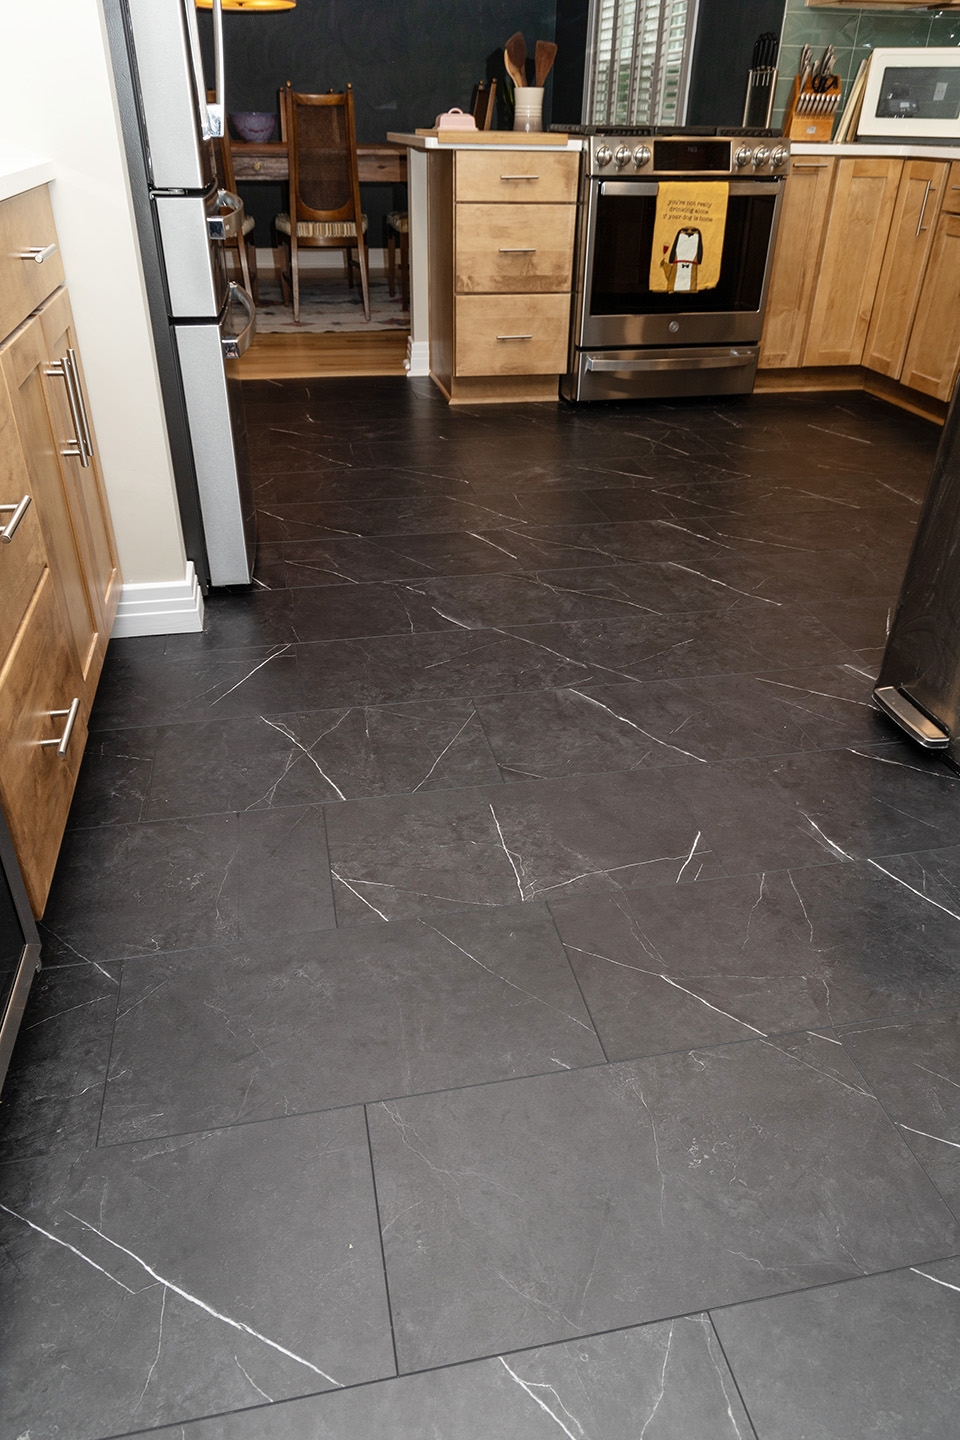
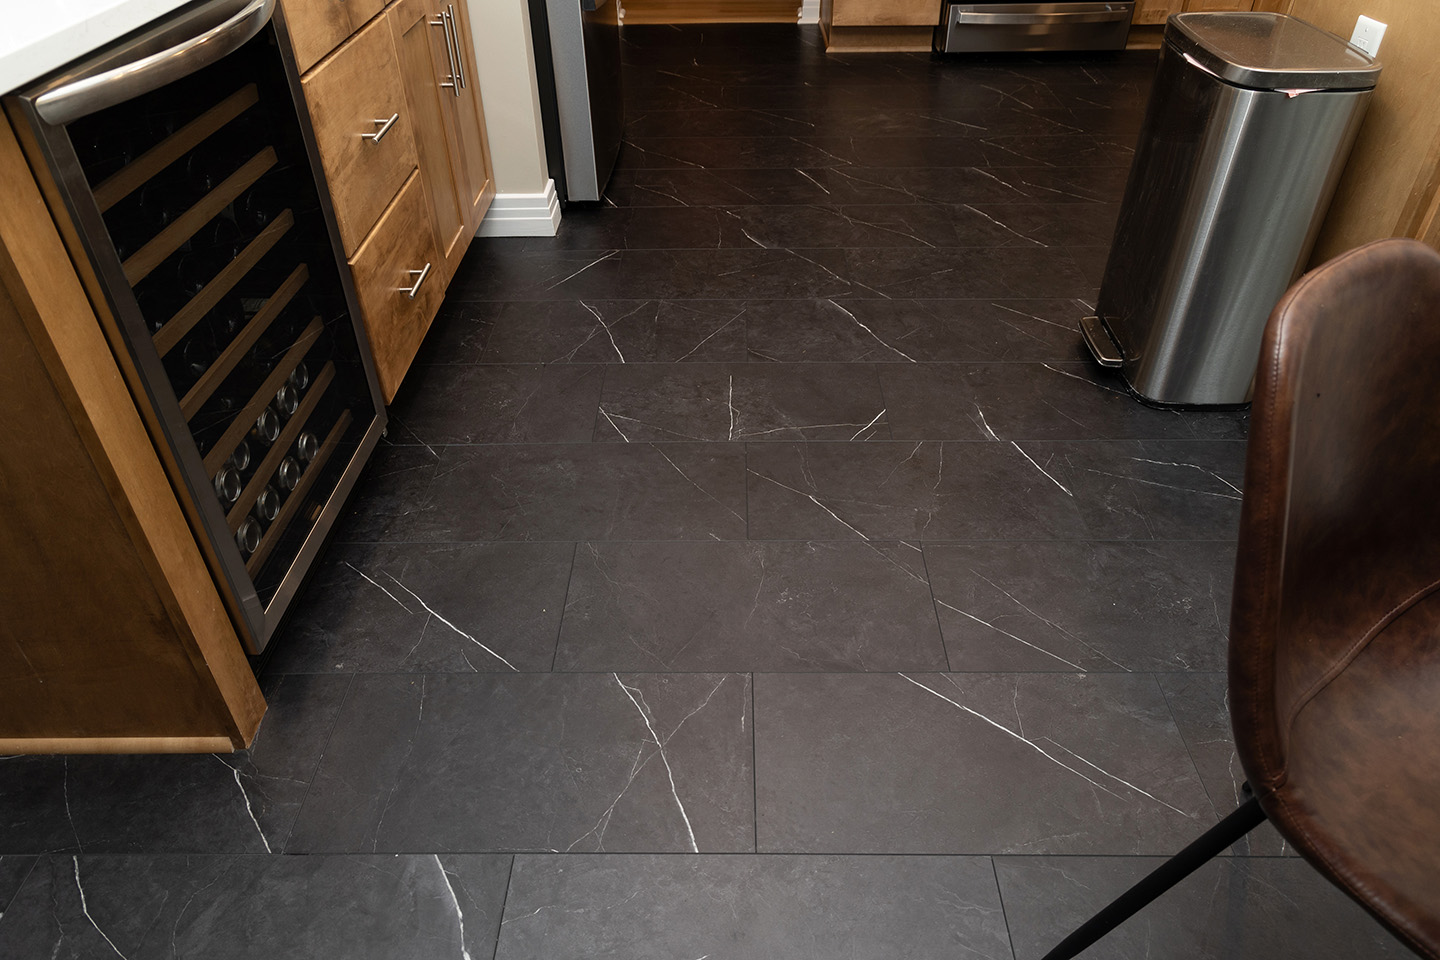
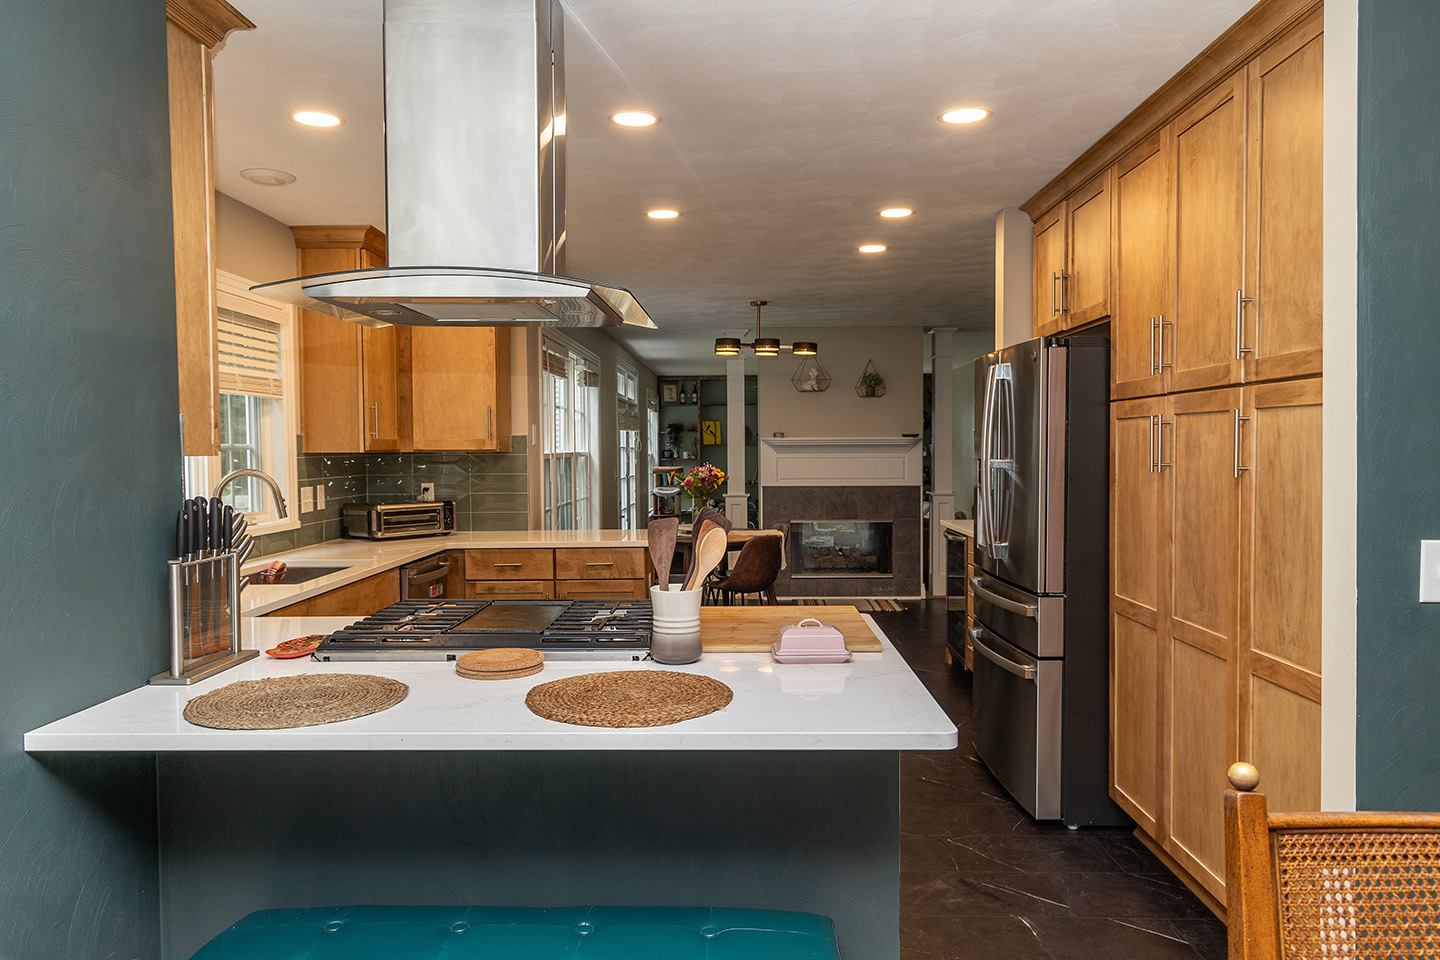
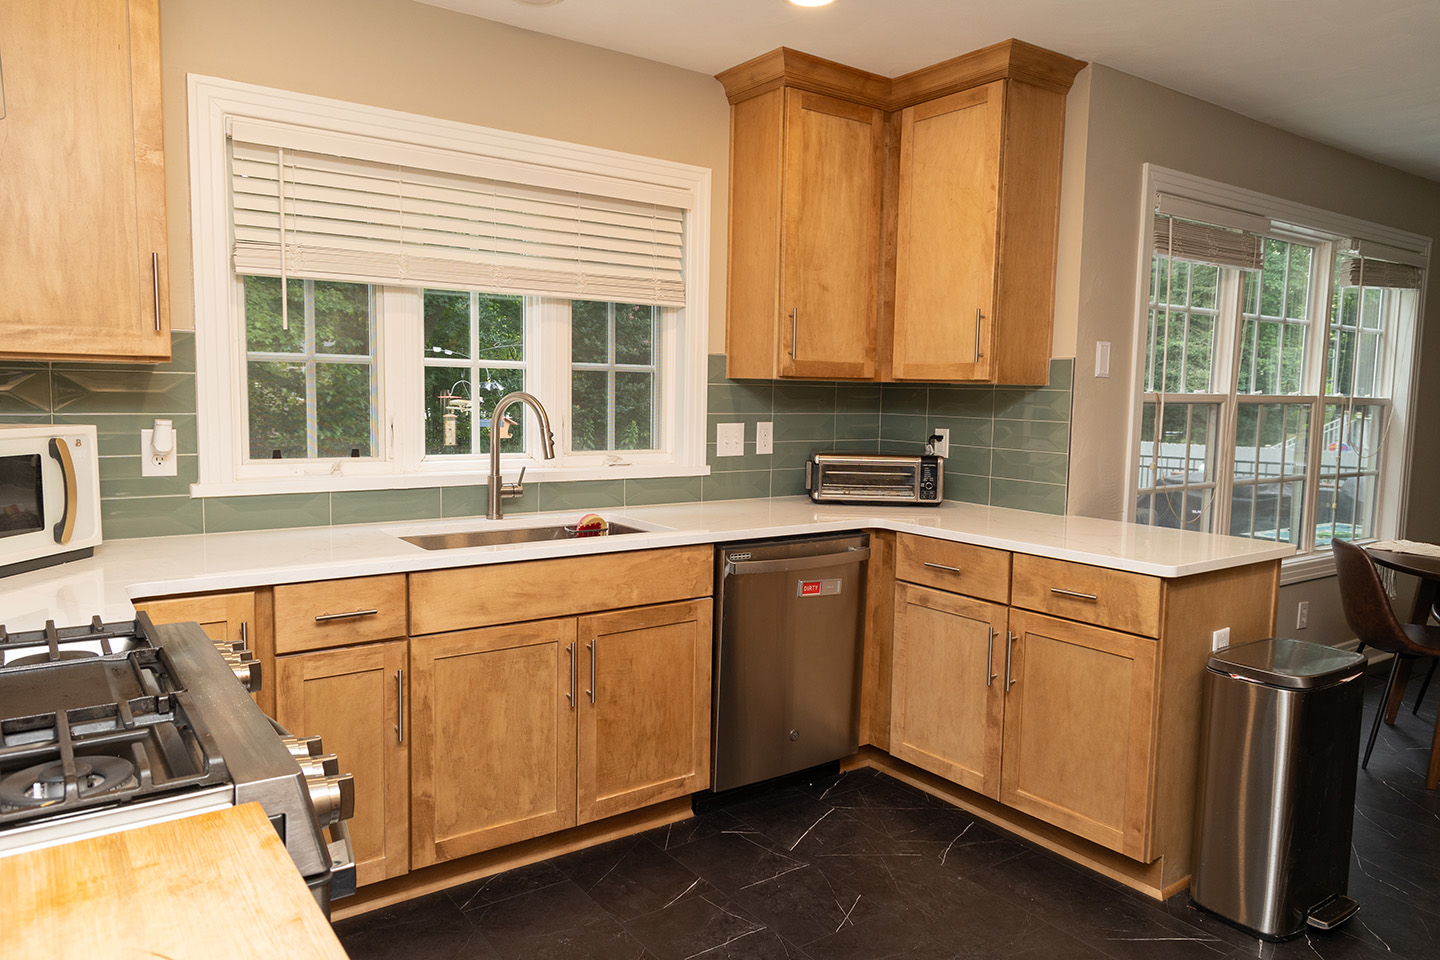
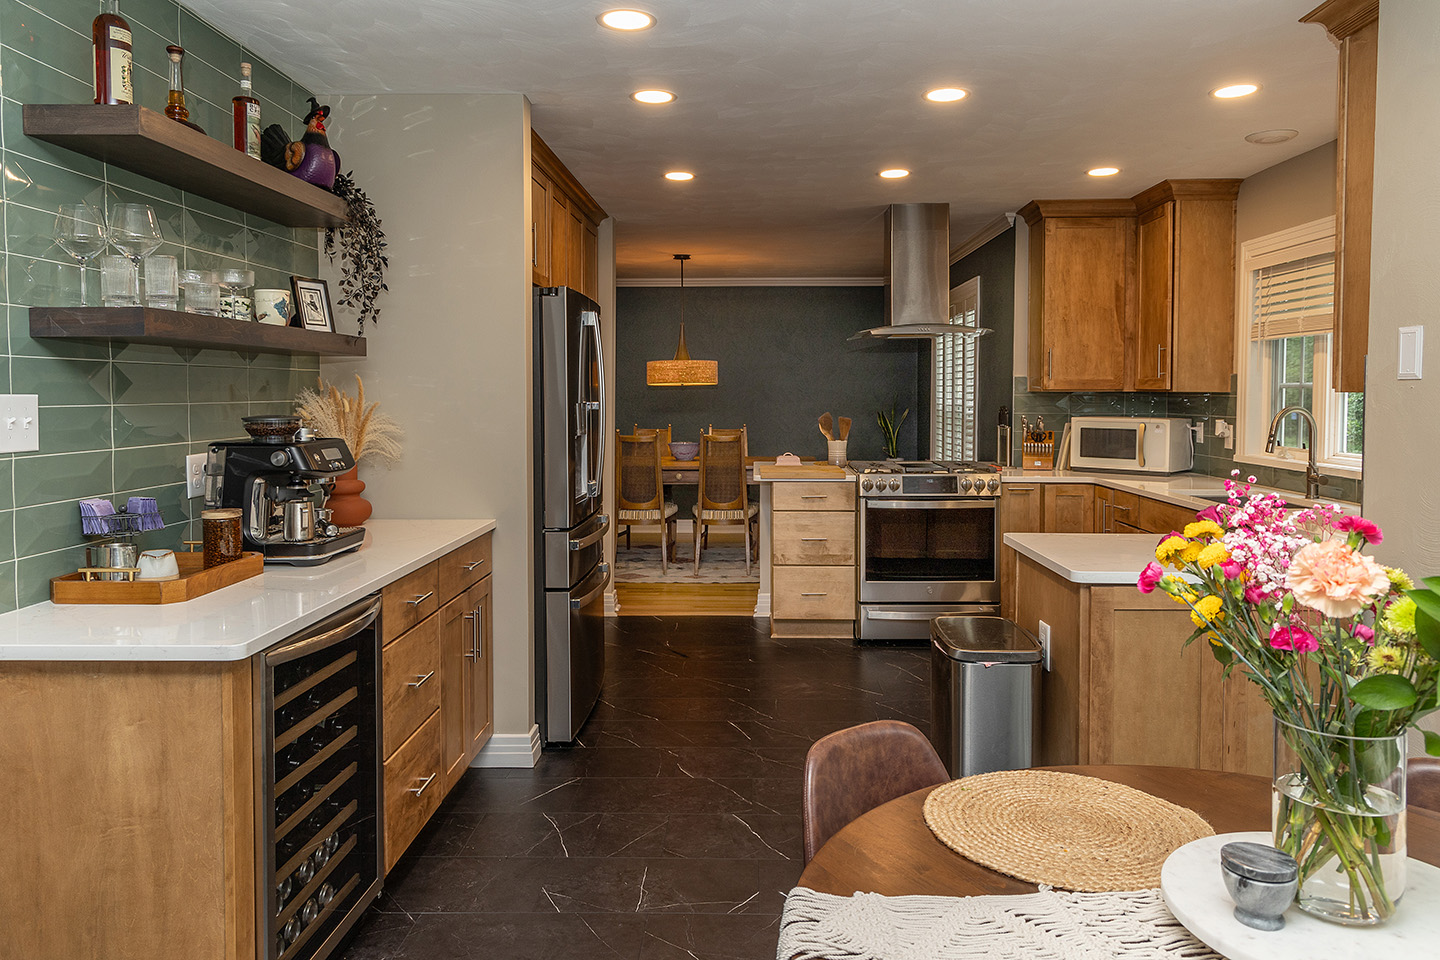
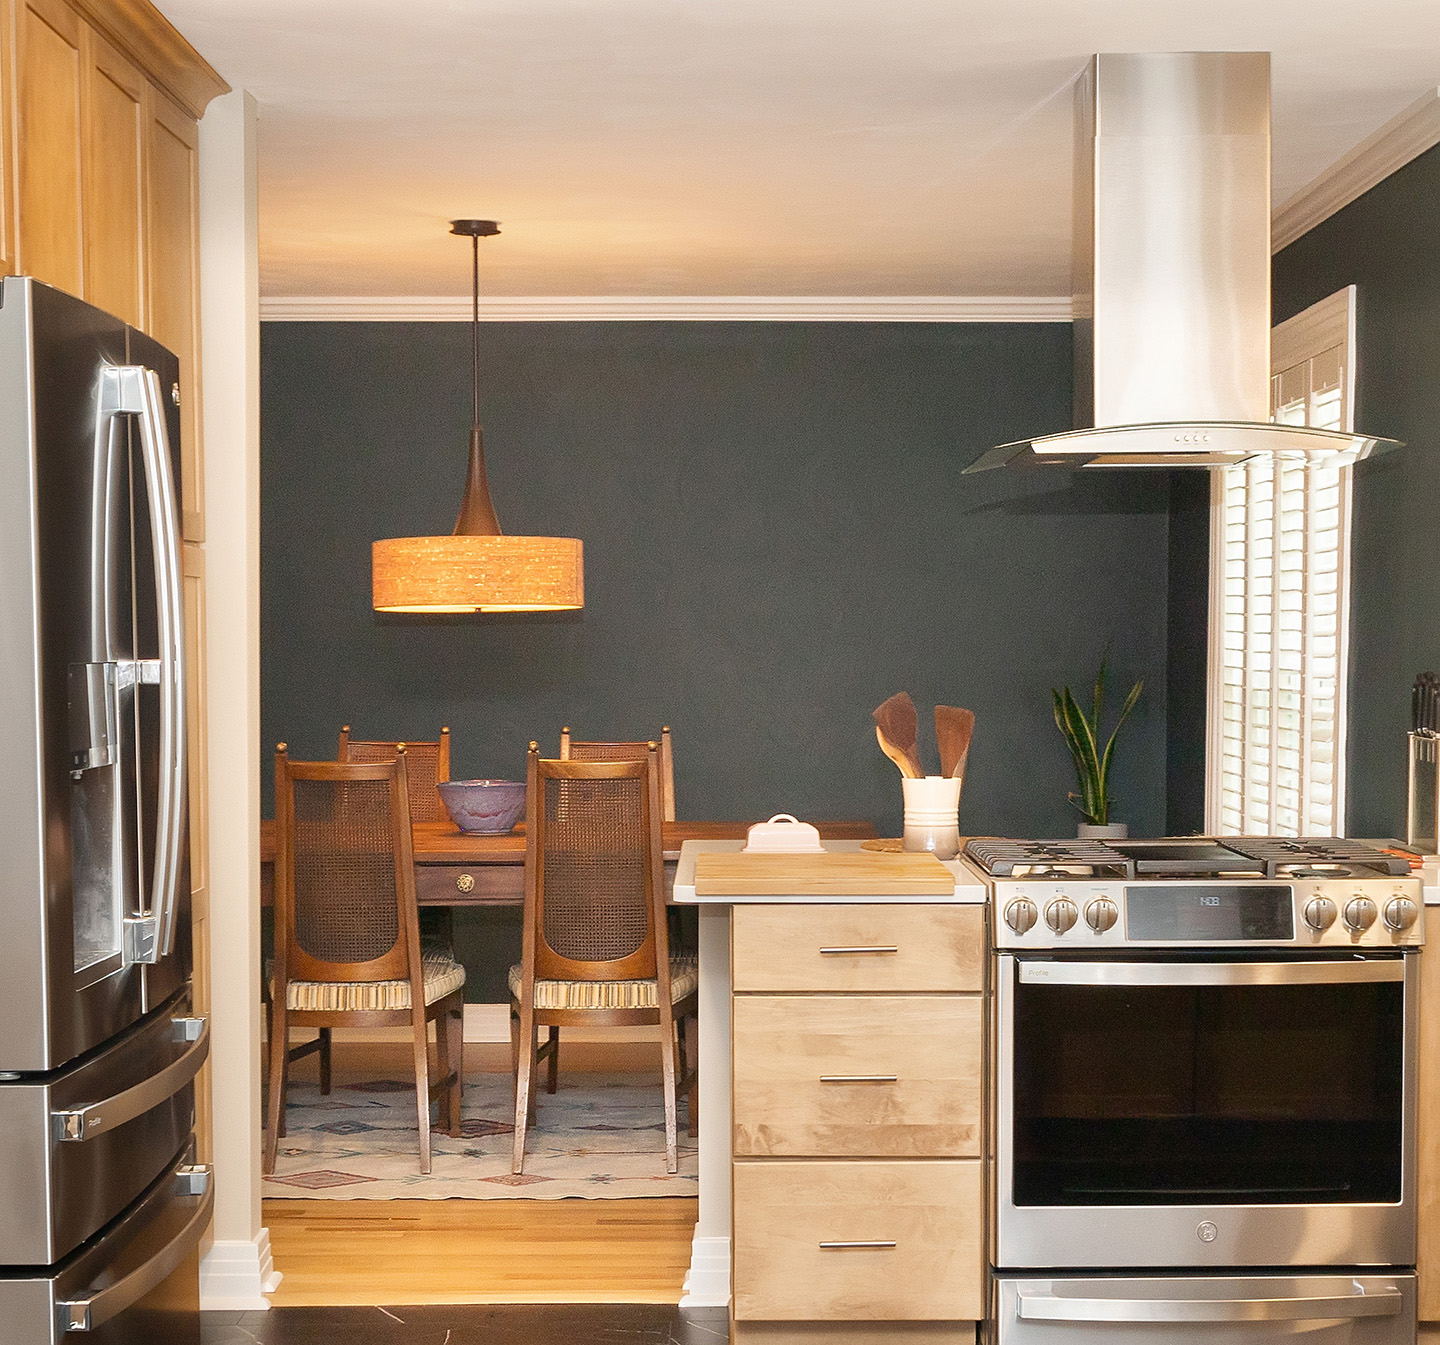
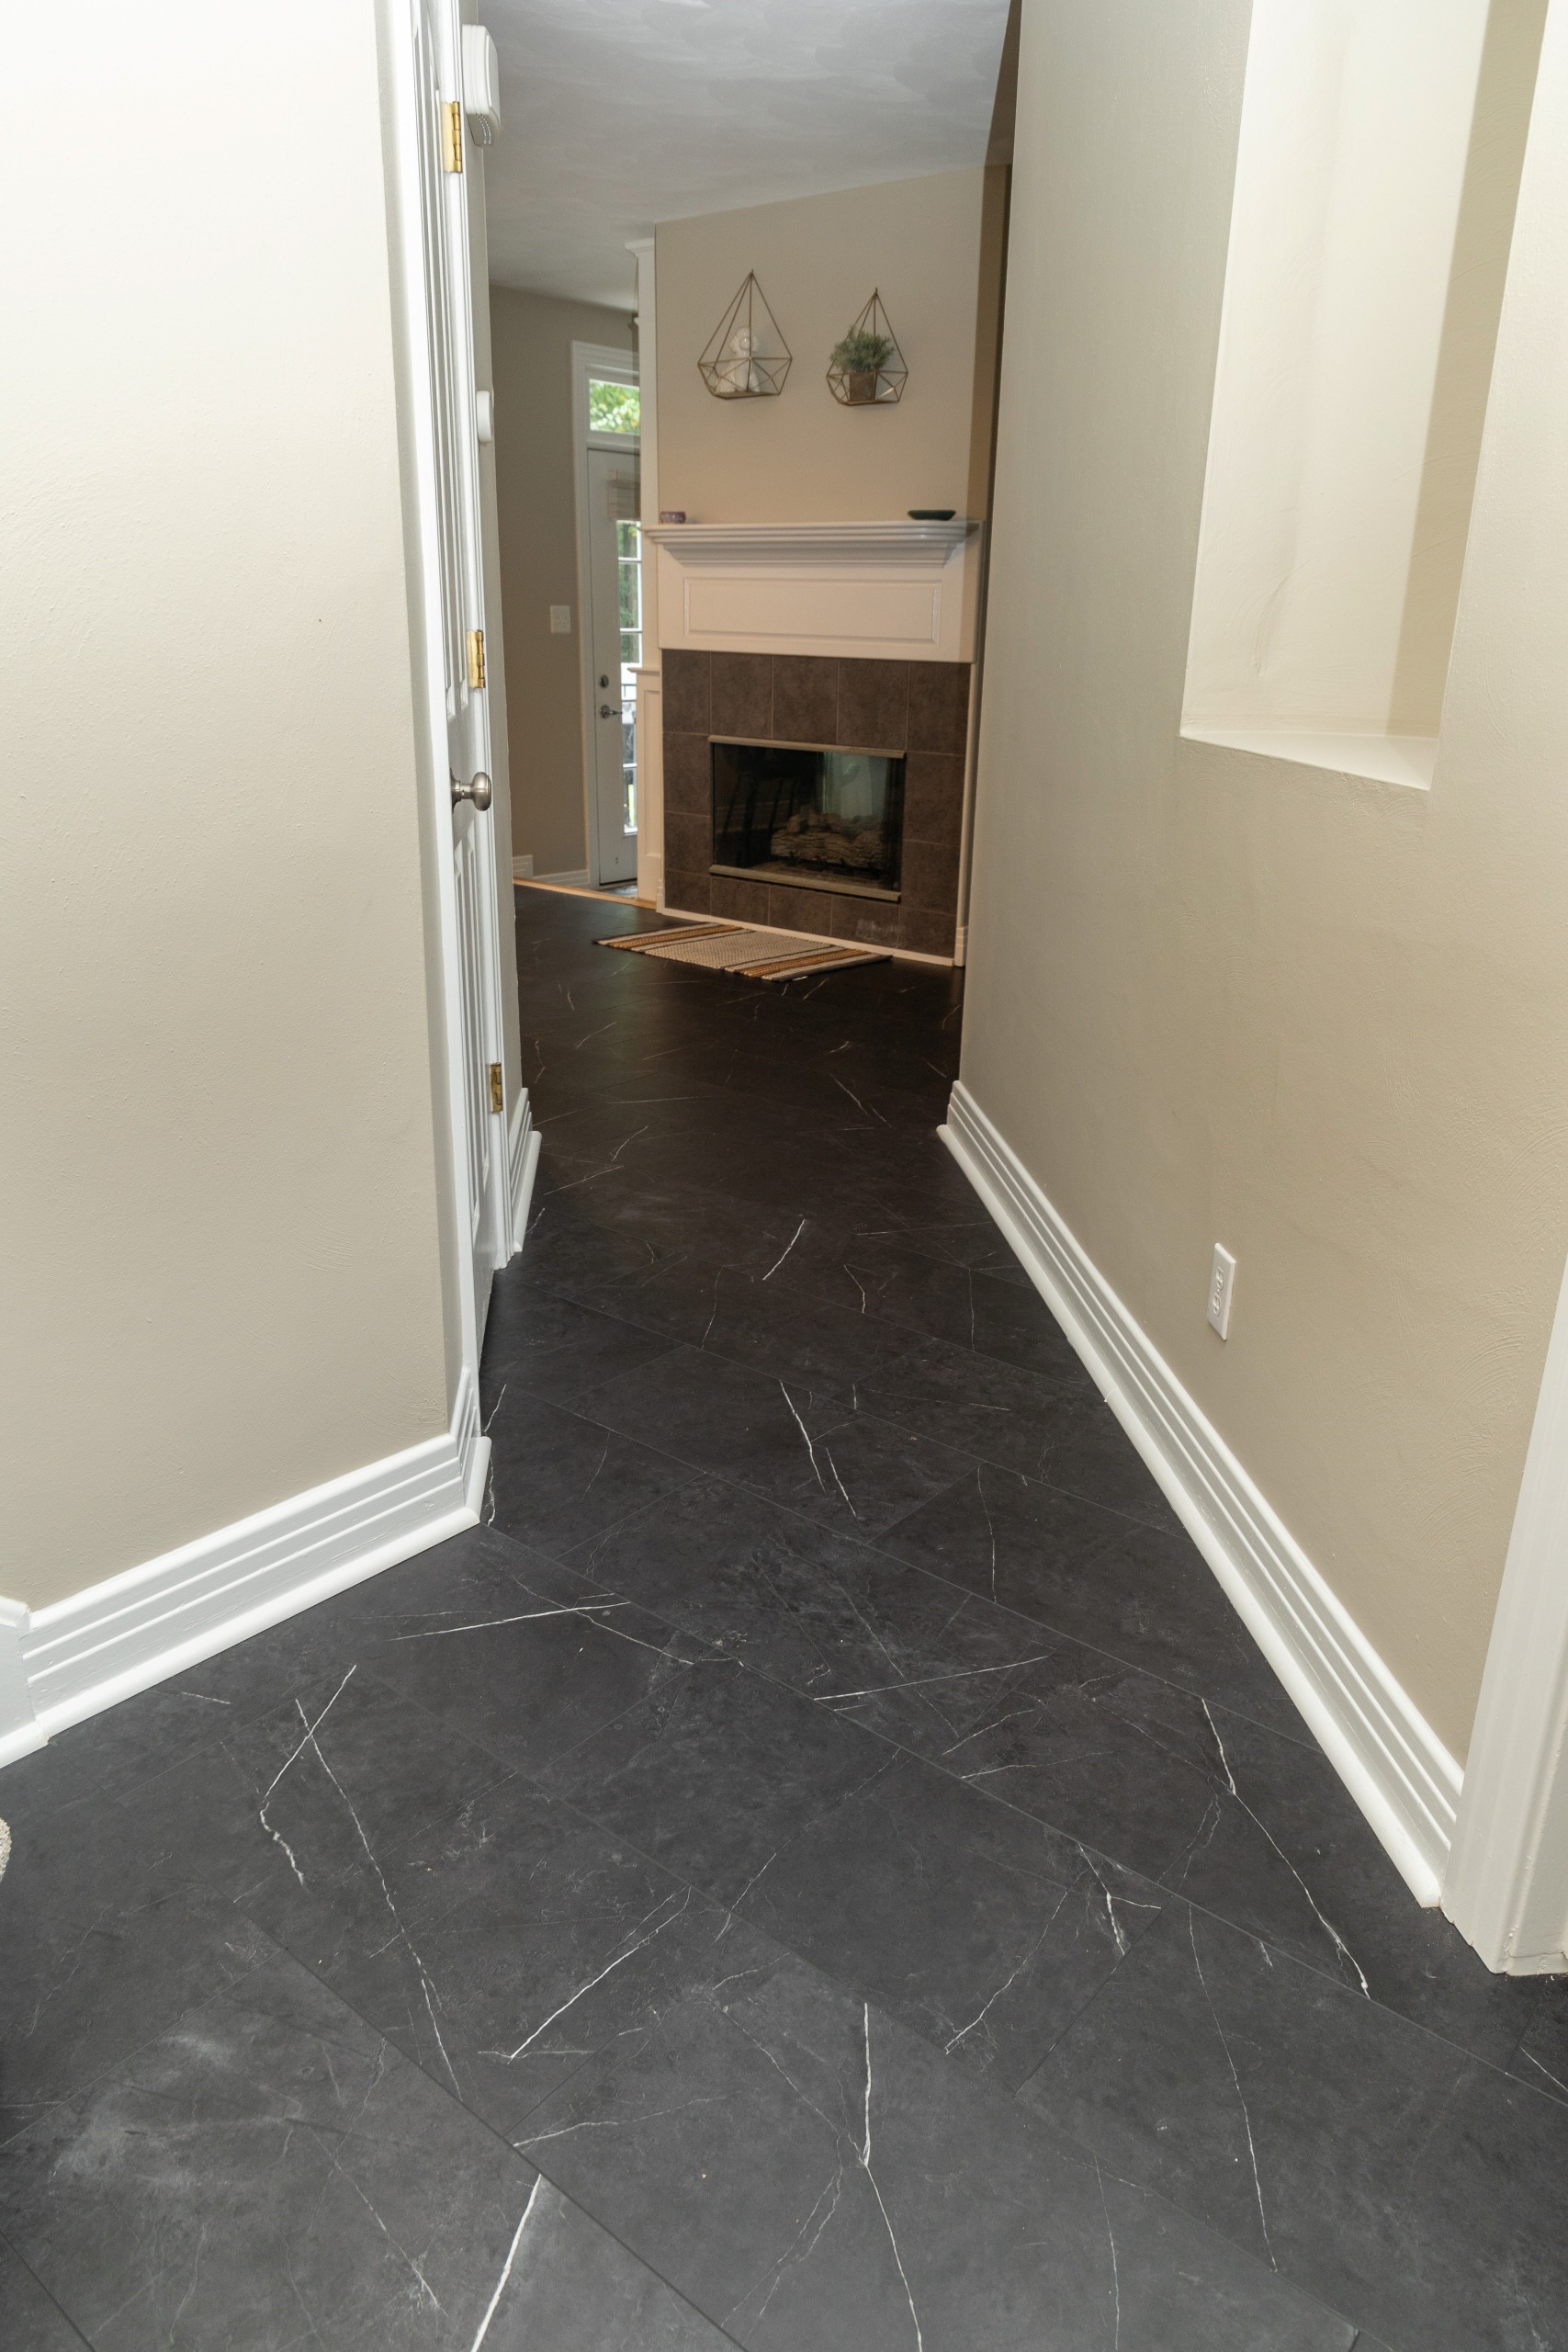
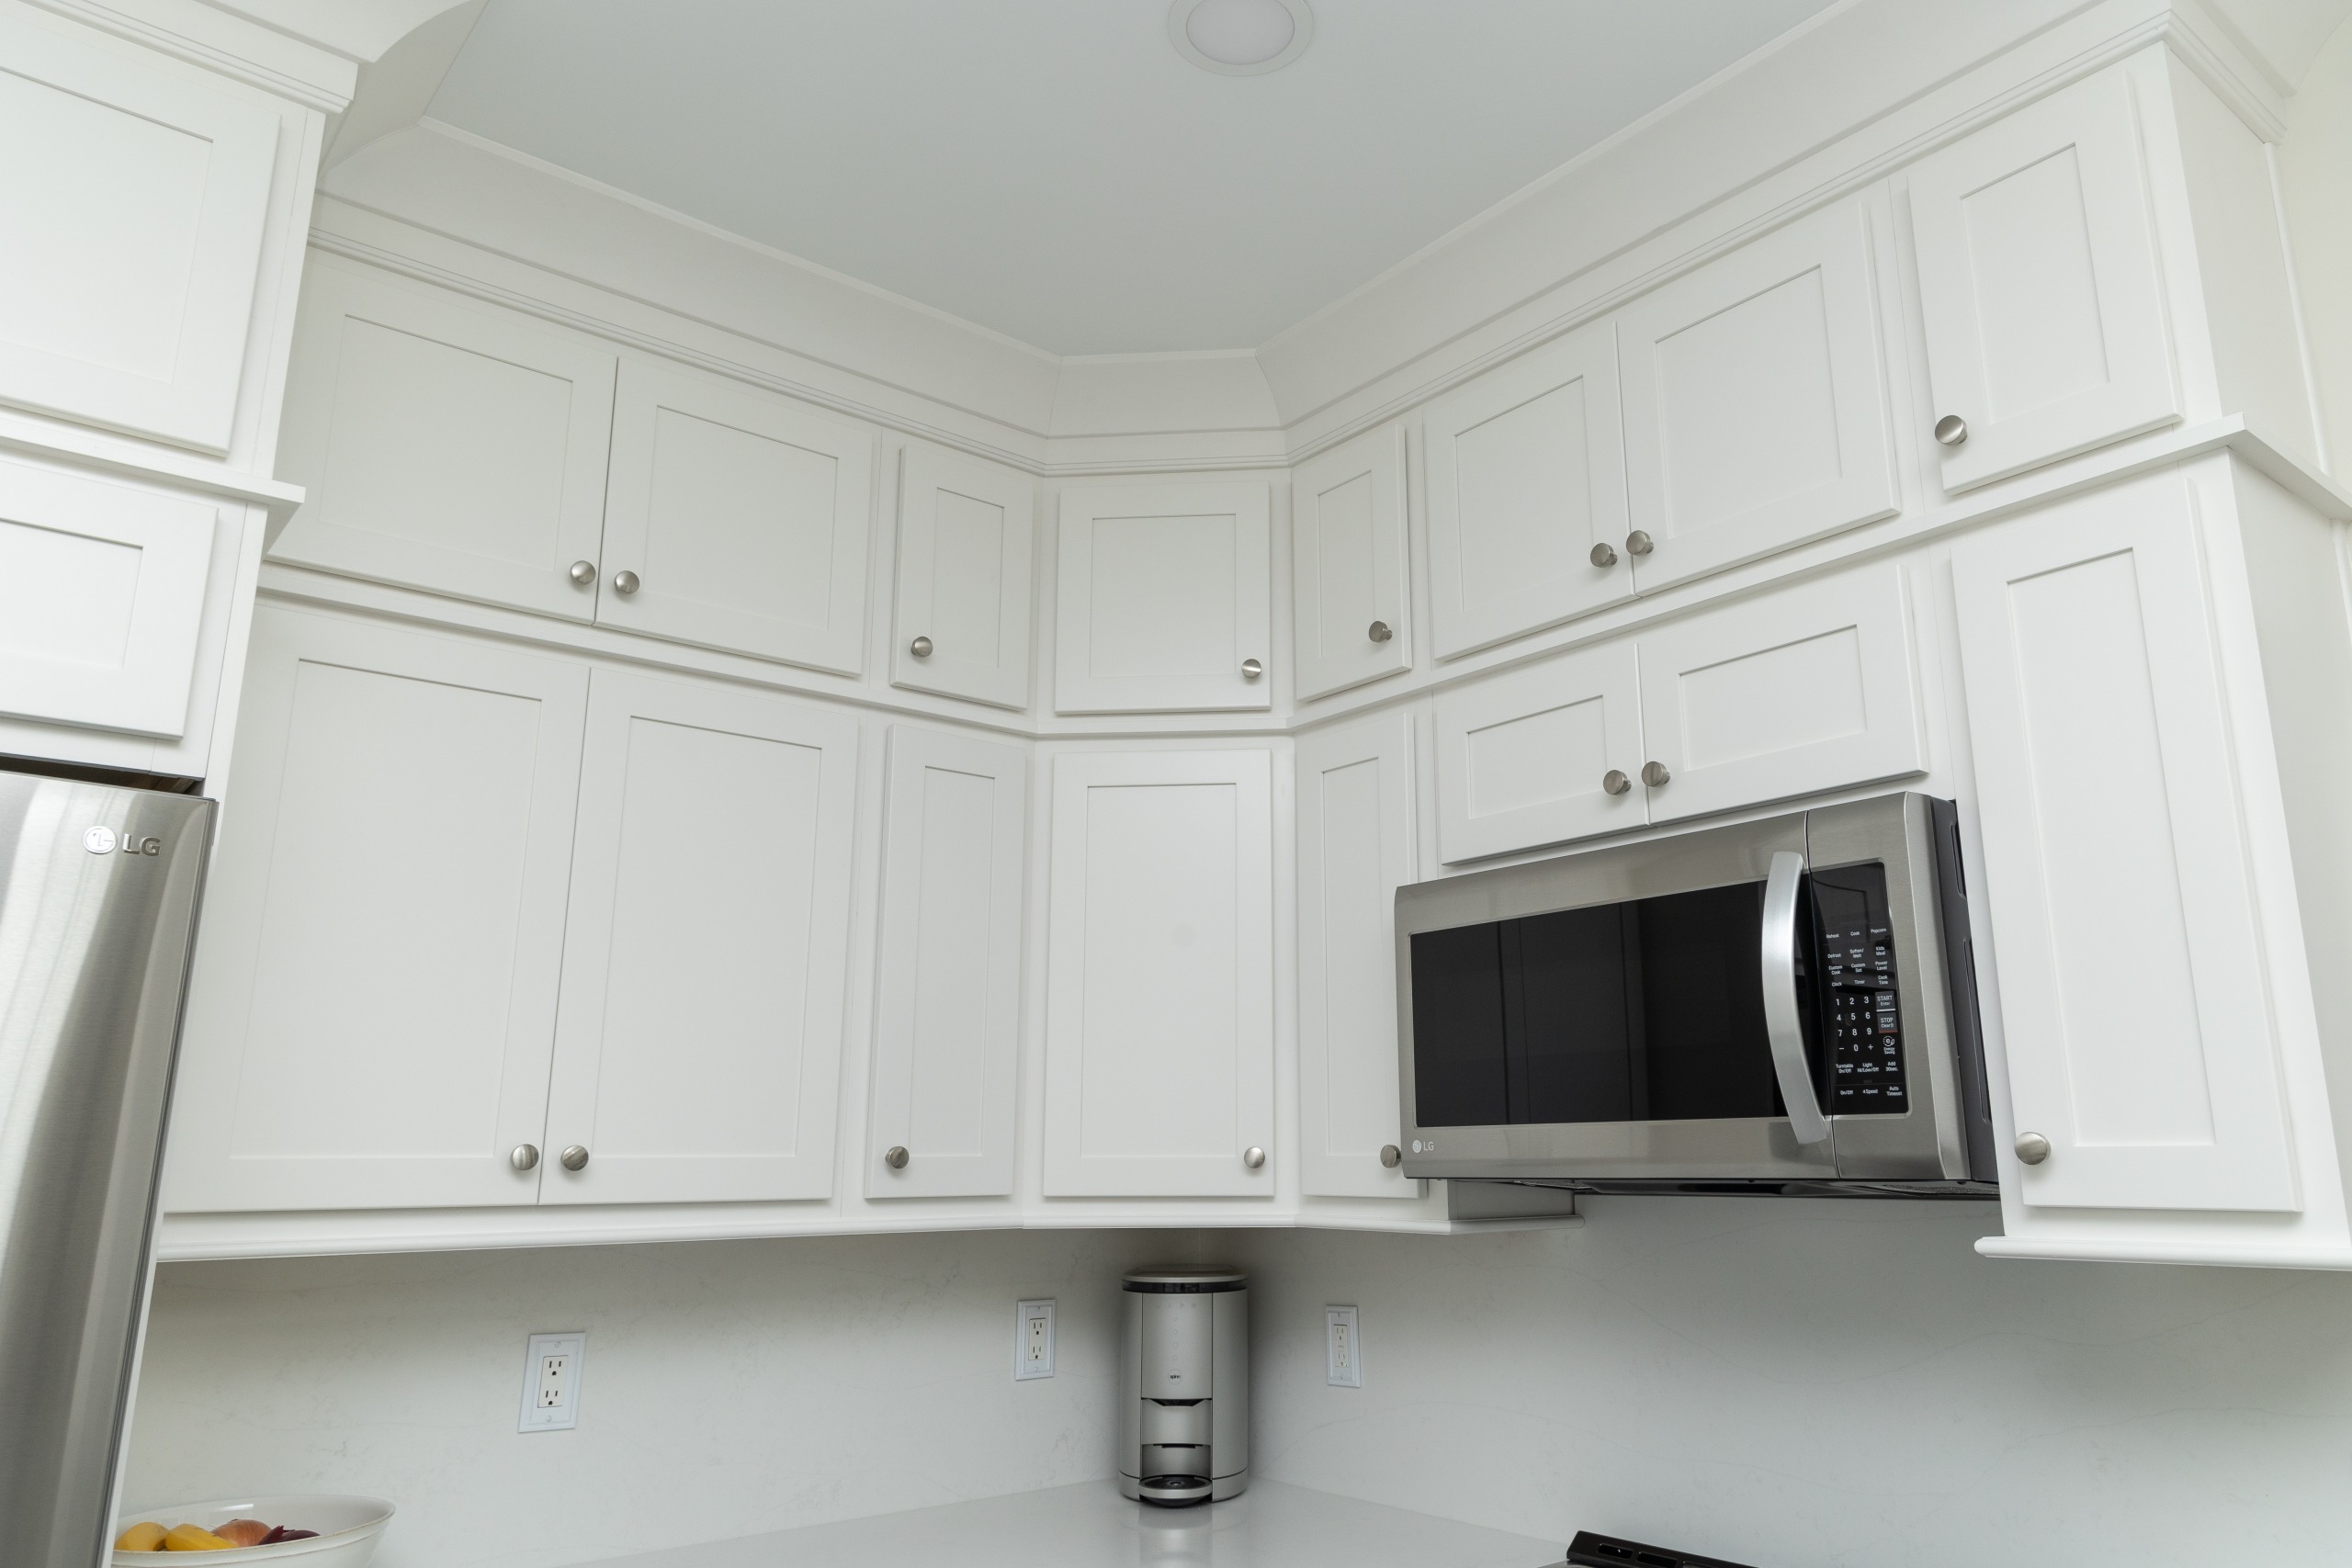
The kitchen was originally separate from the dining room. Our clients opted to remove the dividing wall and create a more open space. Again, starting with the floors, we installed 12×24 Luxury Vinyl Tile (LVT) called “Twilight” in the kitchen, laundry room, downstairs half bath, and foyer. The new kitchen cabinets were the same shaker-style and color that we used in the vanity room, topped here with Viatera quartz in “Etude.” The original pantry was removed and replaced with a beverage area. The pale green tile used in the backsplash and behind the shelves in the beverage area features a profile called “Wave Crest.” Set in a brick pattern, this faceted tile reflects light and adds interest.
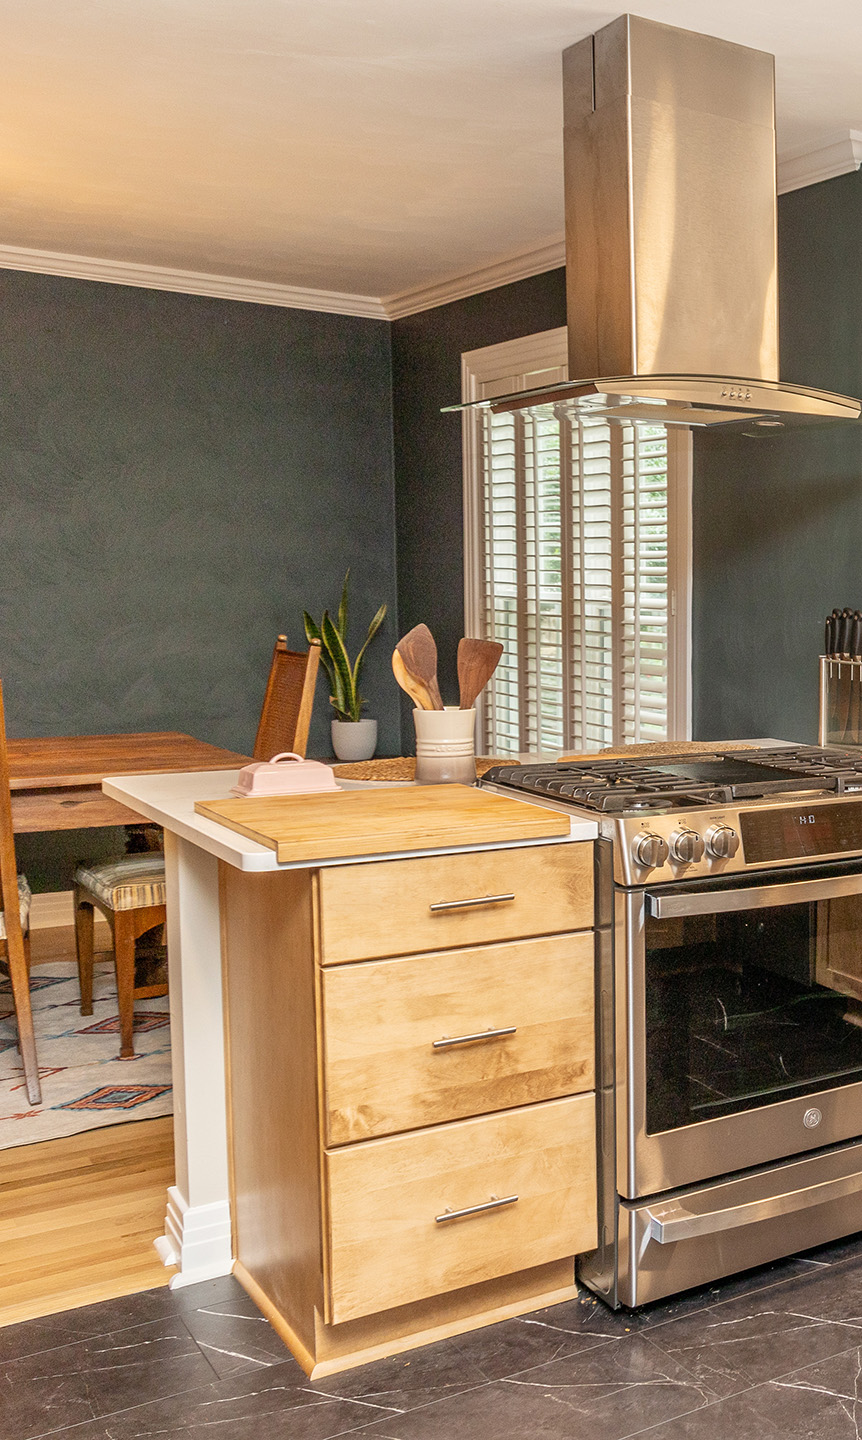
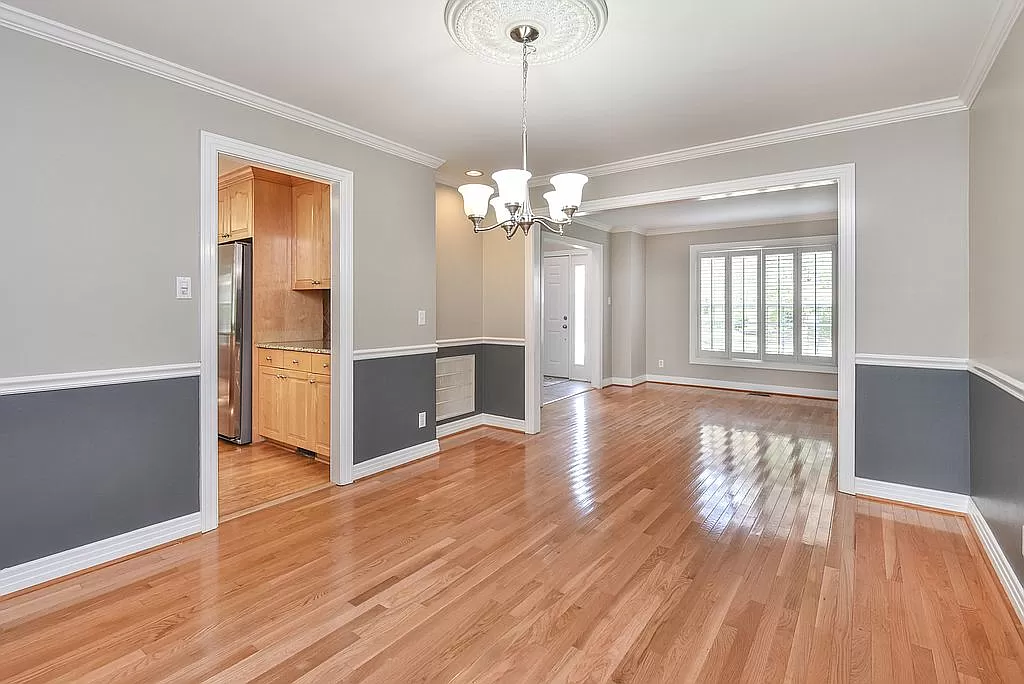
The new stove was set in the original position of the old one but, without a dividing wall, the clients were able to extend the quartz countertop to create a breakfast bar. A free-standing range hood was also needed after the wall was removed. New light fixtures were installed in the kitchen and in the dining room.
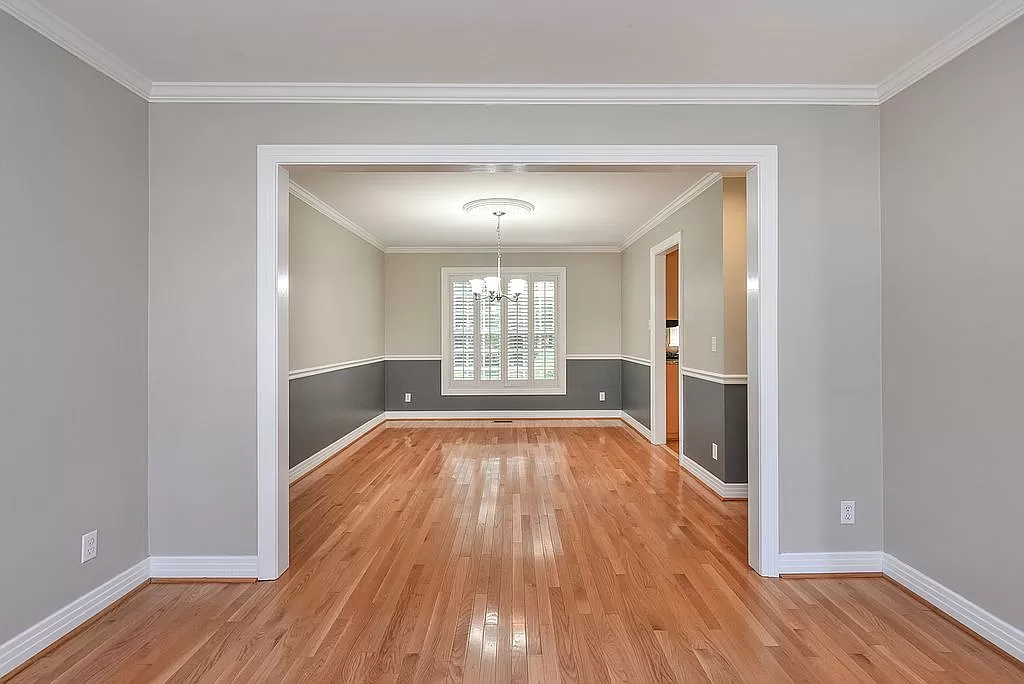
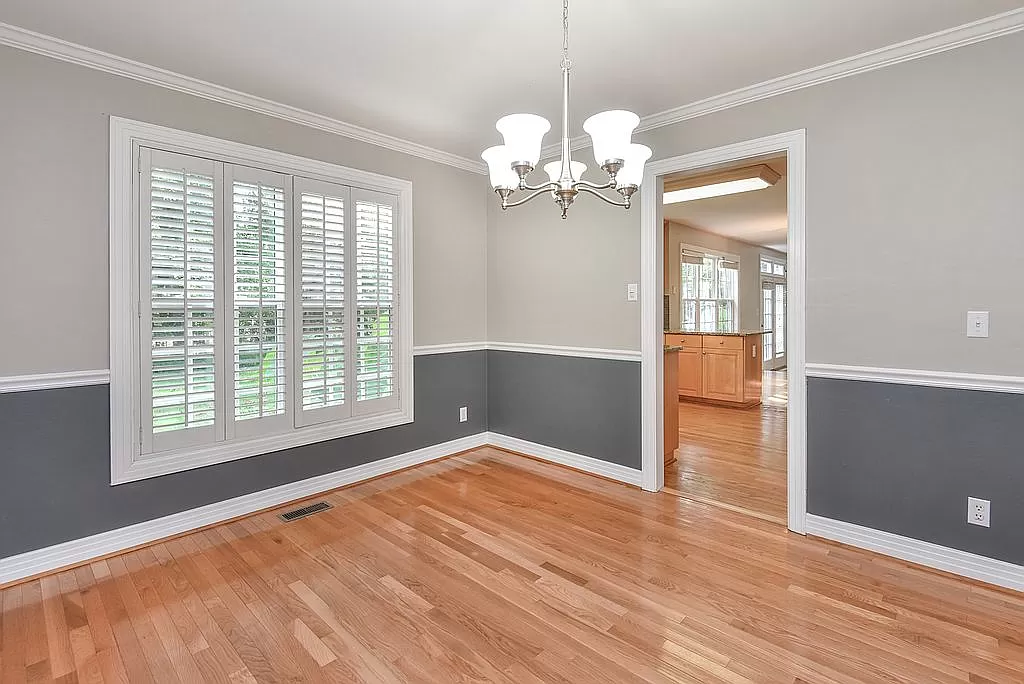
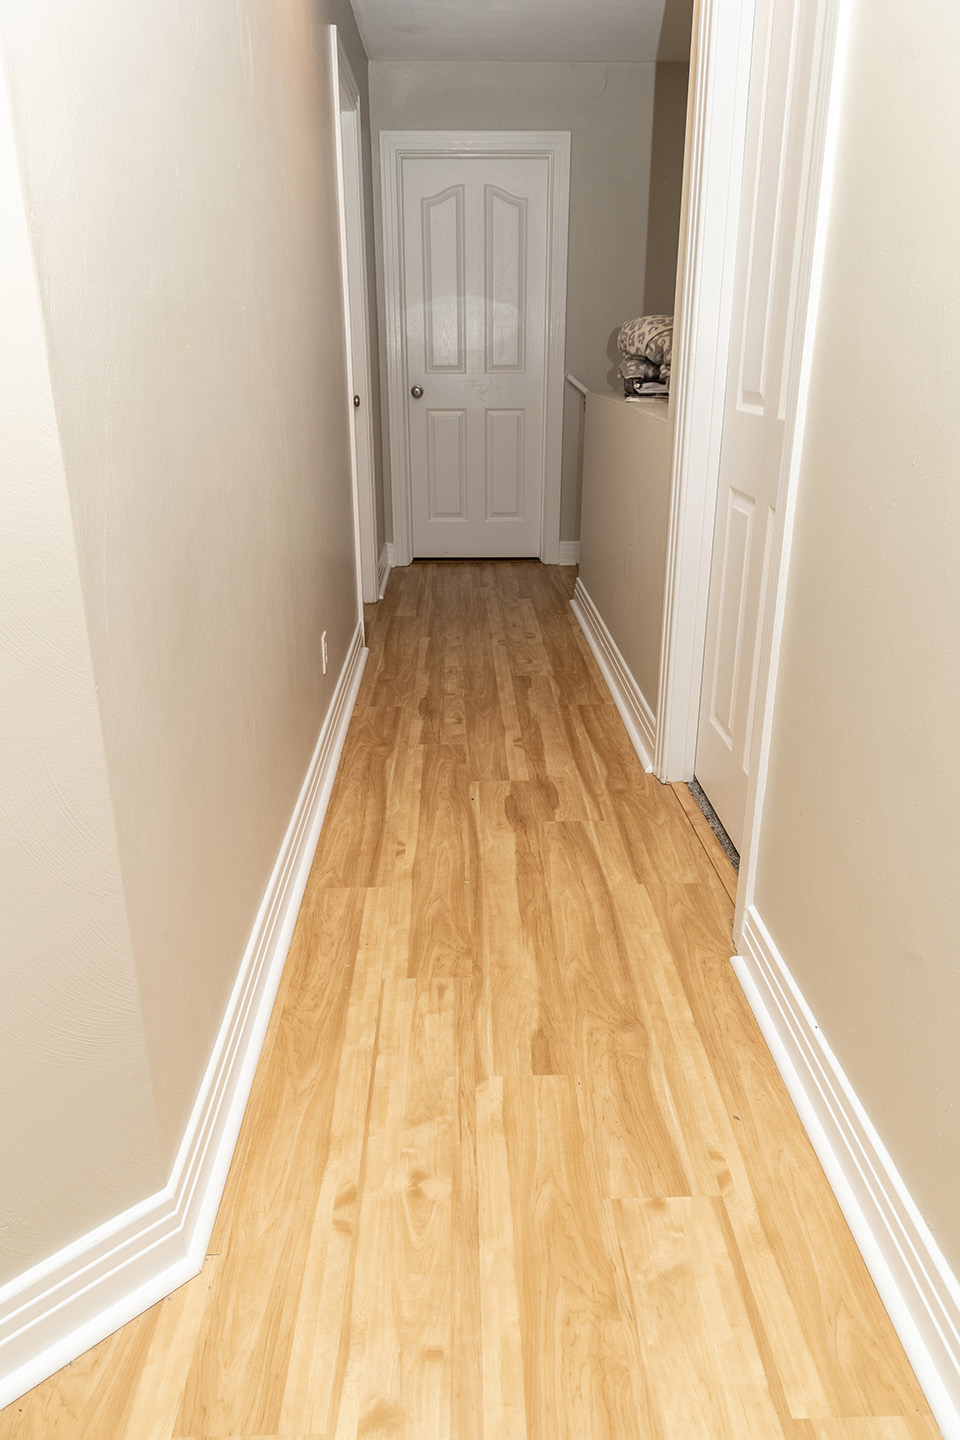
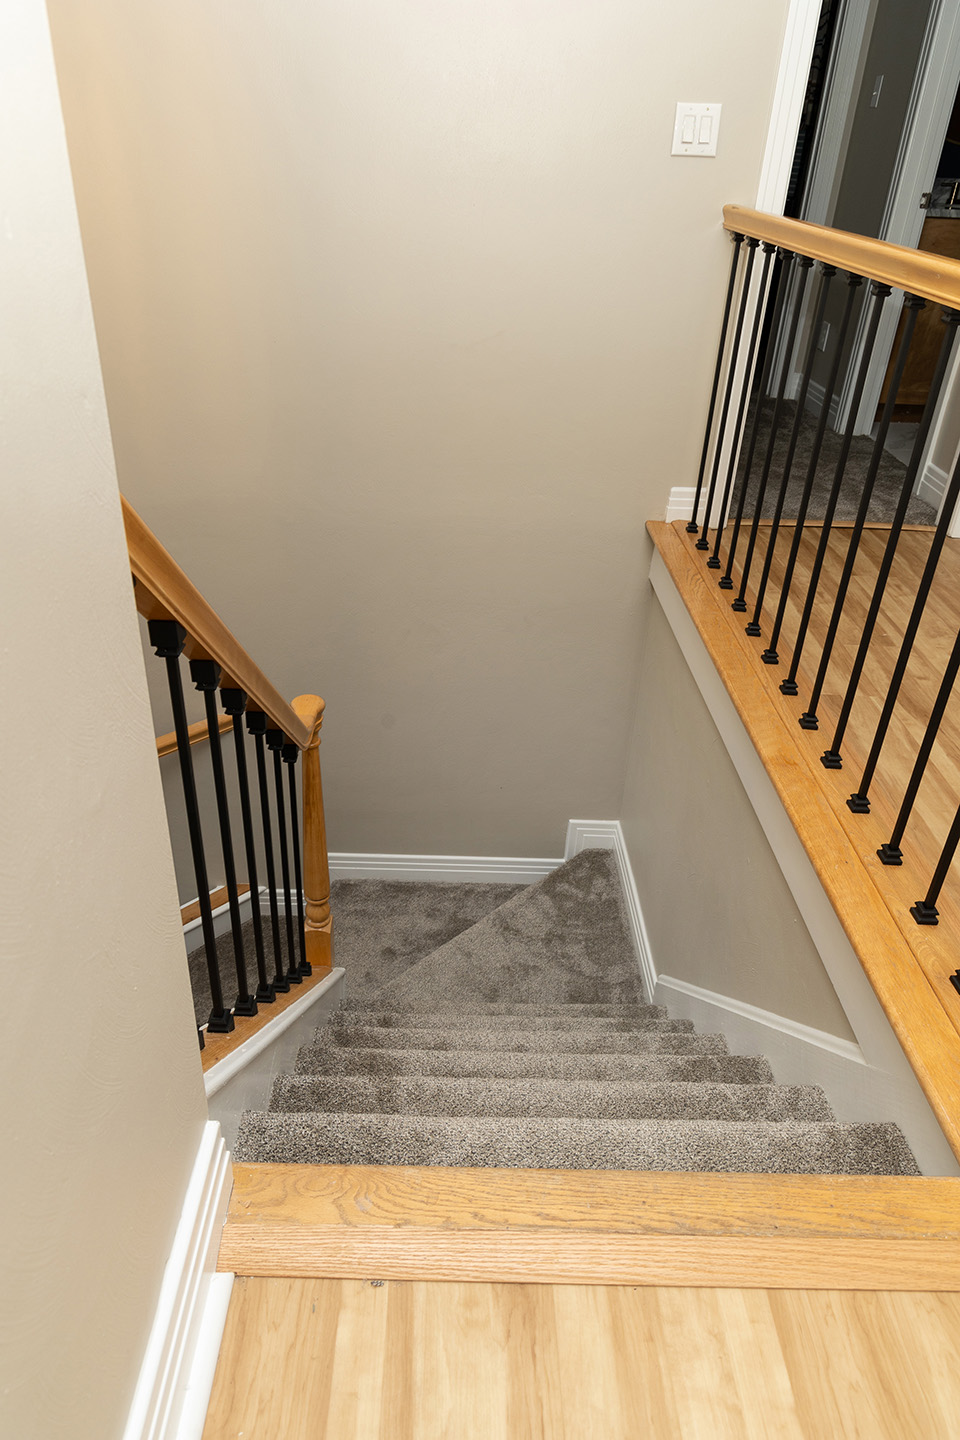
Finishing touches included white oak flooring in the living room and dining room, Luxury Vinyl Plank (LVP) in the upstairs hallway and office, and carpet in the bedrooms.
While no one wants to have to go through a disaster renovation, we’re glad that we were able to help our clients not only restore their home, but to update it as well. This home remodeling project gave them fresh, updated spaces that they can enjoy for years to come.