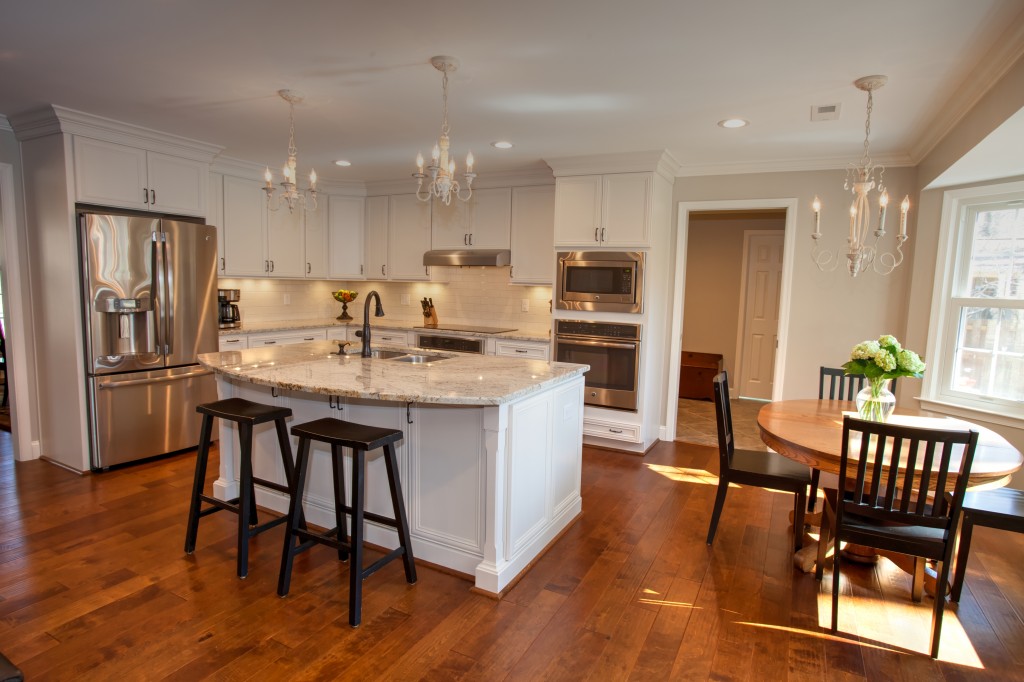
Mark Lownik grew up in the the Running Man Neighborhood of York County. After College, his career took him to Connecticut where he met Jennifer and they started a family. In 2015, with his parents desiring to downsize, Mark found himself contemplating moving his family from New England back to the very neighborhood and to the very home that he had grown up in. We were referred to them in a quite round about fashion by a friend of a former client that had since moved to Florida. The circuitous route by which they found us proved to be a perfect introduction to a great family who proved fun to work with when we helped to bring their vision of their new home to life!
Her Vision:
Mark & Jen Lownik had a unique opportunity to move back in to the house that Mark had grown up in but remodel it pursuant to a whole new vision. Jen envisioned removing a wall in between the kitchen and the den, remodeling the kitchen, installing new hardwood floors, removing and replacing the textured ceilings with smooth ceilings, re-designing the guest bathroom, laundry room and storage room and removing and replacing the stained trim in the house with new white trim.
Always Keep The Main Thing The Main Thing:
The key element to the entire project was the kitchen.
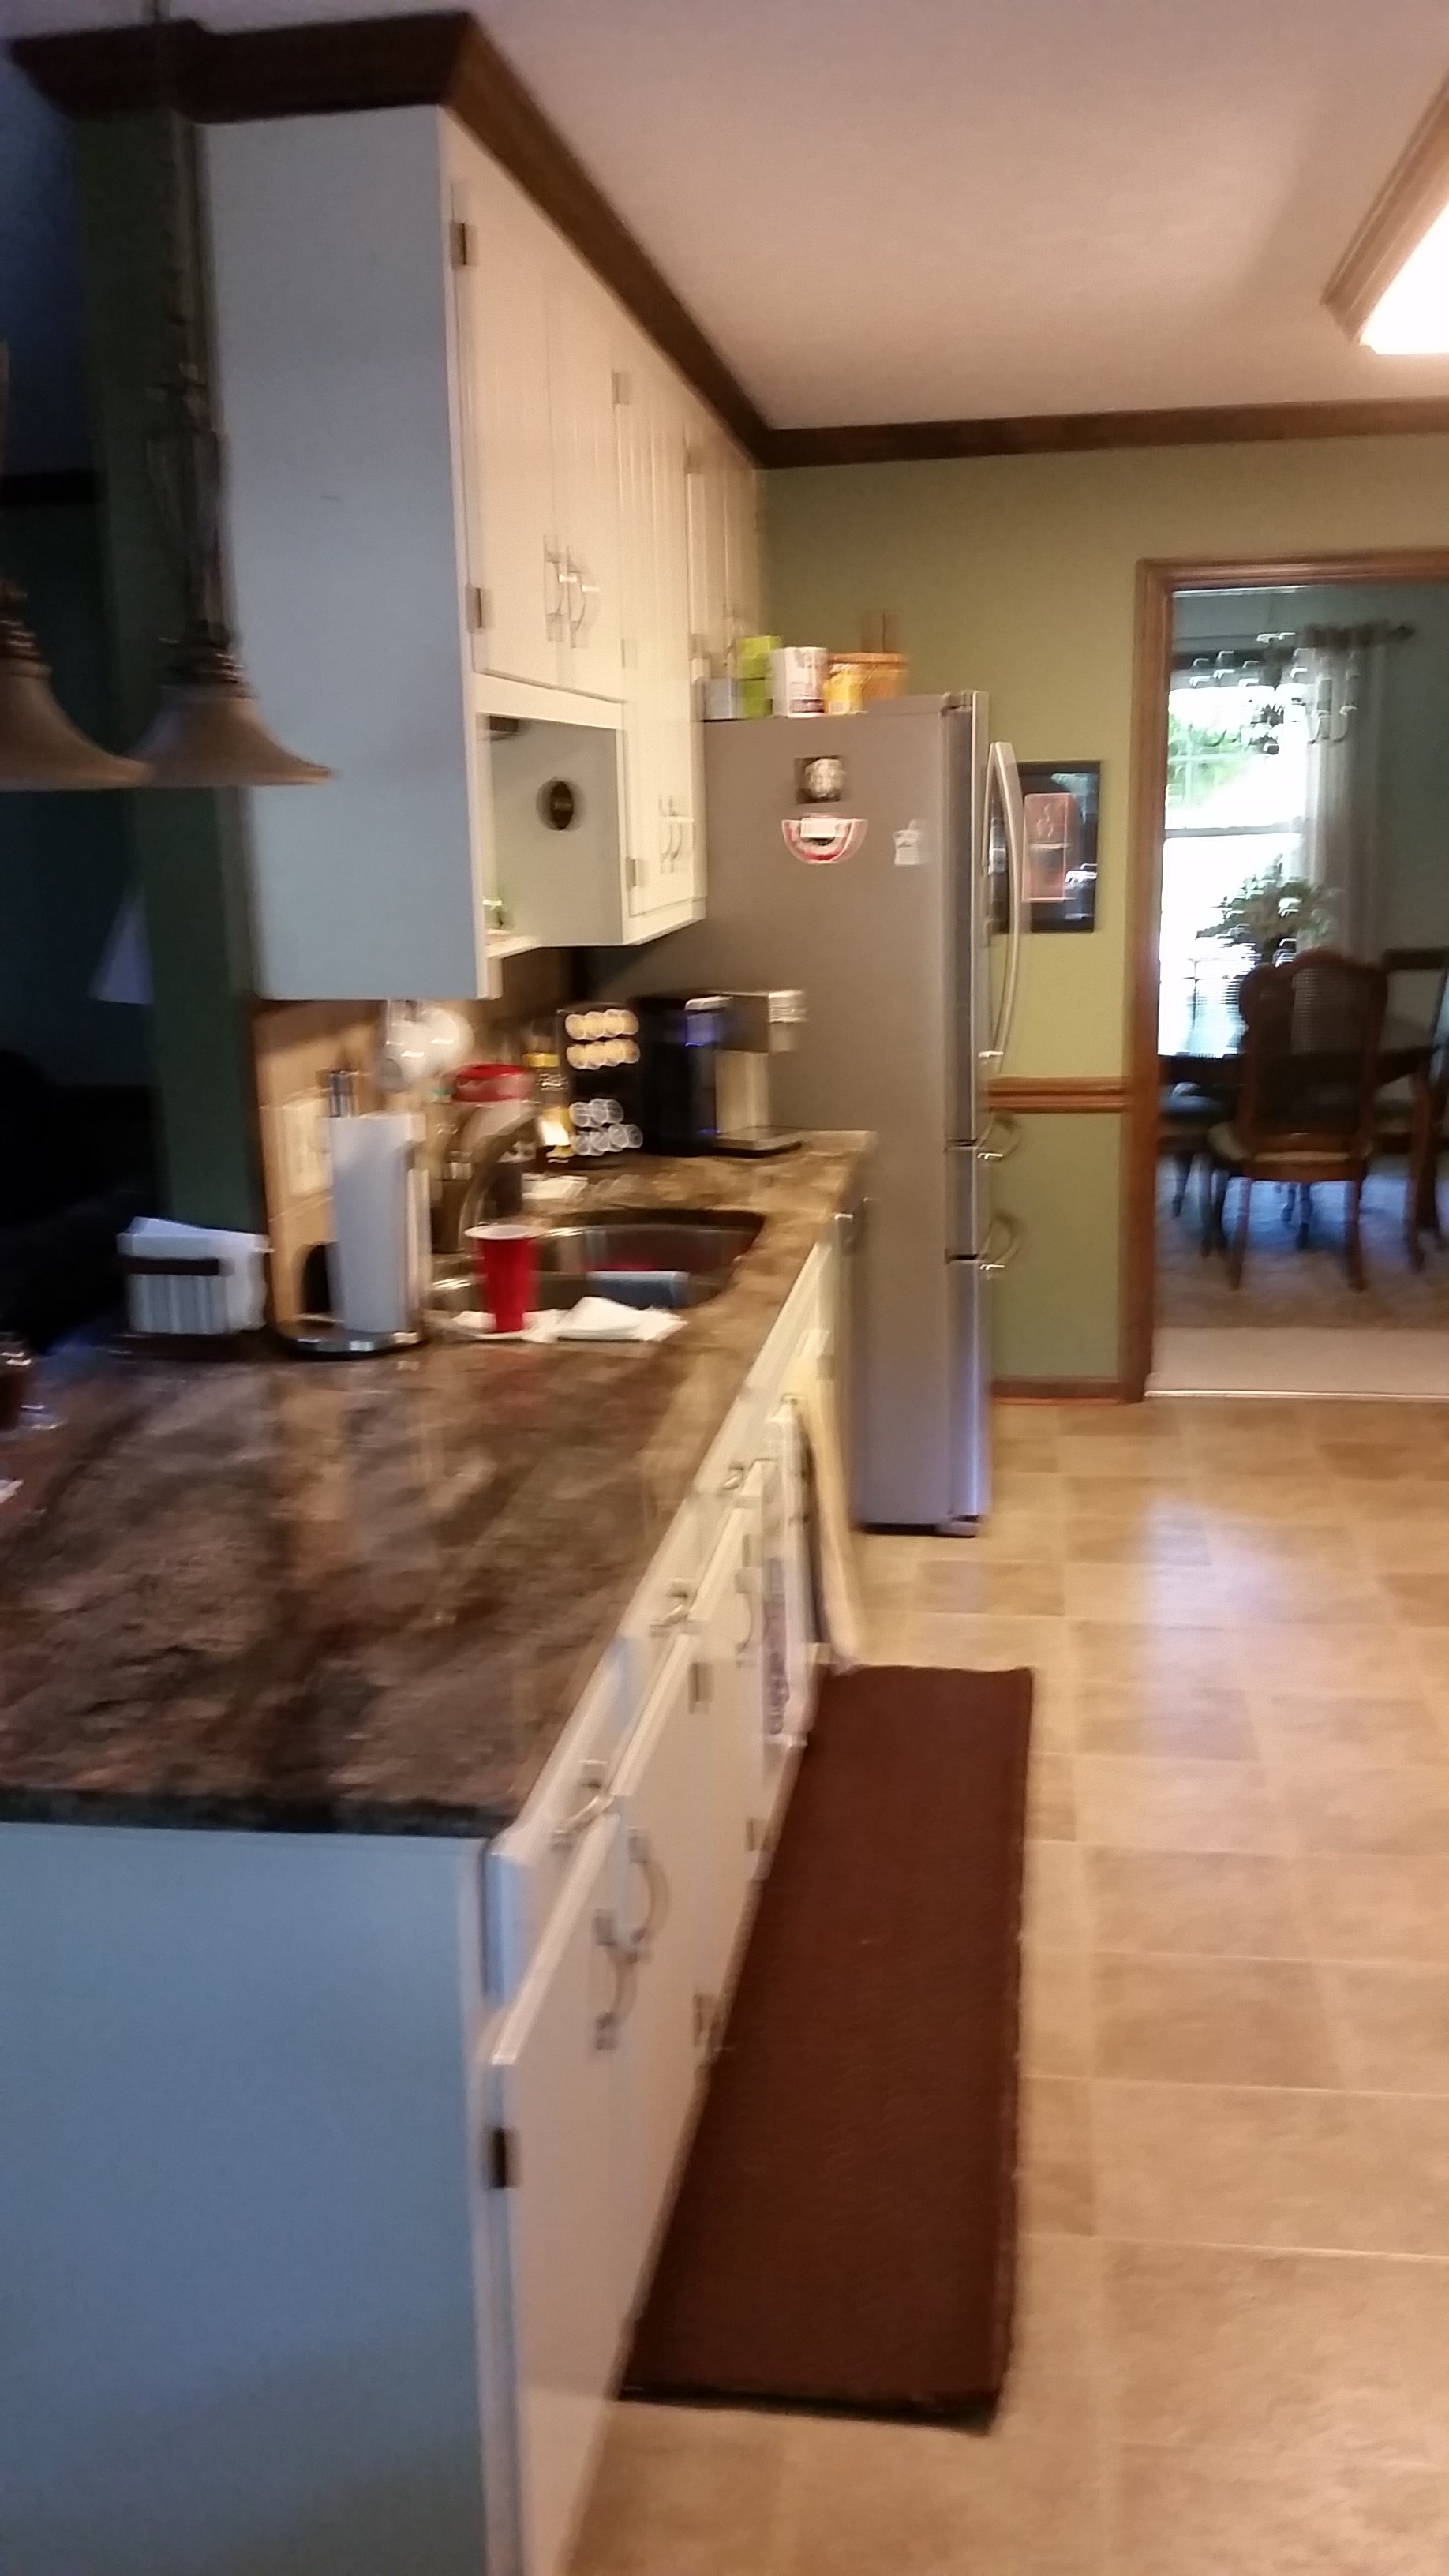
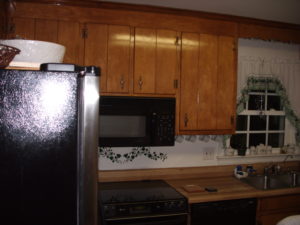
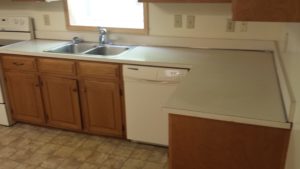
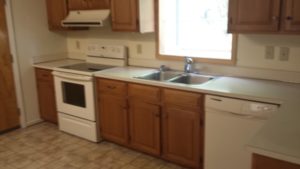
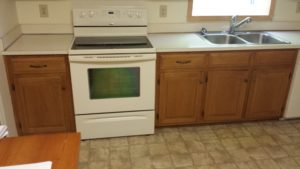
The existing kitchen with openings on the left and right that limited the amount of wall space that was available for cabinetry
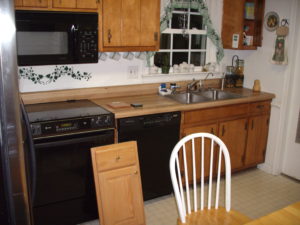
The cased opening between the existing kitchen and the dining room was so close to the corner of the kitchen that it did not allow for enough cabinet space. The doorway to the laundry room at the right end of the cabinets also limited how much cabinetry could be on the adjacent wall.
The existing kitchen in the house had a wall that separated it from the den (click on thumbnails for full size) :
Wall between kitchen and den
View from the end of the wall separating the kitchen and the den
Small countertop at the end of the kitchen-den wall
The Plan:
Remove the wall to create an open floor plan, move both the opening to the dining room and the door to the new pantry area to maximize the amount of wall space that was available for cabinetry.
Where the wall had once existed, the view was now opened to the entire den:
Moving the openings allowed for much more base and wall cabinets:
(click on thumbnails for full size)
Rethinking the Garage Entry:
Another area that the Lownik’s wanted to reconfigure was the entry from the garage to the main house. The current entry was into the laundry room that also had a spare bathroom and a storage room off of it. (click on thumbnails for full size)
The washer and dryer will be relocated to provide space for the new pantry
To the left is the door to the garage. This entire area will be reconfigured
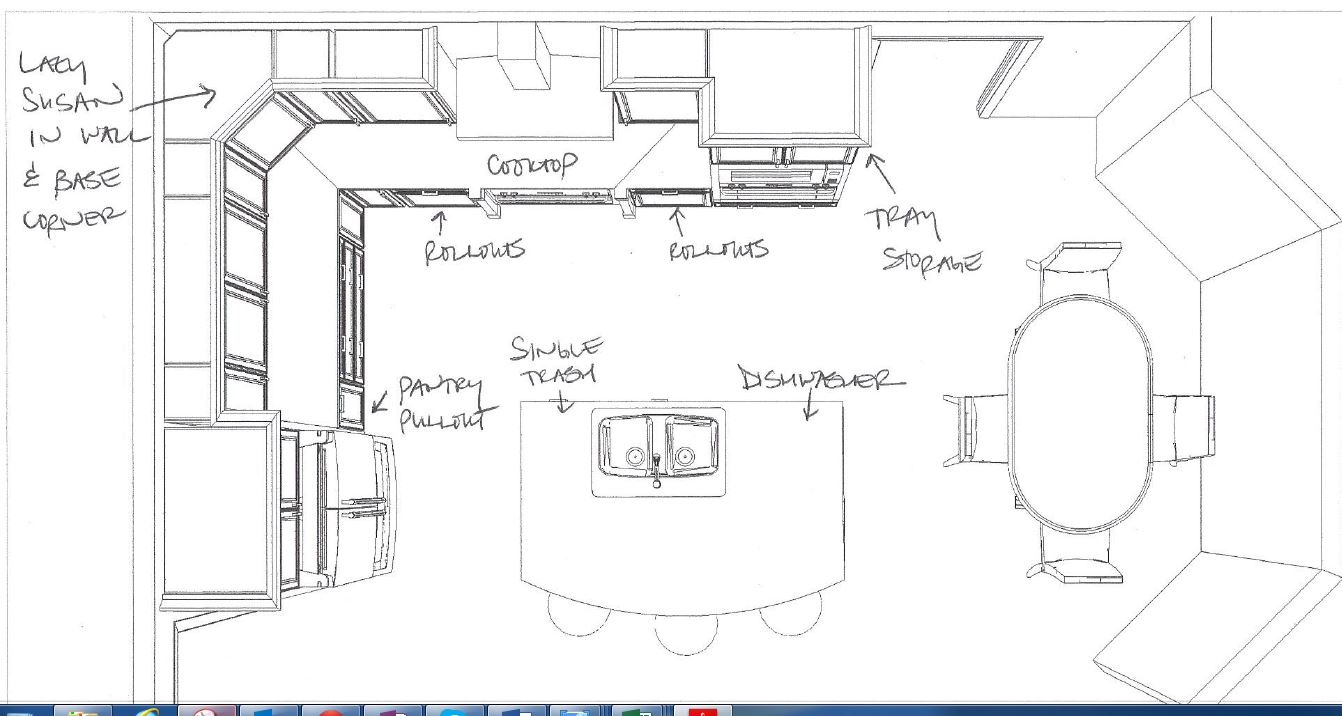
The existing floor layout looked like this:
The existing floor plan for the laundry room, bathroom storage area that connected the kitchen to the garage.
We redesigned it to look like this:
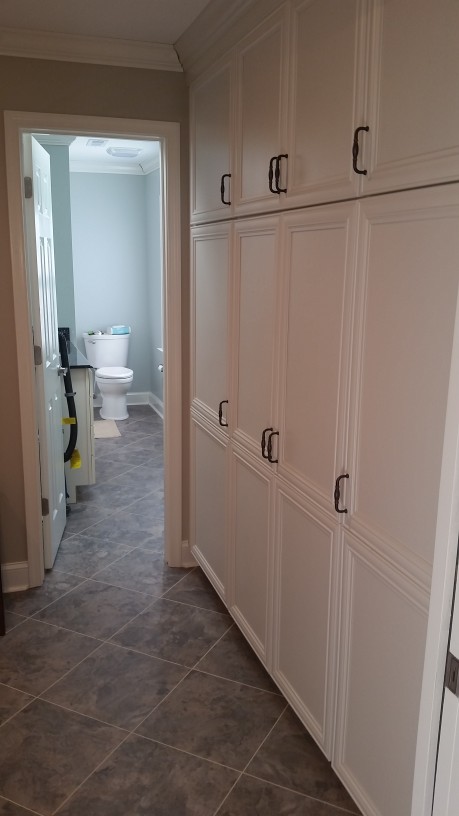
Here are some of the pictures from during construction of the new pantry cabinets looking into the new bathroom area (click on thumbnails for full size) :
New pantry cabinets on the right looking through to the new bathroom
The new pantry cabinets match the color and design of the new kitchen cabinets
The Vision Realized
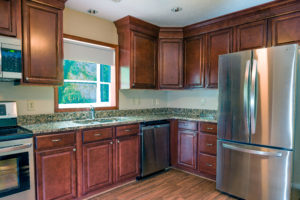
The final result was nothing short of a stunning transformation resulting in a completely different house at the same address.
Contrary to what Thomas Wolfe once wrote, Mark & Jen proved that you could go home again.
Each week I go out to Joust Windmills! and by that I mean, meet with homeowners that have called and requested a free estimate for Home Improvements. We are making a better world, one home at a time!
Don Quixote by Picasso
Hopefully, the homeowners I meet will see us as the best value for their hard earned money, select our firm to perform these services and in them we acquire a client, a raving fan, and a new friend!
Sometimes my efforts are rewarded, sometimes I refer them to another firm that can serve them better, sometimes I get used and abused. No matter; I still go. I am reminded of what Don Quixote sang:
“And the world will be better for this
That one man, scorned and covered with scars
Still strove with his last ounce of courage
To reach the unreachable star”
Foundation Repairs Needed in Hampton
Monday I went to Hampton to meet with an 88 year old gentleman that was concerned about major cracks going on in his ceilings and walls in his home. I asked him when the home was built he thought it was built in the 1930’s. I guessed 1968 when I checked Zillow later I saw that I had been built in 1969. He was very concerned about the structural stability of the home. I saw that this was probably a job for the good guys at FSI: Foundation Systems Incorporated. I called them on the phone and told them about what I was seeing and set up a time for them to come out and see the gentleman to evaluate his situation and give an estimate. He was concerned about the cost and if insurance would cover foundation issues. I told him I didn’t know about insurance but I answered all his questions about foundations and framing and how it would affect the cracks in the walls and ceilings. Nice guy, I hope everything works out for him. I know I left him in good hands with FSI!
Moving Walls in Williamsburg
Later that same day I met a great couple who wanted to remove some load bearing walls and make their kitchen and living room and open floor design. They had attempted quite a bit
of remodeling work themselves and were finding it just a bit more difficult then they make it seem on HGTV.
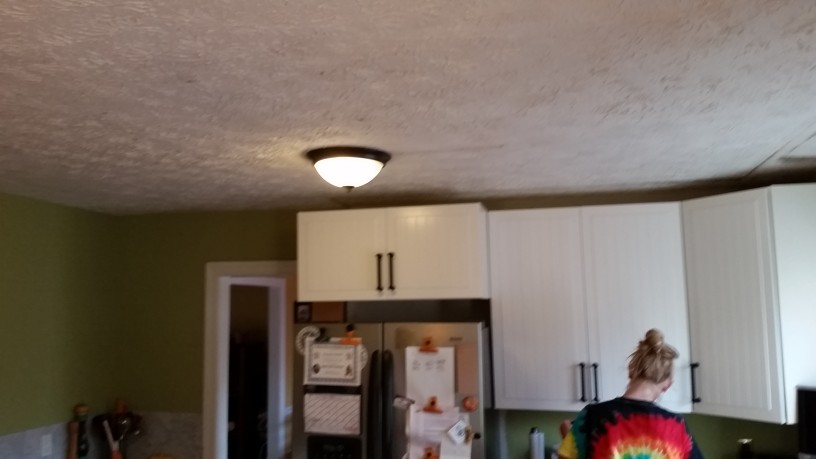
They wanted to replace all the ceilings in the downstairs with a flat untextured drywall because the previous owner had used a heavy stomped ceiling texture that made it look not unlike a Baked Alaska cake.
Heavy texture on ceiling can look like “Baked Alaska”
They also wanted to replace all the floors in the downstairs area which would include demolishing a mud set tile floor in the foyer, hardwood floors in the living room and dining room & a laminate floor in the kitchen
In the den, they had some faux beams across the ceiling that they wanted removed and new recessed lights put in, ceiling drywall repaired and then painted.
faux beams in den
Upstairs the owner had tried to do some drywall finishing work in the bathroom until he realized that the extent of his skills did not include the “artwork” that is drywall. He wanted us to redo the drywall in the master bathroom.
On the rear of the house they had a balcony coming off of the master bedroom that they had previously removed.
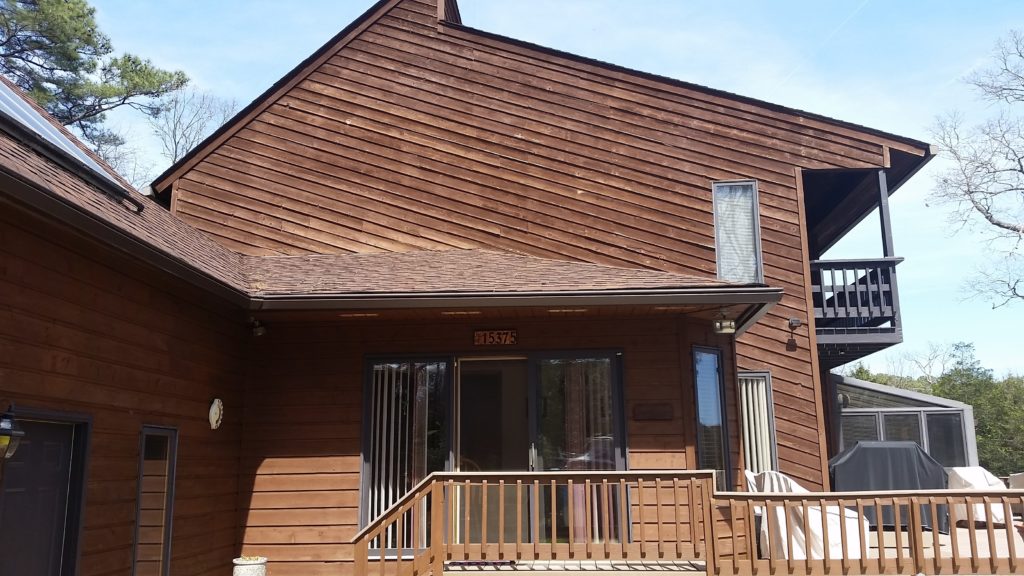
Rear of home where balcony has been removed
Because of the Tudor style of the house the stucco was very damaged where the balcony had previously existed. They wanted a price for re-siding the rear of the home with Hardieplank lap siding.
My estimate for all of the above: $17,532
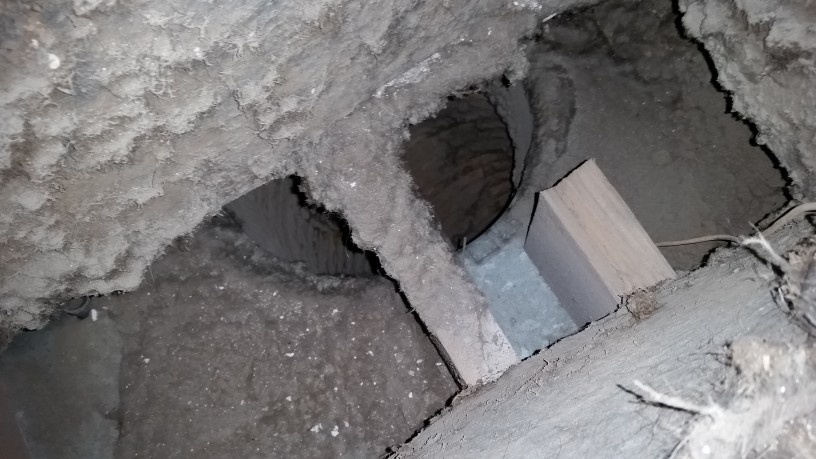
They also had a problem with their air conditioning ducts being extremely dirty and they wanted the air conditioning ducts cleaned.
This is the inside of an AC Duct
One of the problems that we noticed with the air conditioning ducts is that there was a commercial style insulation inside the ducts so I referred them to Chuck Worley with The House Call Company.
Leaking Windows in Norfolk
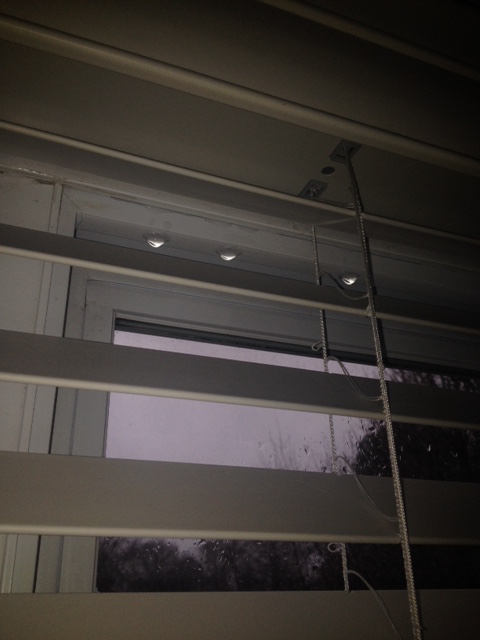
This is a picture of the leak taken by the tenant. Note the water drops on the top rail of the single hung windowThe arrow and yellow line shows the area of the mullion that is allowing water to enter the window assembly
I went to Norfolk to take a look at a rental property that we had previously worked on in the past. We had found a roof leak in the past and that was due to a bullet that had lodged in the roof and created a leak. We also replaced the rear patio door that had been leaking on this home in the past. This time the leak was coming from a large window assembly and the master bedroom on the second floor. There was a large half round window that was mulled to two 3 foot wide single-hung windows beneath it. The mullion that attached the half round window to the single-hung windows was allowing water to come in during rainstorms. The permanent fix to this would be to replace the entire assembly (due to the fact we had no idea who the window manufacturer was or how to get replacement parts for the mullion). However, because of our long-standing relationship with the property owner, I was willing to try a “gamble repair” of just caulking the mullion in between the half round window and the single-hung windows on the chance that that might solve the leak. I told them it would definitely be a maintenance item and there be no warranty on it, but the cost savings would definitely be worth the gamble. They agreed.
Front Porch Addition in Hampton
I went to the Chesapeake Avenue area of Hampton to meet with a young Coast Guard man who was interested in building a front porch of his house. After discussing the different designs for the front porch, looking at what his neighbors had, talking about what he wanting to do and discussing his budget constraints, it quickly became apparent that he was not anywhere near the point where he really knew what it was exactly that he wanted. I referred him to David DiSpirito of Homesite, Inc. so that he could hire David to develop a design that he could then have priced. Otherwise, I could see us wasting a lot of time going back and forth and him never getting something that both he and his wife could agree on. He was pleased with that idea and then he asked me to come inside the house and look at some of the other remodeling ideas that he had that he wanted to do himself. We looked at the kitchen, we also looked at removing a load bearing wall in the 1940s era house and some of the opportunities and constraints that the current layout of the house had. It was a good meeting and we parted on good terms. Hopefully he pursues the design idea with David DiSpirito and we get a design in the future that we can price and get the opportunity to do some work for him
Vinyl Siding and Paint in Carrollton
I went to a siding estimate in Carrollton Virginia. A very large house that the owner’s husband had done a lot of work on. He had passed away just 18 months ago and it seemed like they were taking some of the life insurance money and doing a lot of repairs to the house. They wanted to install new vinyl siding on the house which is currently all stained cedar siding.
The owner was getting very frustrated with the carpenter bees attacking the wood trim and the siding. The bees were definitely “out in force” the day we were out there.
These are what the carpenter bees looked like that day.
It was interesting to talk about her recently deceased husband having been in the Air Force and he had also worked in the career field that I had worked in in the Air Force.
The owner was very interested in what I had to say about the siding and my recommendations as to how to handle certain details on the home as opposed to what others may have said about the siding. It was interesting that she didn’t want to share what the others had said but I had wonder… it was almost like I was there for an exam!
One of the issues was that on the side of the house the siding had been run on an angle and other contractors had told her that vinyl siding could not be run at an angle (which I knew was untrue…I have since located the specification from the manufacturer that will allow for this.) So that was a point of discussion.
She had gutters on the house and some of the fascia boards had been wrapped with pvc coated trim coil at the same time as the gutters were installed and there was discussion about having Carefree Gutters remove the gutters prior to our start and replace them after we were done.
She also wanted many of the doors repainted on the house.
This video is a slide show of the dramatic before and after pictures of a home that was ruined by the faulting electrical wiring of a hot tub on the deck. Our team put it back together better than it was before.
I made this quick little slideshow to illustrate the before & after impact that a kitchen remodel can have, even when it’s done on a budget.
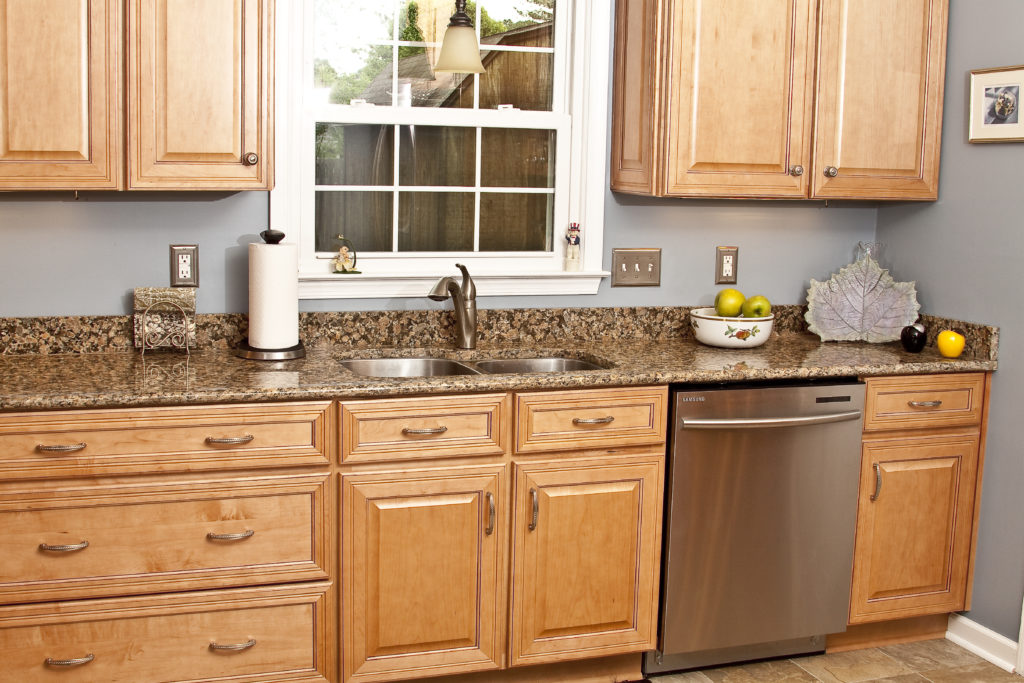
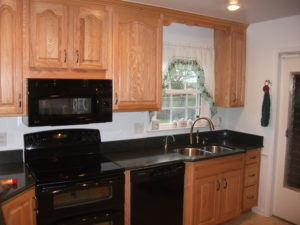
Here are two kitchens we recently completed with reasonably economic lines of cabinetry, Level 1 granite countertops, vinyl flooring, and stainless steel sinks. No walls were moved. These are what we call a “pull & replace” kitchen in the remodeling business.
I put together a video slide show of the images shown below that goes back and forth between before and after to give a different perspective:
Click on any of the images below for a larger view – you’ll have to click once to select the picture and then a second time to show the large size:
This is a kitchen we just finished in the Hidenwood neighborhood of Newport News, near Christopher Newport University and James River Country Club. We absolutely loved this project and our clients! If you’re interested in the complete list of everything we did on this project it is at the end of this article.
In the meantime you can watch the video slideshow or scroll down for the larger versions of some of the pictures so that you can really see the detail in each image!
Our Scope of Work for this Kitchen Remodel Project:
Demolition
Demolish remove and dispose of:
Cabinets
Existing kitchen cabinets
Kitchen island
Wet bar and wall cabinet
Existing sink and plumbing fixtures in both kitchen and wet bar
Existing countertops
Existing trim on paneled walls
Door casing
Window casing
Crown molding
Baseboard
Appliances
Double ovens
Existing cooktops and down drafts in both island and wetbar
HVAC
Move HVAC register under toe-kick in base cabinet near dishwasher
Run new gas line to new cooktop location
Plumbing
Adjust plumbing supply and drain lines as necessary for kitchen sink and hook up new sink drain, attach disposal, hook up faucet, and attach dish washer drain line
Furnish and install new customer selected kitchen sink and faucet
KITCHEN FAUCET – quoted from Ferguson $209.62
LF 1HDL PO KITC FCT ARST 1.5 GPM
Furnish and install new customer selected wet bar sink and faucet
BAR FAUCETS -quoted from Ferguson $311.50
LF ALLEGRO BAR FCT 1.5 GPM
Hook up dishwasher supply line
Re-route ice maker supply line to new refrigerator location and hook up.
I’m sorry I don’t work in your State, I would be more than happy to help you out with your recent “kitchen flood”. Hopefully, I can answer some of your questions about the process you are going through from the perspective of a Professional Remodeling Contractor that has been involved in his share of insurance restorations over the years (Four Hurricanes to date, not to mention all the other things that “happen” to homes)
Water Heater in Attic Failed – all materials that could not be dried were removed
I’d like to start this discussion with a saying that my very close friends who are in insurance and I share: “99% of insurance adjusters and contractors give the rest a bad name”. I have great friends in the insurance business who are ethical and honorable people. We all have very strong opinions on the matter and theirs are every bit as valid. I hope they don’t get too mad at my opinions, here.
Insurance adjusting is done by an entirely separate department of the insurance company. The agent has little to no interaction and the personal relationship between the agent and the customer is usually not in play. The “Adjustment” or estimating the value of insurance losses has become “a game” in the home repair world. Unfortunately, in my opinion, the game stinks.
This is what your house looks like after all the moisture damaged materials are removed
Insurance Adjustment for repairs is a silly game that some contractors refuse to play. I know of ZERO Award Winning Professional Remodeling Contractors who specialize in insurance restoration or repairs. All of us have to do them from time to time because crap happens to people we care about and we want to help our friends and neighbors. The insurance “game” is so tedious that most of us contractors run from it. Unfortunately, homeowners are the ones who suffer. Here are a few of my thoughts from my experiences with insurance repairs:
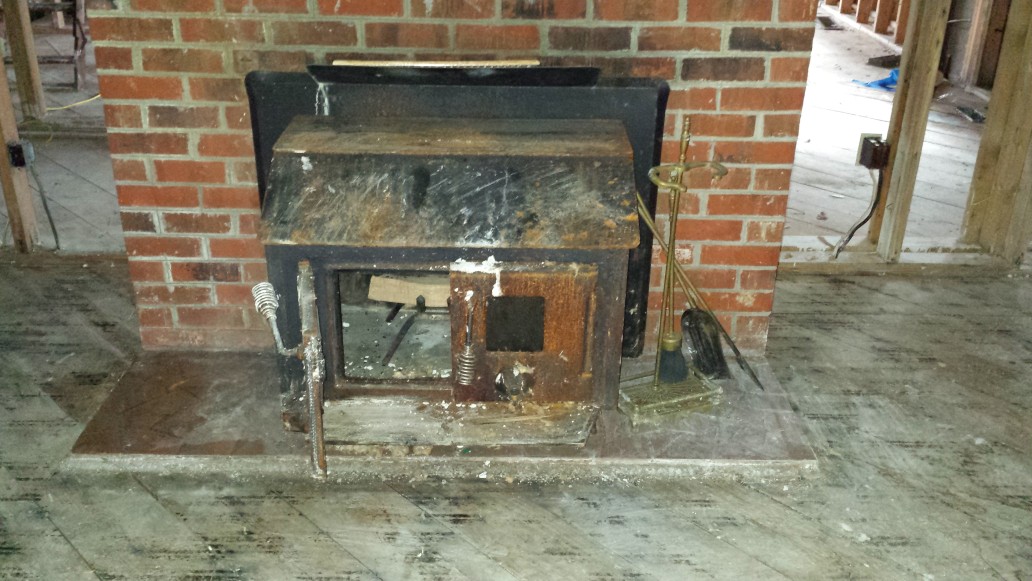
There is no “refurbishing” a fireplace insert that has been damaged this badly. Replace it.
I. Insurance Adjusters and Professional Contractors Estimate Projects Using Different Methods.
The insurance companies all use a program called Xactimate to estimate the cost of repairs. Without going into a long, boring explanation, suffice to say a legit pro can’t do the repairs for the amount that Xactimate allows for. No builders or remodelers I know use Xactimate for their estimating (I know a few contractors that specialize in insurance restoration that use it). Therefore, the homeowner is left with a few options:
Use the contractor the insurance company recommends. This is a contractor that has agreed to “choke down” the slop that the insurance company will feed them. They believe they can:
Make it up on volume of work that the insurance company will graciously bestow upon them or play games with the Xactimate program to find hidden charges that the insurance company must eat.
Cut enough corners that they can lower their labor and material cost on the job in order to make a decent margin under the “fixed” price they have agreed to .
Needless to say, I am often called in afterwards to fix what the other contractor fixed…of course it’s a year or so later, out of warranty and out of the owner’s pocket.
Case in point, here are the my office’s notes for my 4pm appointment today – “needs structural, electrical, and plumbing repairs. had a full renovation under insurance and it was not done correctly. needs it redone up to proper codes and standards”
Get their own contractor and pay for the difference between what the insurance company will allow for and what the contractor will do the job for.
Get their own contractor and fight with the insurance company to pay the right price for the right job with their choice of contractor.
This happens to be the law by the way: The homeowner has the right to chose the contractor they want.
But the insurance adjusters are adept at pulling the wool over the homeowner’s eyes. It usually sounds something like
“We are committed to paying you for your full loss, Mr. Jones, but this contractor’s prices do not appear to be in alignment with the current market. I can bring in another contractor right now to do it for what we are allowing”
Or my favorite: “It’s no problem, Mr. Jones. If you find that the repairs exceed what we’ve allowed after the job is complete just file a SUPPLEMENTAL claim.” (Read: pay for it out of your pocket, go through this whole nightmare claim process again and we’ll send another guy out here to start all over.)
The only way I’ve ever seen this work is when the homeowner stands firm about their choice of contractor and says “THIS is my contractor, I’m not using ANYONE else. THIS is the price. PAY IT.”
Unfortunately, most homeowners don’t have enough trust & confidence in one contractor to stand up for themselves to the savvy insurance adjuster.
Flood damaged home’s electrical panel
II. The biggest problem: Adjuster and Contractor are not on same page as to the Scope of Work:
For what it’s worth, I have learned a technique that works quite well when I have to compare an insurance adjuster’s estimate with mine.
If you can imagine the two estimates usually come in quite far apart pricewise, which usually prompts the less “seasoned” adjusters and contractors to call each other “crazy” – basically because each of them are confident that they priced their project very carefully and how could anyone in their right mind be that far off??
So, what I’ve learned to do is sit down with the insurance adjuster and say “let’s put price aside for the moment and just focus on:
Scope of work – exactly what work is being performed in each of our estimates.
Specifications – to what standards & quantities the work is being performed. (i.e. “install soaking tub” vs. “install 6 ft porcelain on cast iron 89 gal tub”)
Selections – what fixtures are being used for plumbing? What fixtures are being used for electrical? What type of tile?
I have found that when the two estimates are lined up with those three things, the prices are almost dead even every time.
How does this happen? Xactimate doesn’t work this way – it takes time and effort to develop an estimate with this detail.
Therefore, I know in the beginning, if the prices are way off, the two estimates are not pricing the same job (scope, specifications & selections).
What kind of bathroom vanity will the insurance allow for? What kind of sinks? What kind of fixtures? How do you know?
III. Moisture –
The good thing is that you had a remediation company come out to do the demo and dry-out and they probably documented the areas that had higher moisture levels. That documentation is critical towards getting the insurance company to agree to the scope of the work that is performed. Anytime you need some leverage as to the adjuster agreeing to what moisture damaged areas should be removed and replaced, merely say “I’m fine with not replacing that as long as I get in writing from you that you are liable for any mold that may develop in the future.”
The word “mold” strikes blind fear in the hearts of insurance adjusters. They will never take a chance on it. Any liability to the insurance company because of their negligence will mean their job.
If you had a flood and you have to demo the kitchen floor, it would be in your best interests to have an independent person get in the crawlspace and ensure that there is no additional hidden moisture damage or mold growth on subflooring, framing or any standing water.
mold growth on AC ducts in crawl space due to water heater flood
IV. Practical Money Tips –
If there was ever a time you thought about improving or changing your kitchen, now would be the time to do it. However, a few tips:
Settle the insurance scope of work and financial compensation with your insurance first. Don’t mix the “estimate to repair the old stuff” with the “estimate to change it”
Keep the insurance company completely out of the discussion about any changes. Only speak to them about the cost to restore your home as it was with “like kind and quality”.
Write a completely separate contract and detailed scope of work with the contractor about how the area will be changed, put back together and finished. It is as important to define what is “excluded” from their scope of work as it is to define what is “included”.
This is Key
V. Rules to Remember:
“The faintest ink beats the best memory”
“It doesn’t matter, until it matters”
“Unmet expectations lead to friction and trouble.” (ensure all expectations are defined up front in writing)
The most important decision you will make in this entire process is the selection of the contractor. The right contractor will make the process go as smoothly as possible, with the least disruption to your life and family as possible and provide you with a quality job with quality materials that will serve your family well while you live in the home and that will appreciate in value with your home and eventually pay for the job itself.
Only the truly wealthy can afford the “low bid” contractor, because only the truly wealthy can afford to pay to have it fixed properly a second time.
We have a lot of fun on our Jim Hicks Home Improvement Facebook Page ! Our fans never hold back with their opinions on what they like, what they would do differently or which kitchen or bath they prefer. We love hearing about it!
This picture was the most popular we posted in the month of February.
After a fair amount of research, we believe it was done by Greenview Homes in Lincolnshire, Illinois. Can you guess why it was the favorite? We think it’s because of the amazing unique perspective it was shot at! It showcases this newly remodeled kitchen so well! You can clearly see the hardwood floors, the backsplash, the range and oven, the different colors of the base and wall cabinets (some with glass cabinet doors) as contrasted with the island, not to mention the different color granite countertops of the perimeter counters and the island.
Here’s another perspective of the same kitchen:
Many kitchens these days are installing skylights to bring natural light into the most popular room in the house, whereas this kitchen enjoys a skylight type tunnel extending down from a dormer window. To supplement the natural light provided by the dormer window, the glass patio door and the window over the sink, the kitchen also has can lighting and a centerpiece light fixture.
If you like pictures of kitchen and other great remodels, we’ve got more than you’ve ever seen on our Facebook page! You can visit by CLICKING HERE!
Today I was working with a remodeling client in Newport News on a kitchen design and we were looking for some ideas on how to use skylights in her kitchen. I put together this ideabook on Houzz to share with her. So, I thought I’d share it with you too! Click on the directional arrows at the bottom left of the viewer to move through the pictures.