Bathrooms

Let’s Talk About Tile

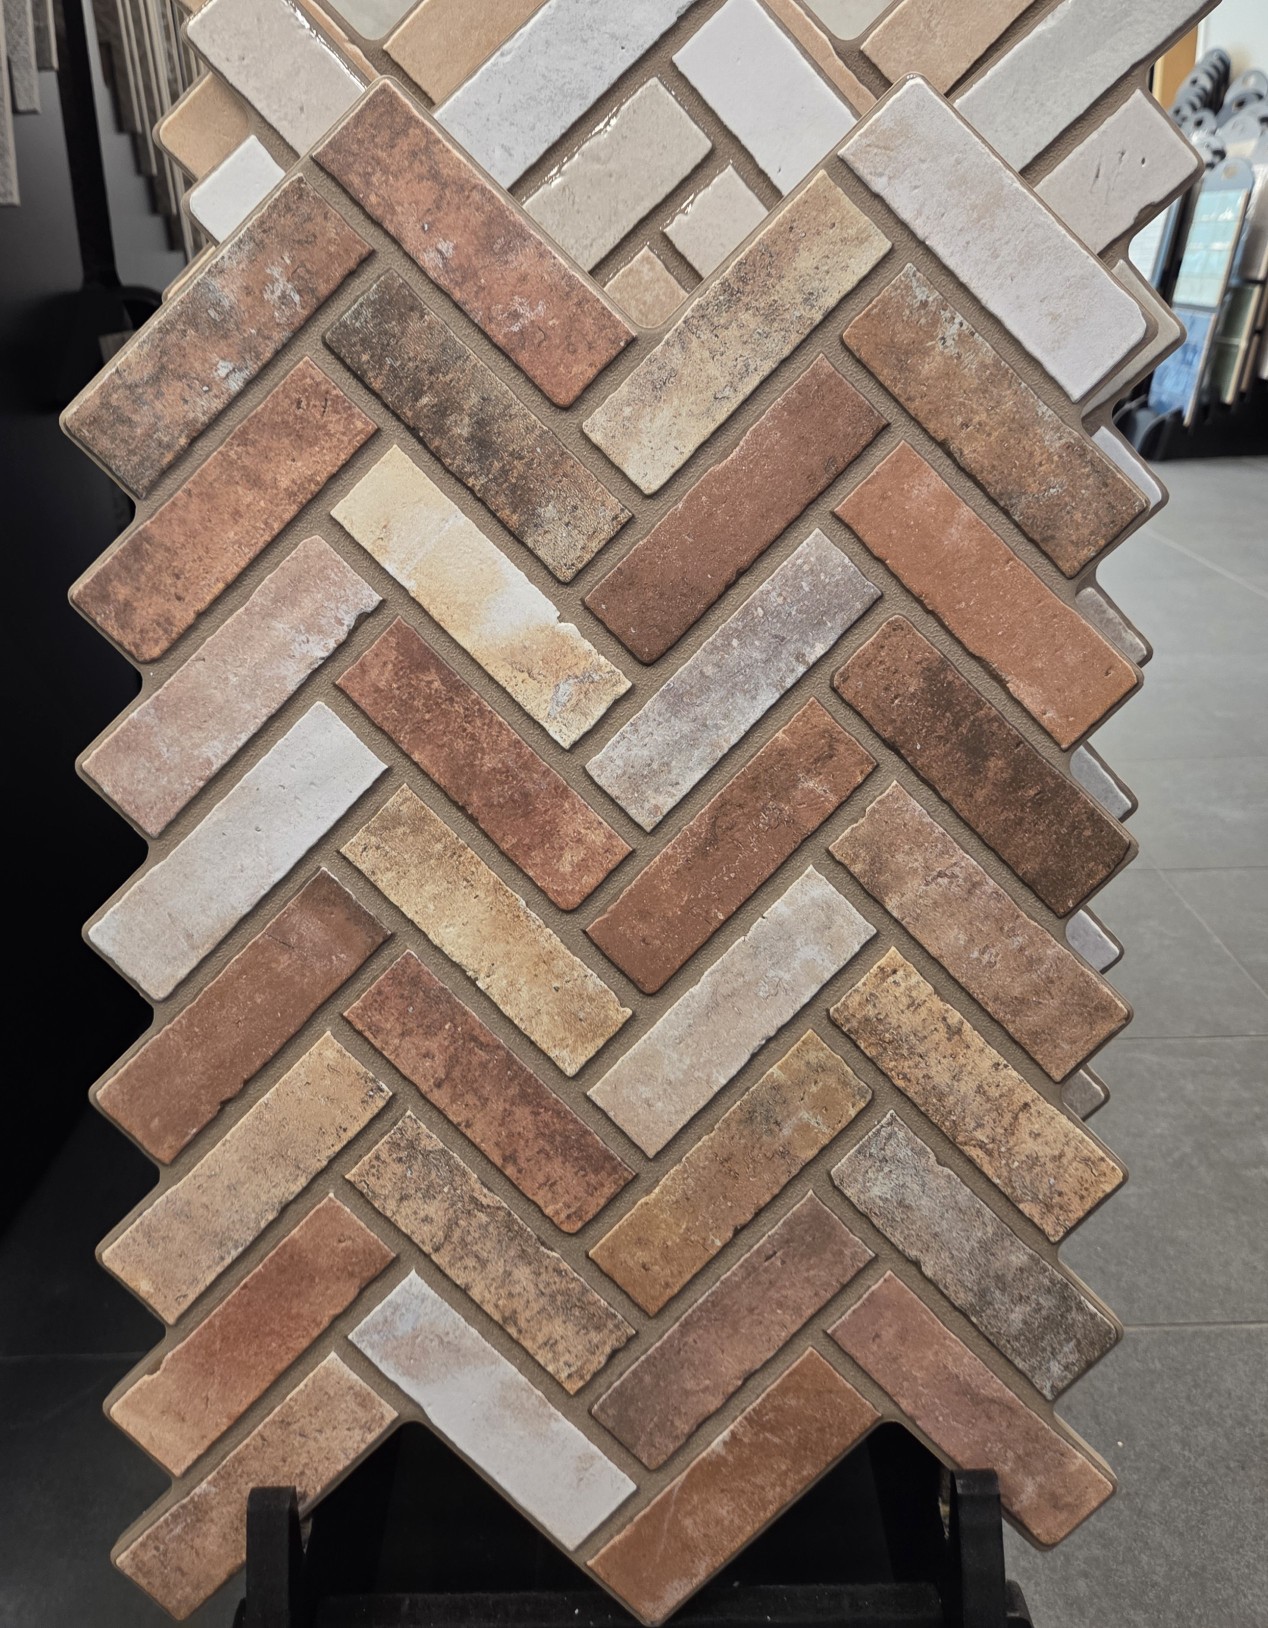
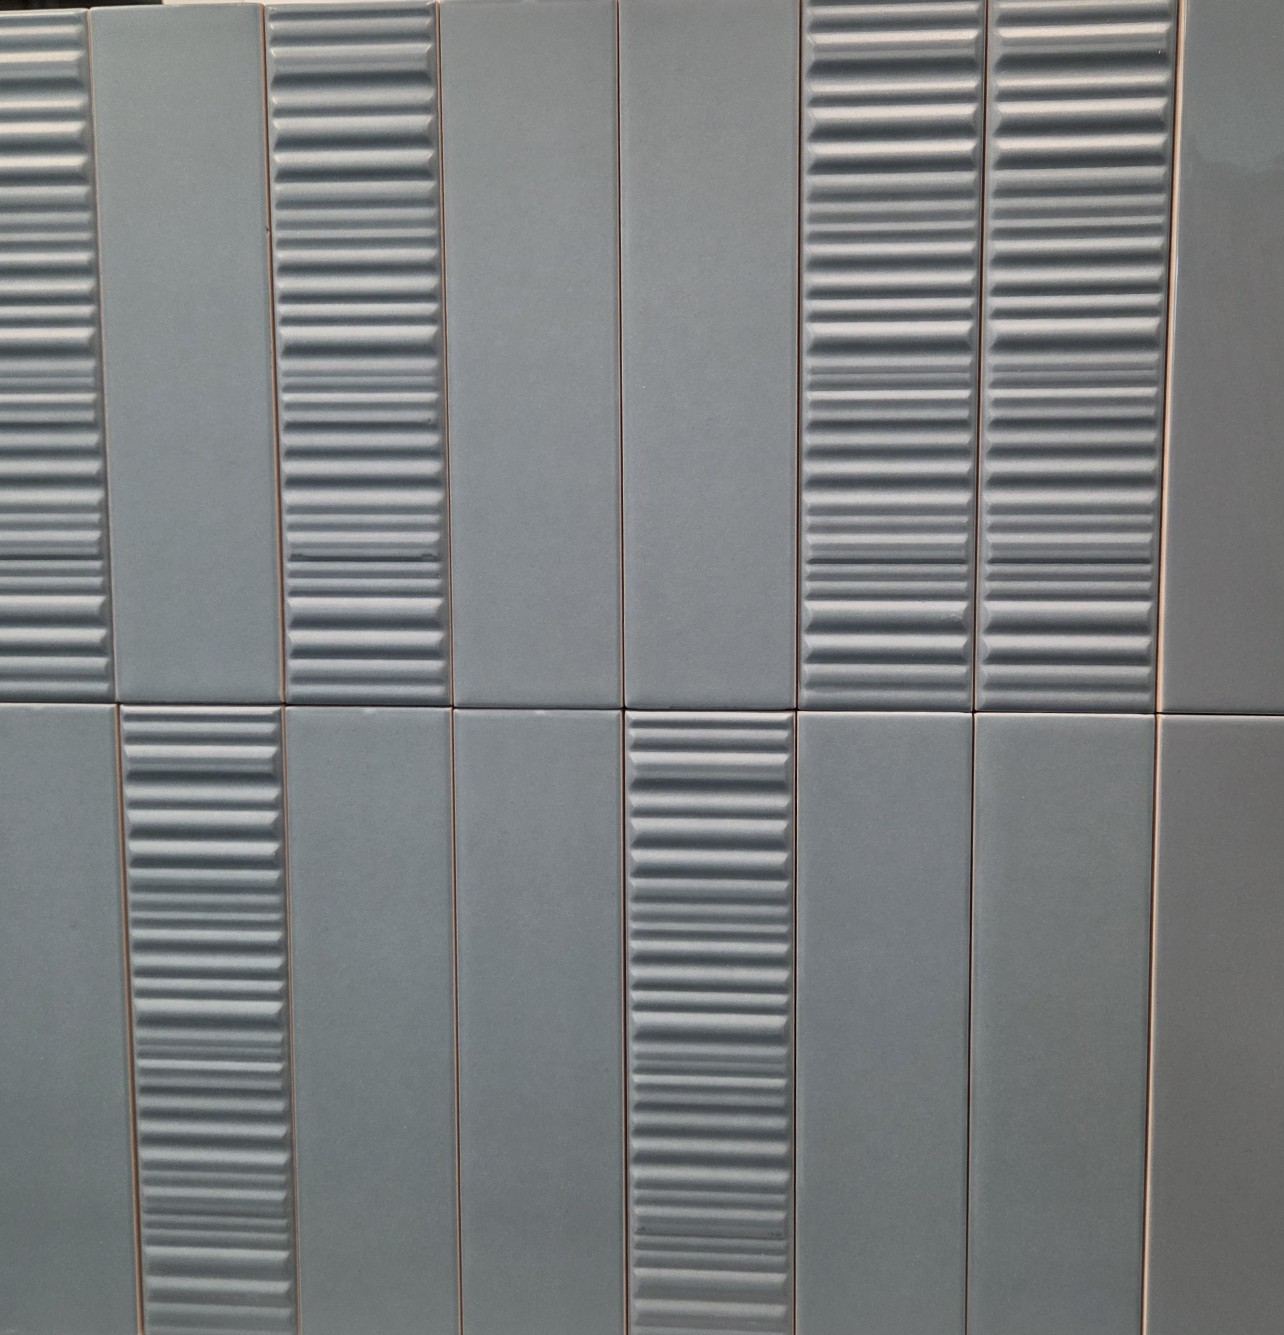
I paid a visit to our favorite tile shop the other day. I was a few minutes early for my appointment, so I decided to browse some of the new collections.

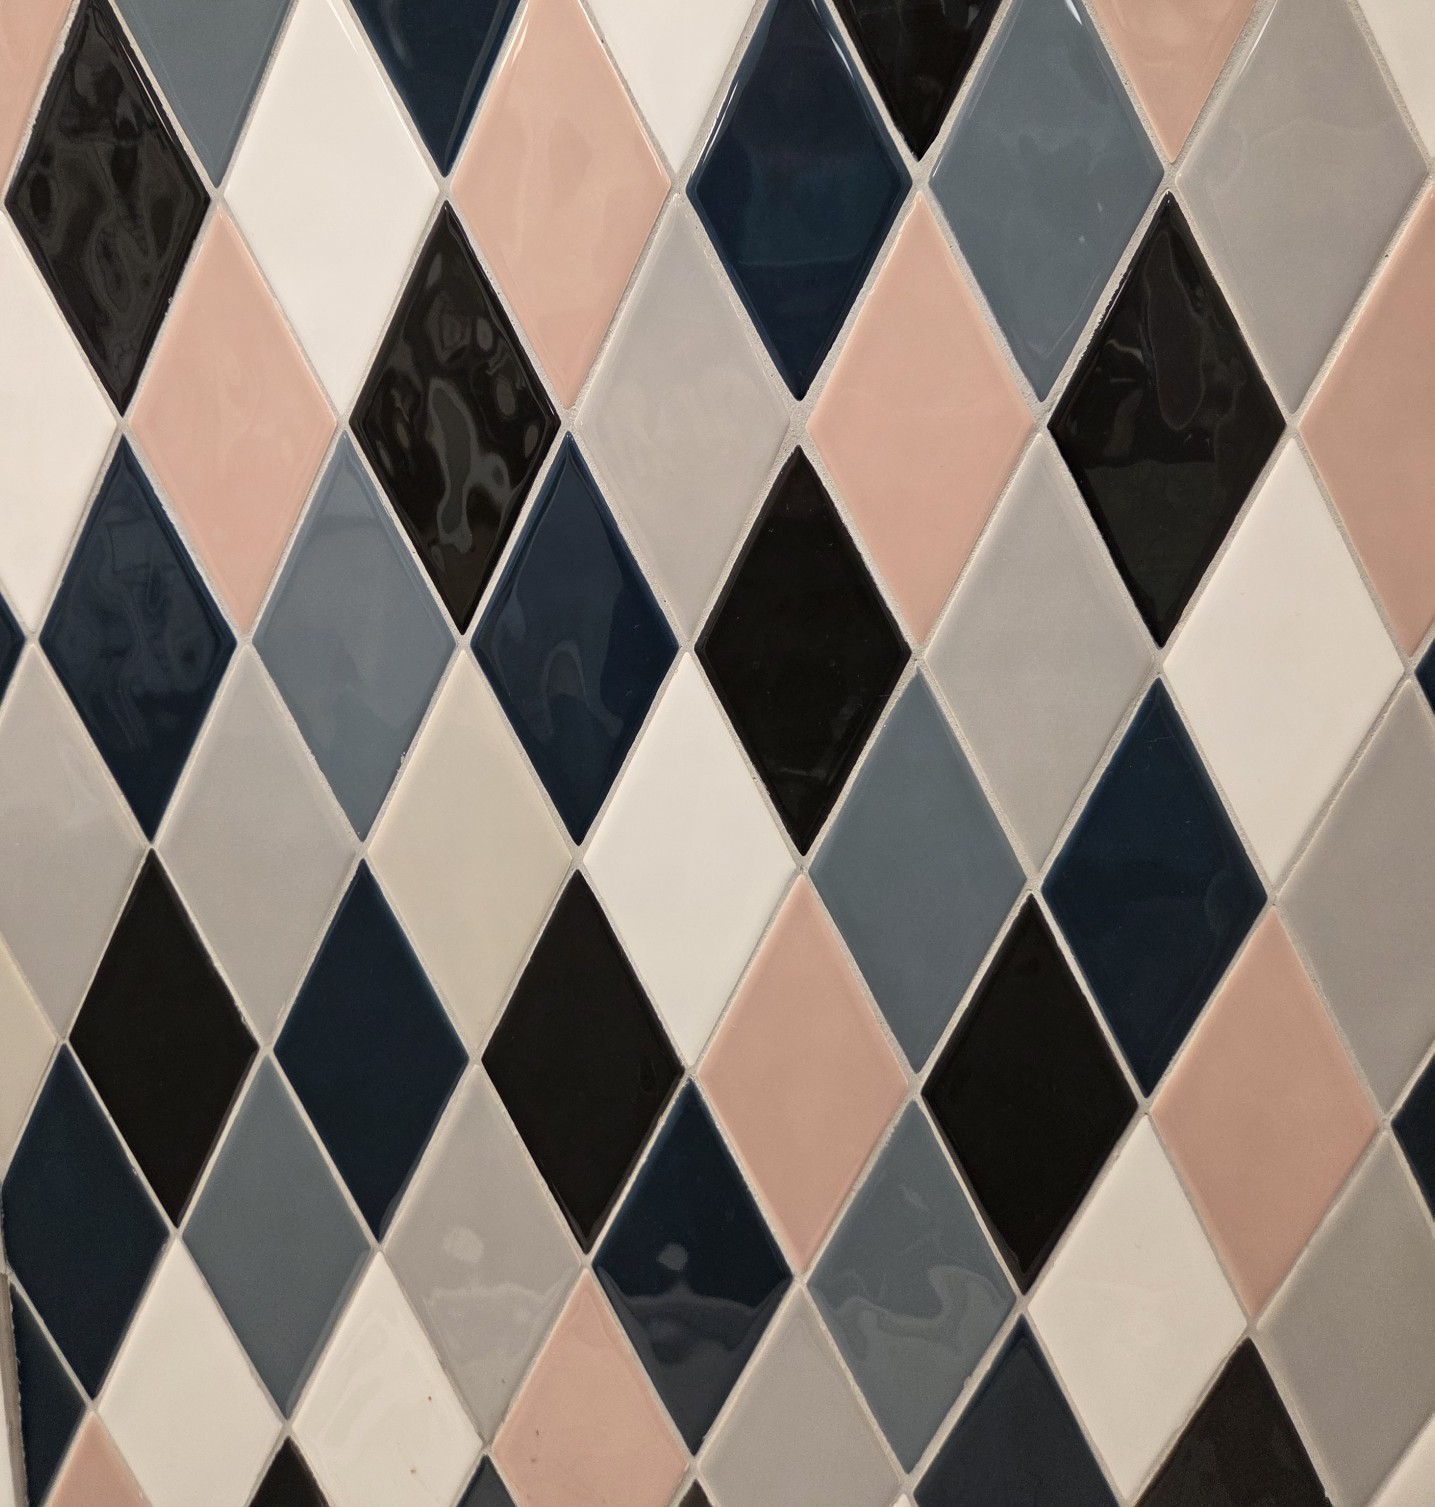
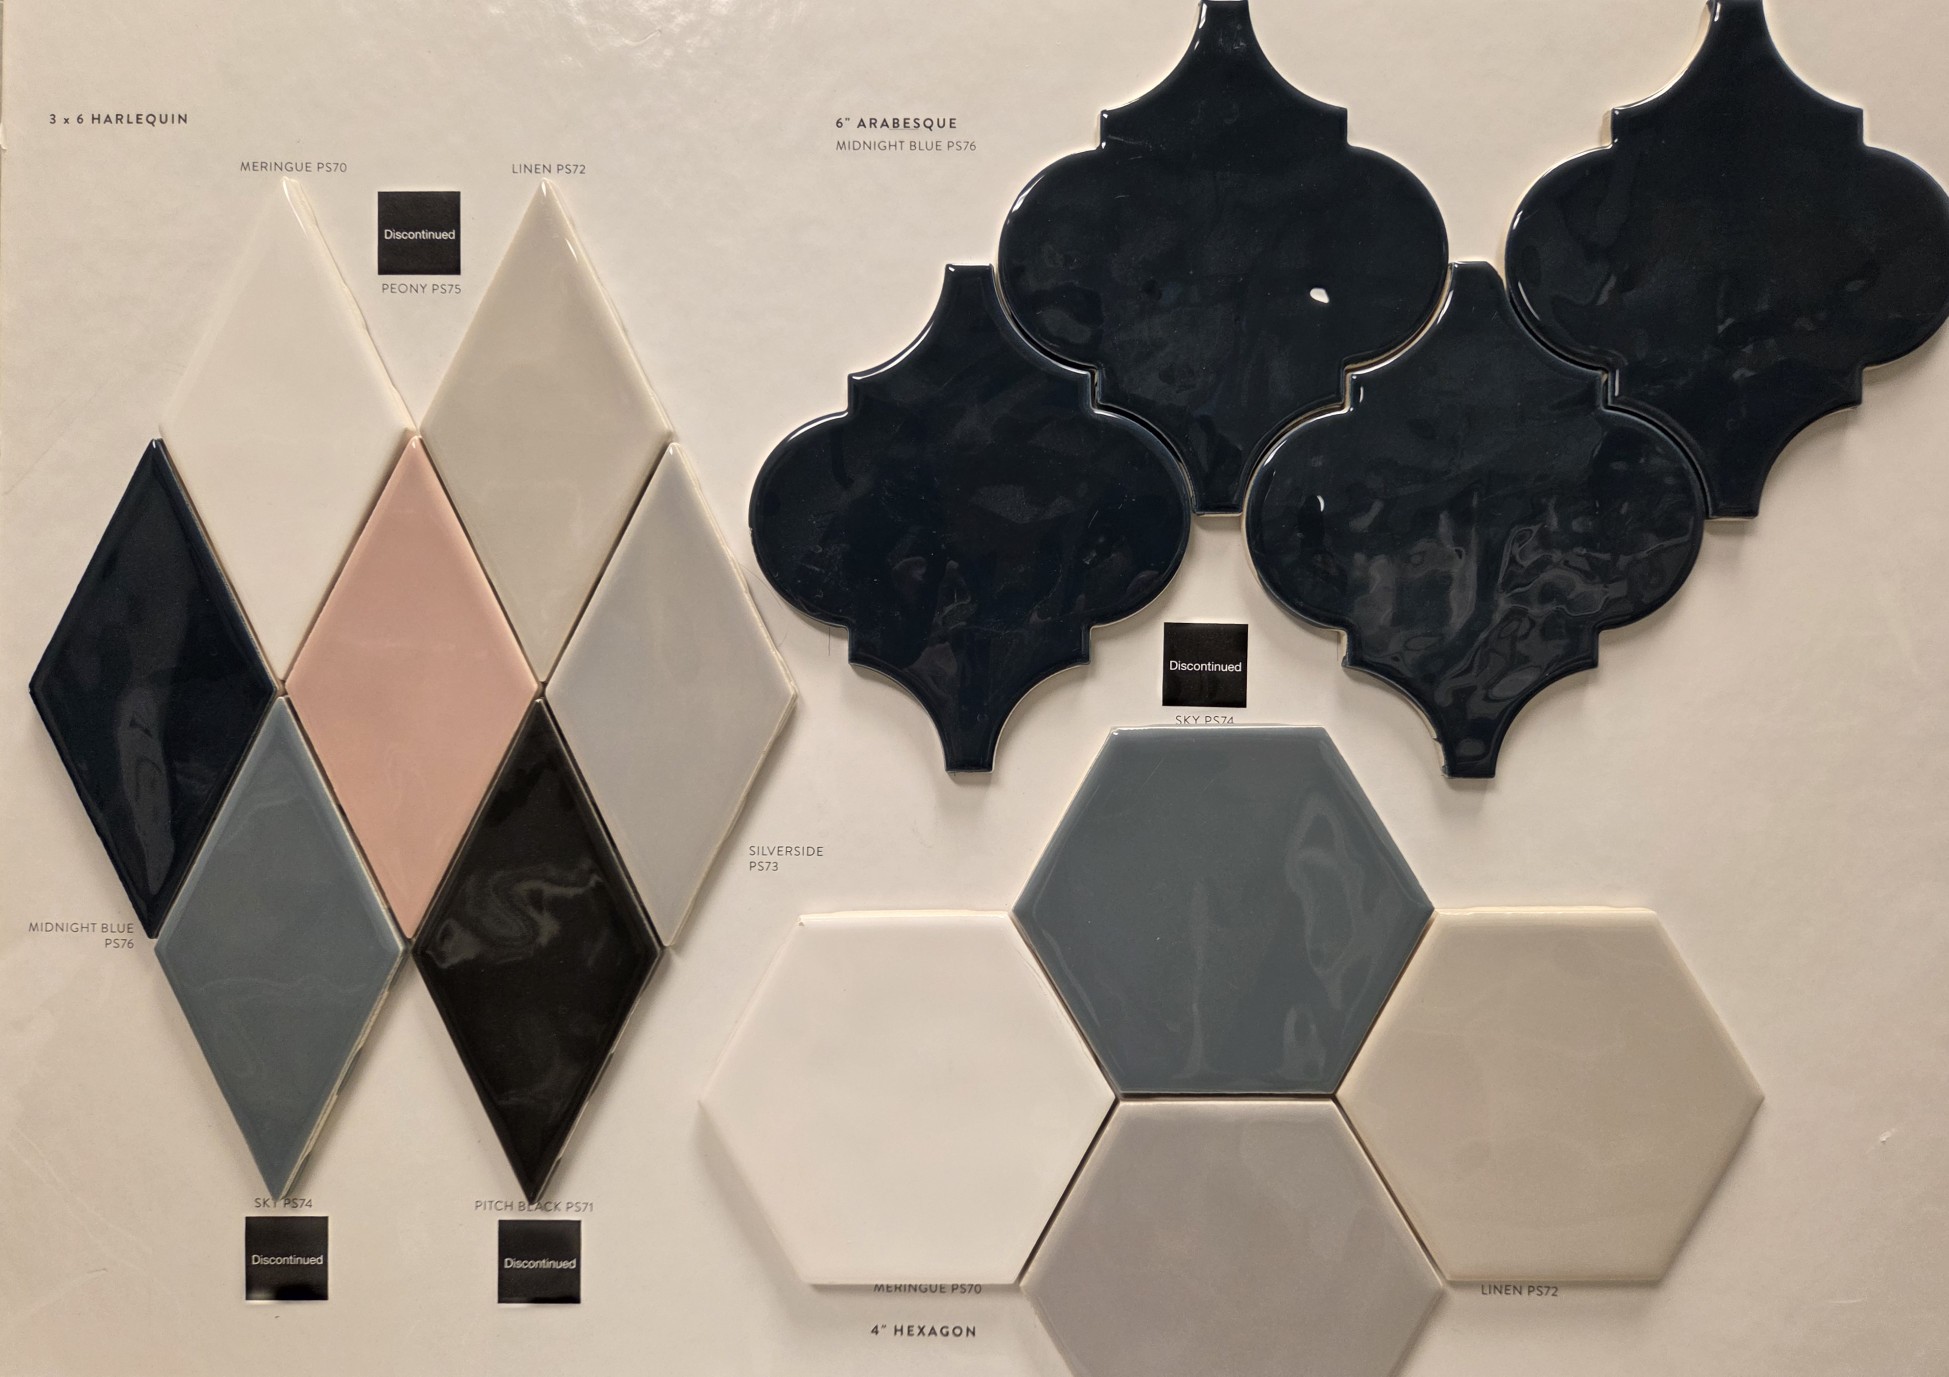
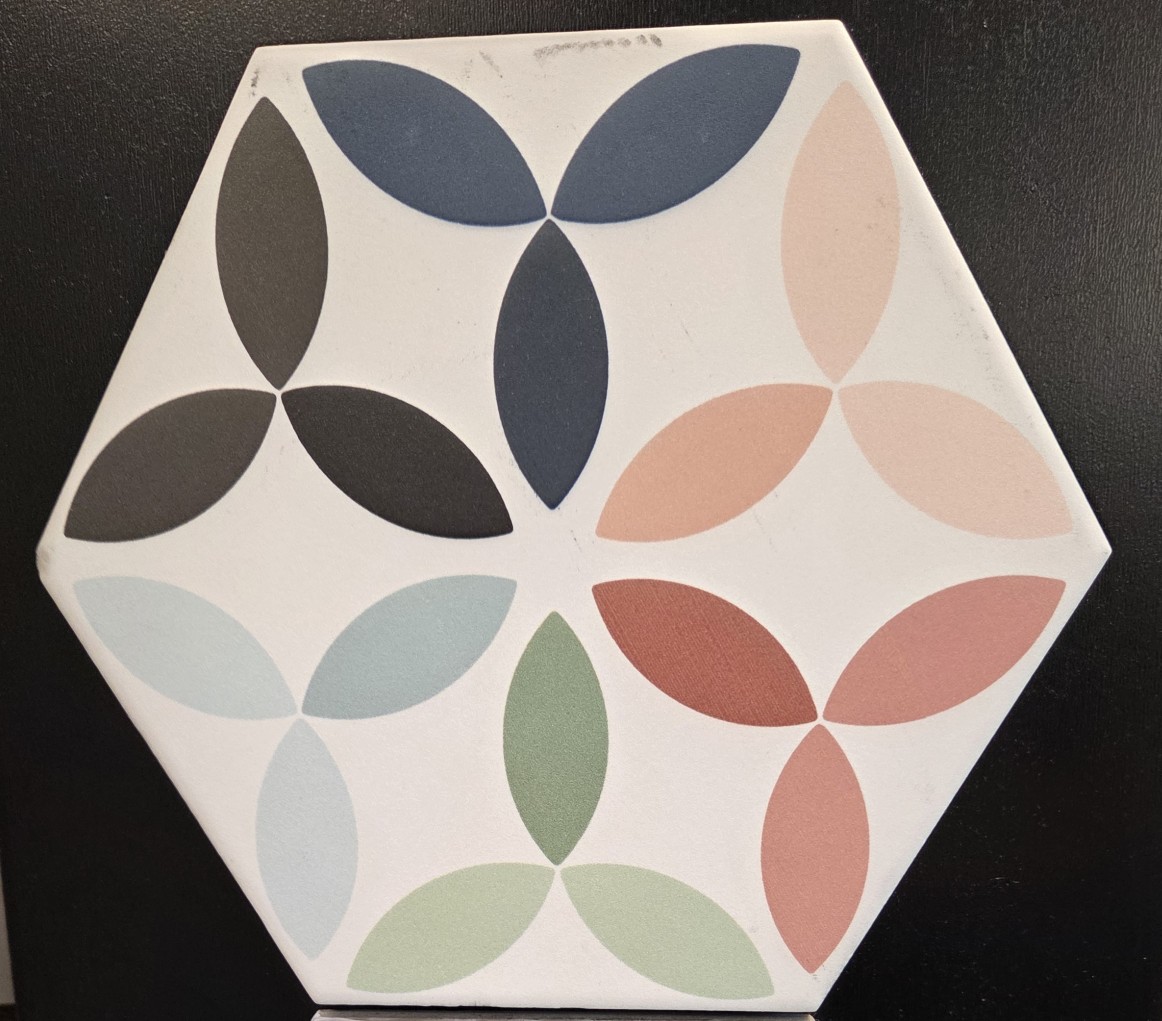
Wow! Color, textures, and shapes are back, including (gasp!) Pink! But this isn’t your grandmother’s pink. It’s bright and glossy and in a new diamond shape.

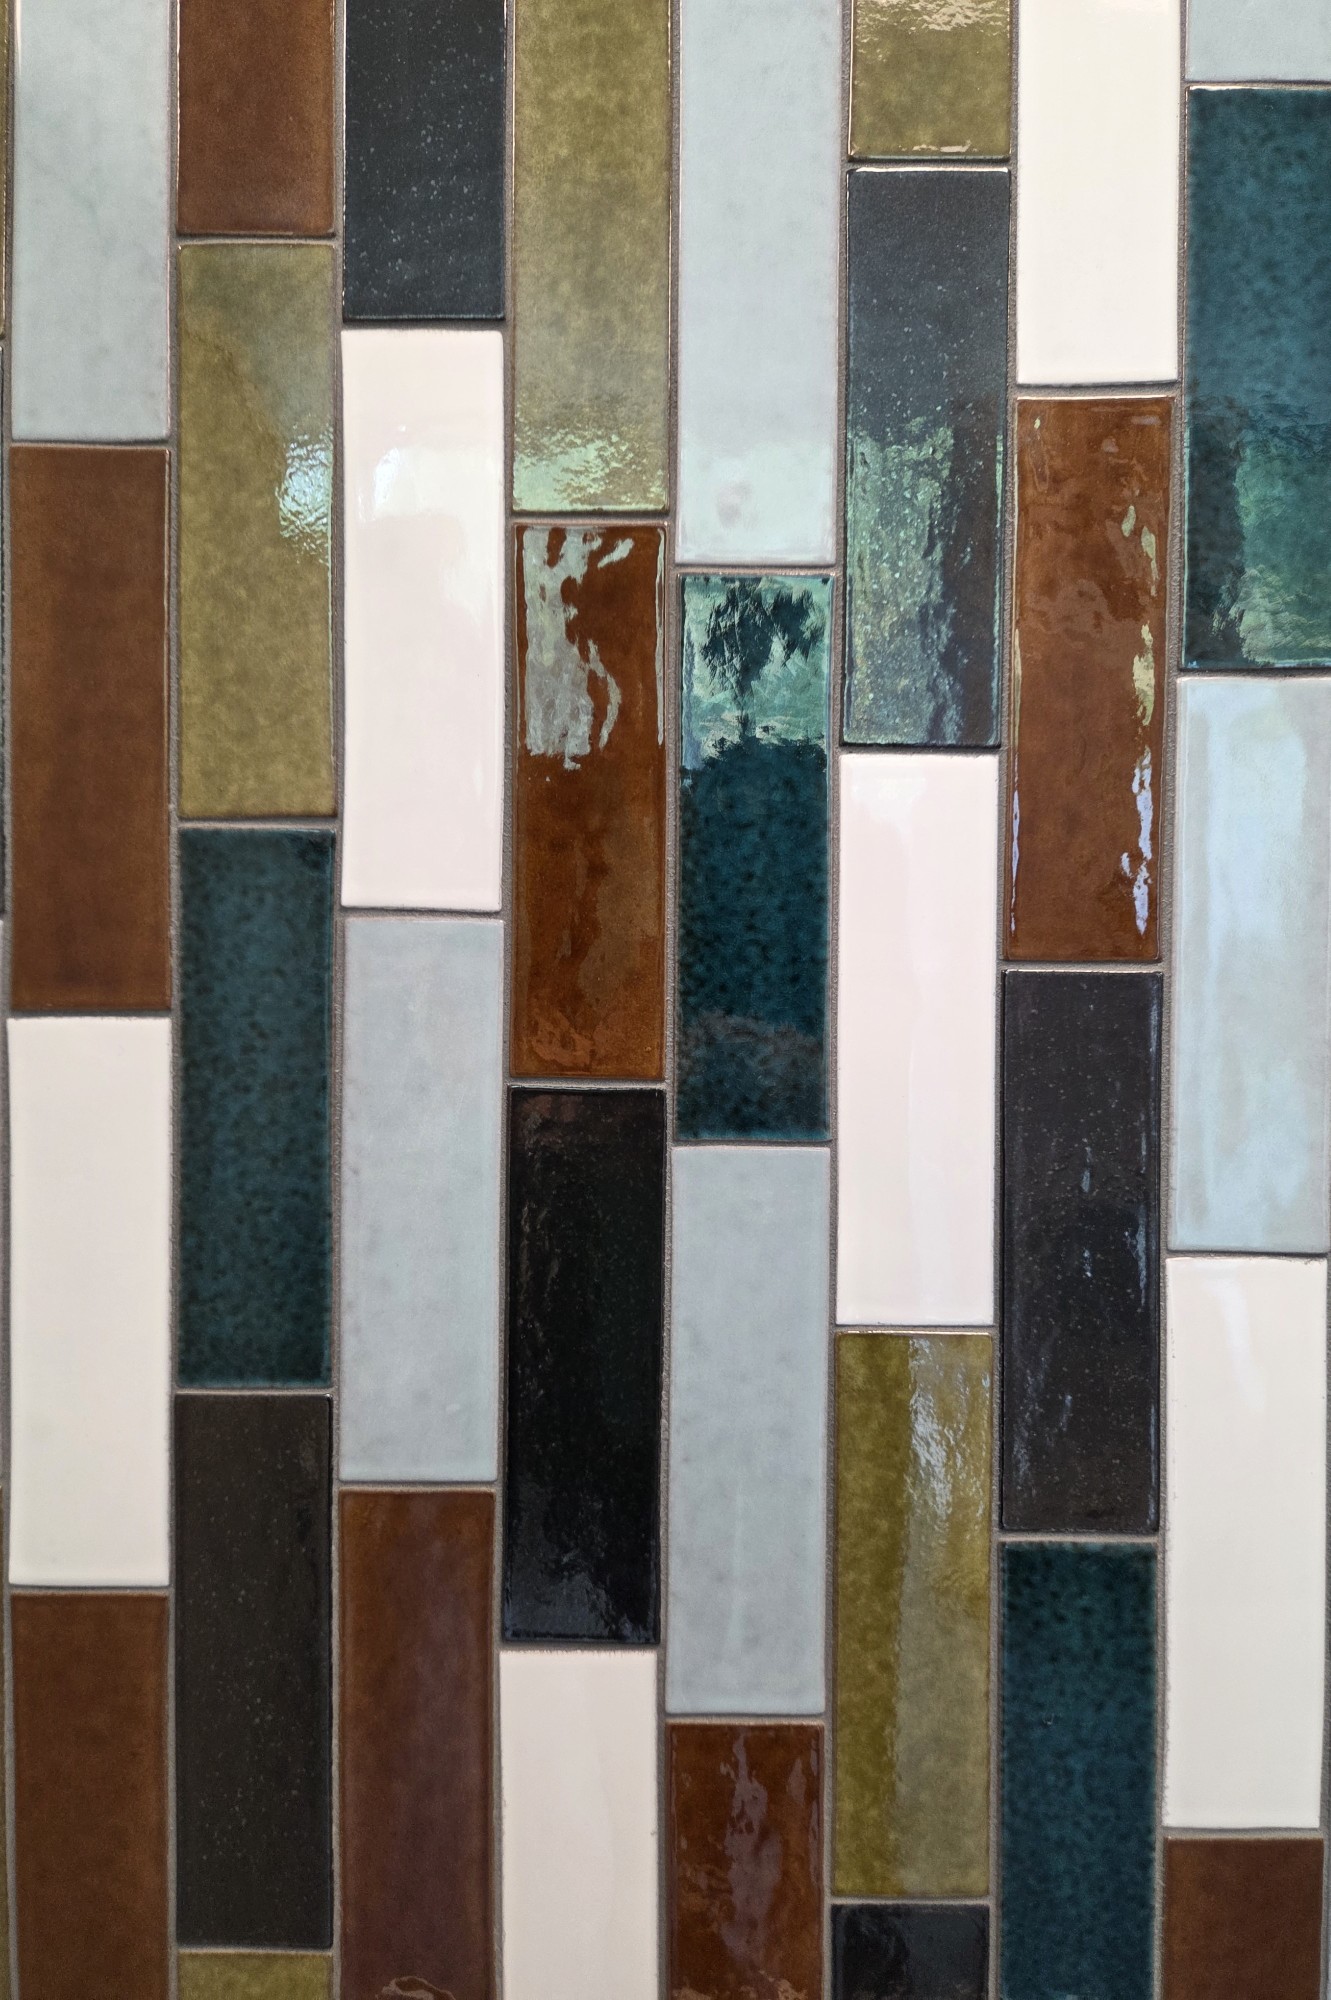
Green is also making a comeback, but in a marbled pattern with plenty of shapes and sizes available.

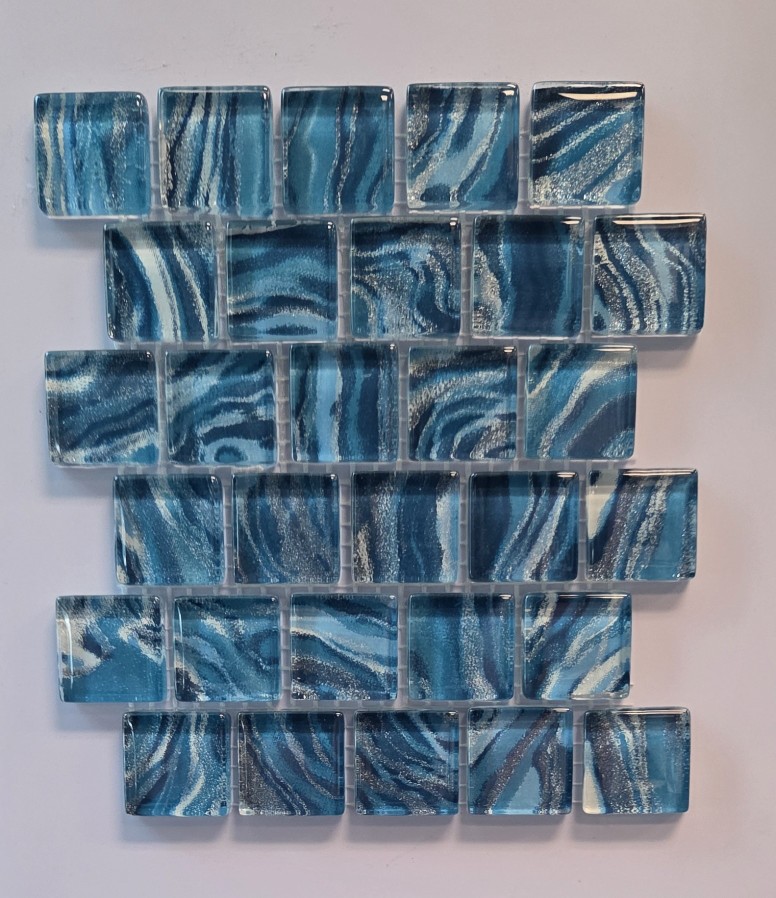
Blue hues range from light blue to teal, to navy.

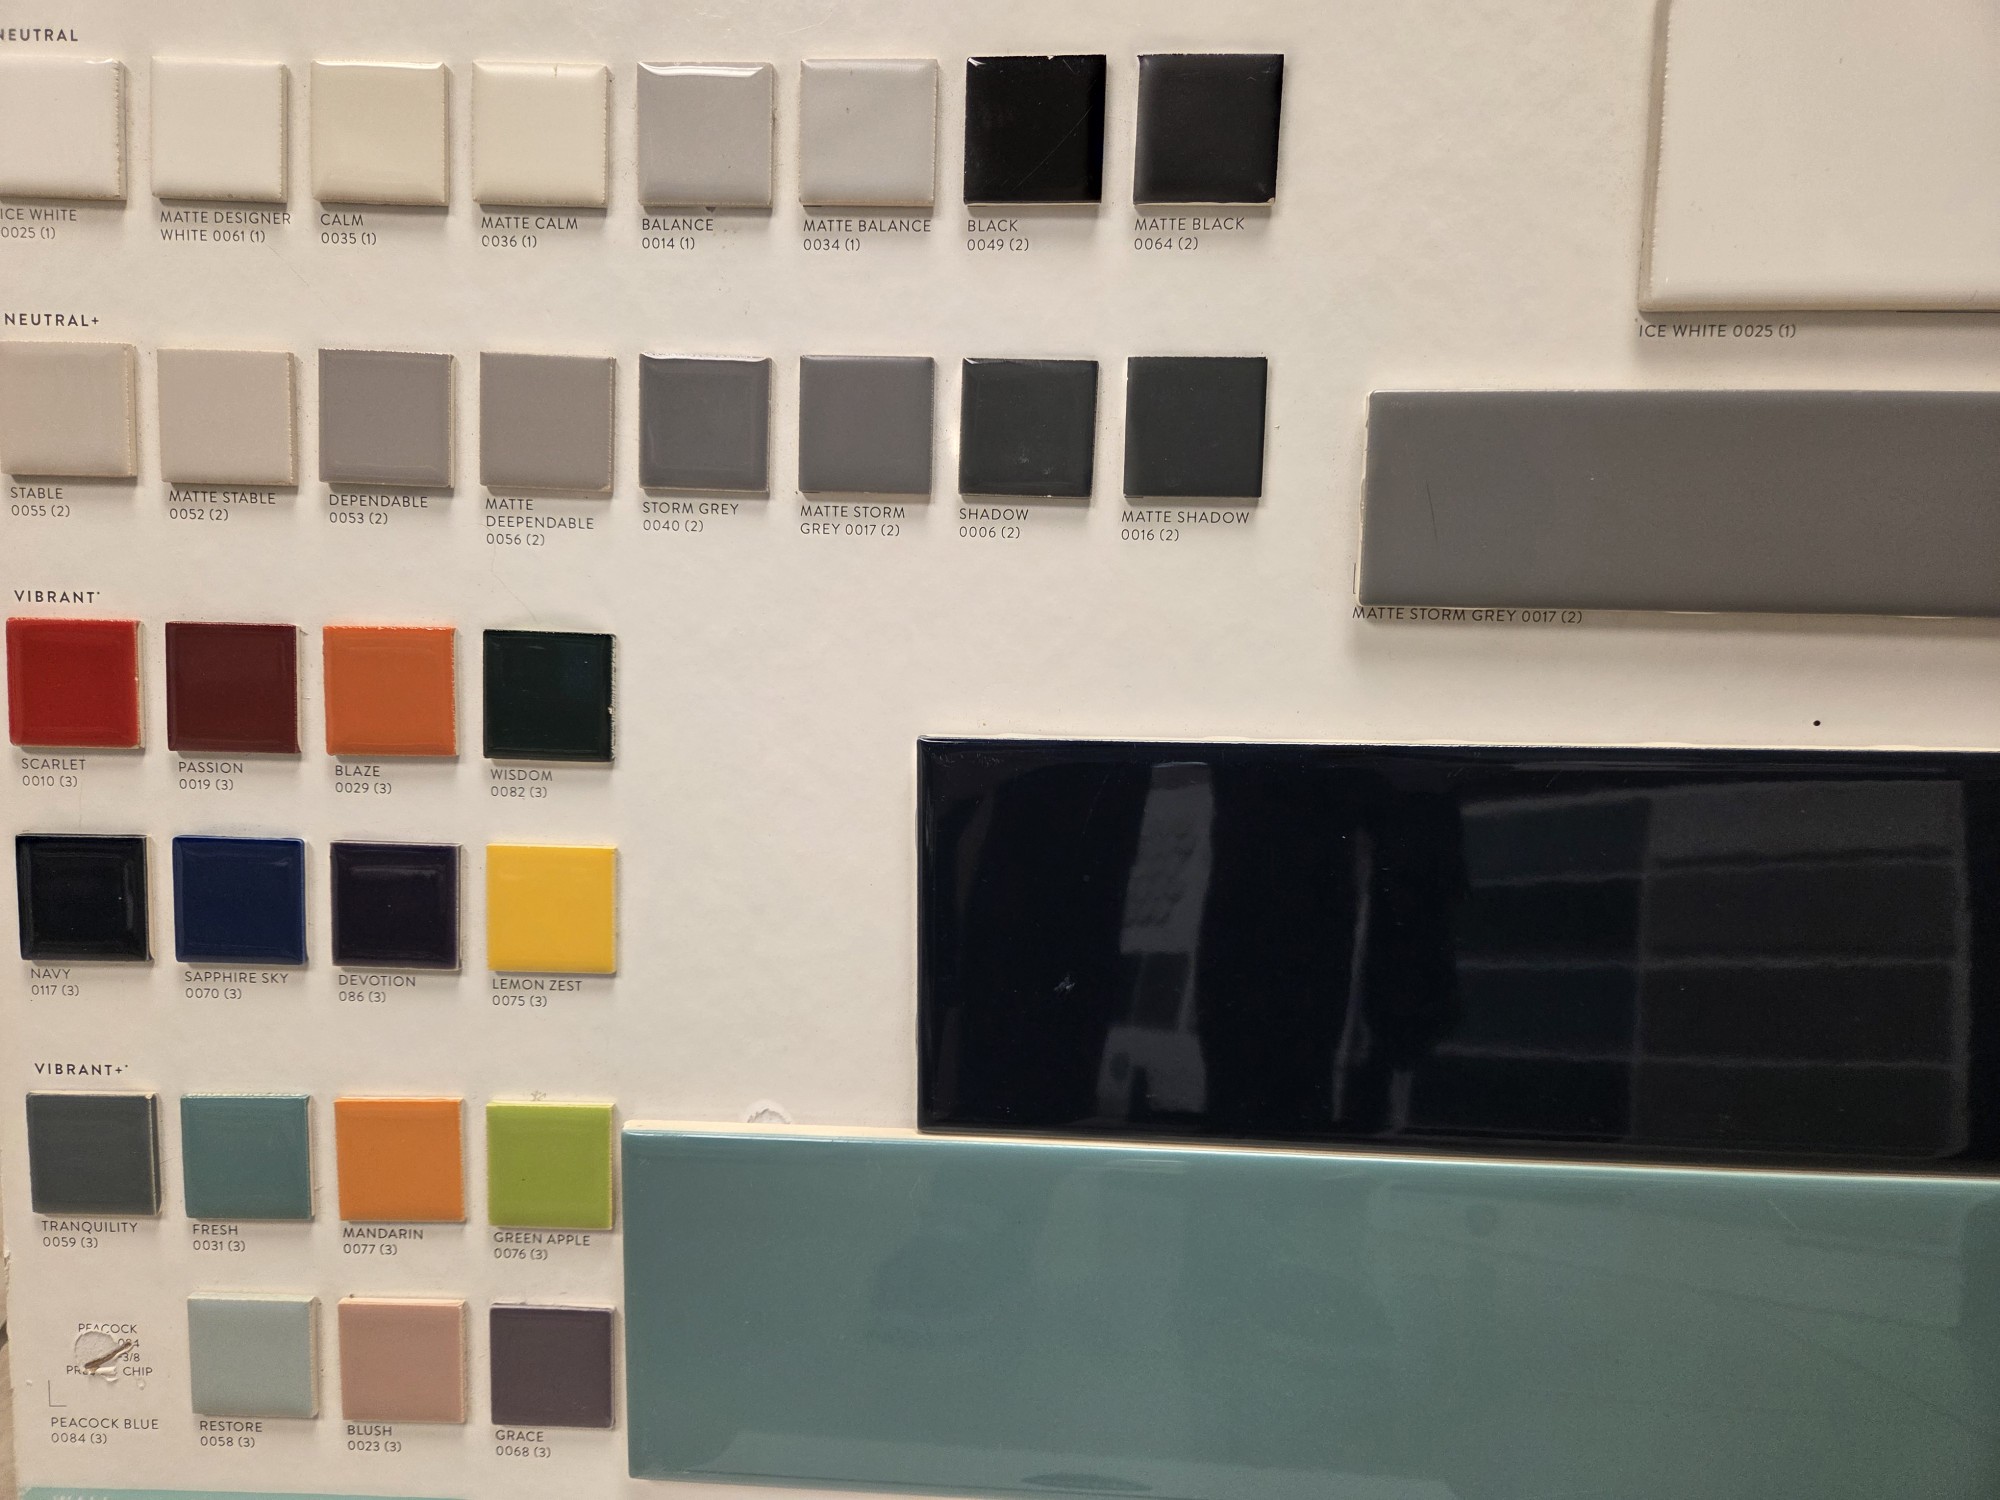
For even bolder shades, clients can check out the Color Story line which includes Blaze and Mandarin Orange, Lemon Yellow, and Green Apple.

Bathroom tile design can completely change the look of your bathroom or add a pop of color to your kitchen backsplash.

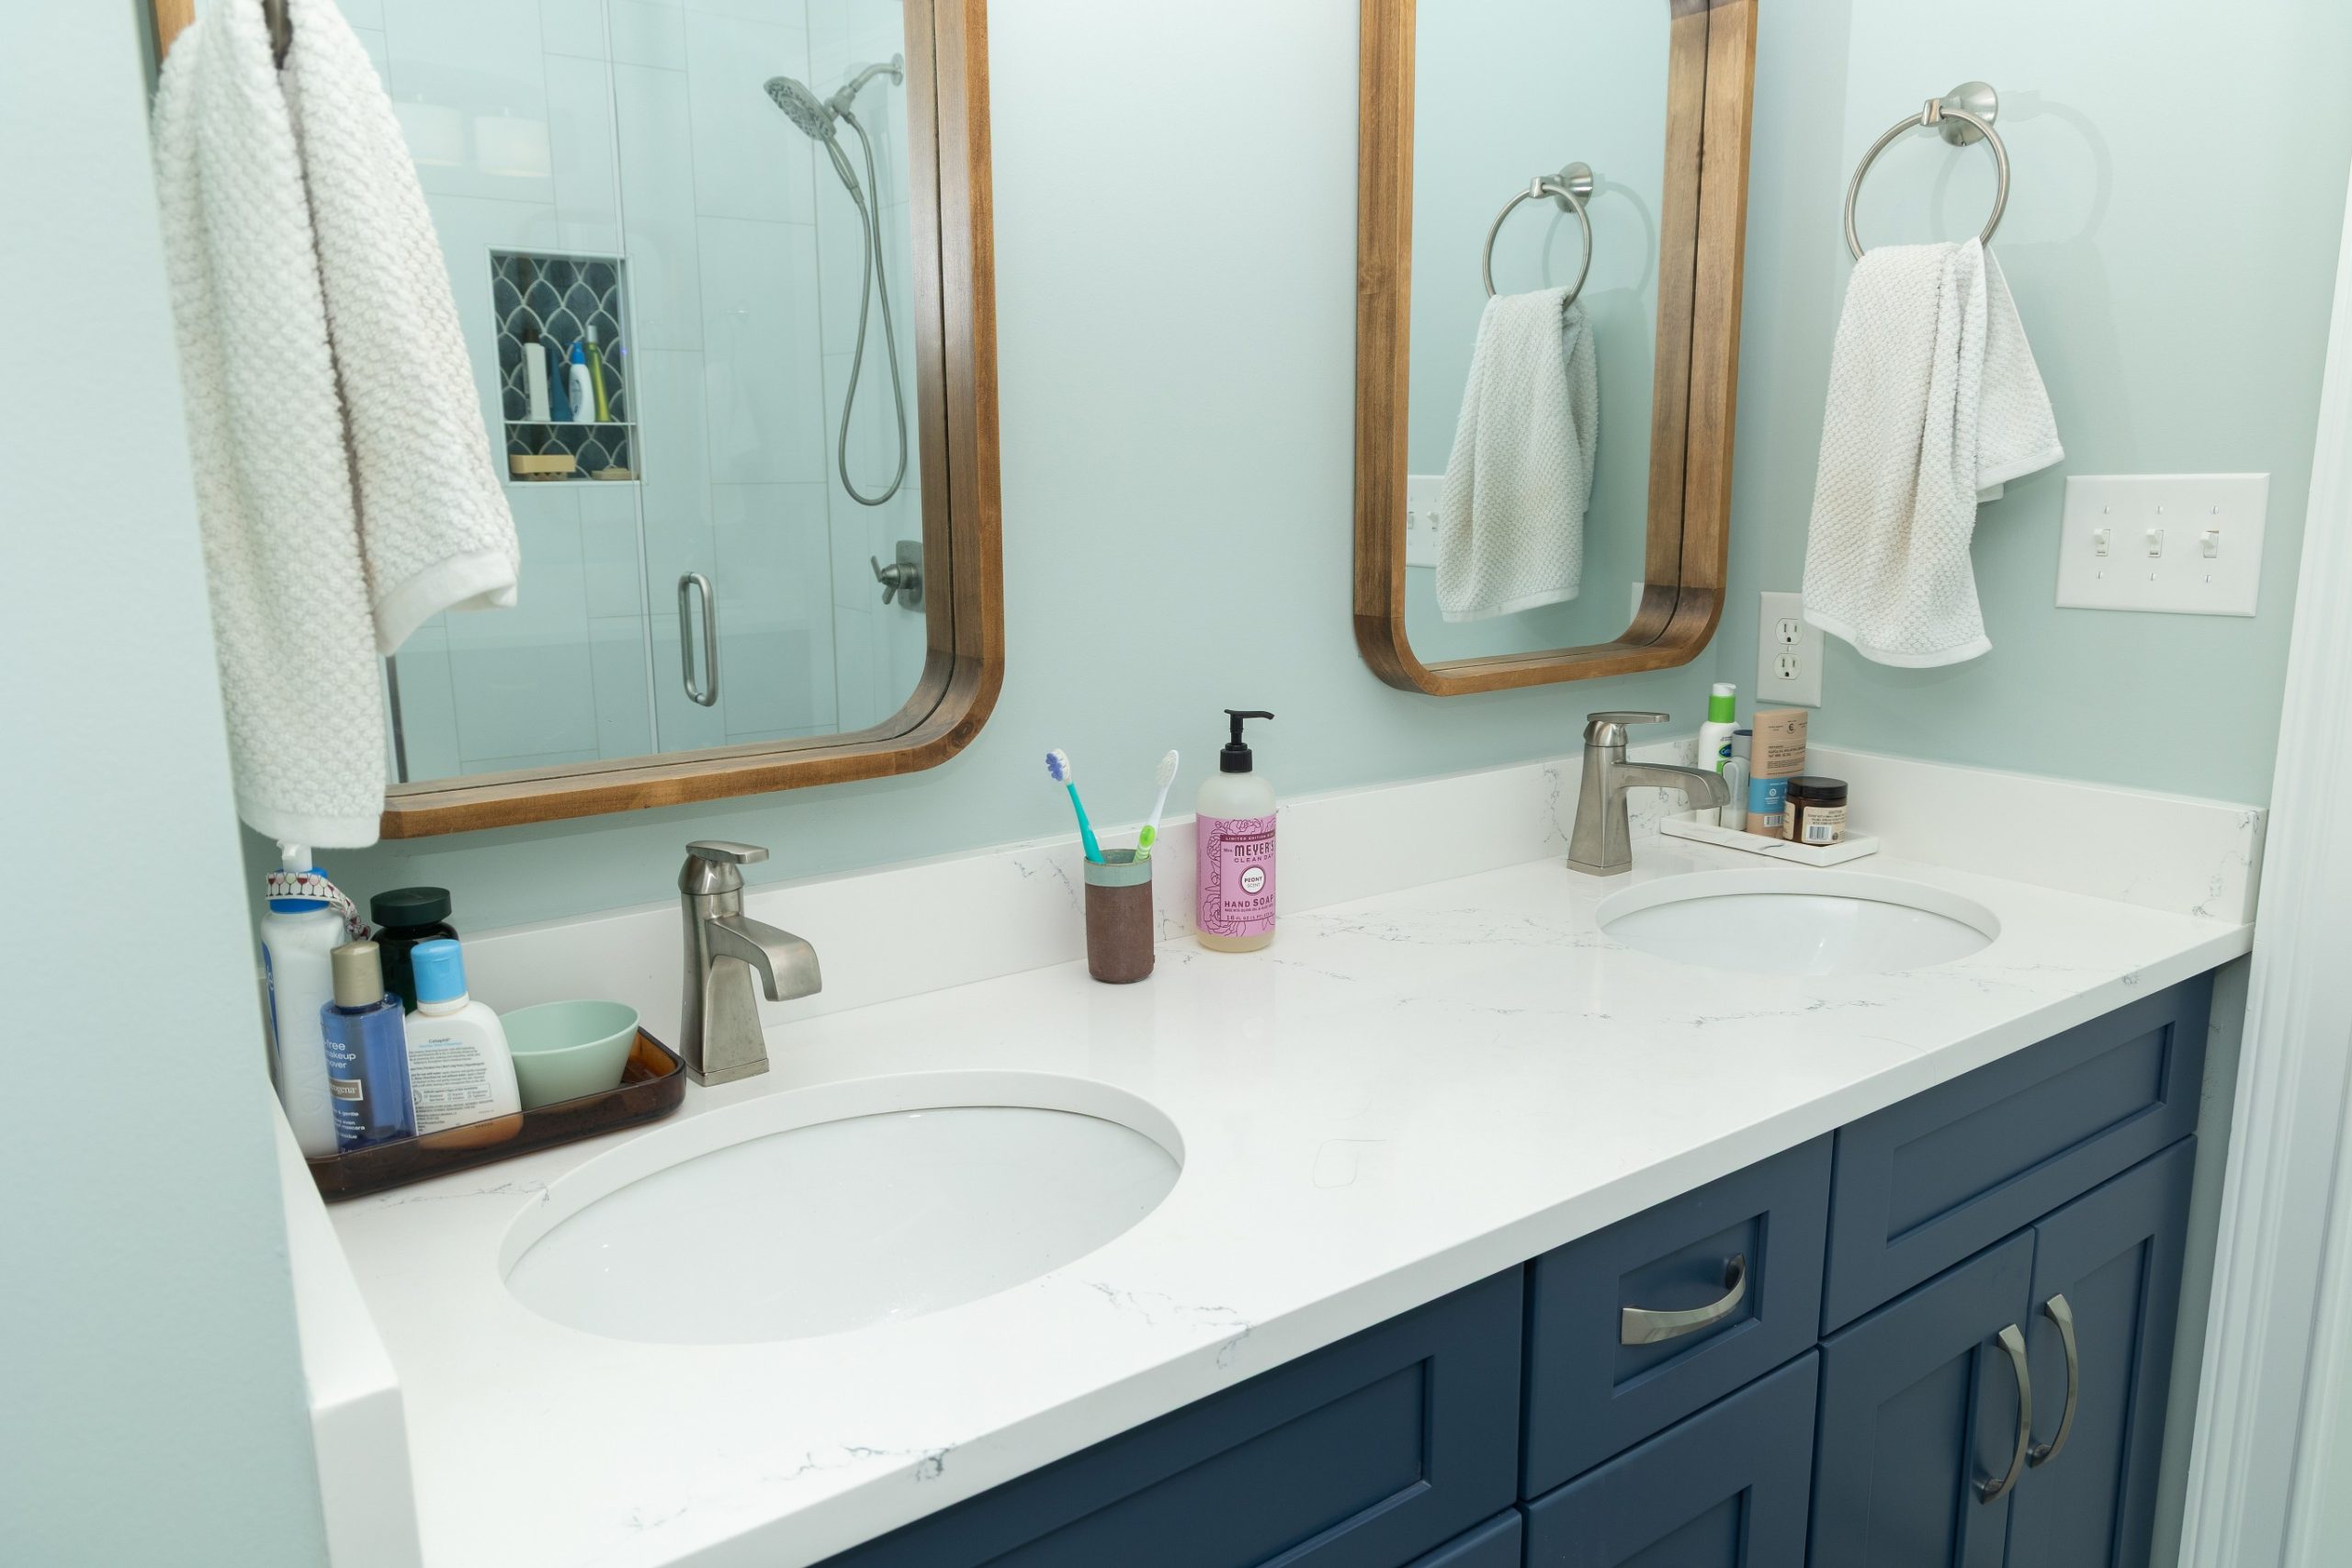
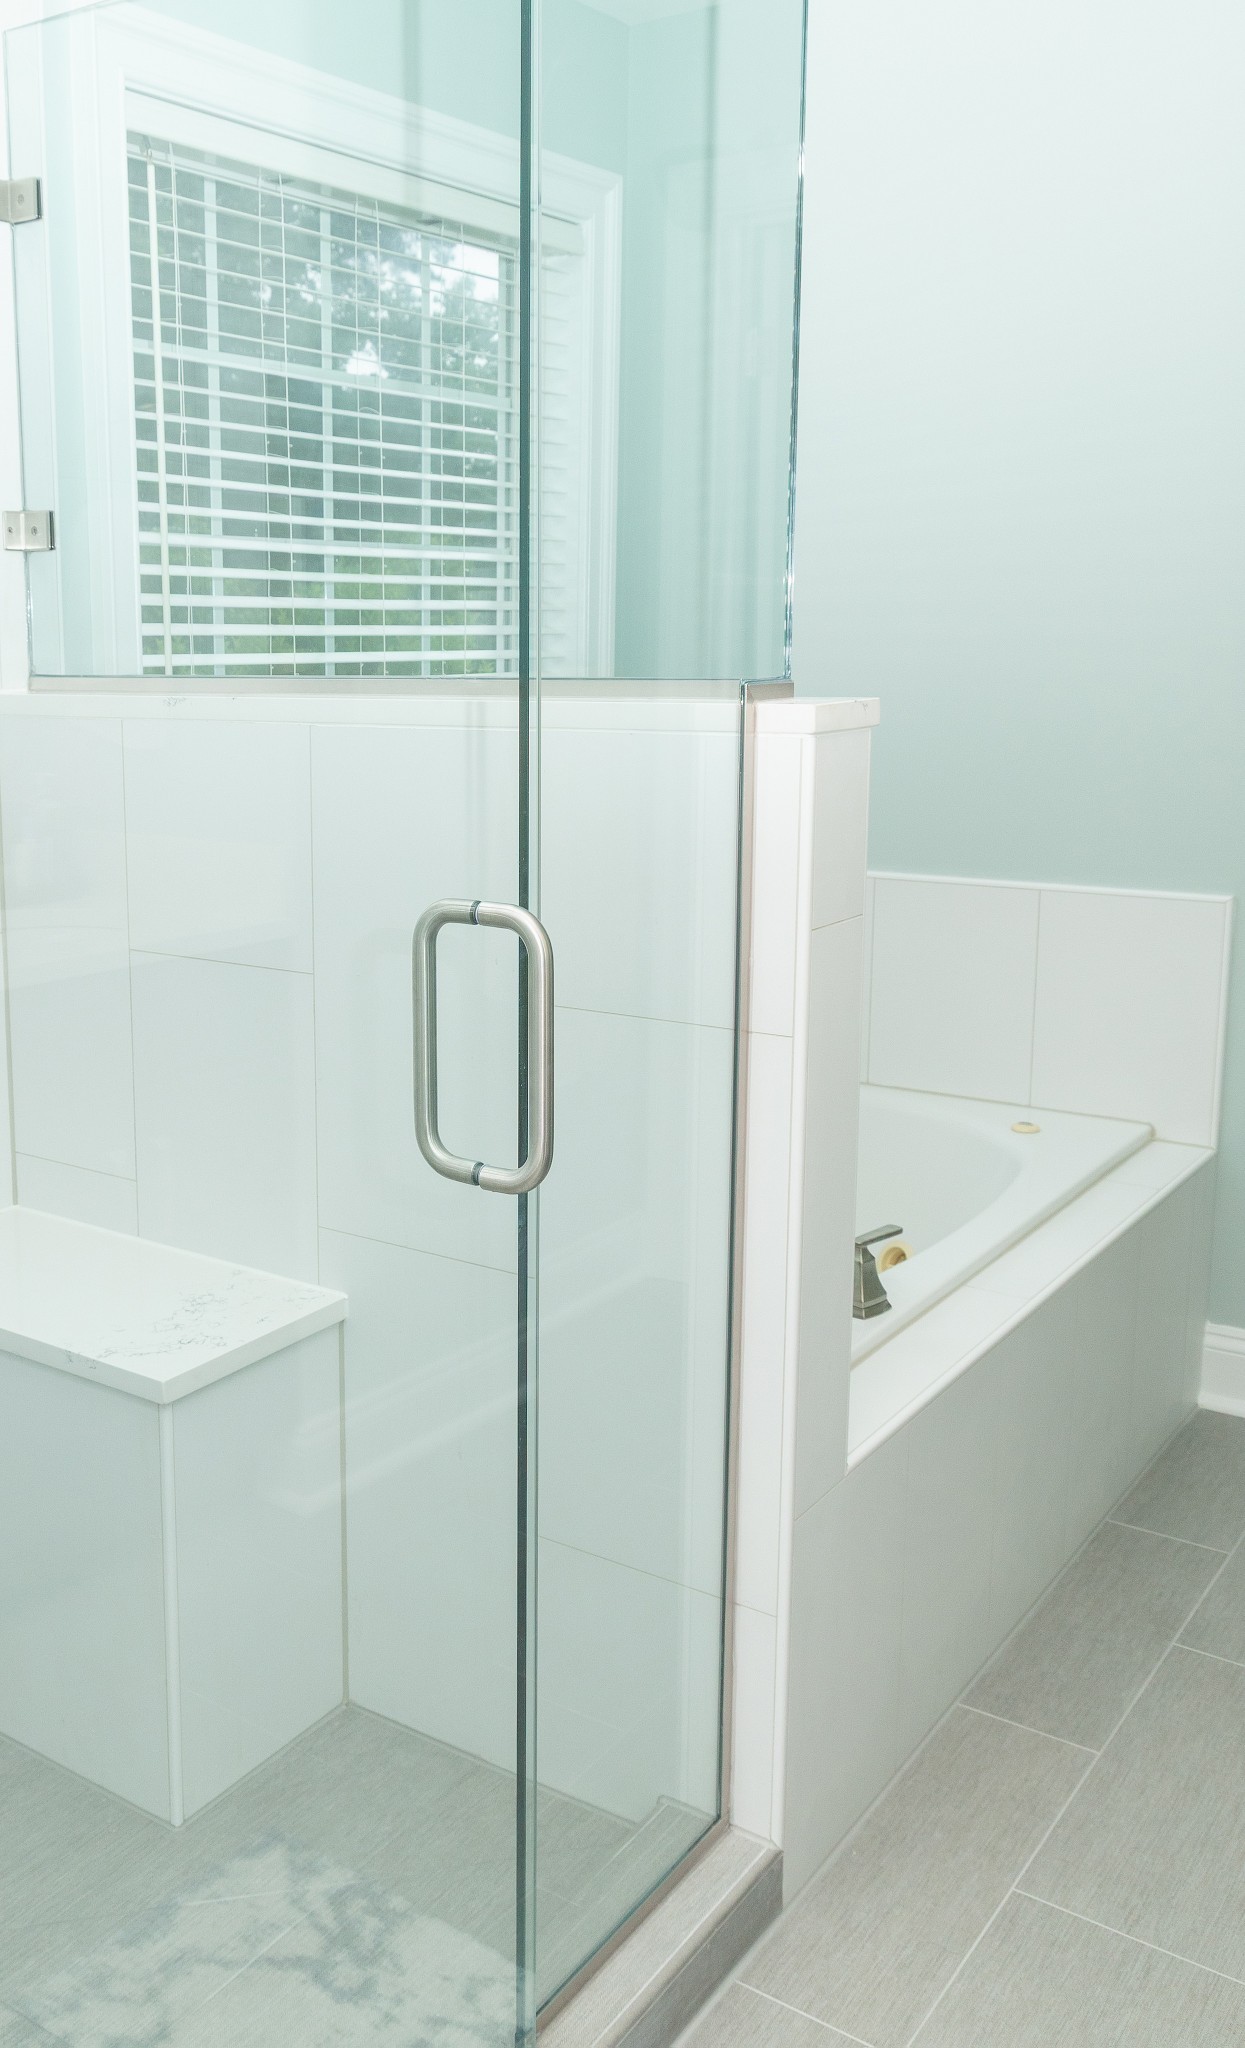
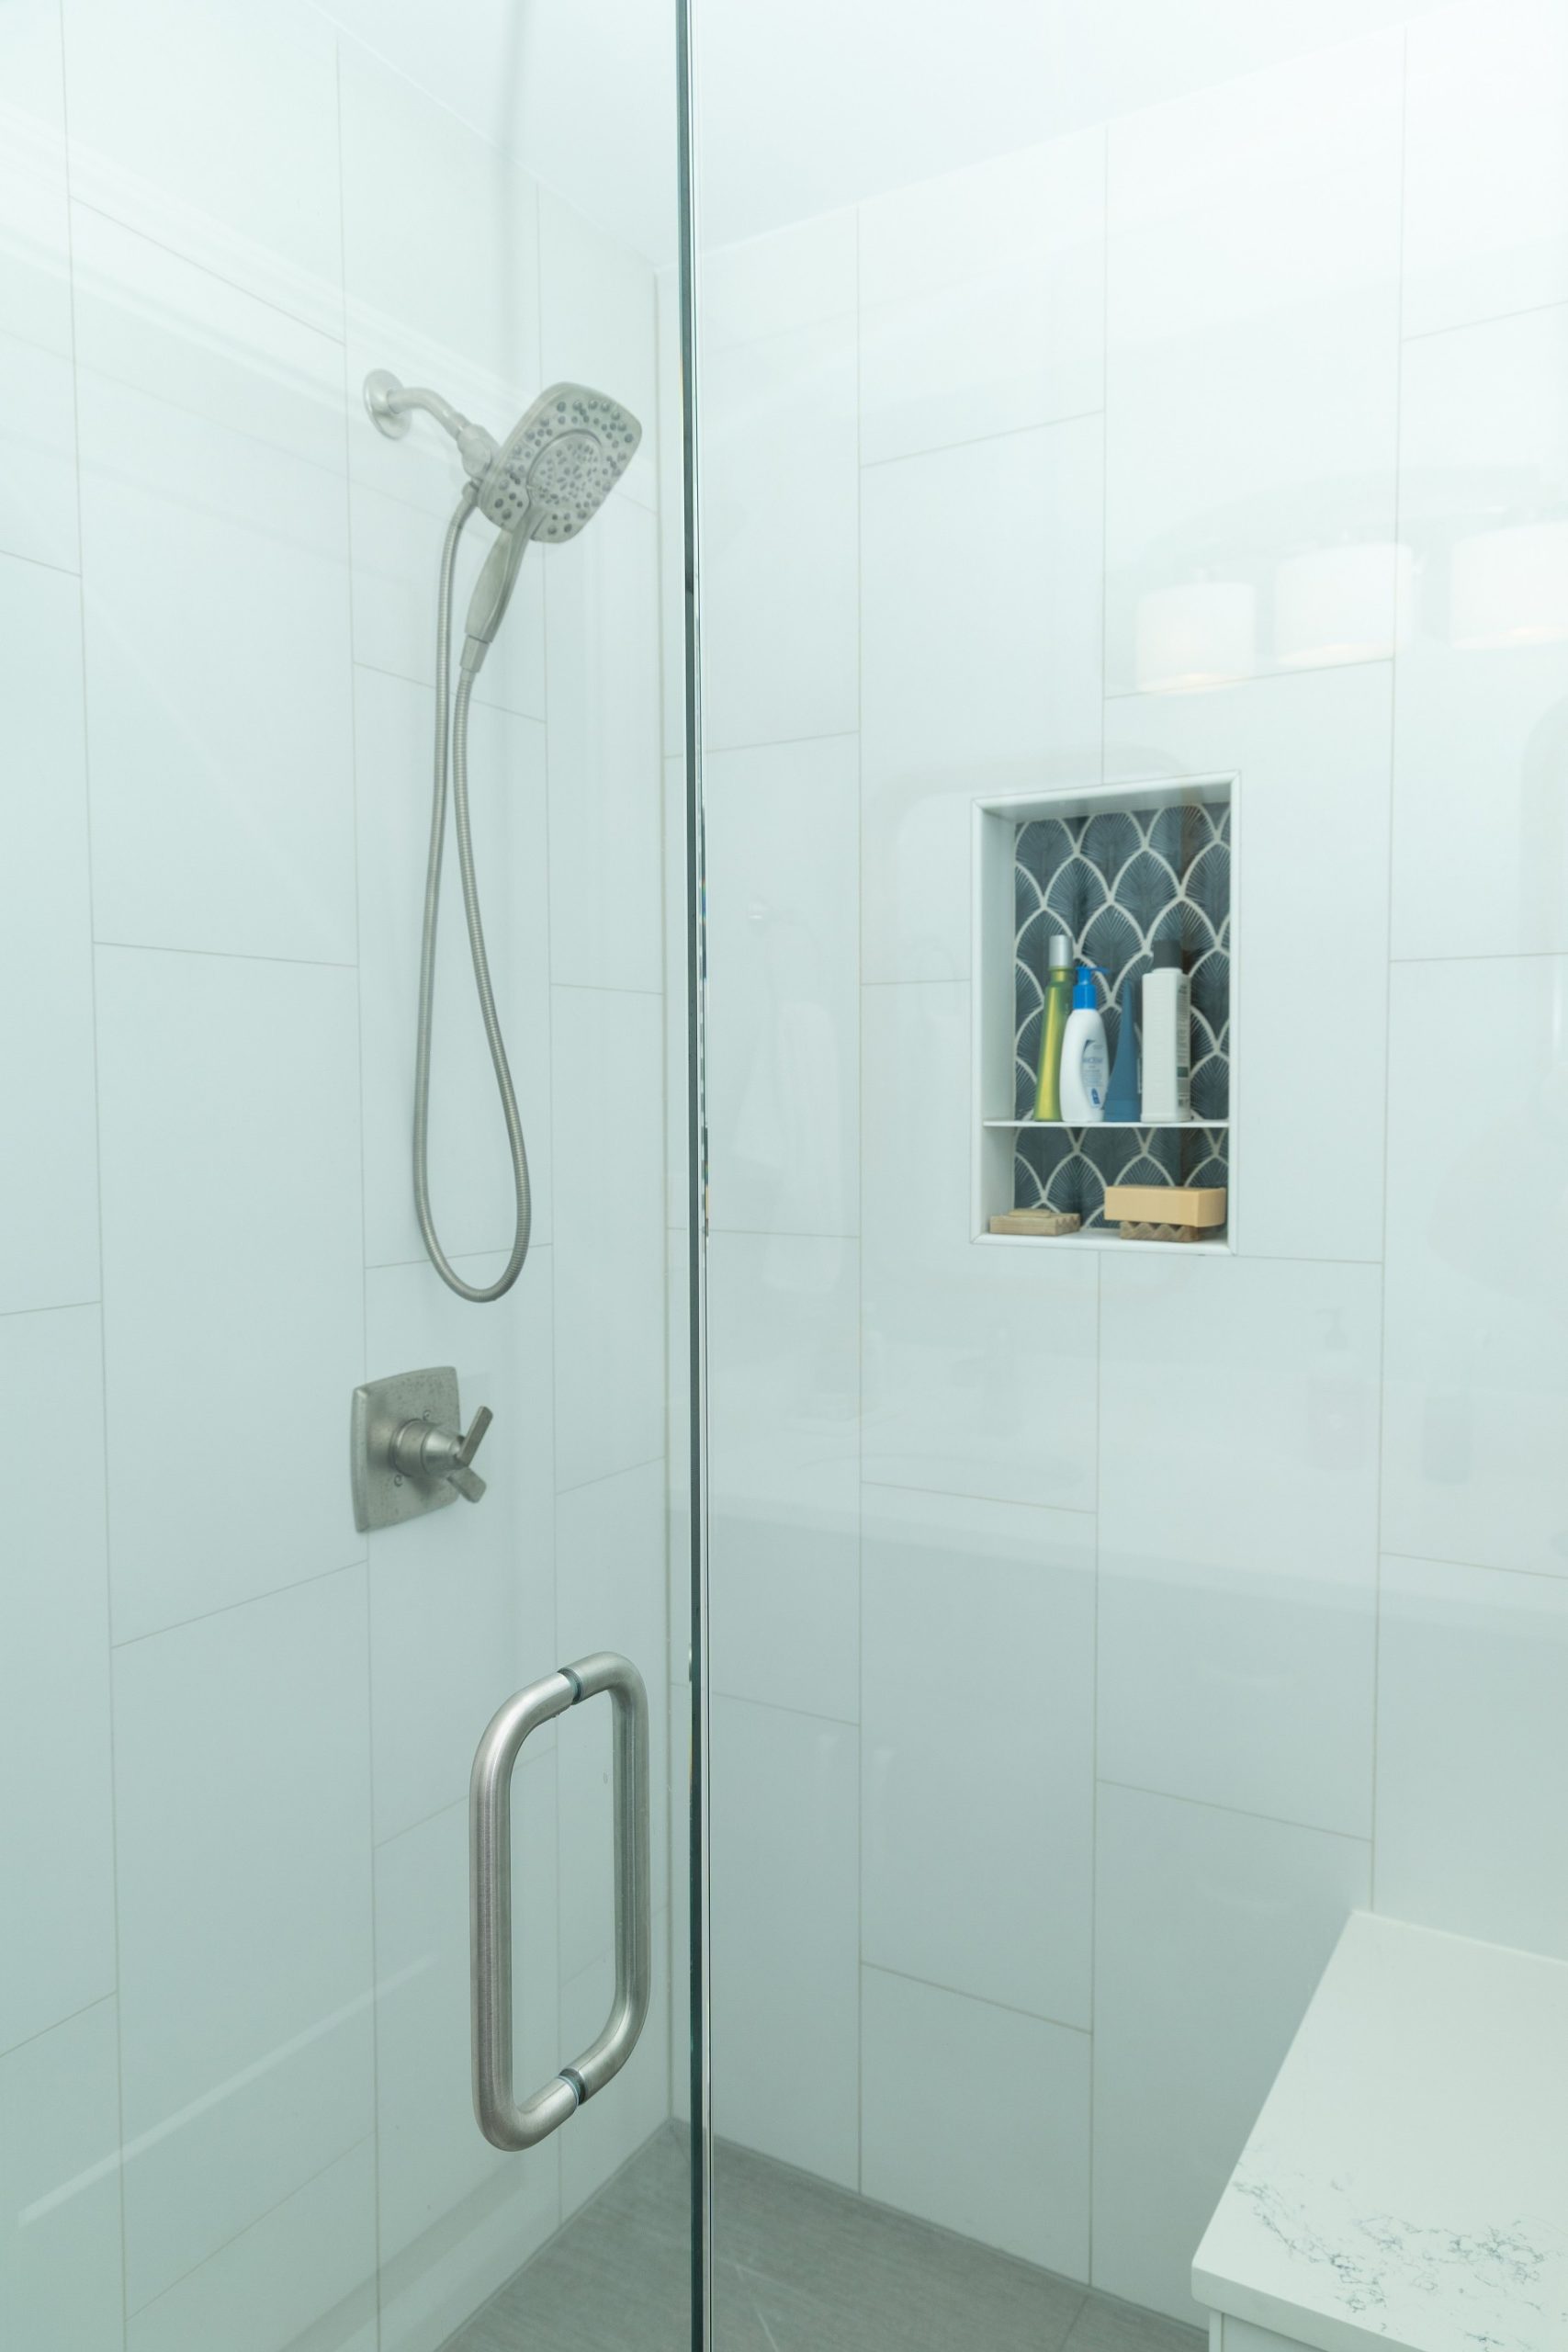
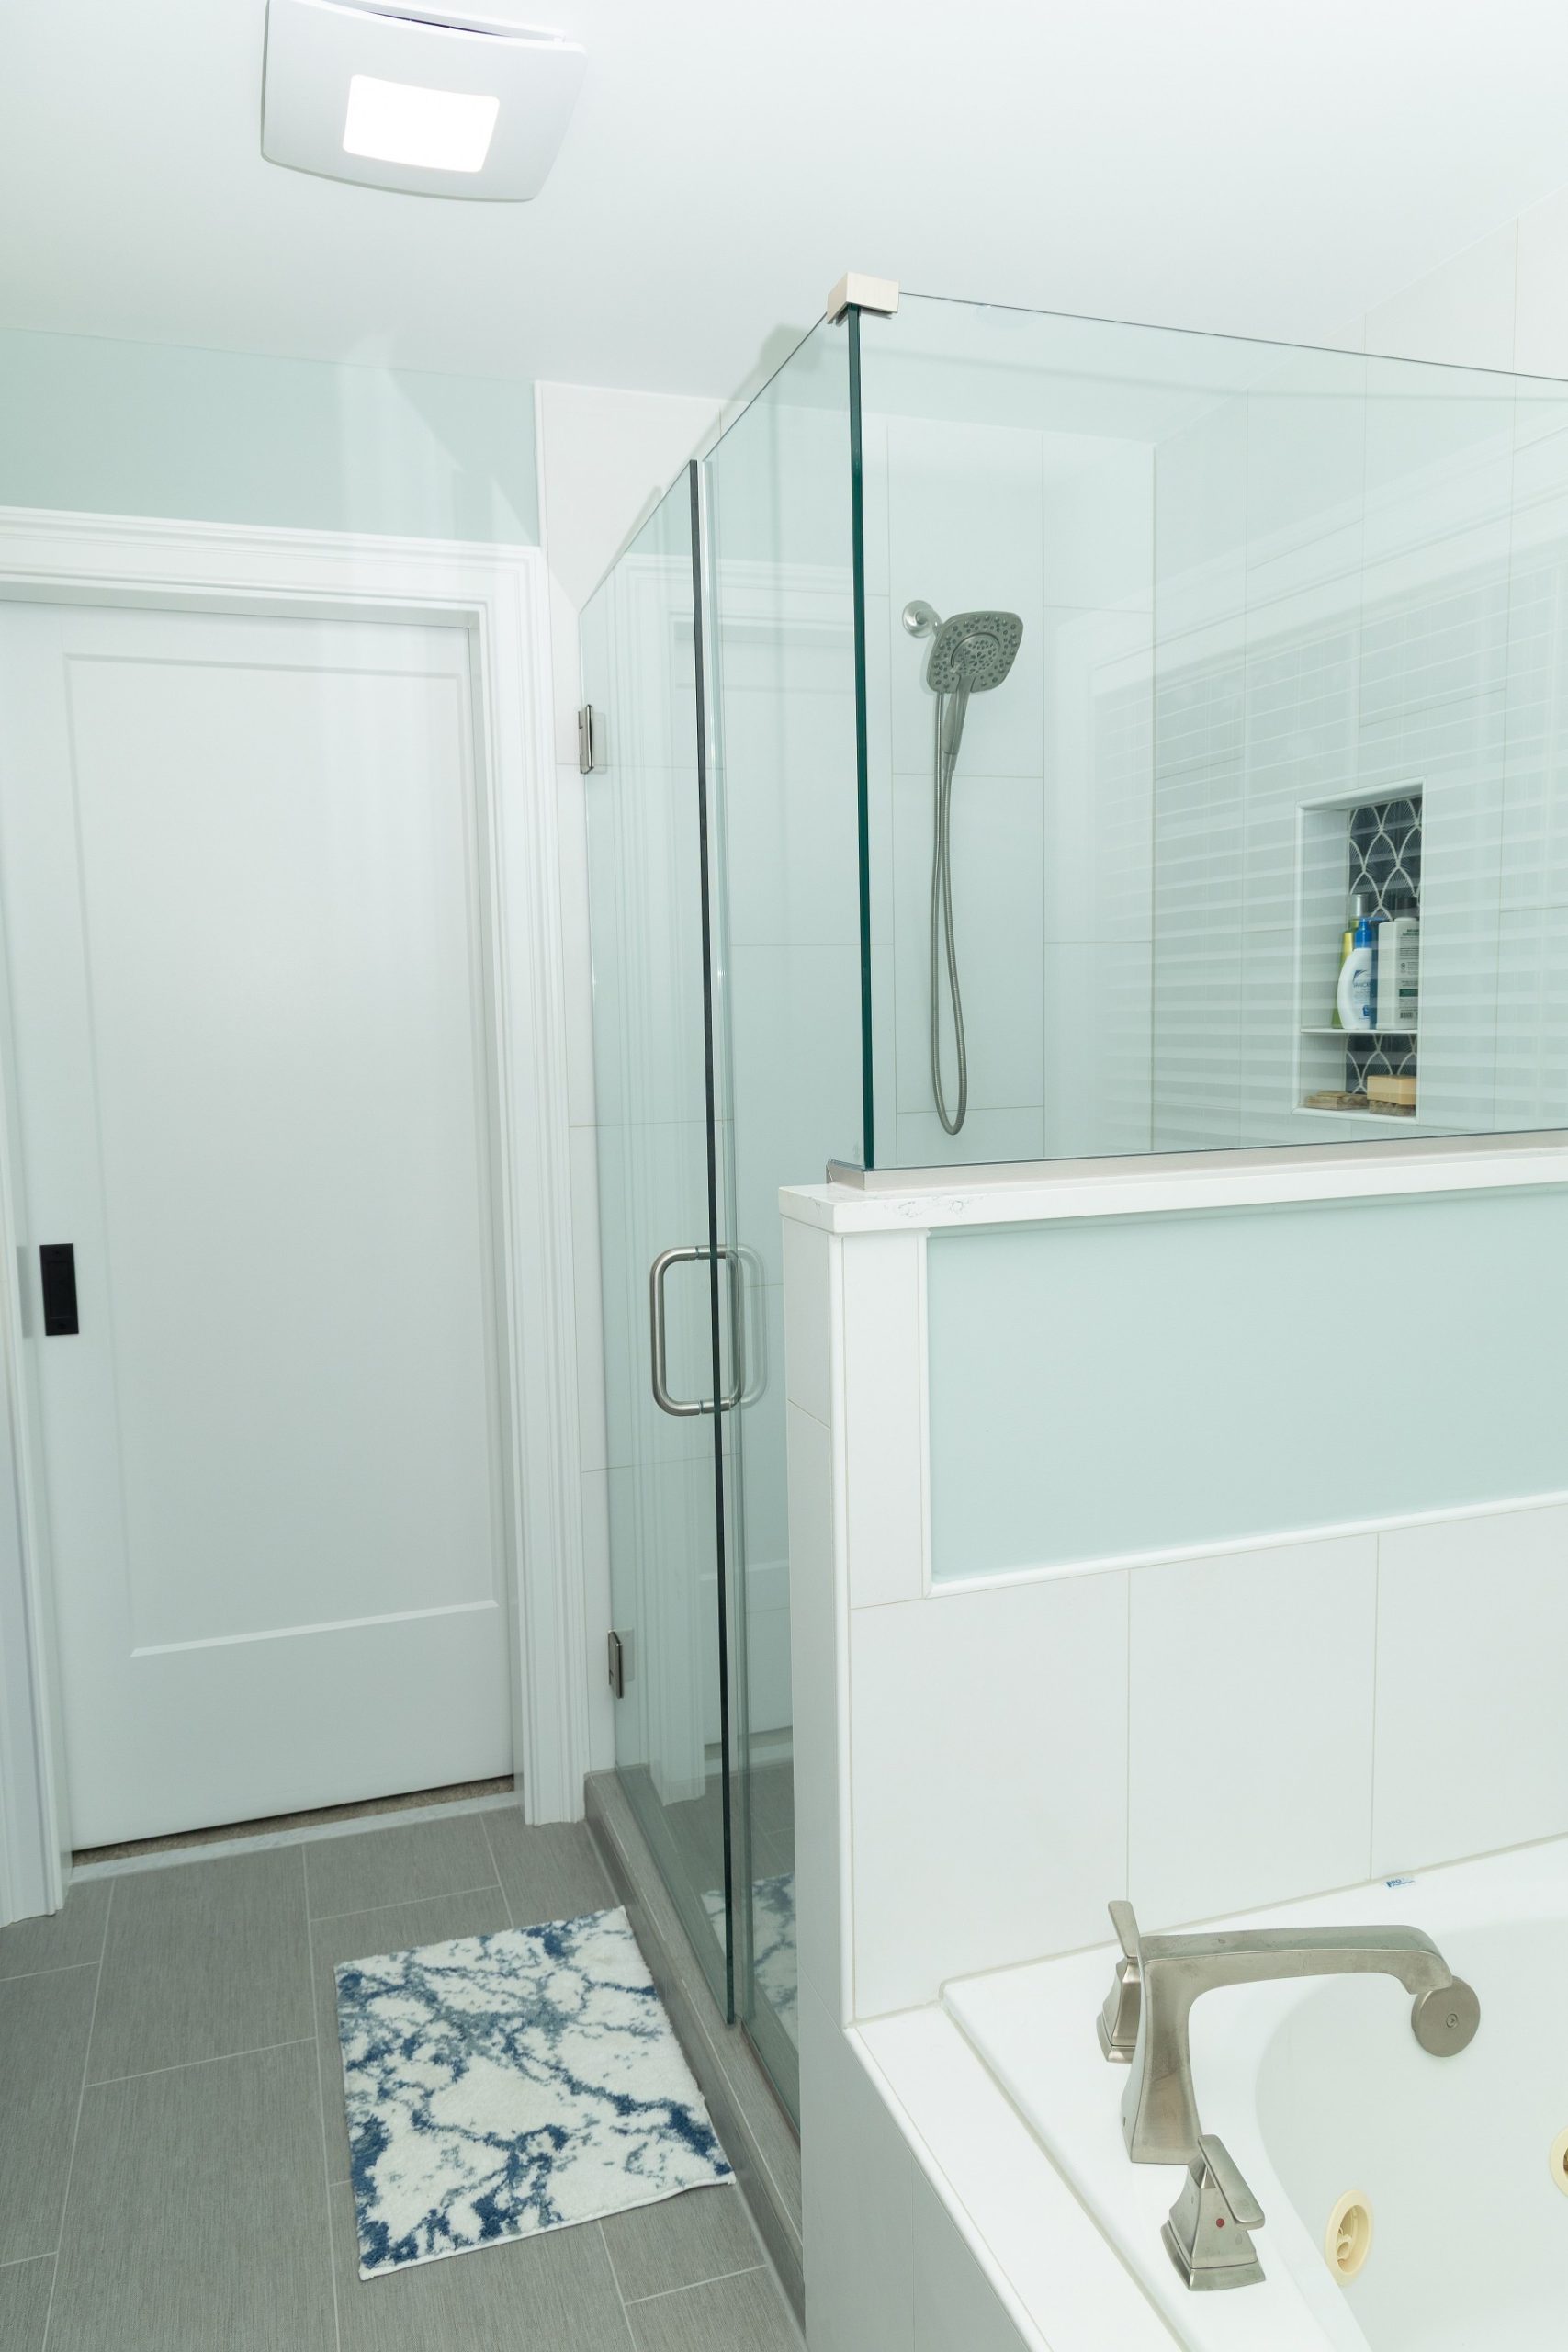
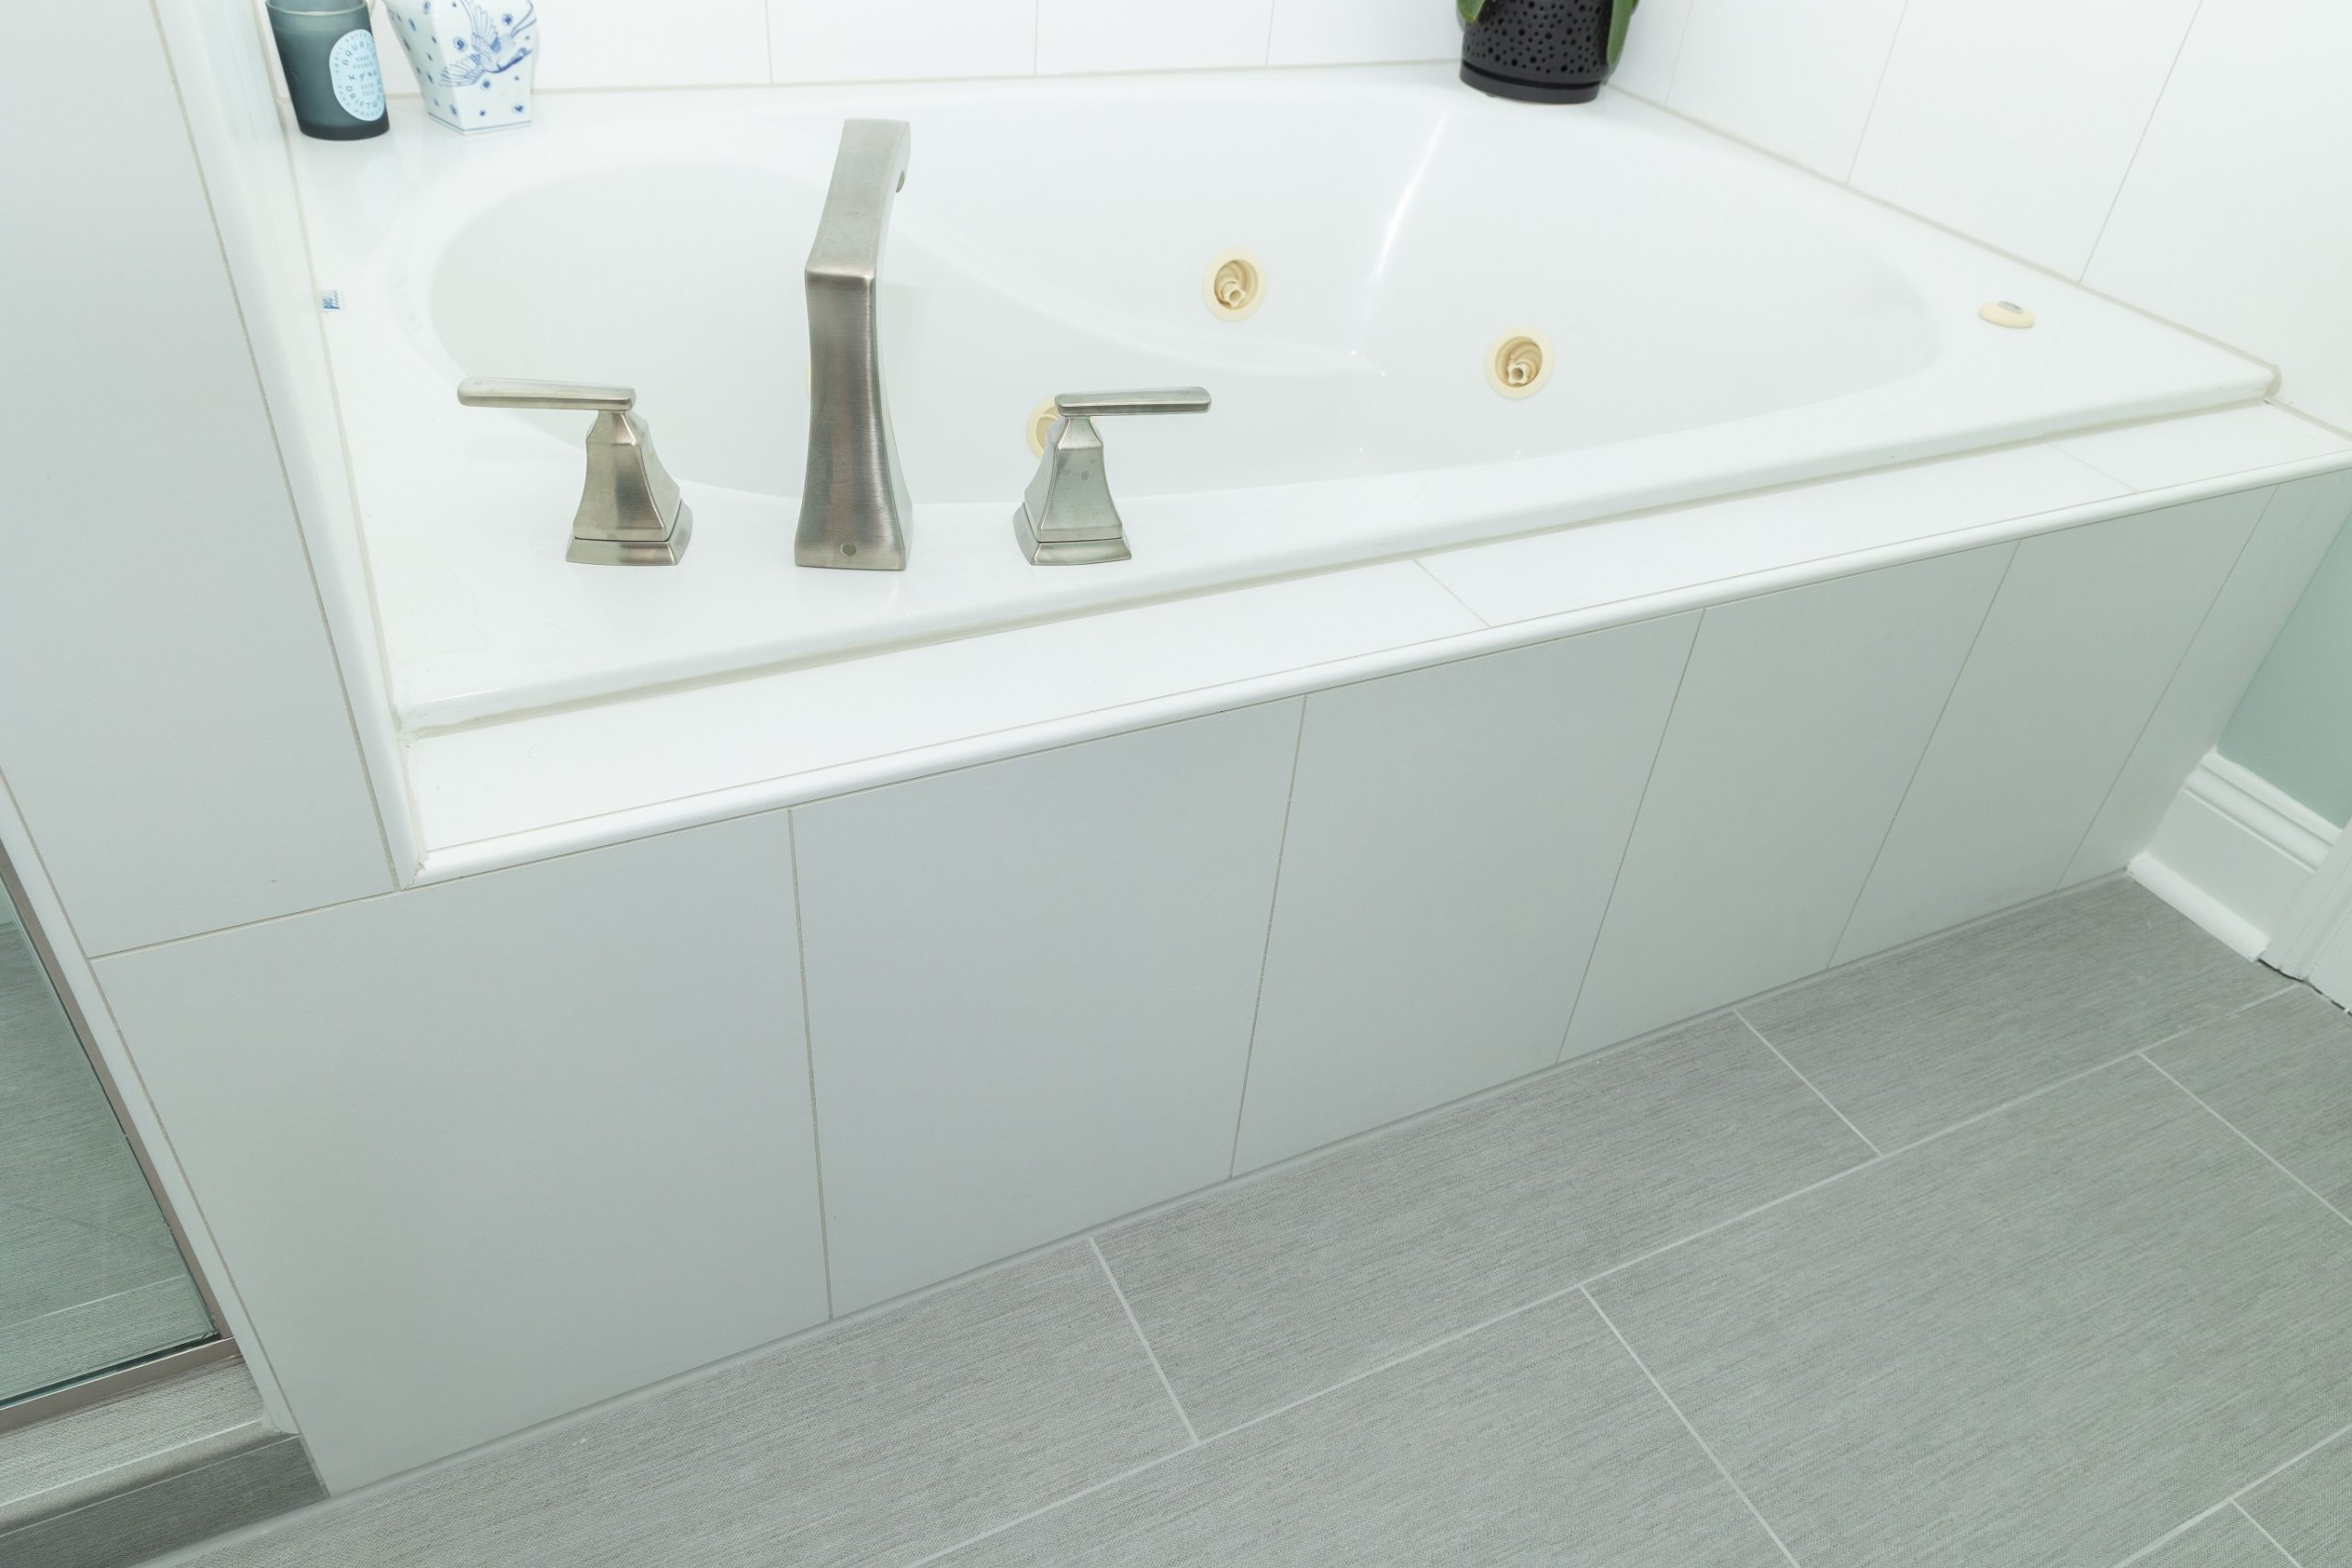
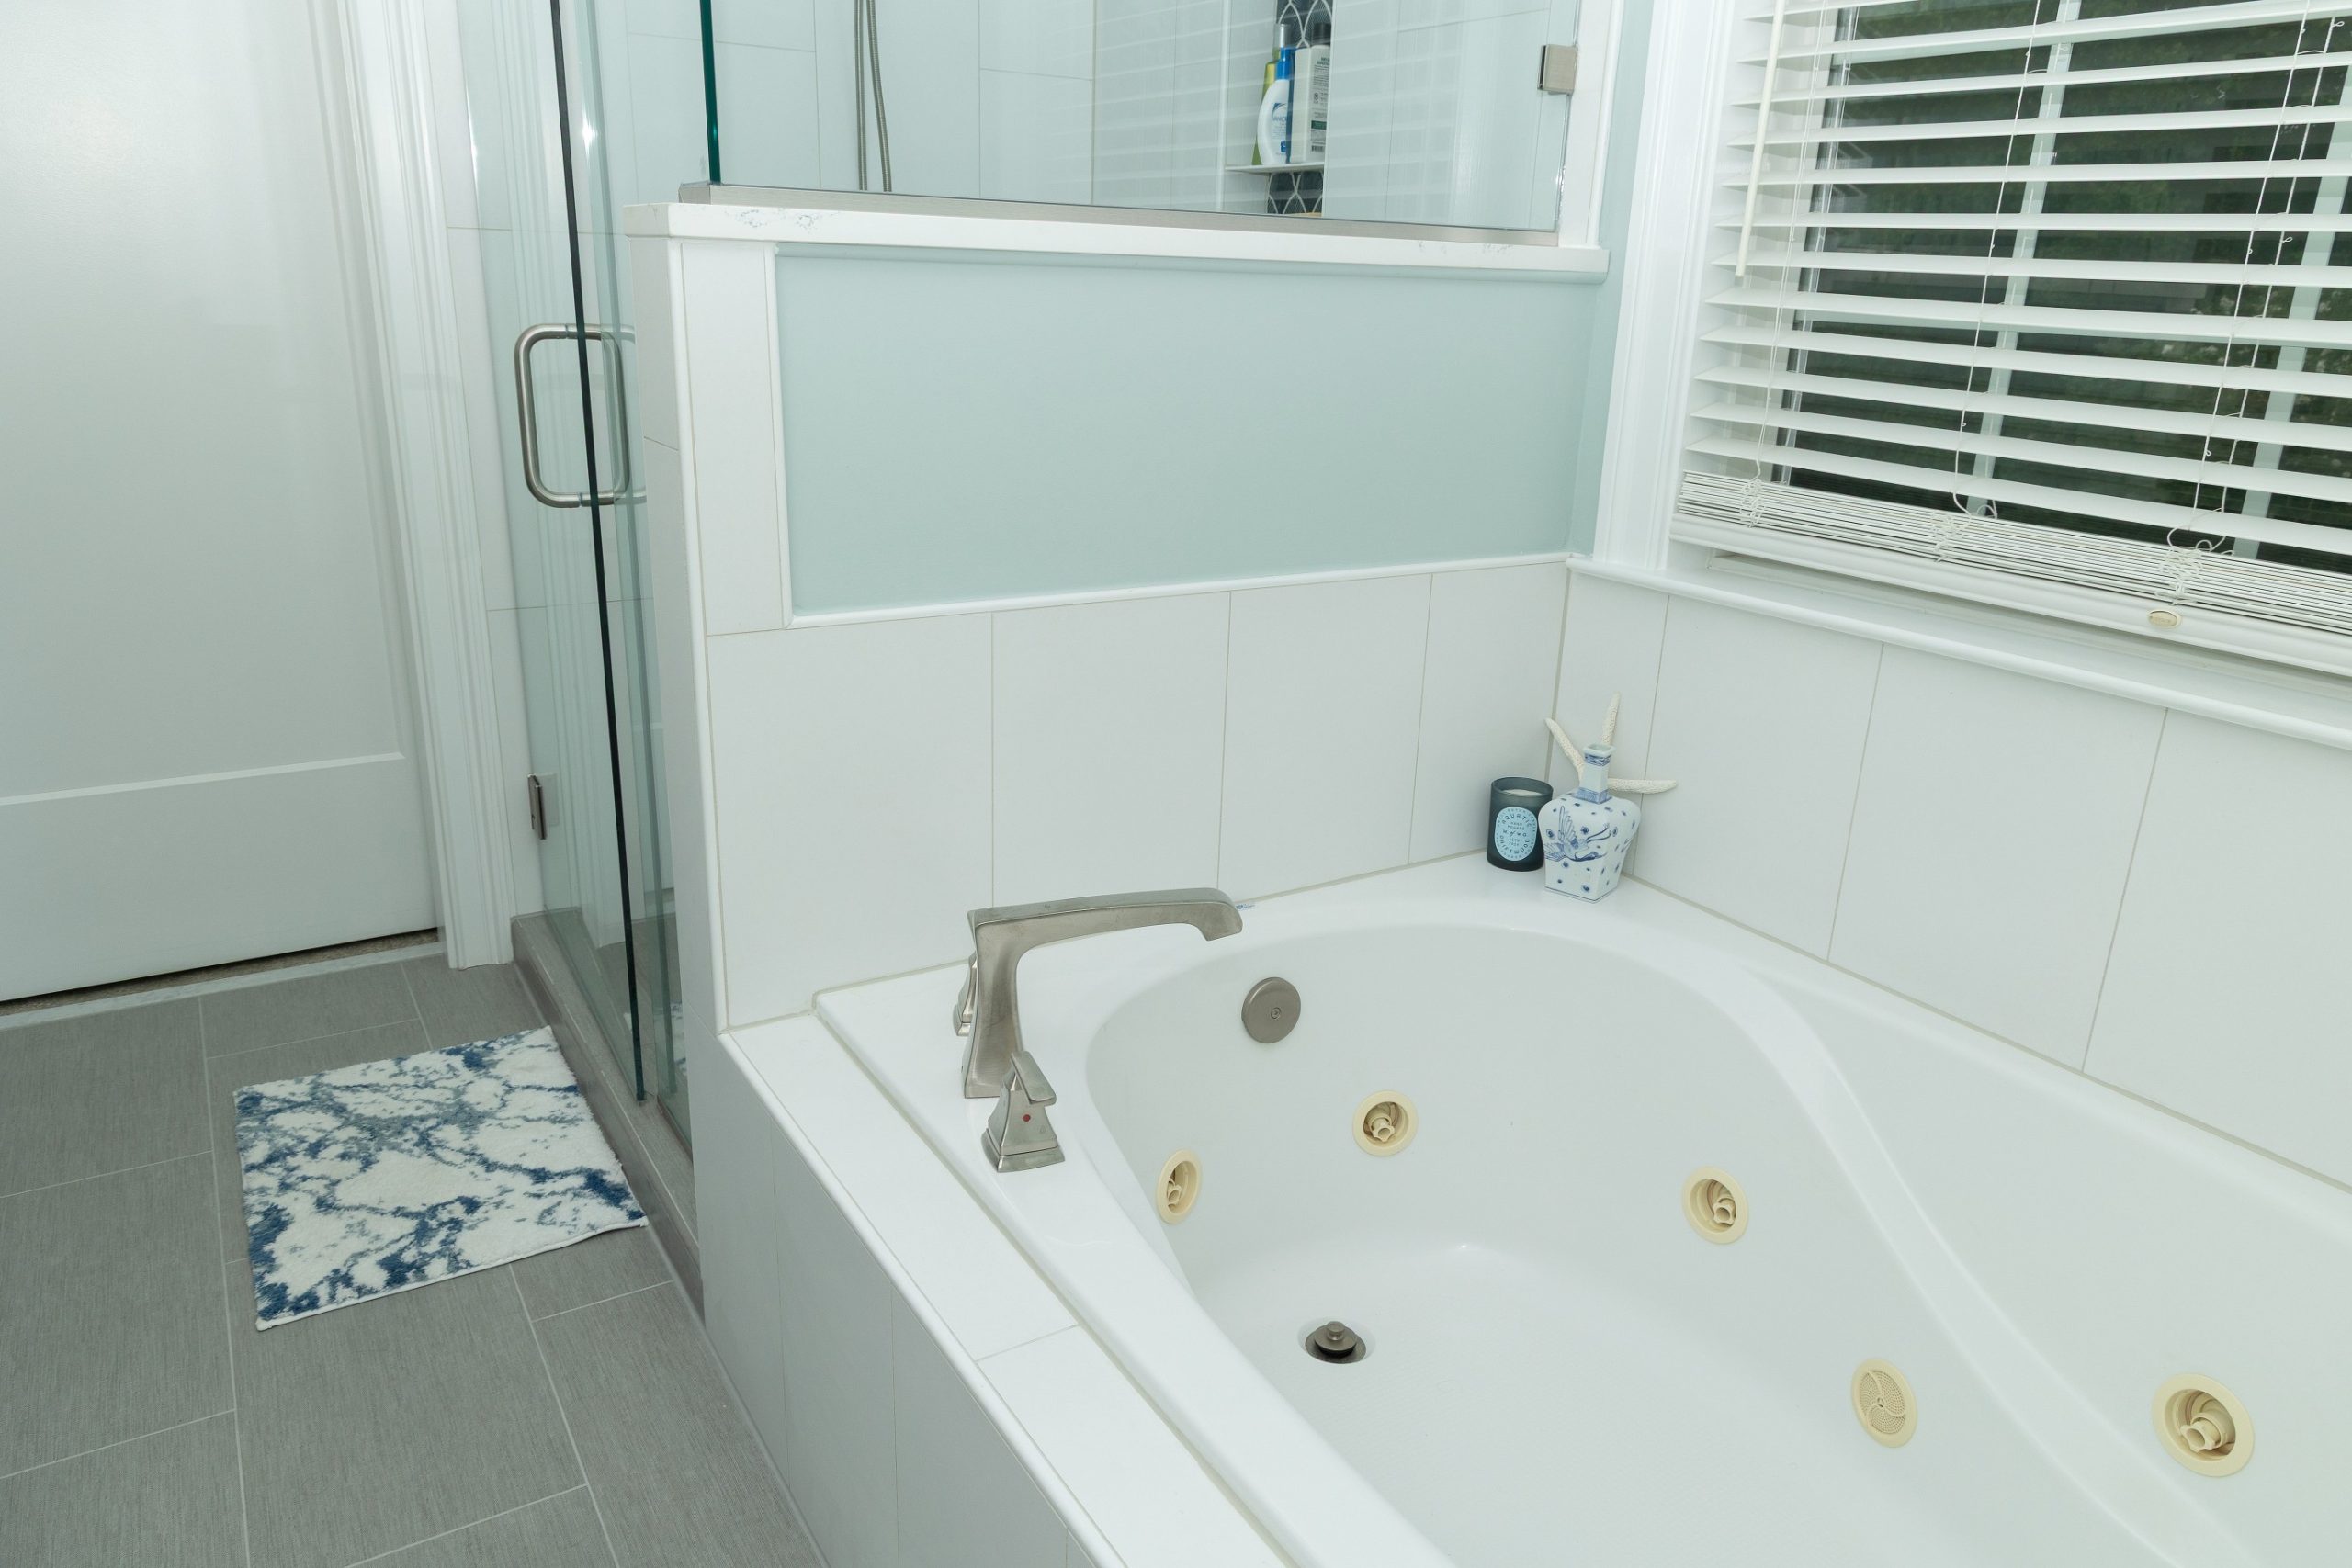
Let’s take a look at a bathroom project we recently completed in Yorktown:

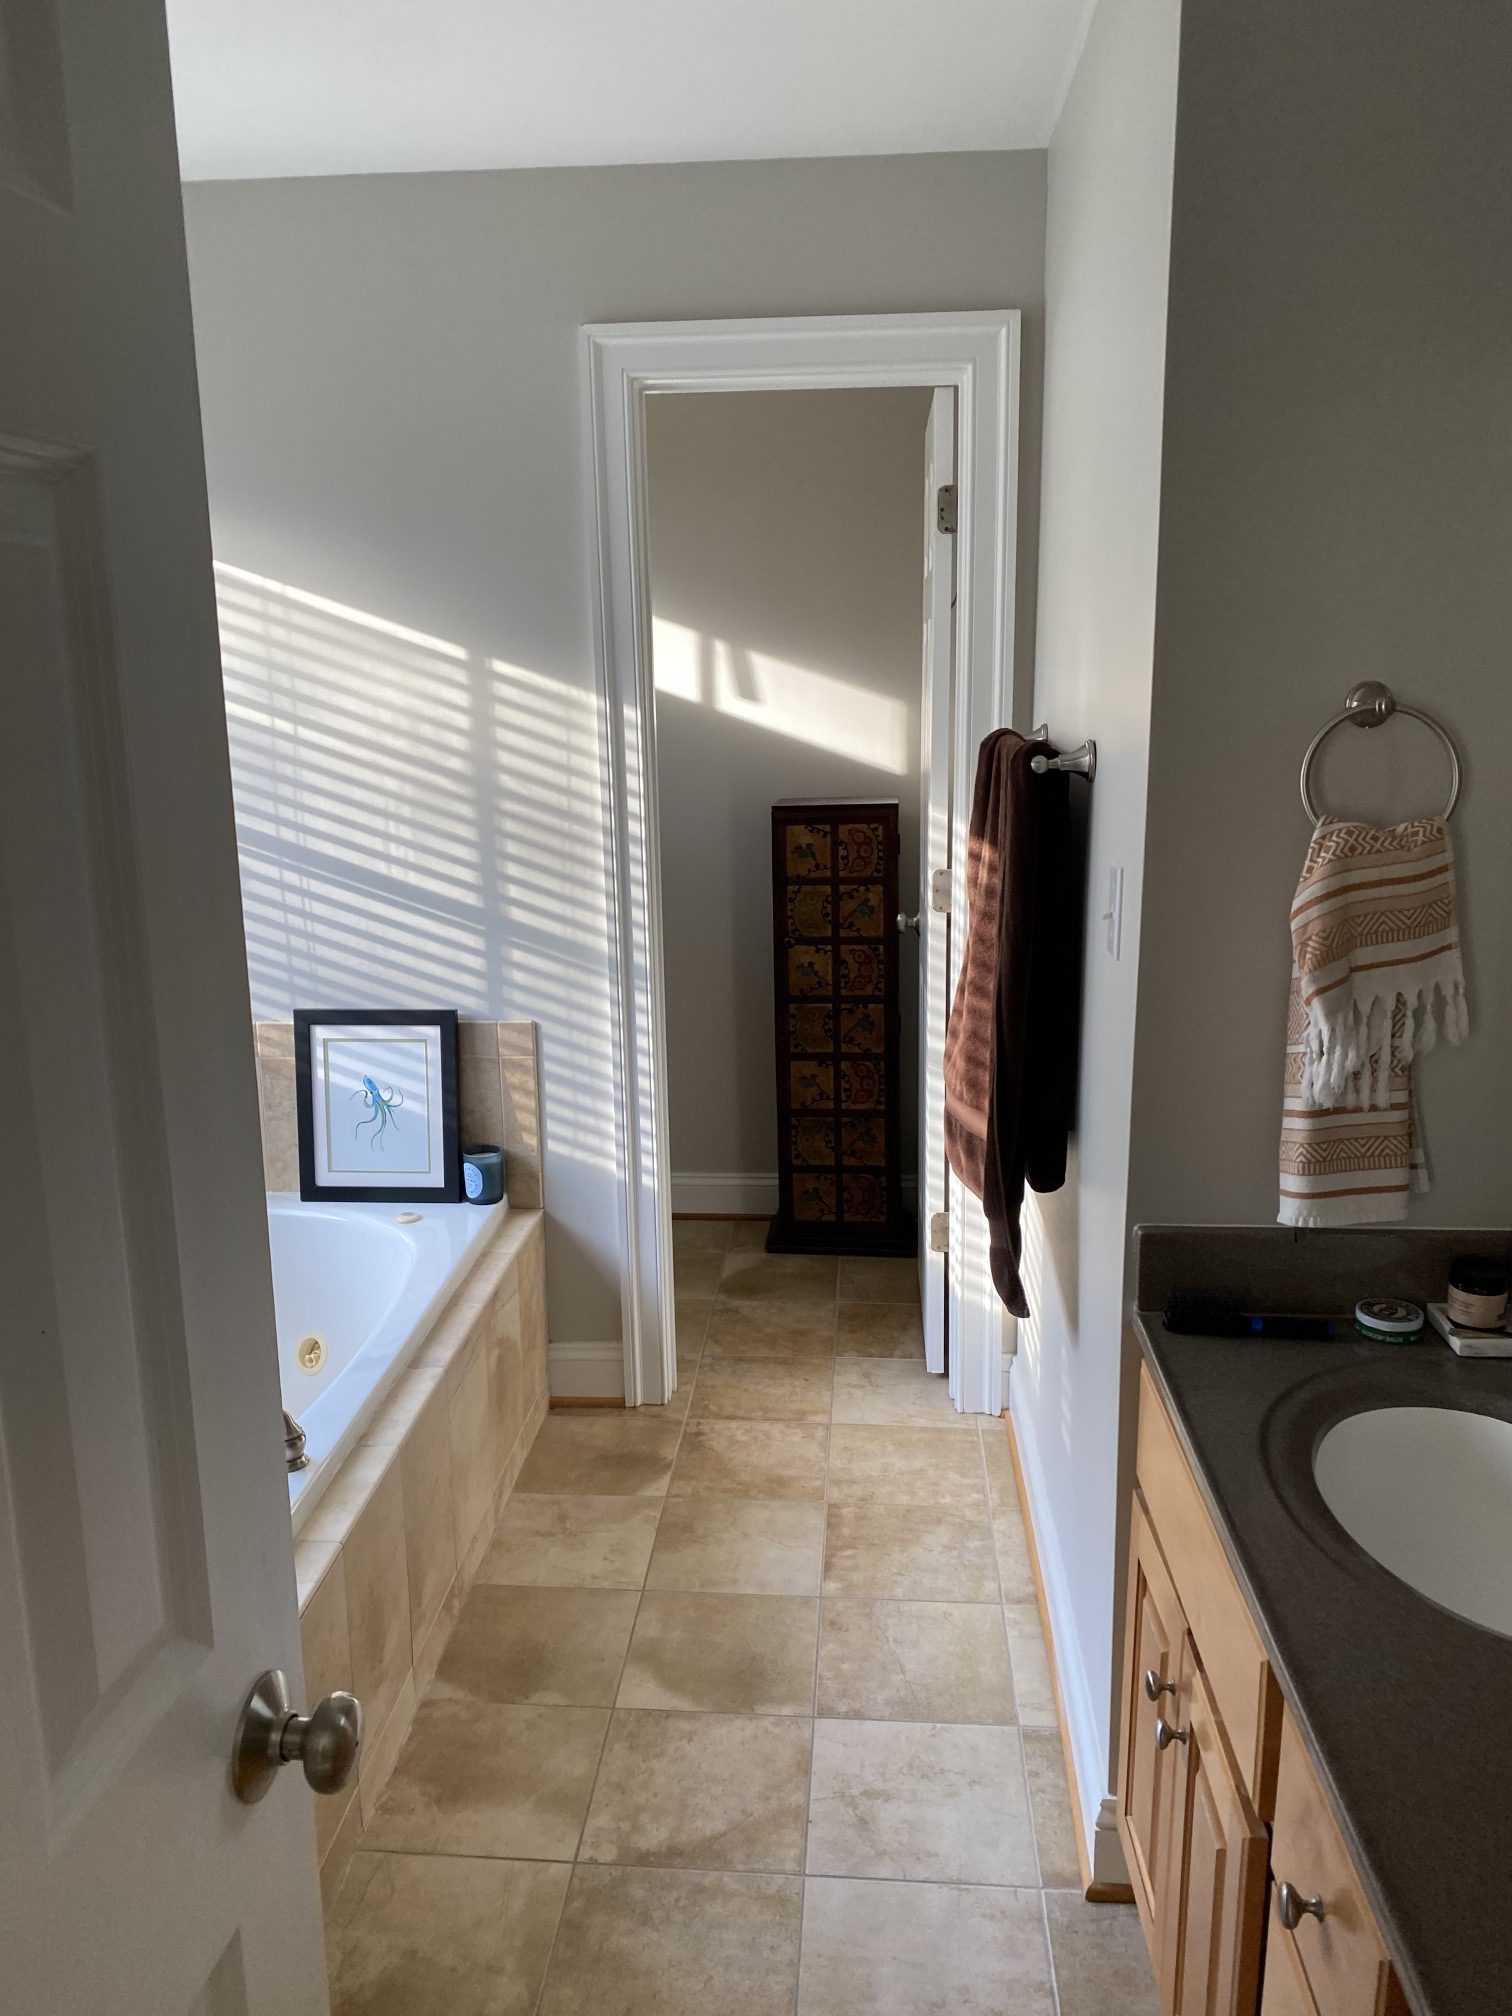
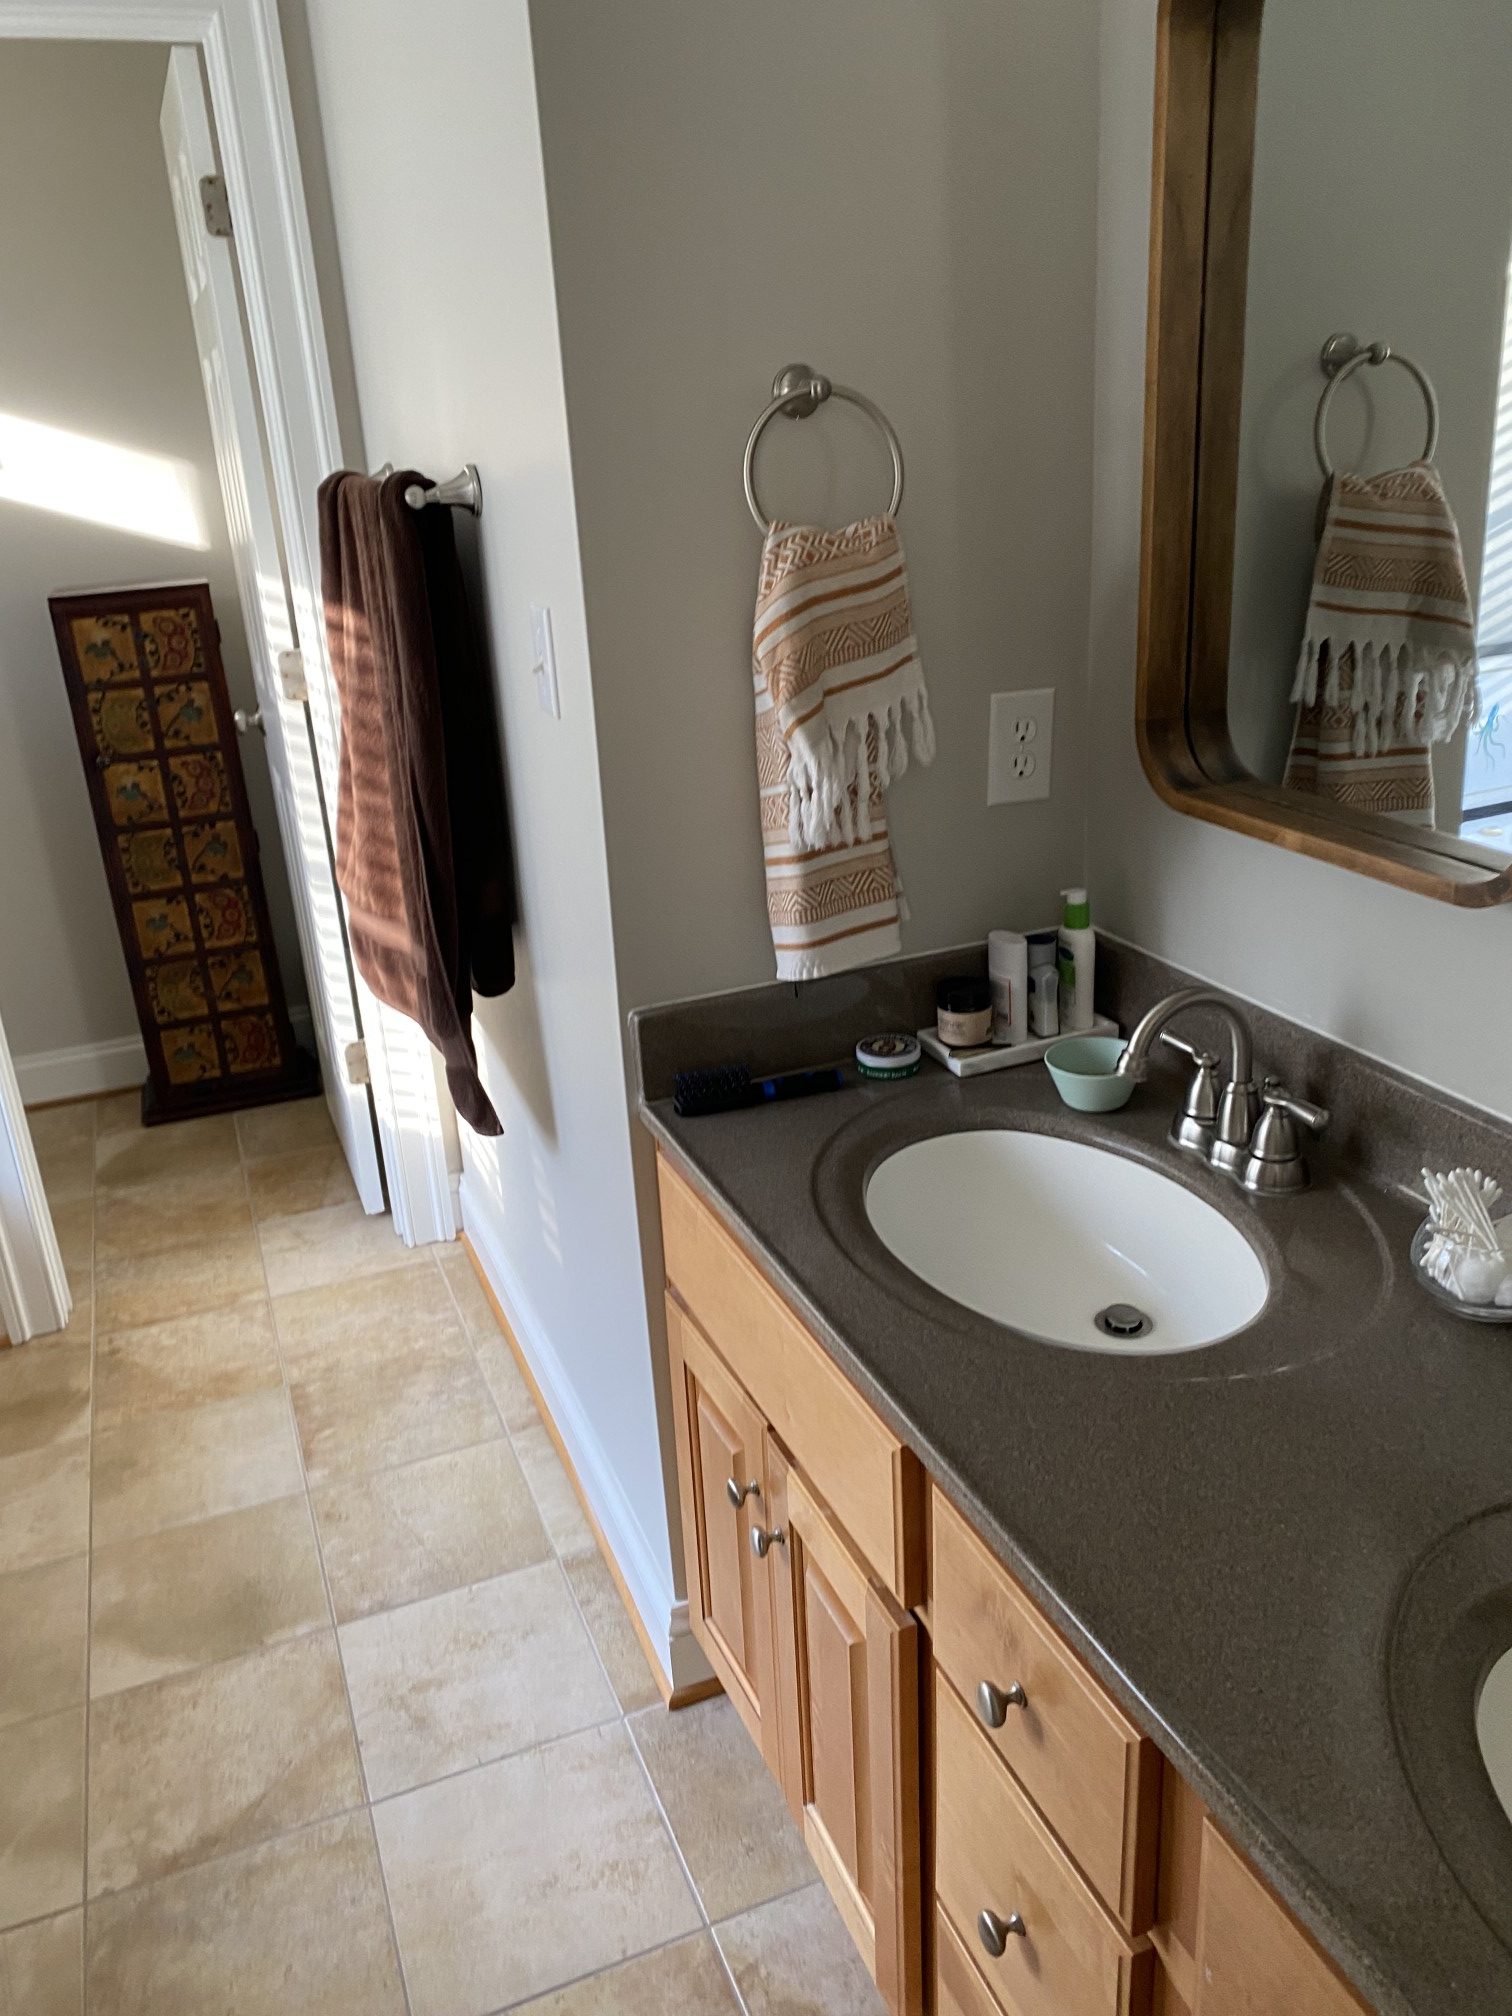
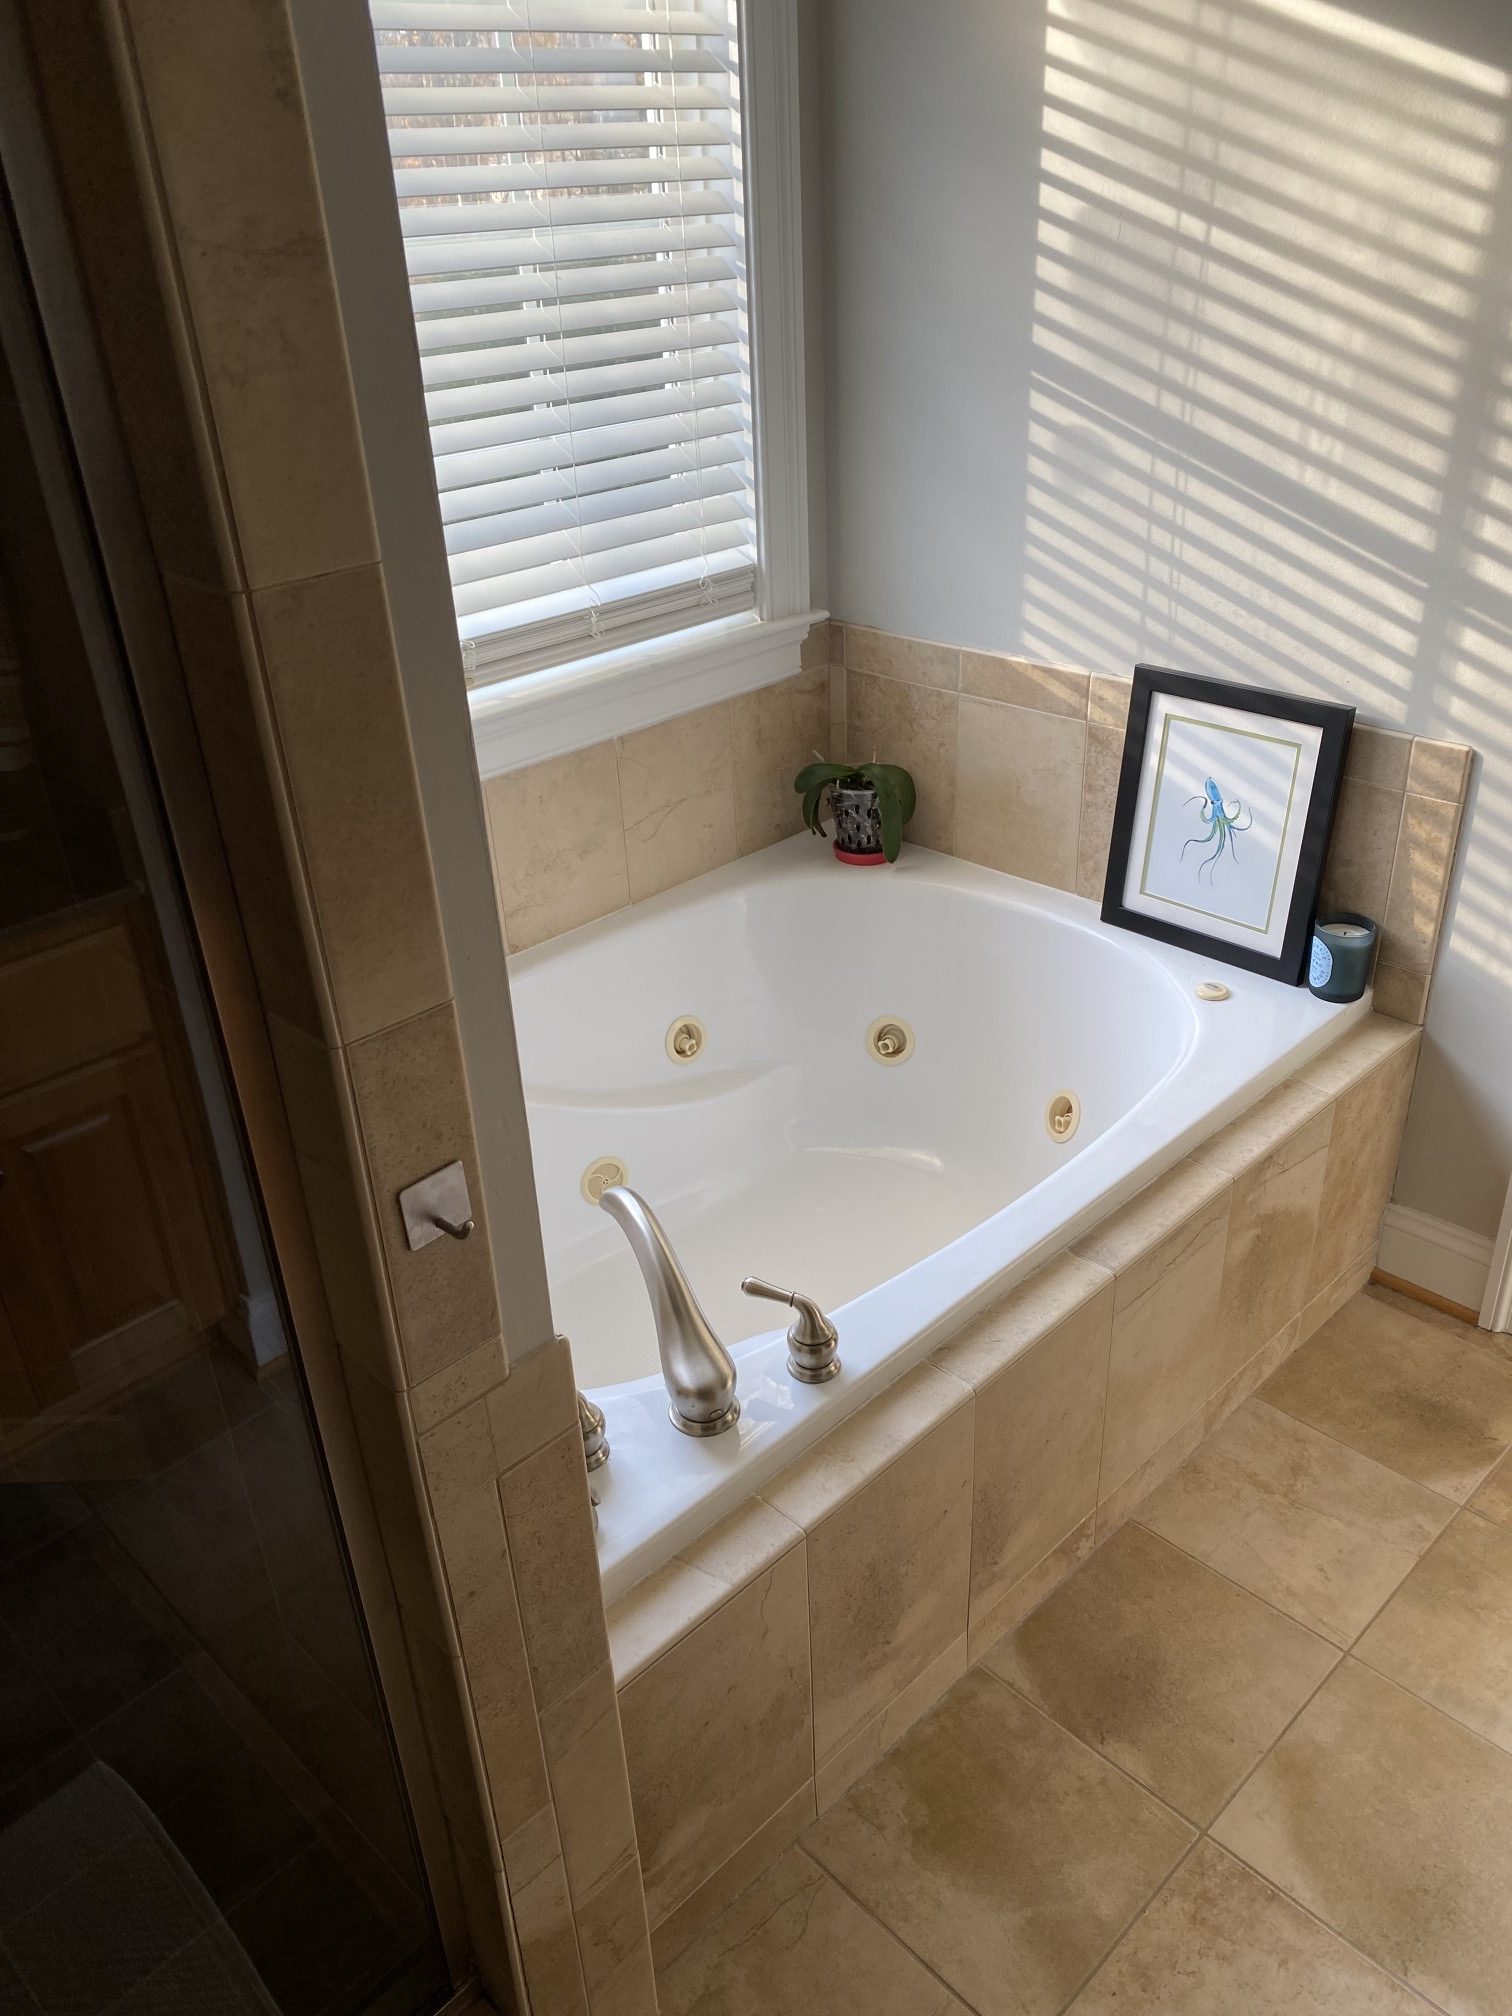
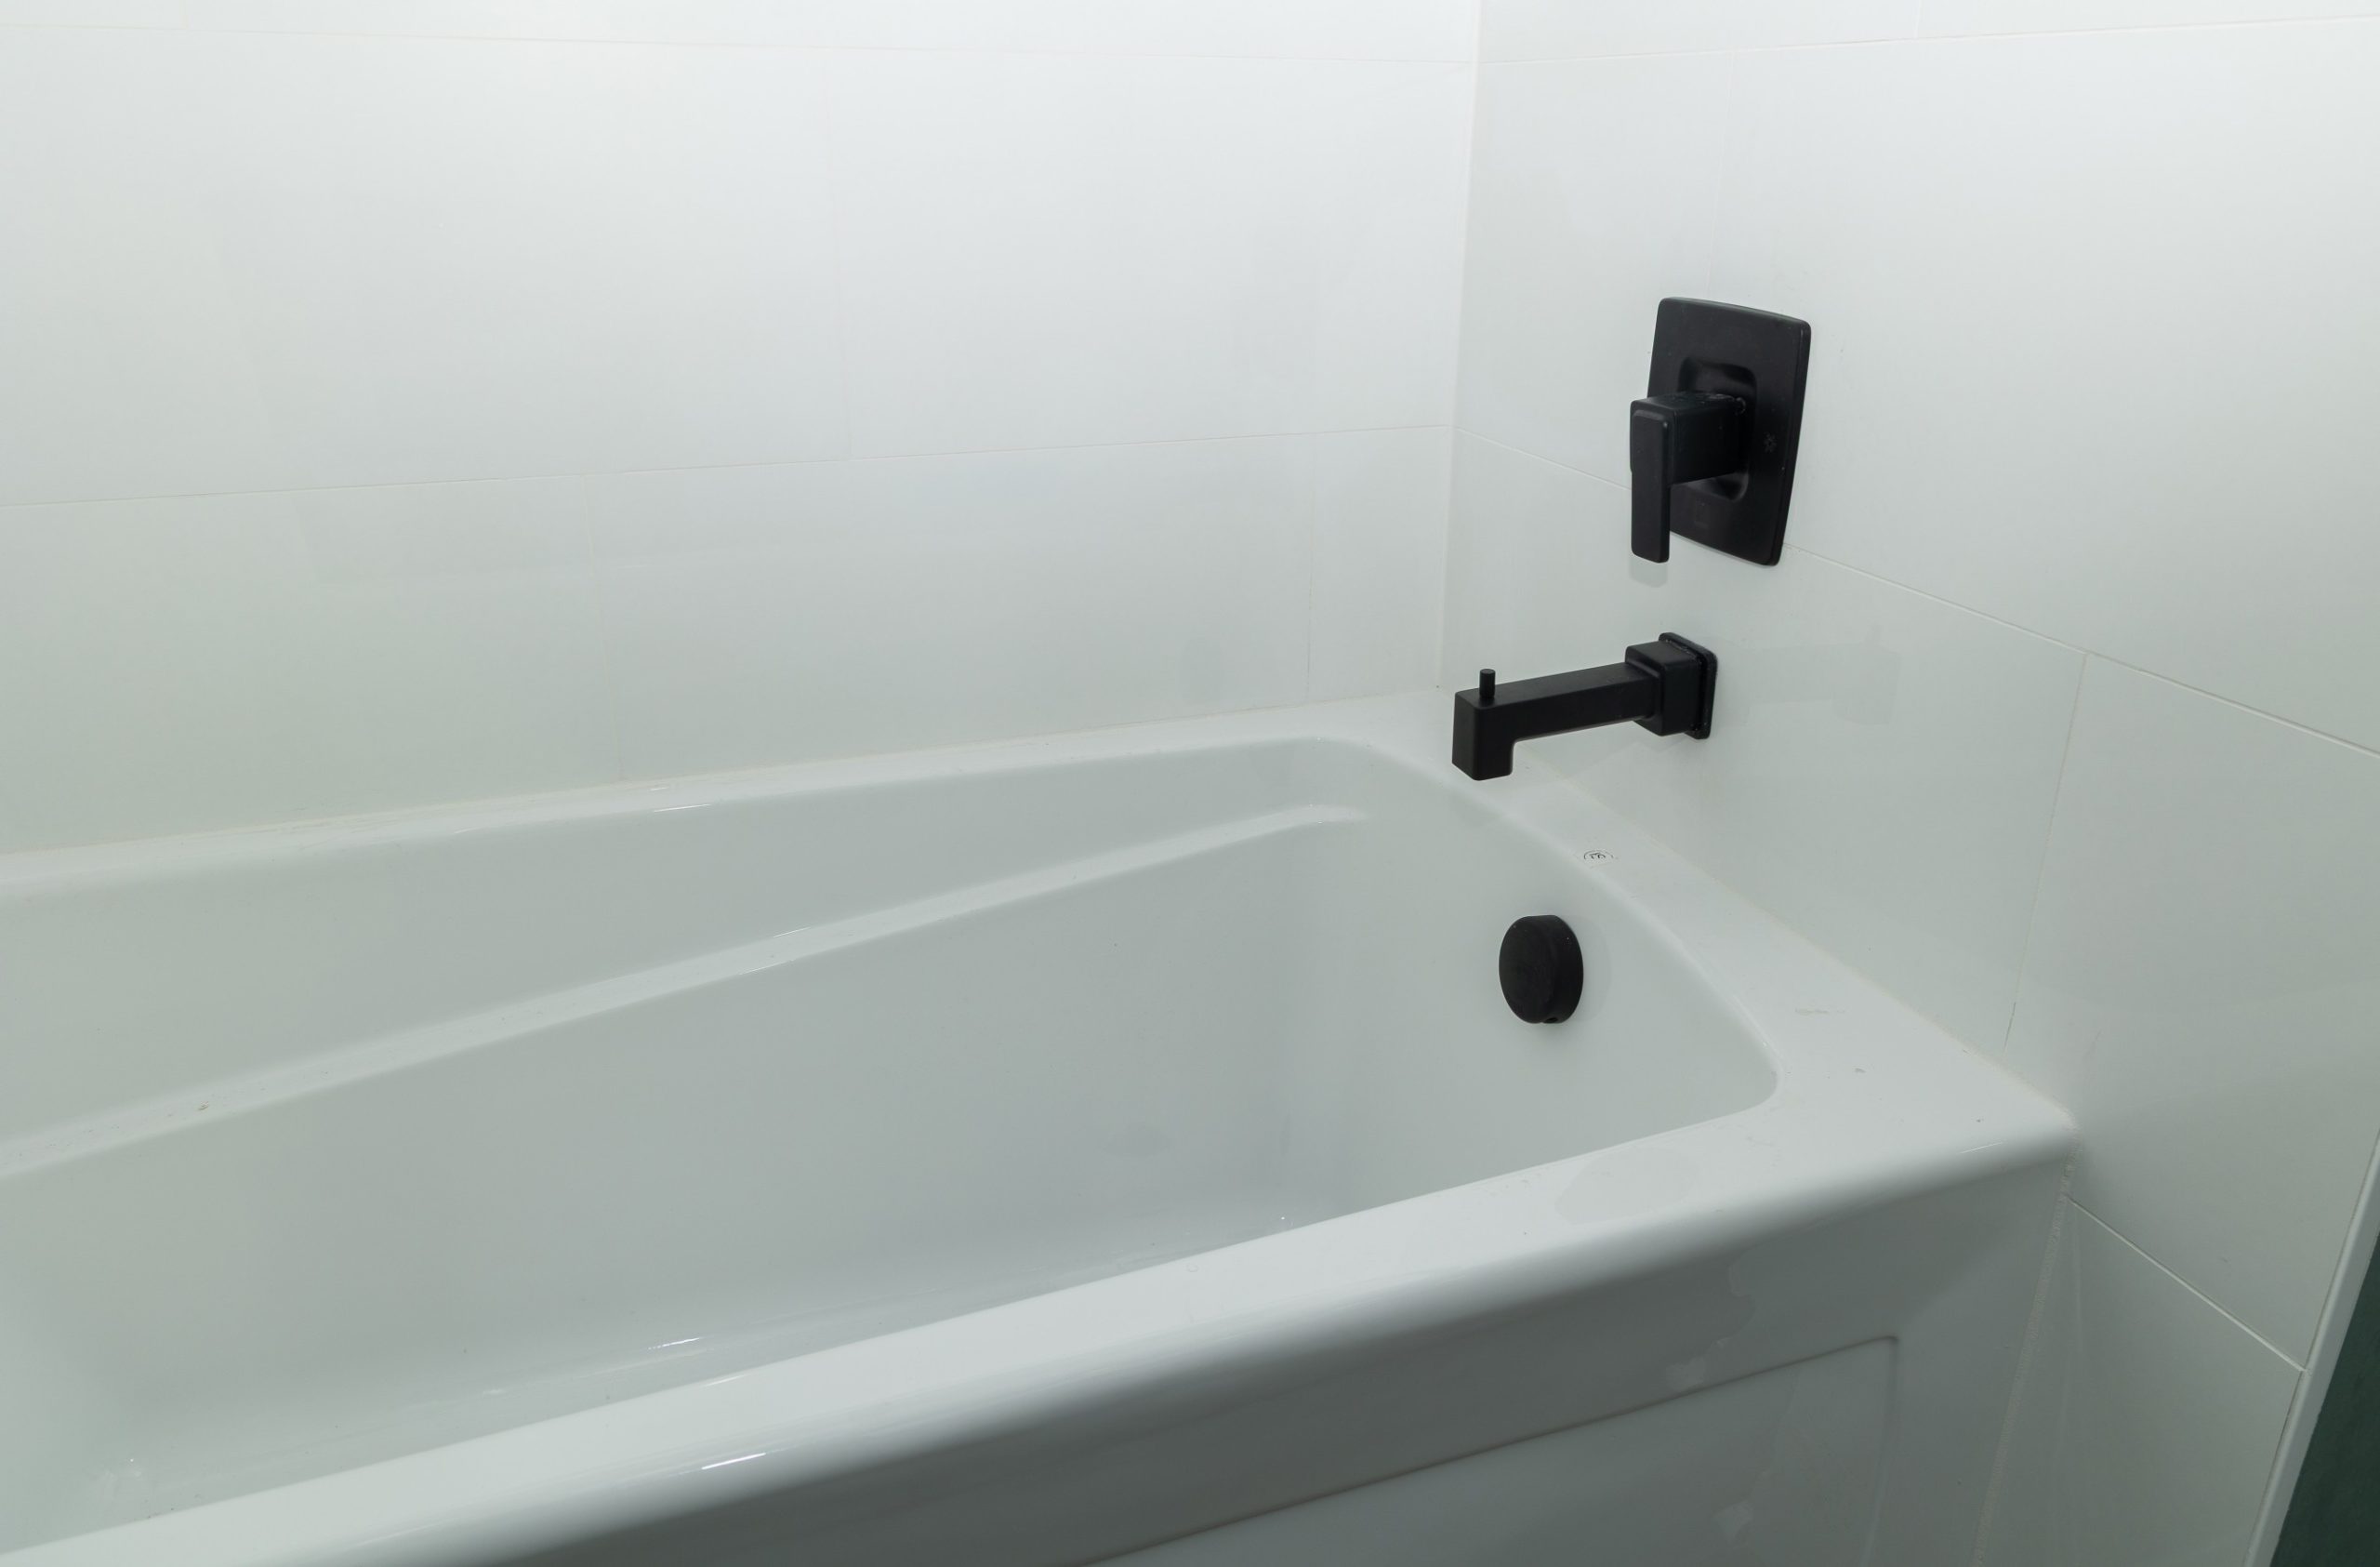
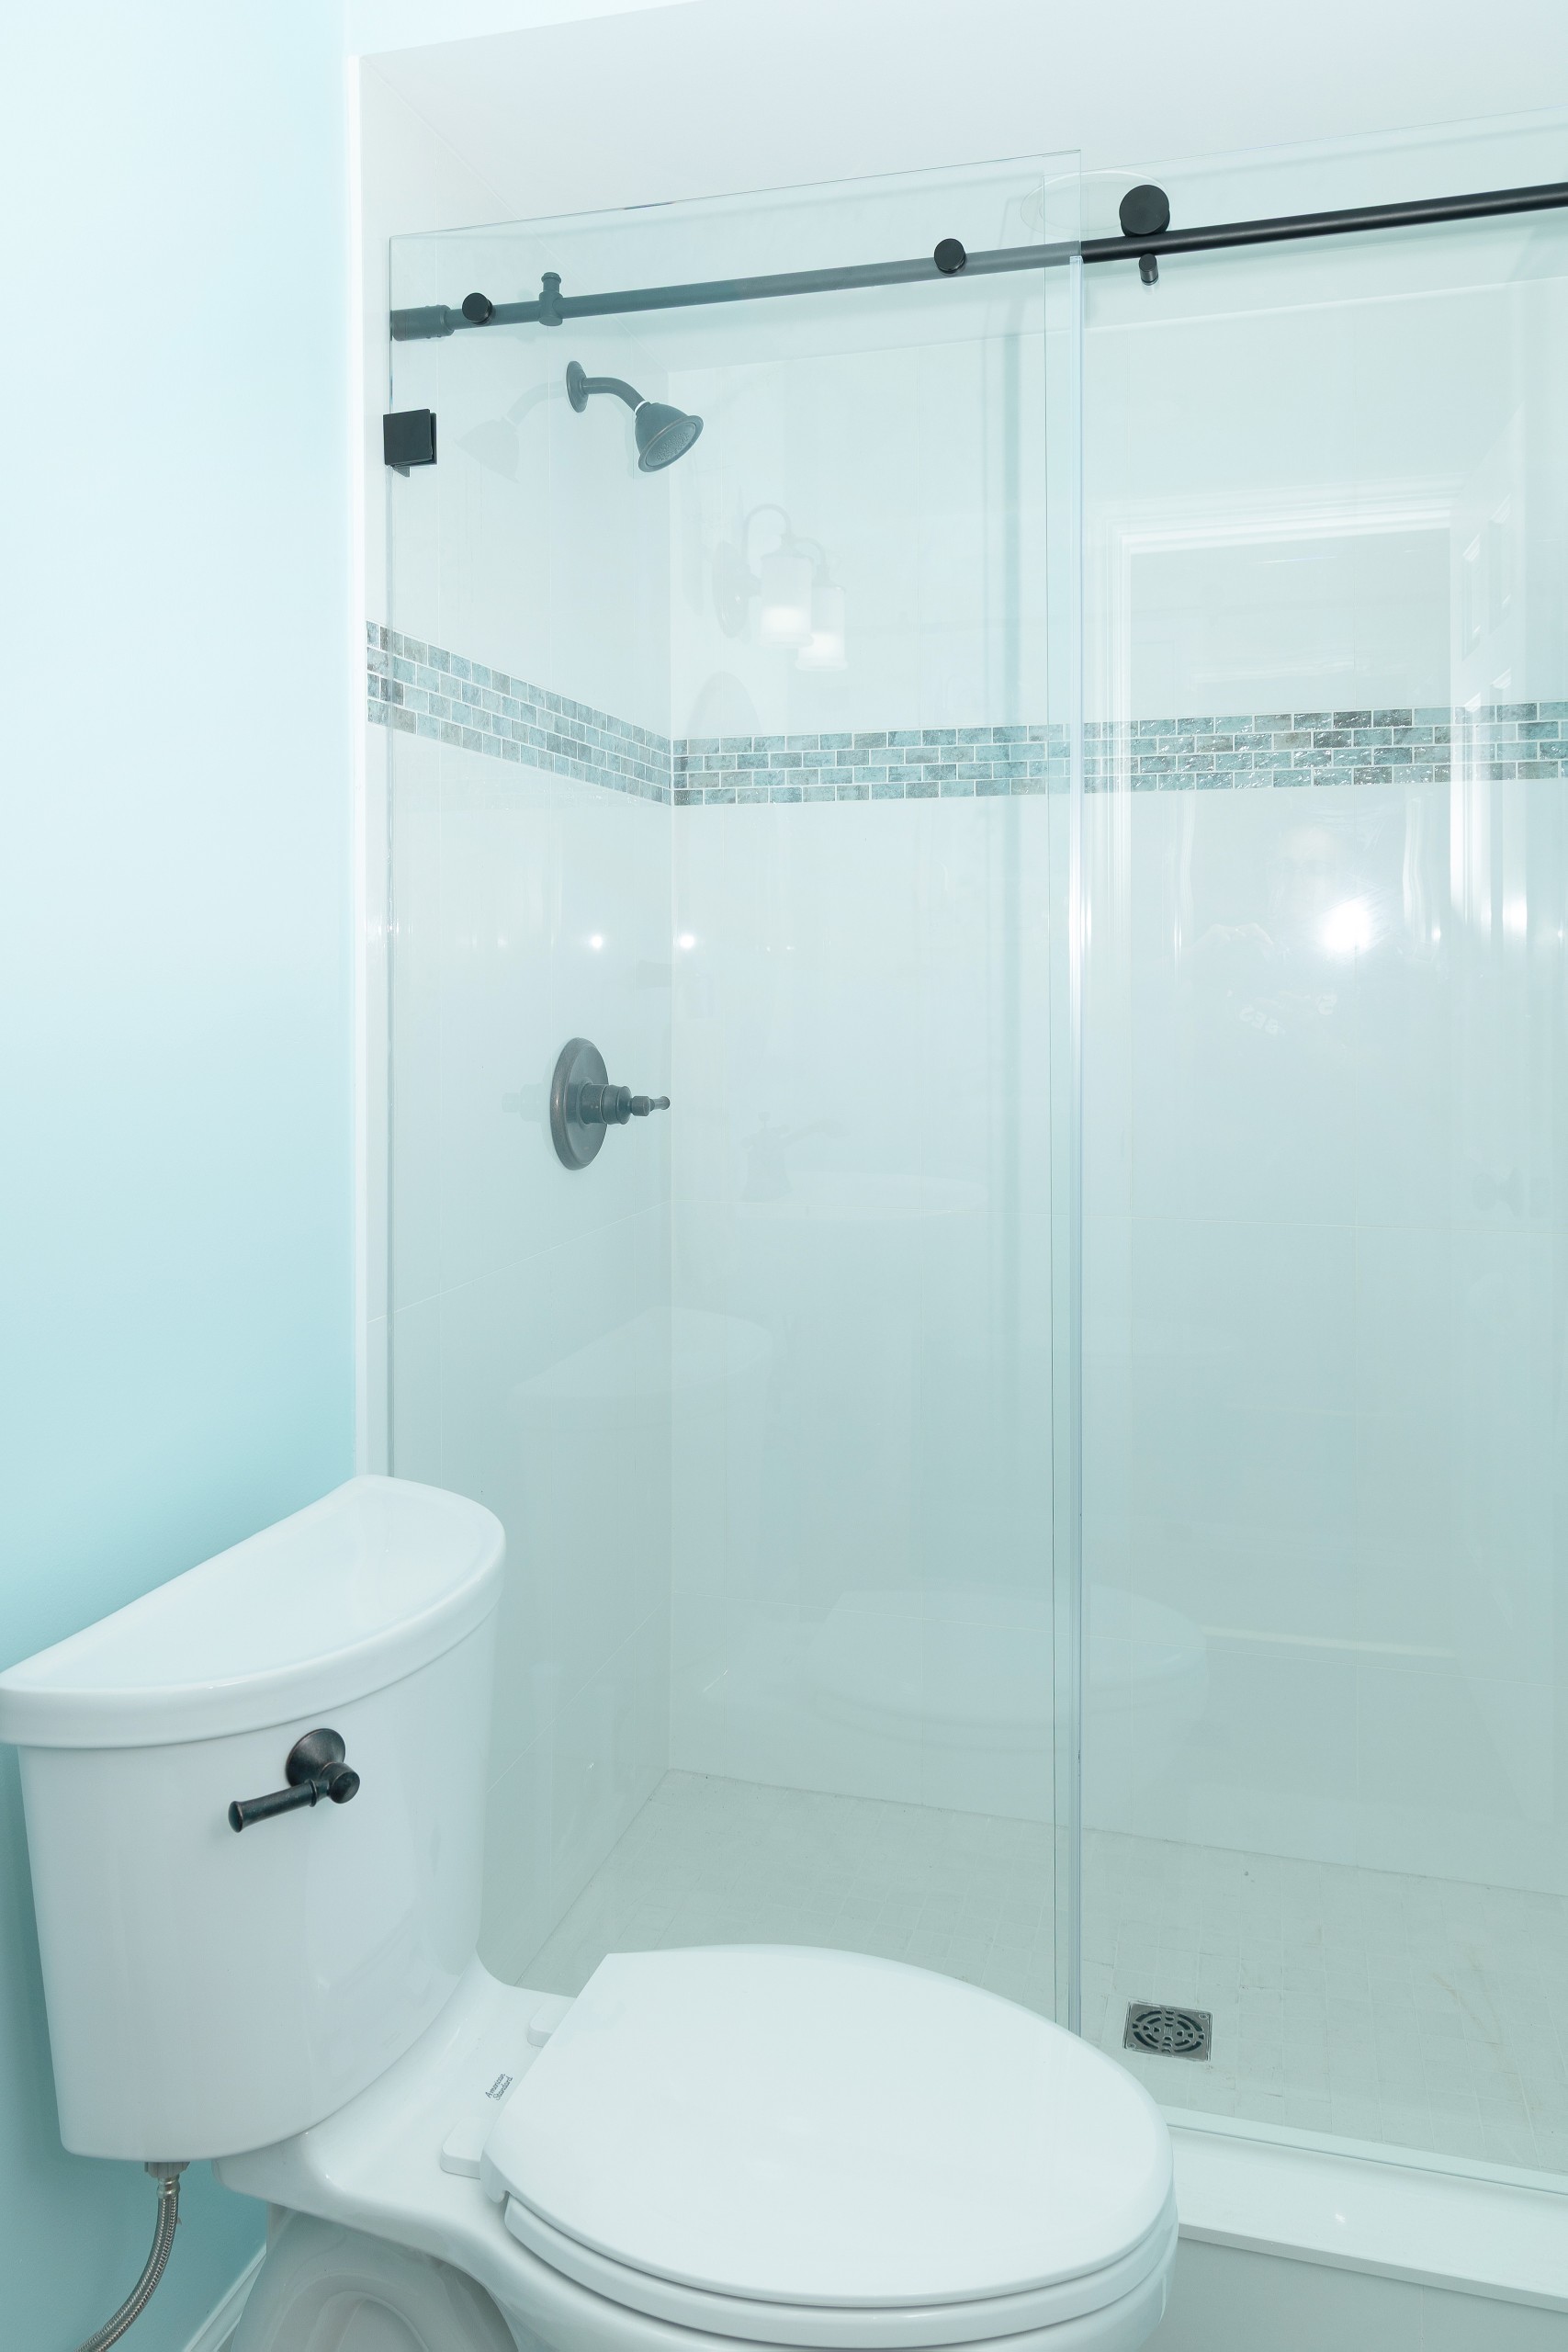
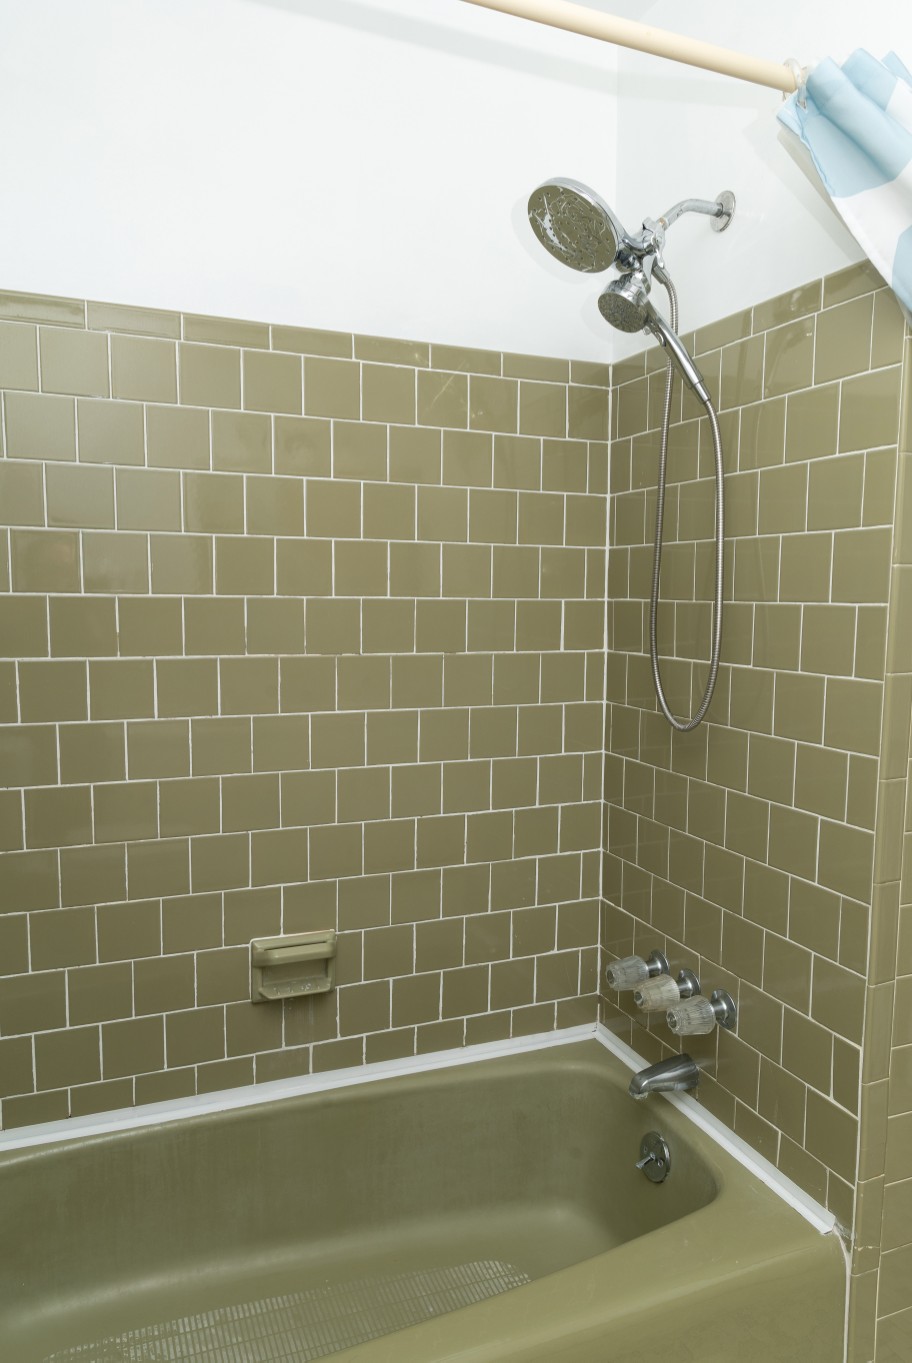
Our clients wanted to update the look of their home’s basic beige primary bath, without changing the plumbing layout. Bathroom tile design to the rescue!

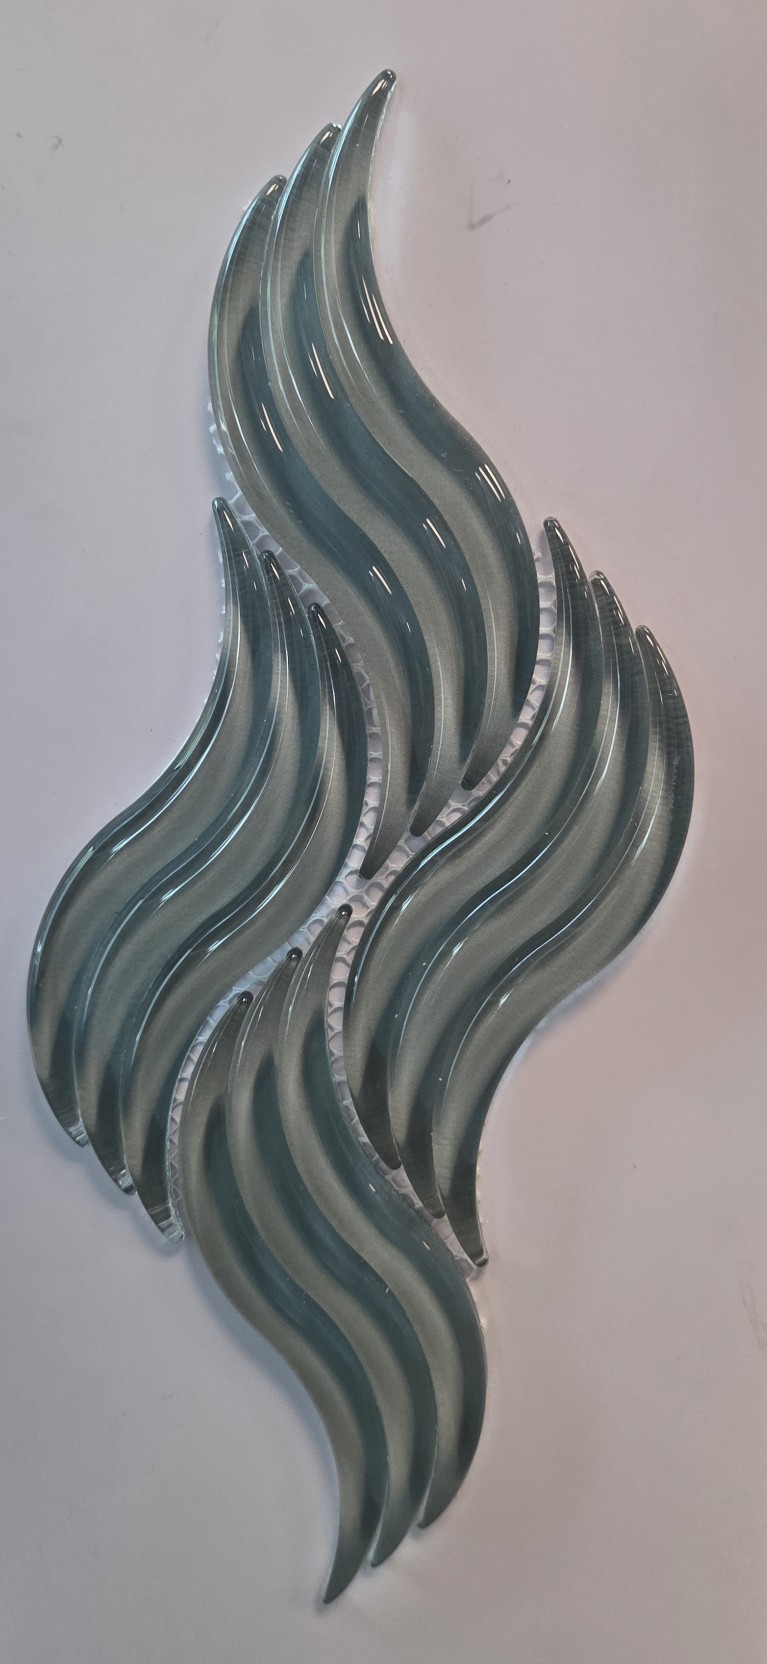
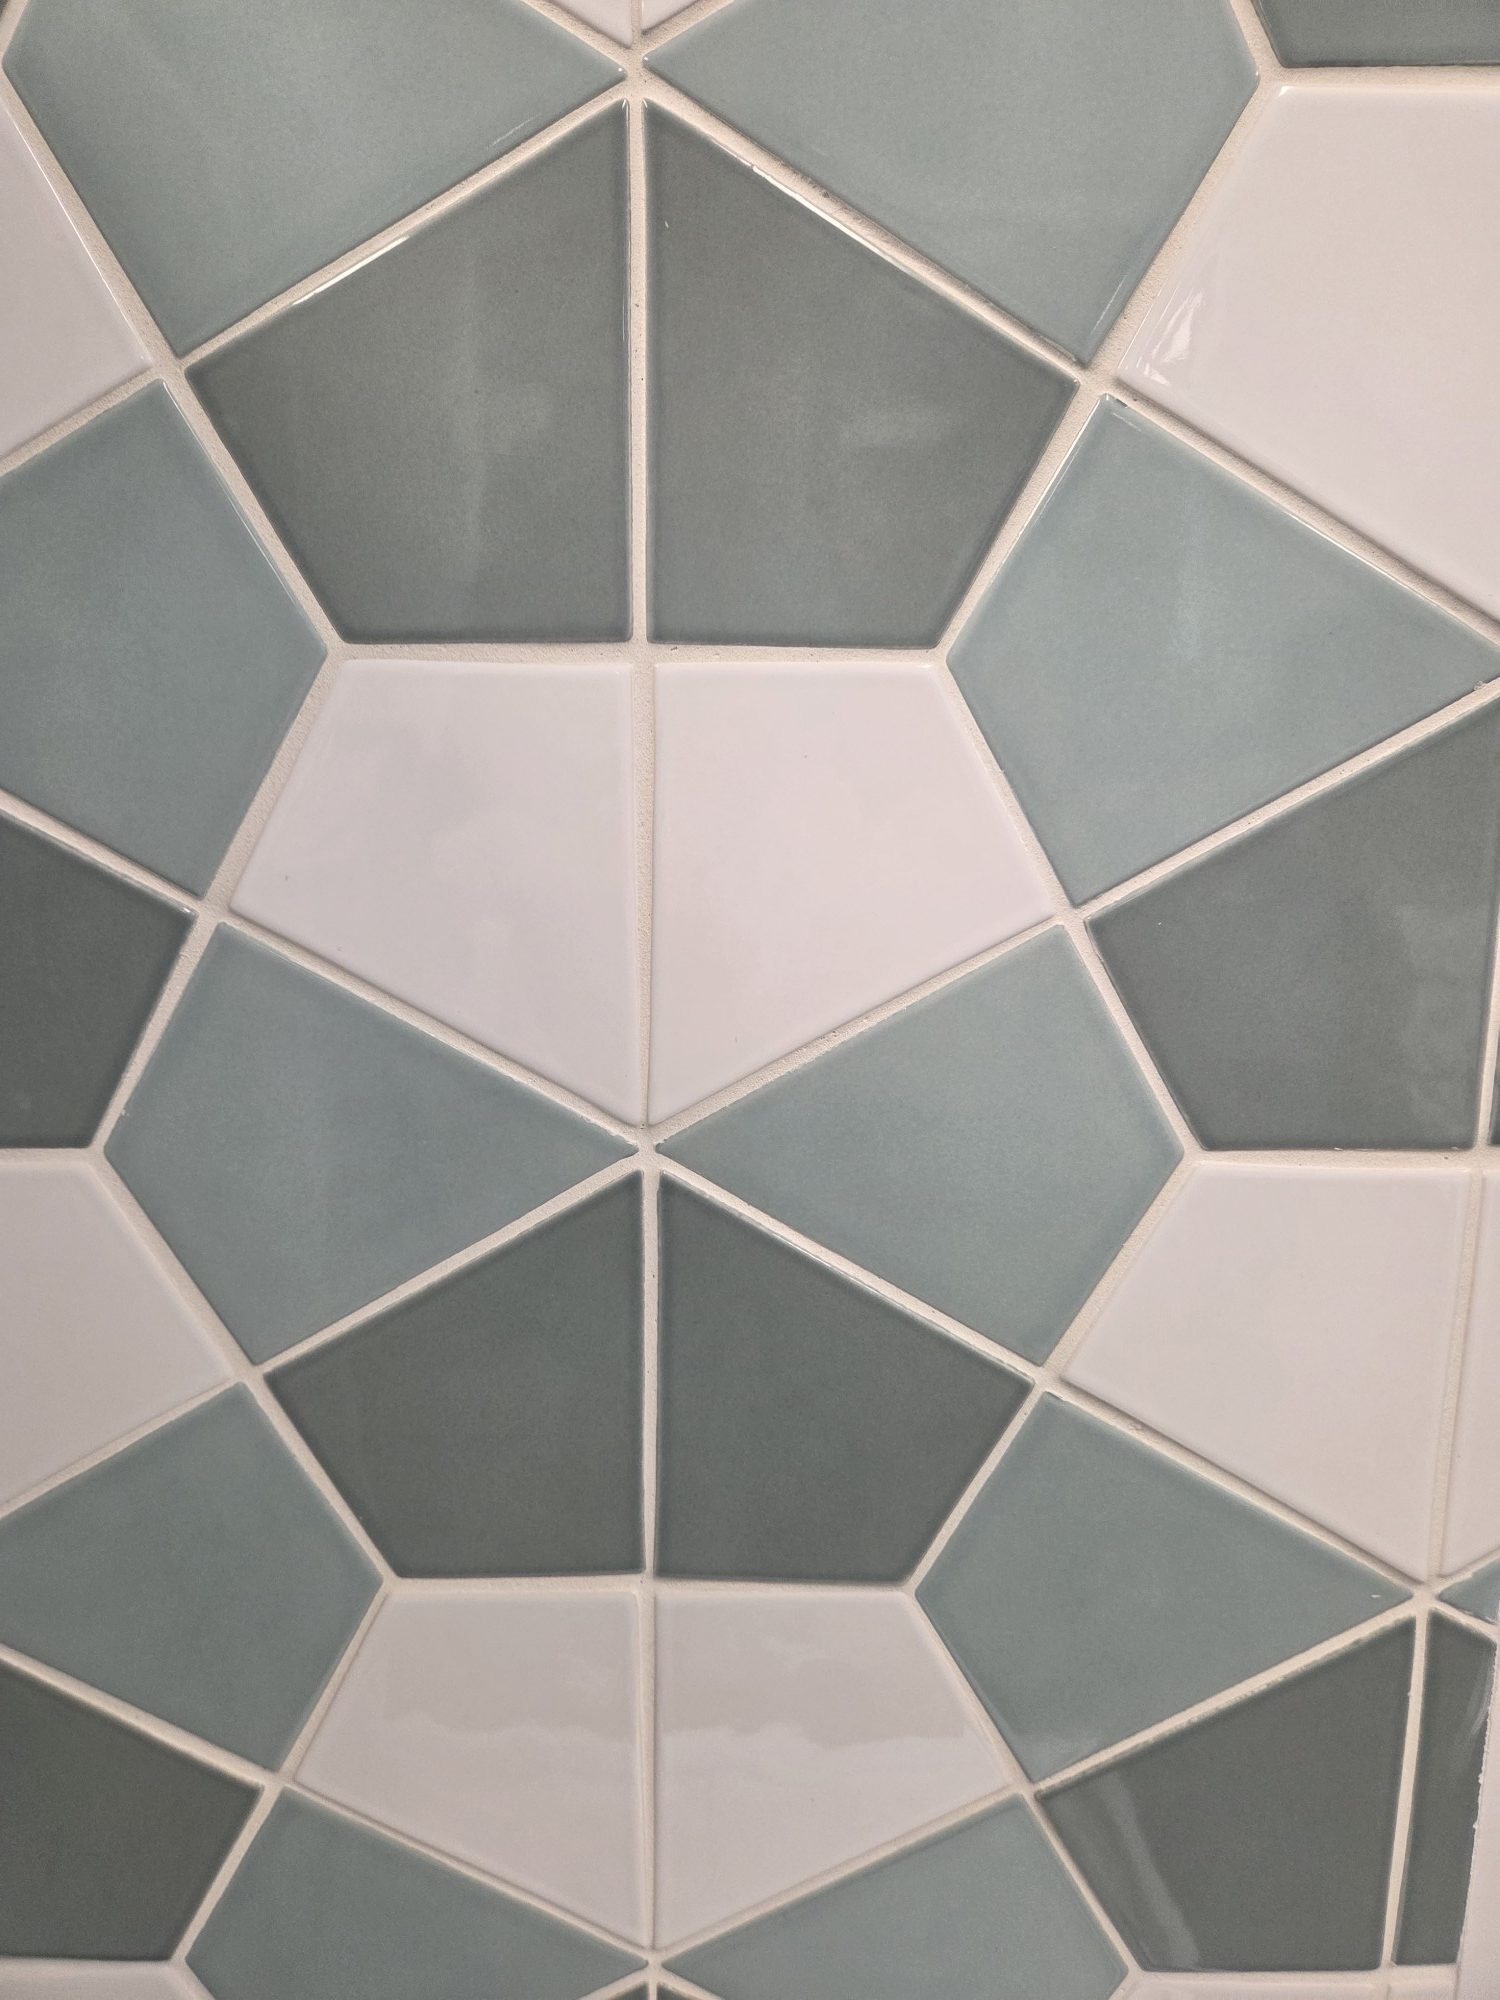
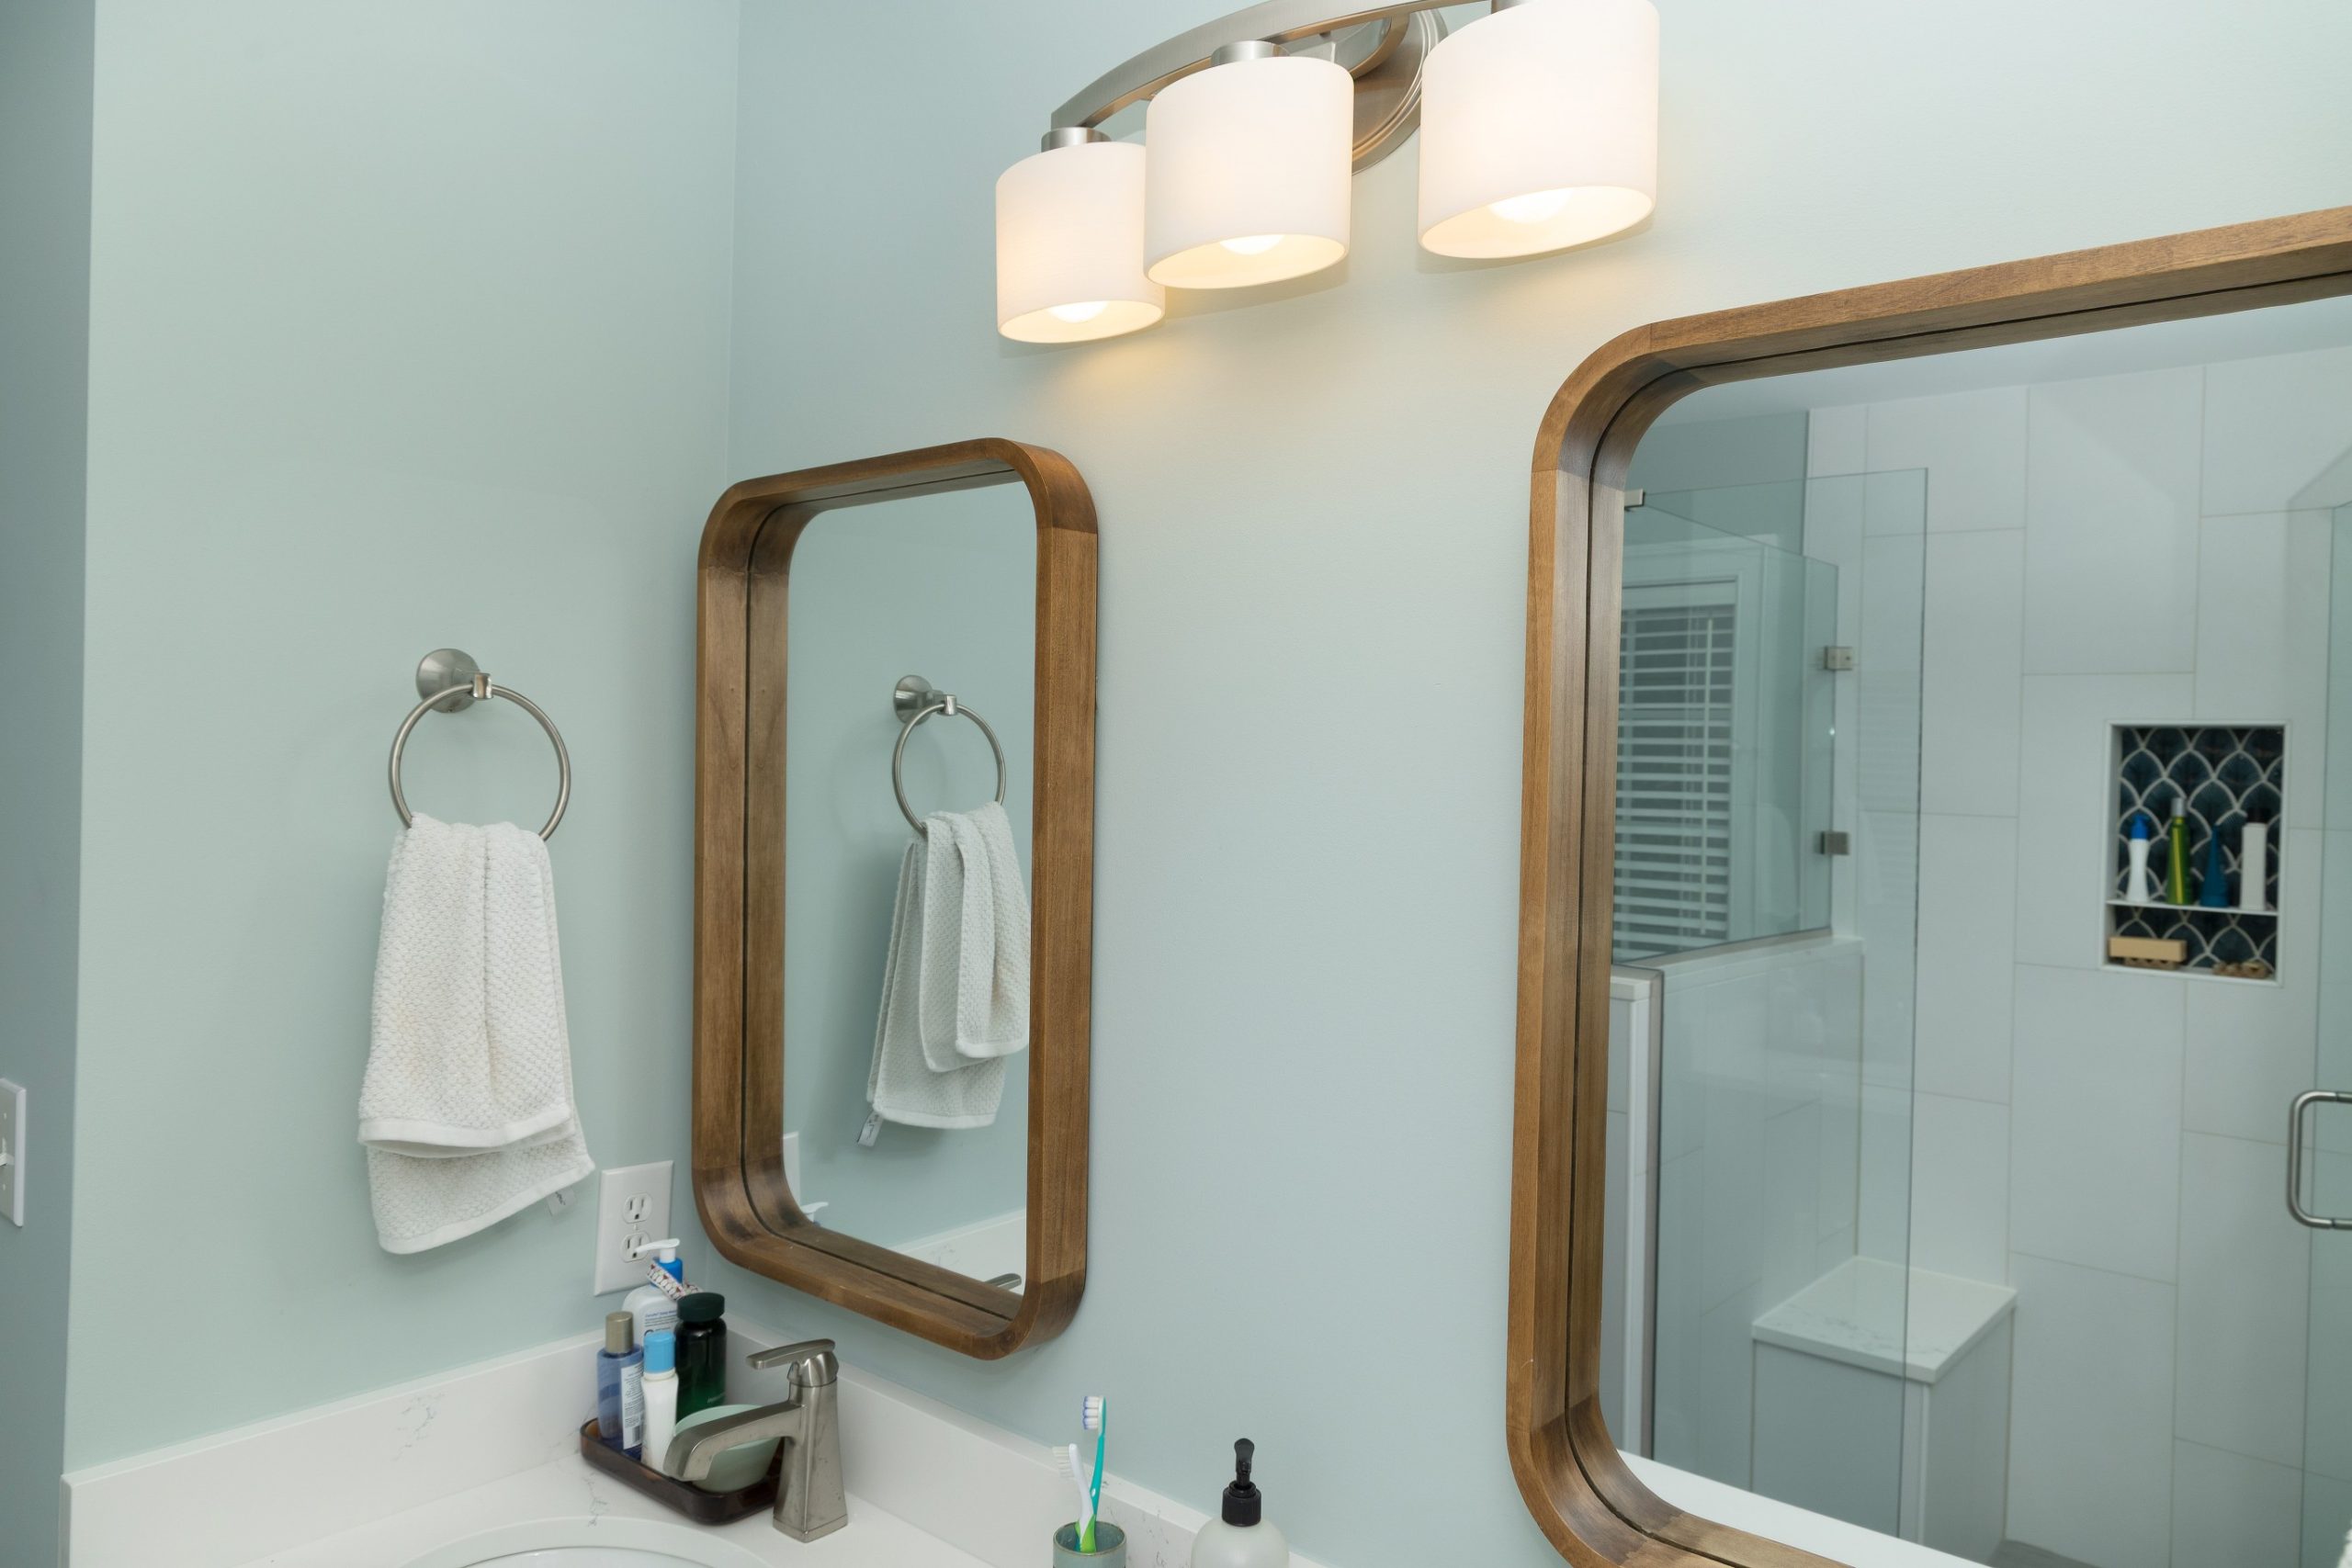
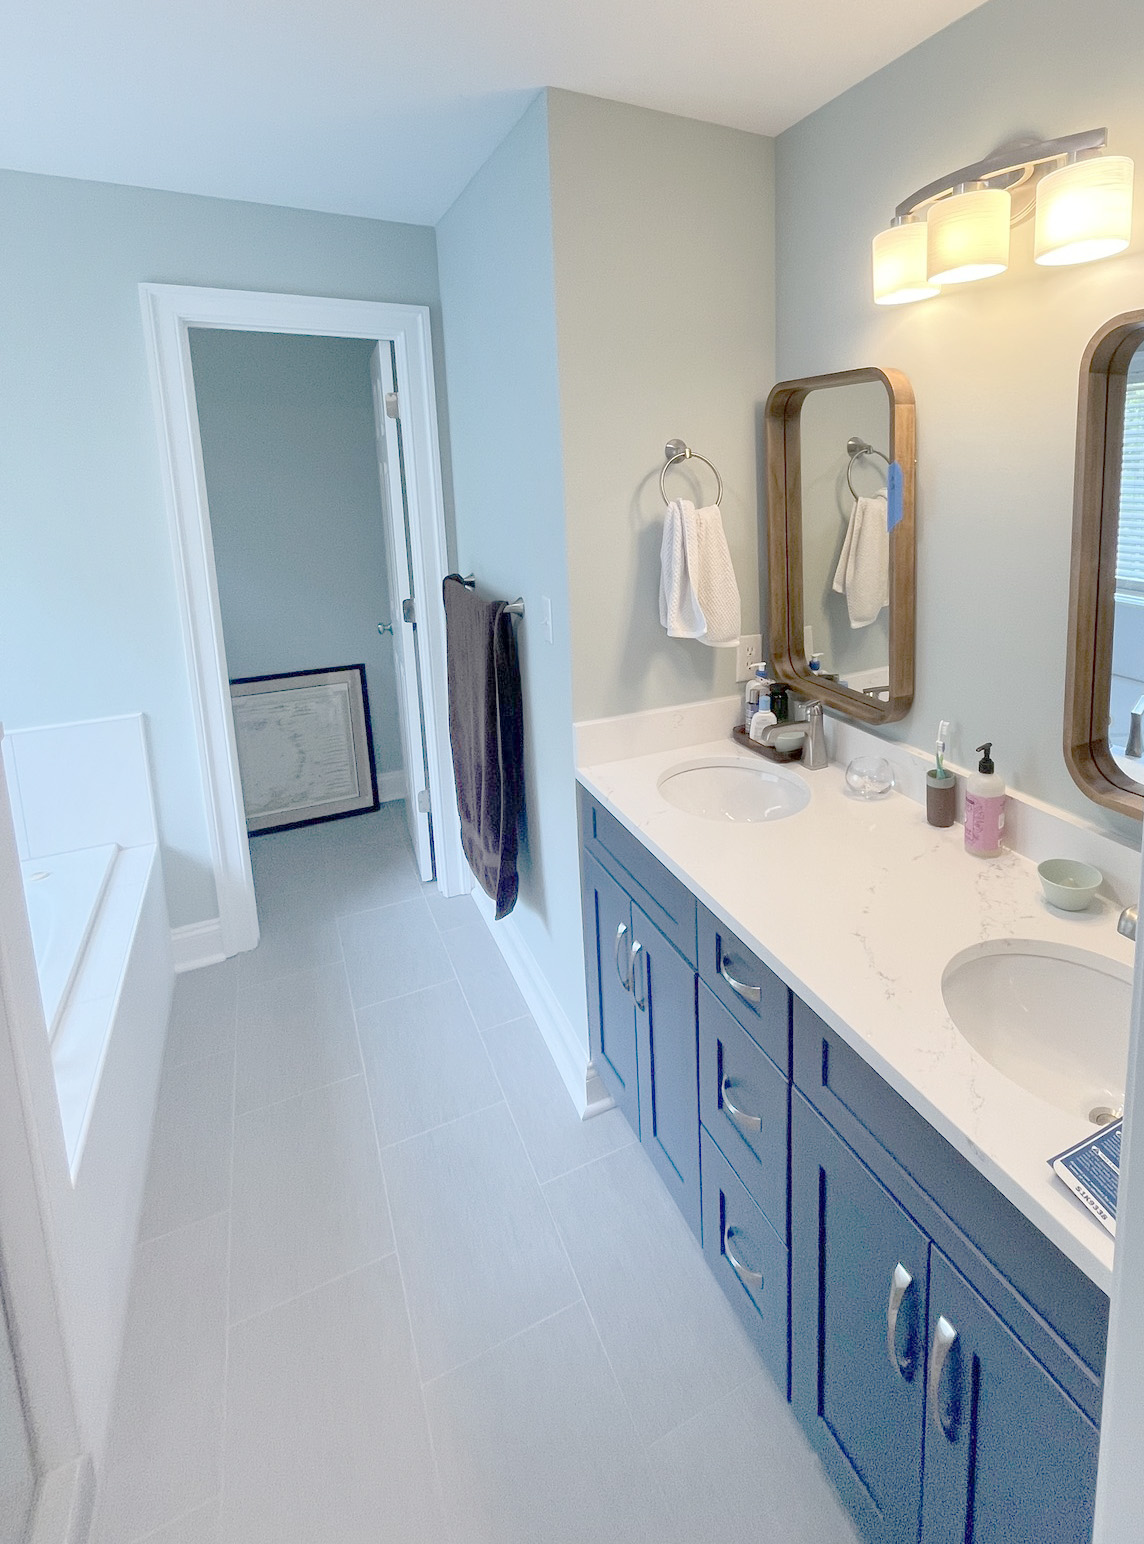
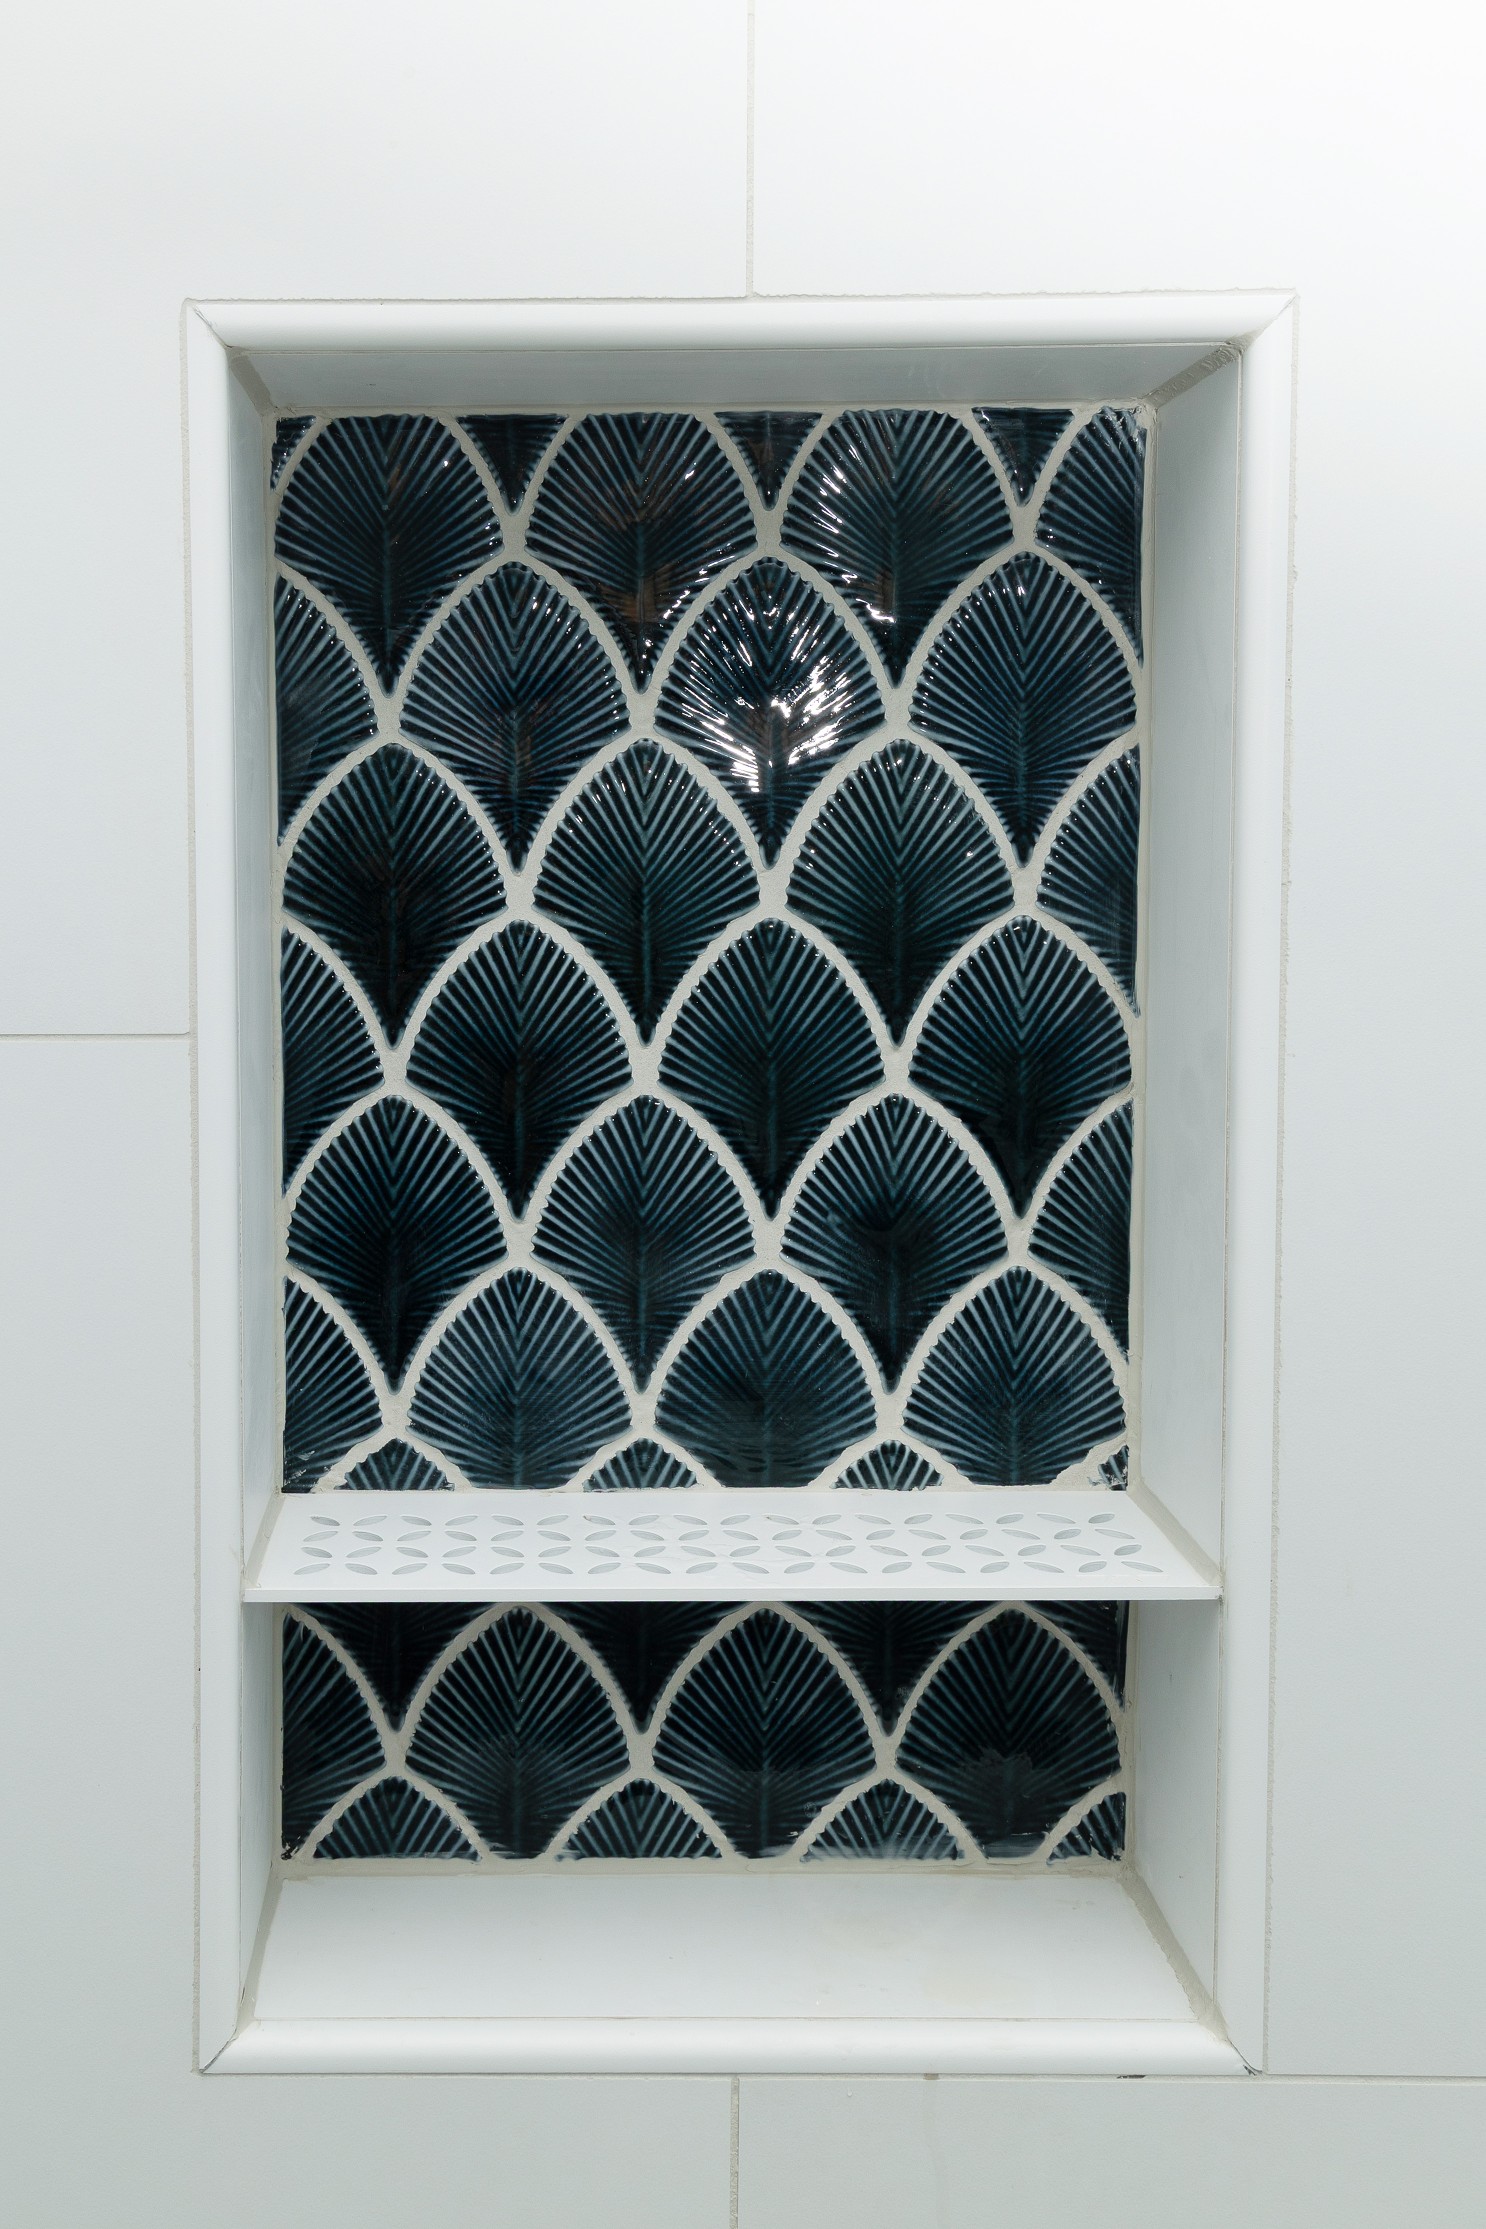
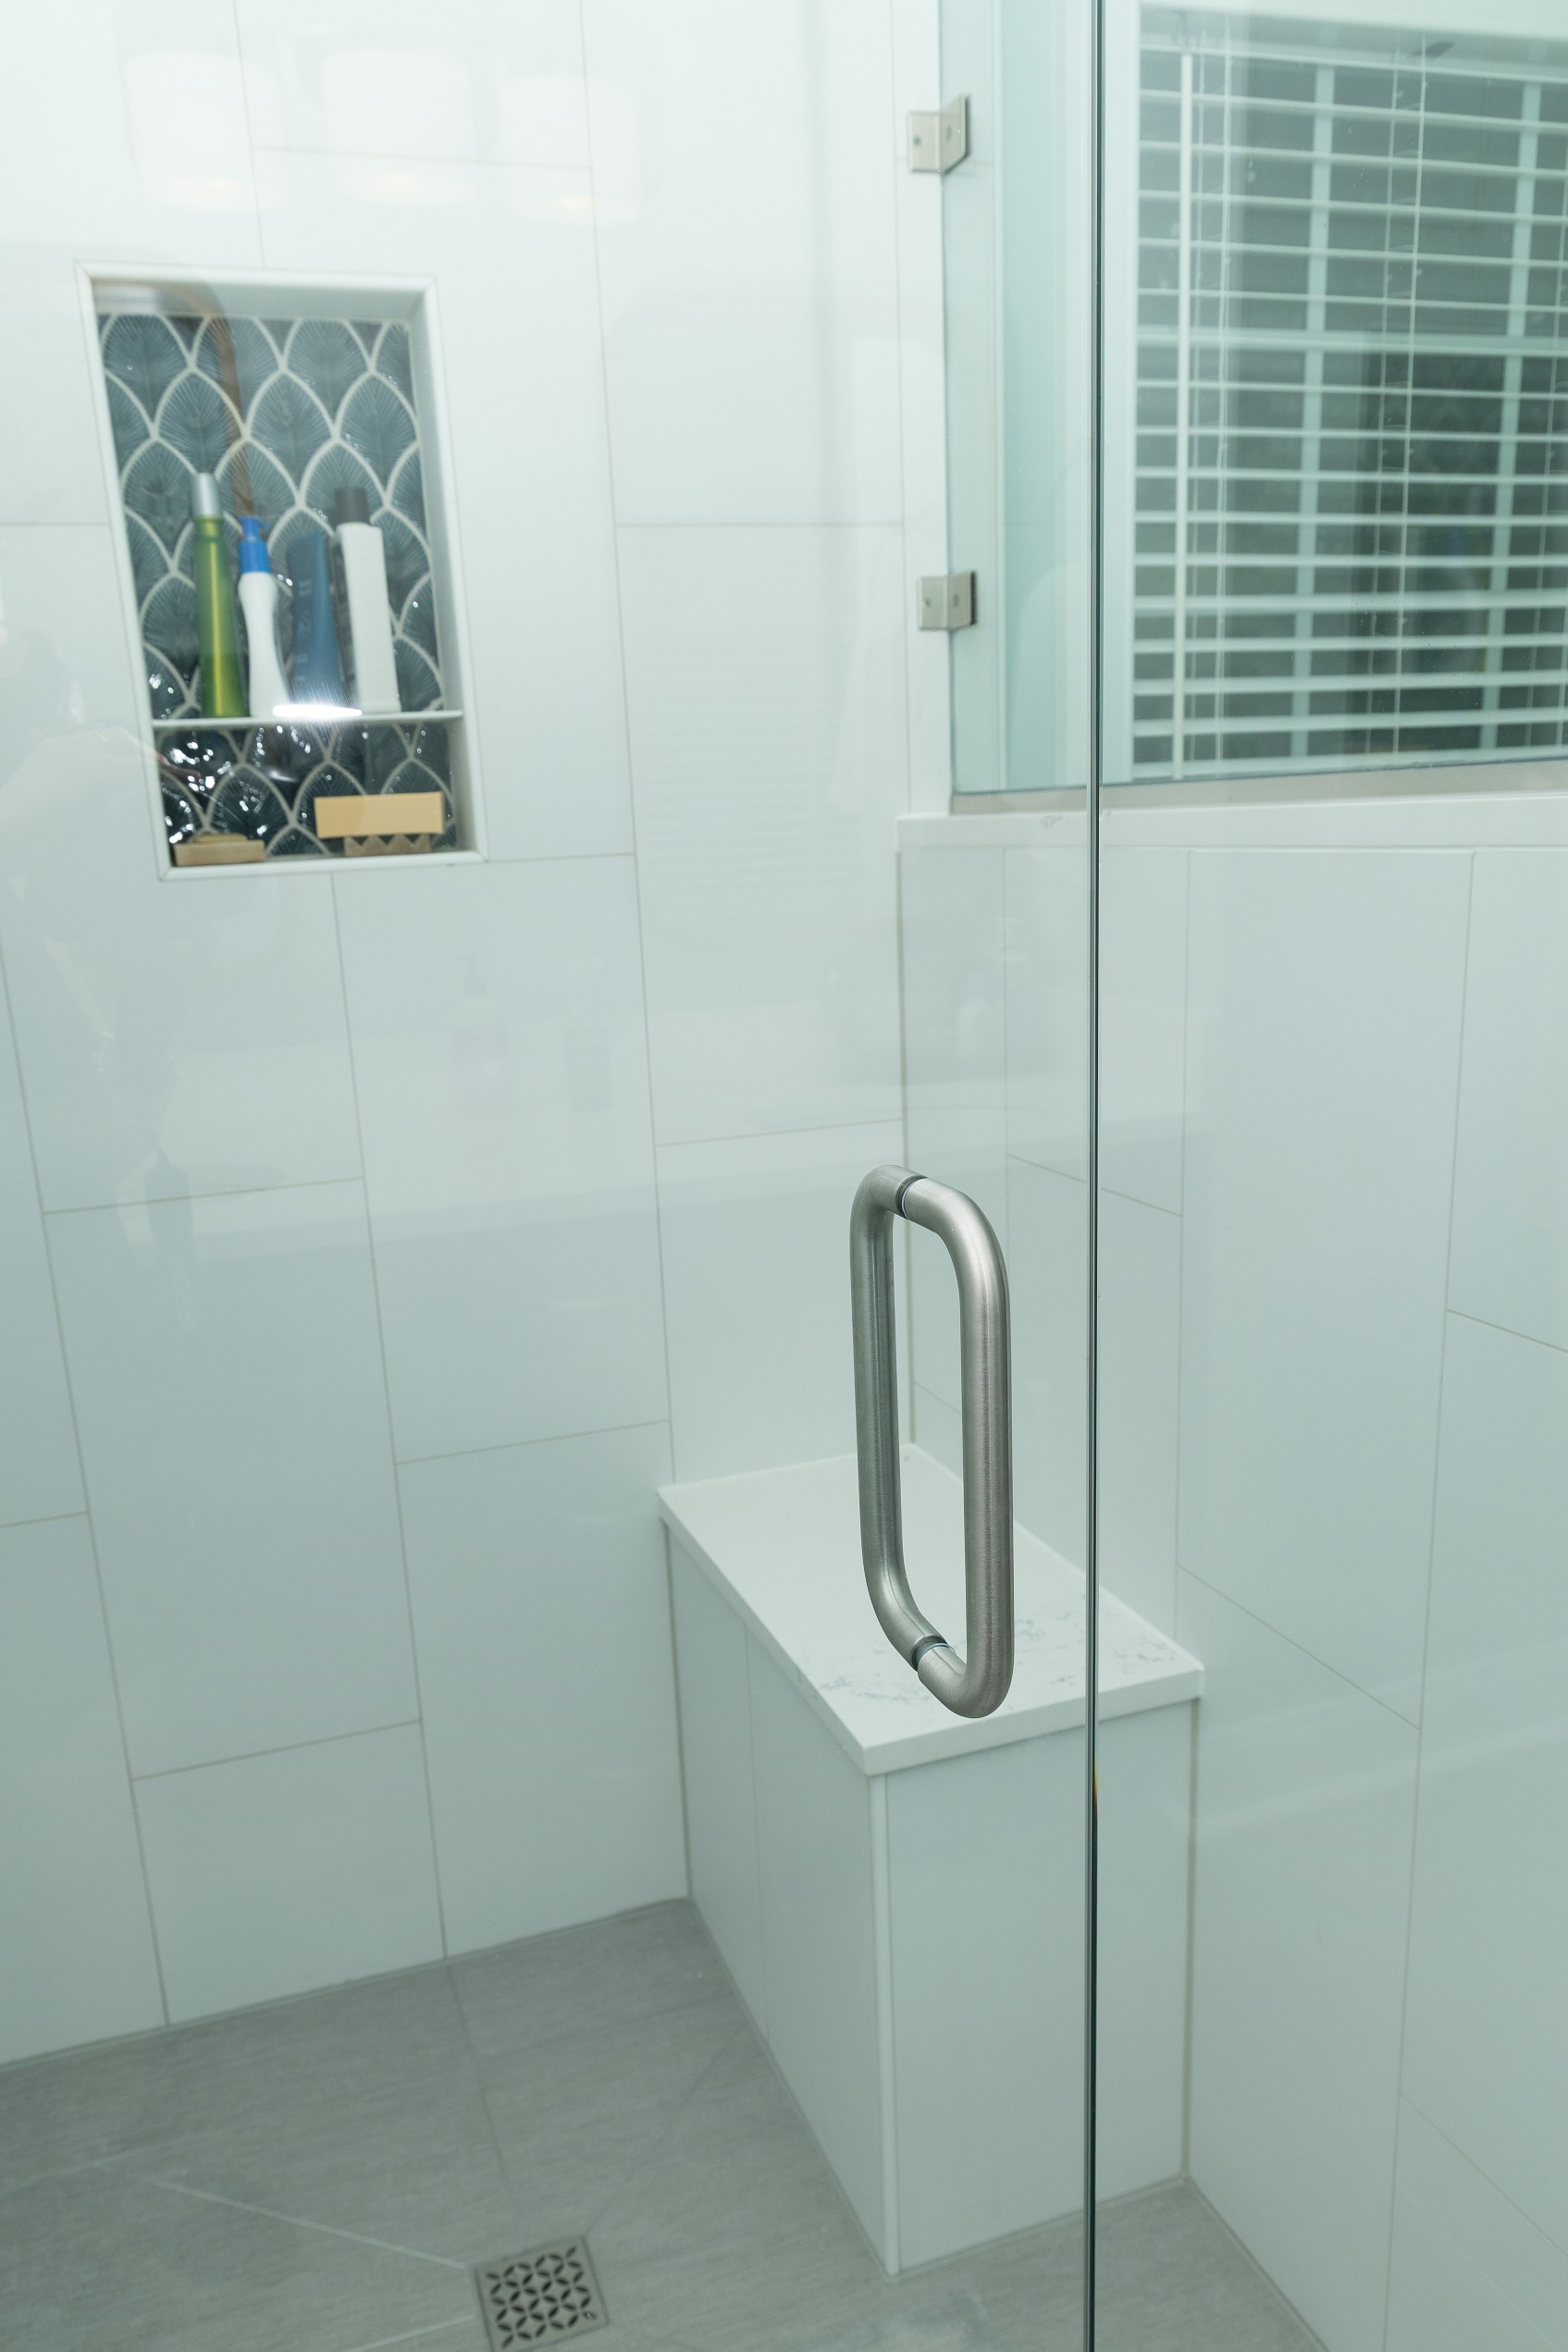
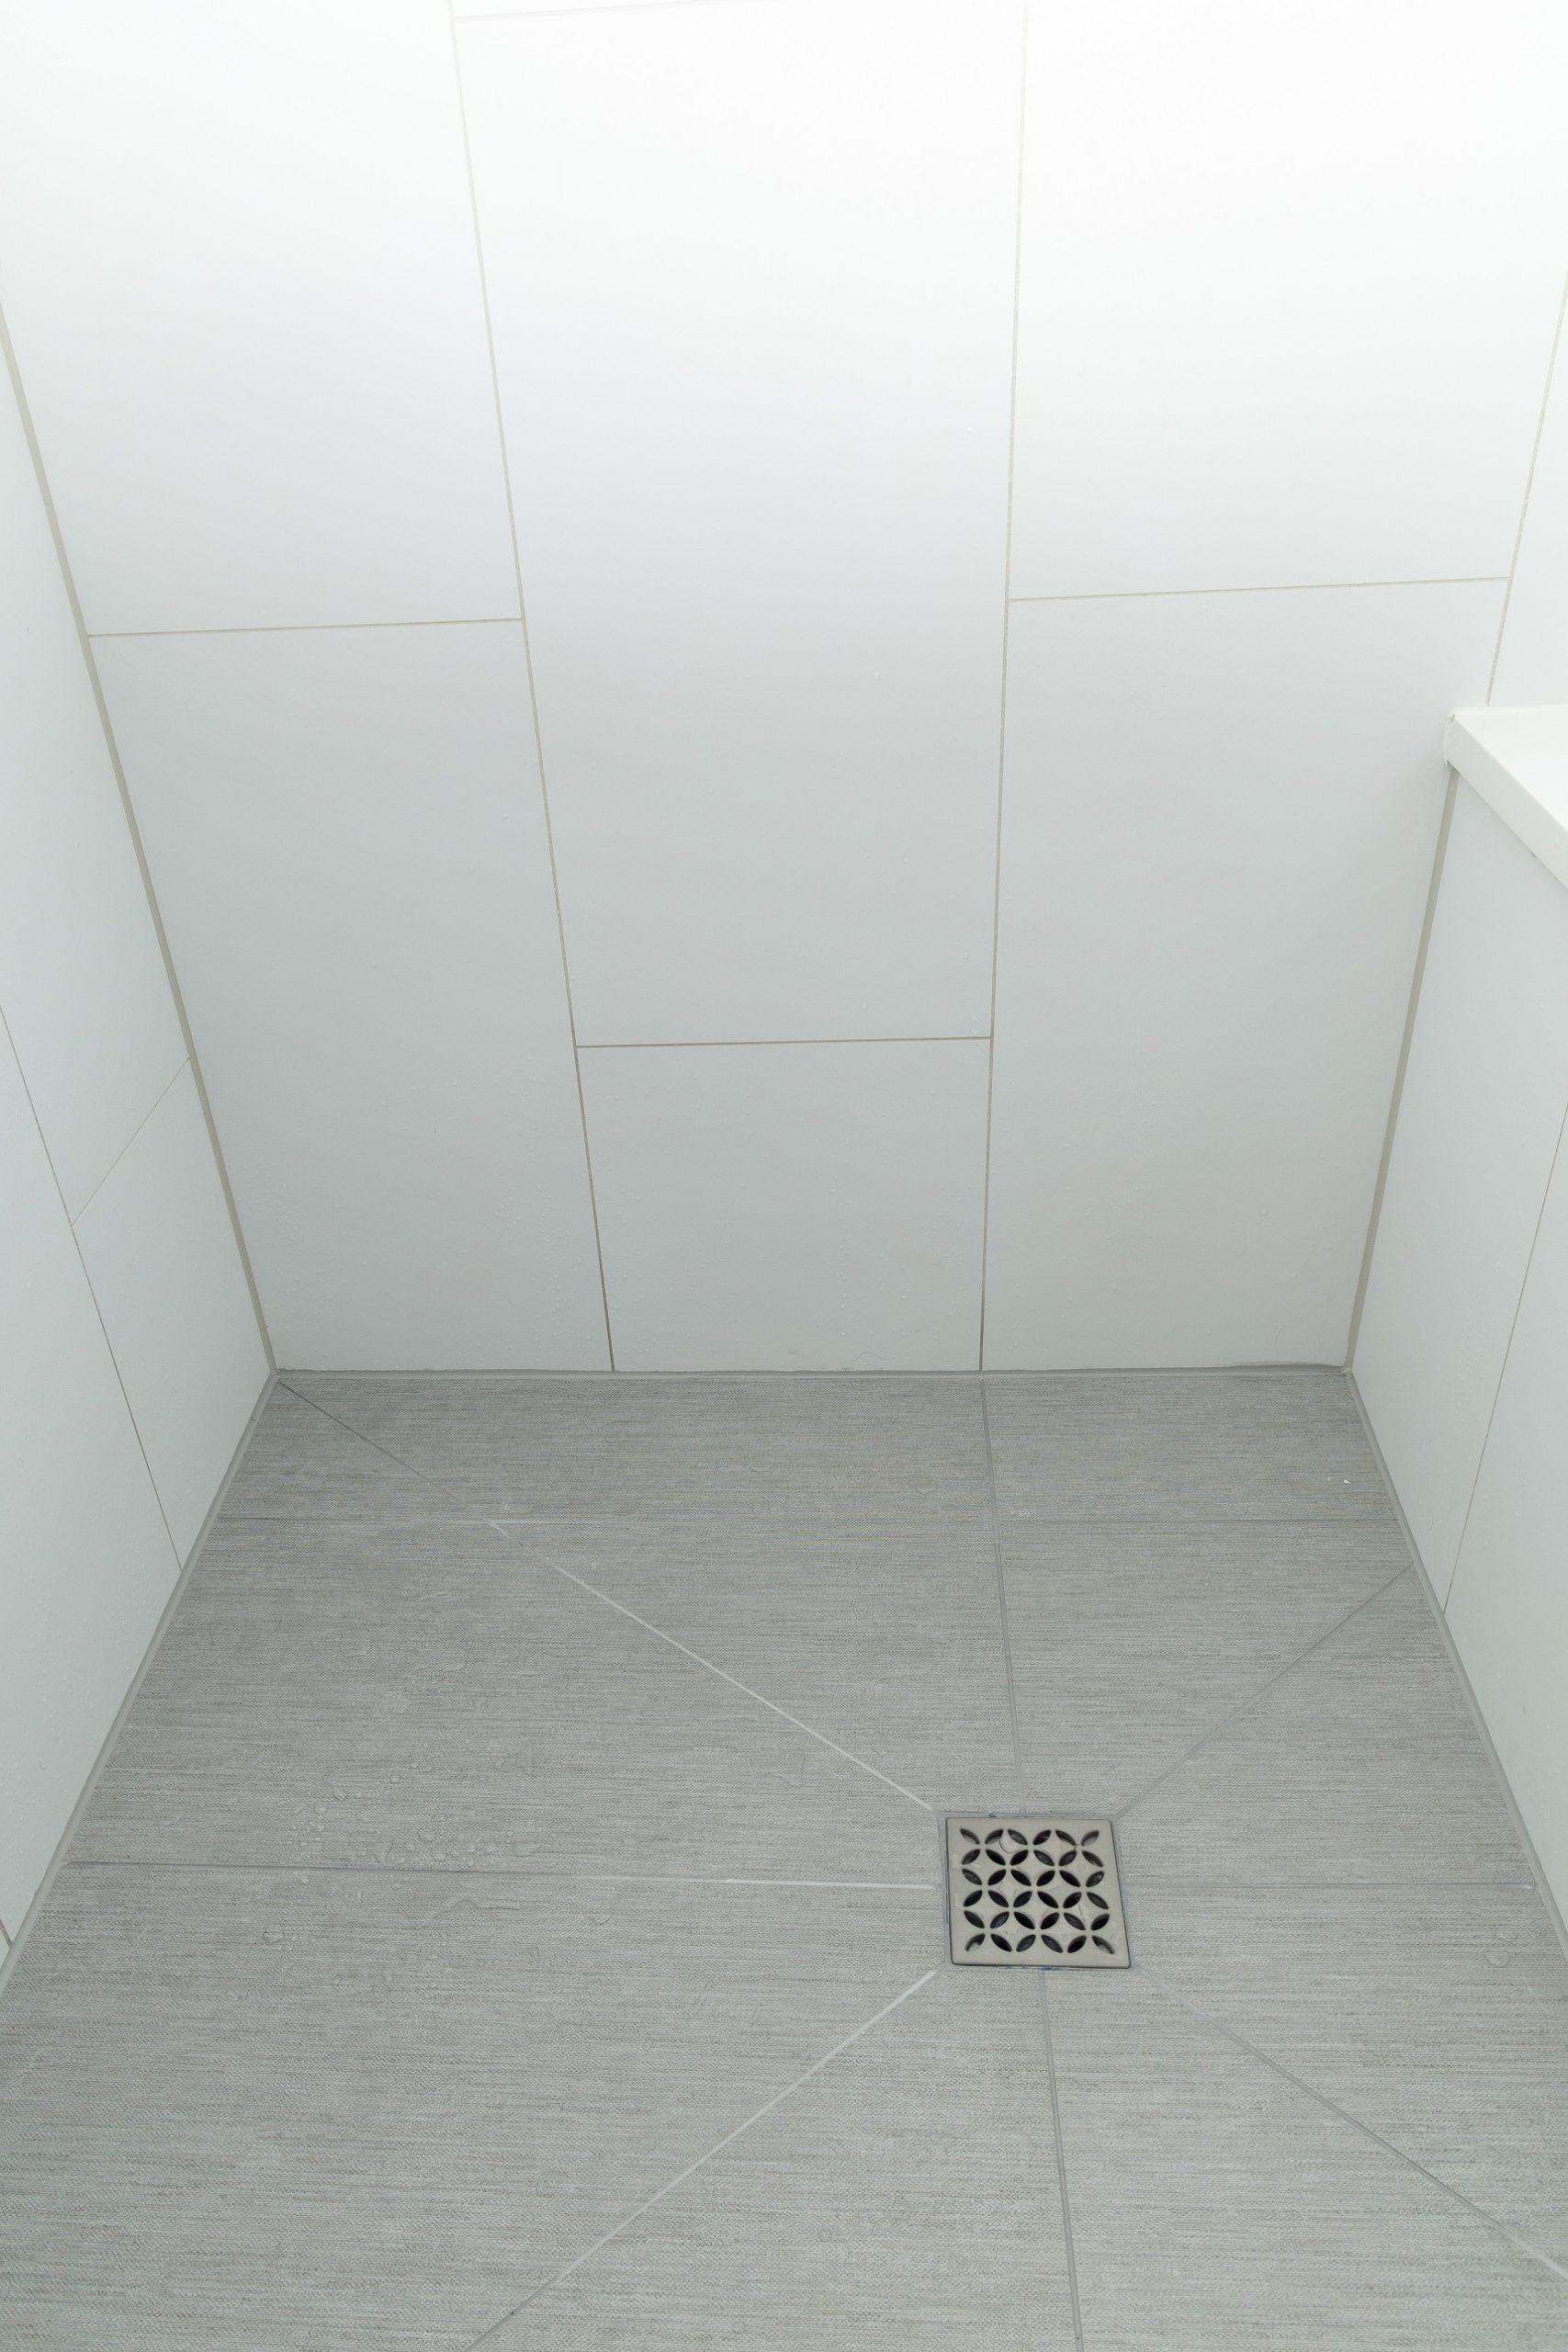
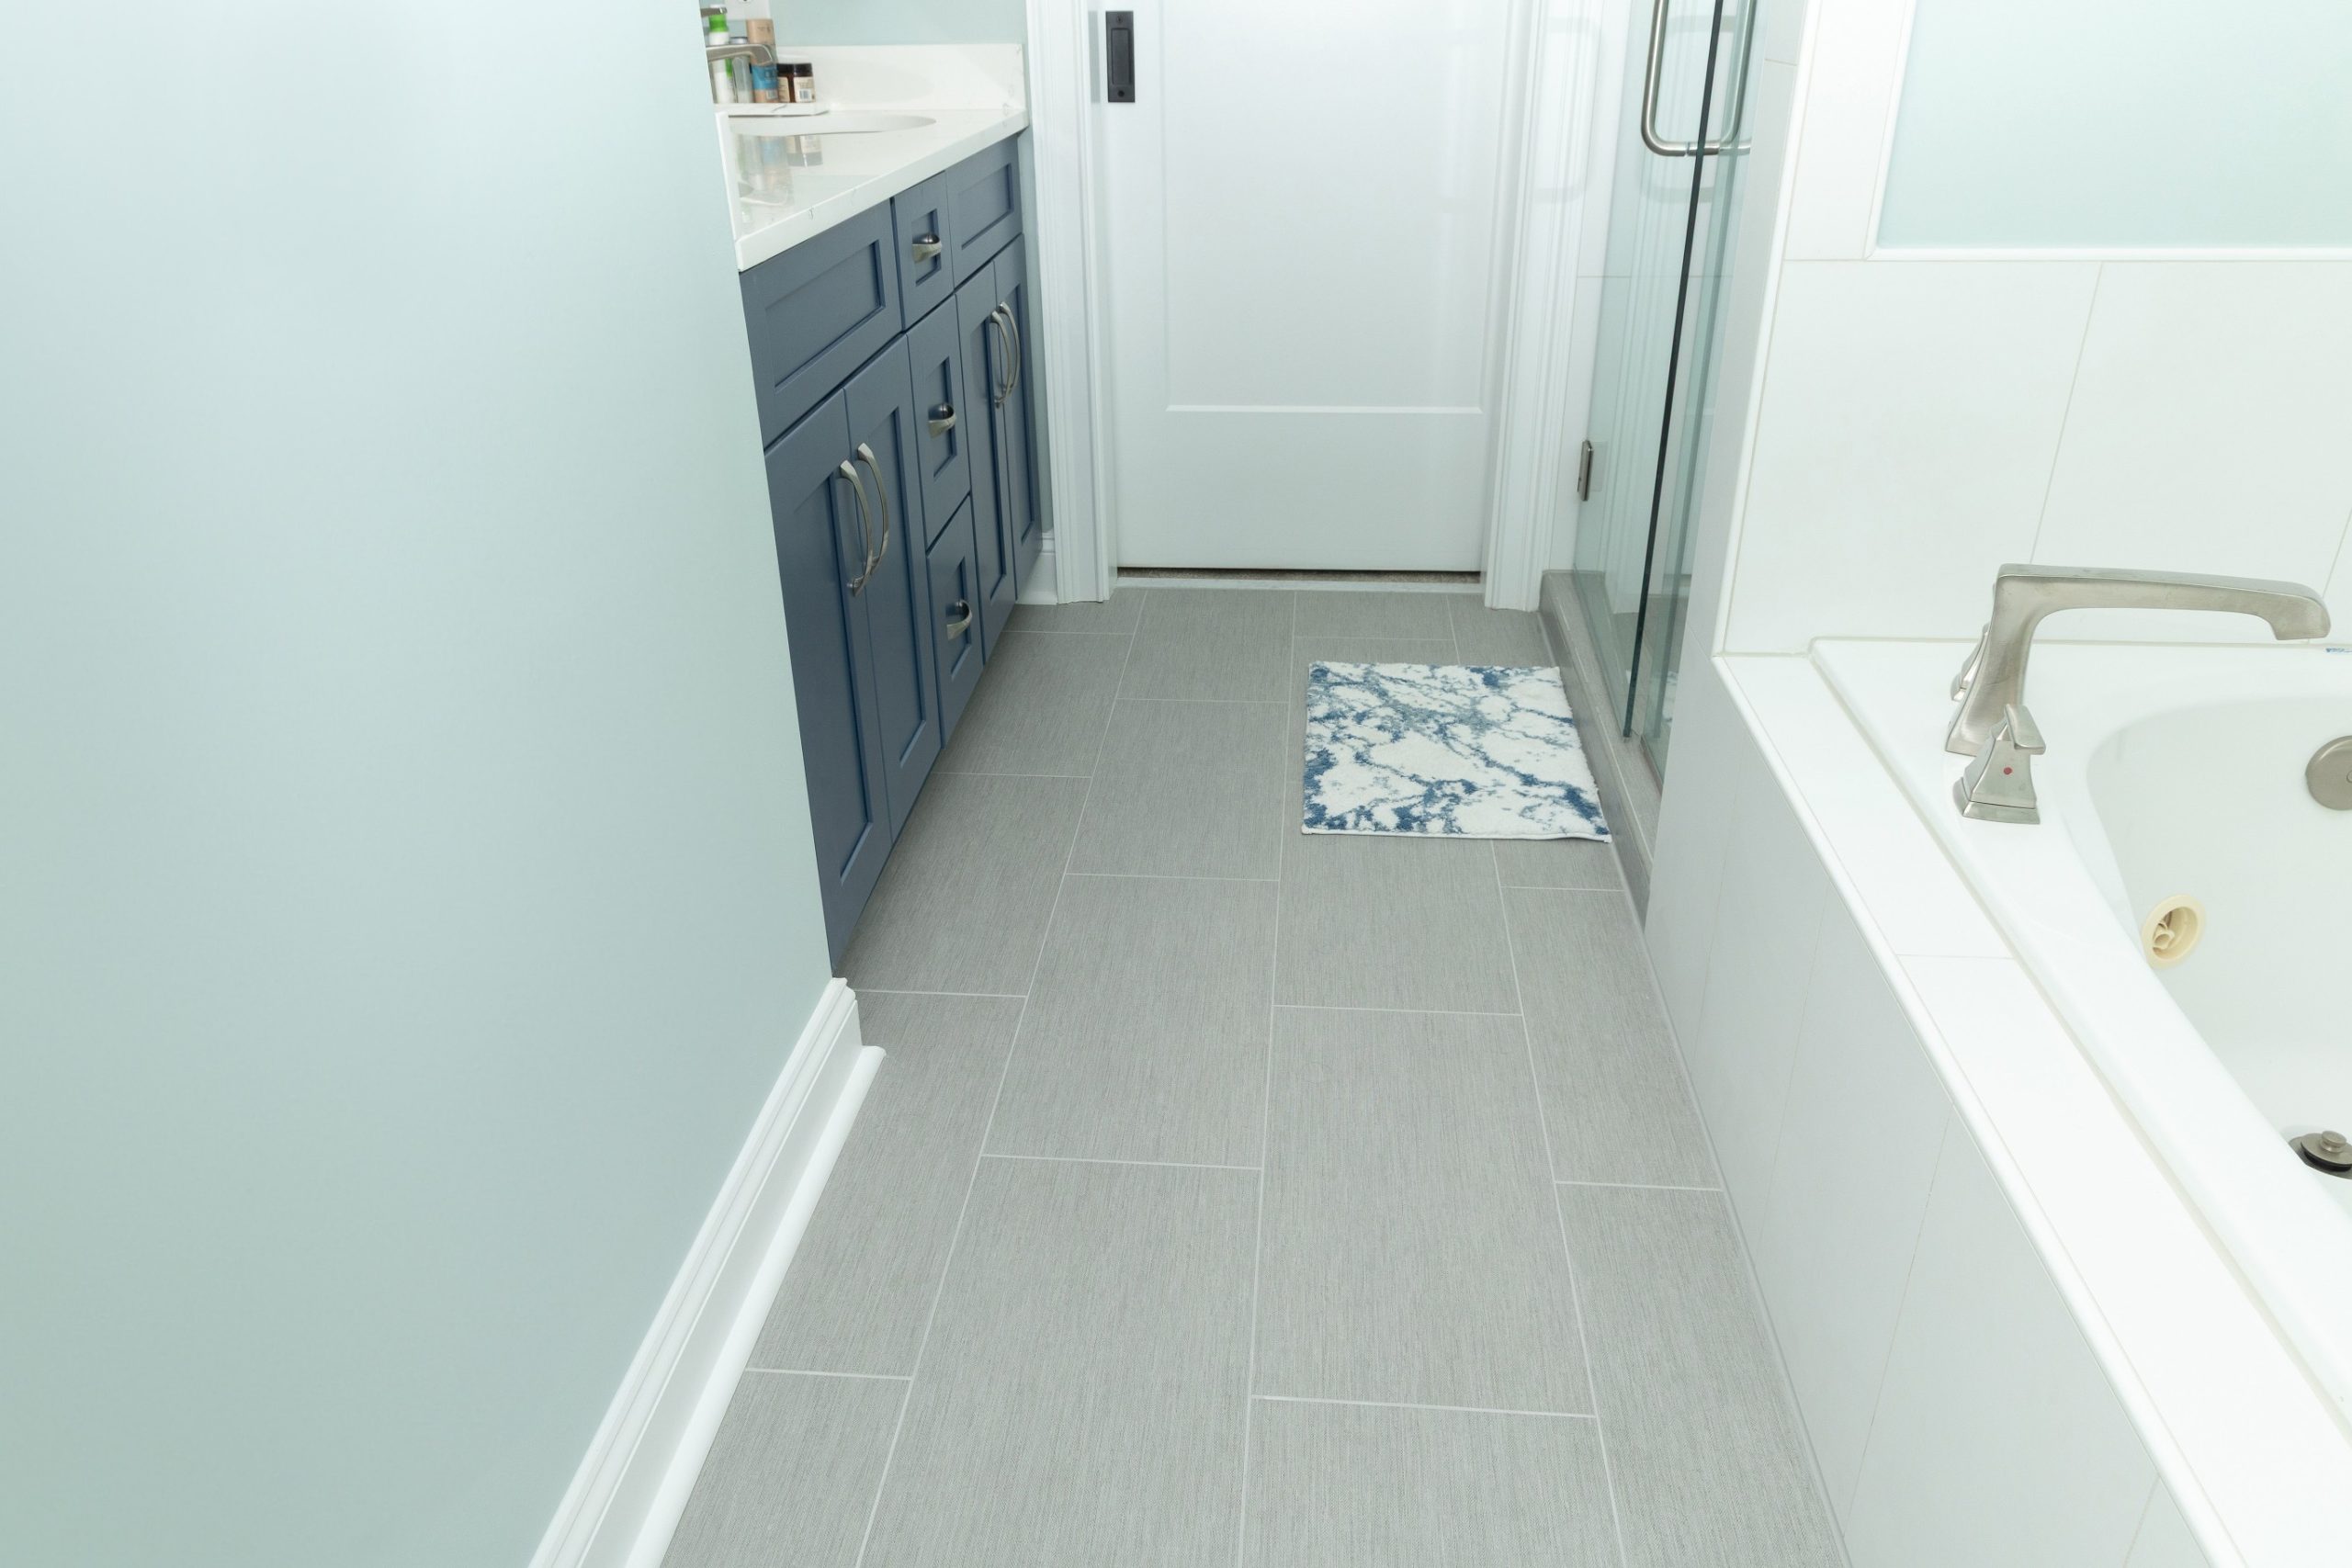
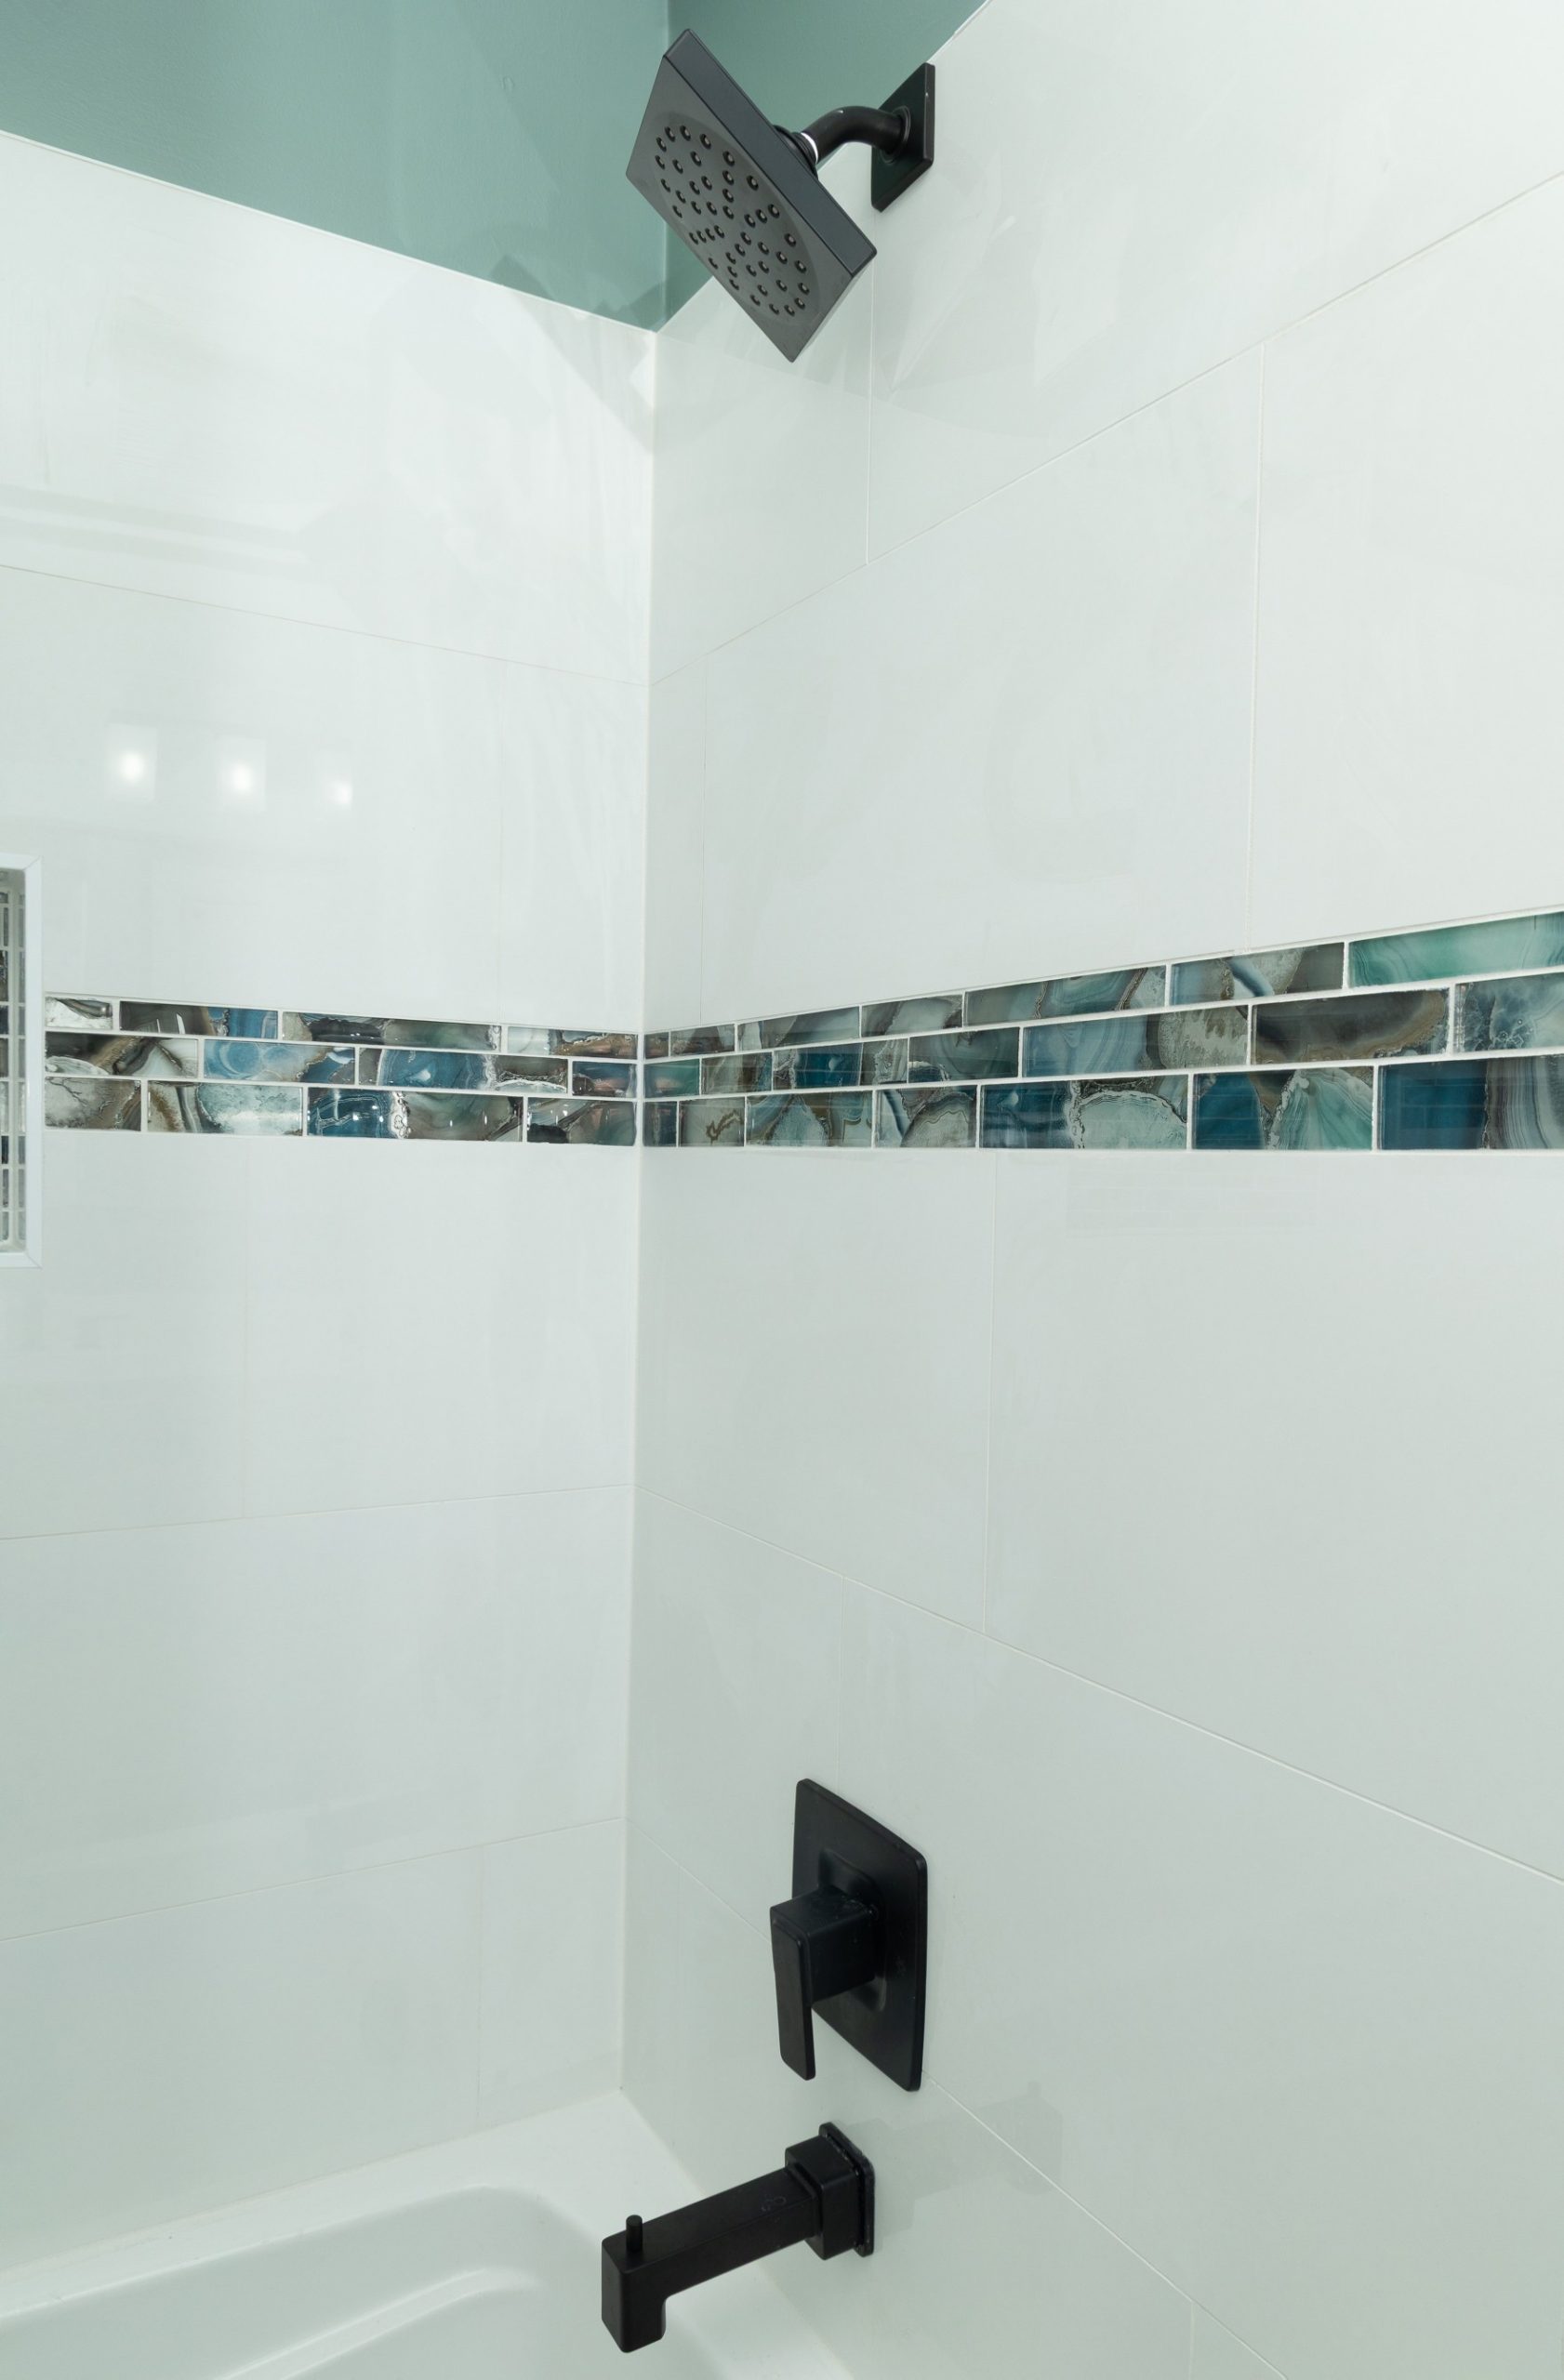
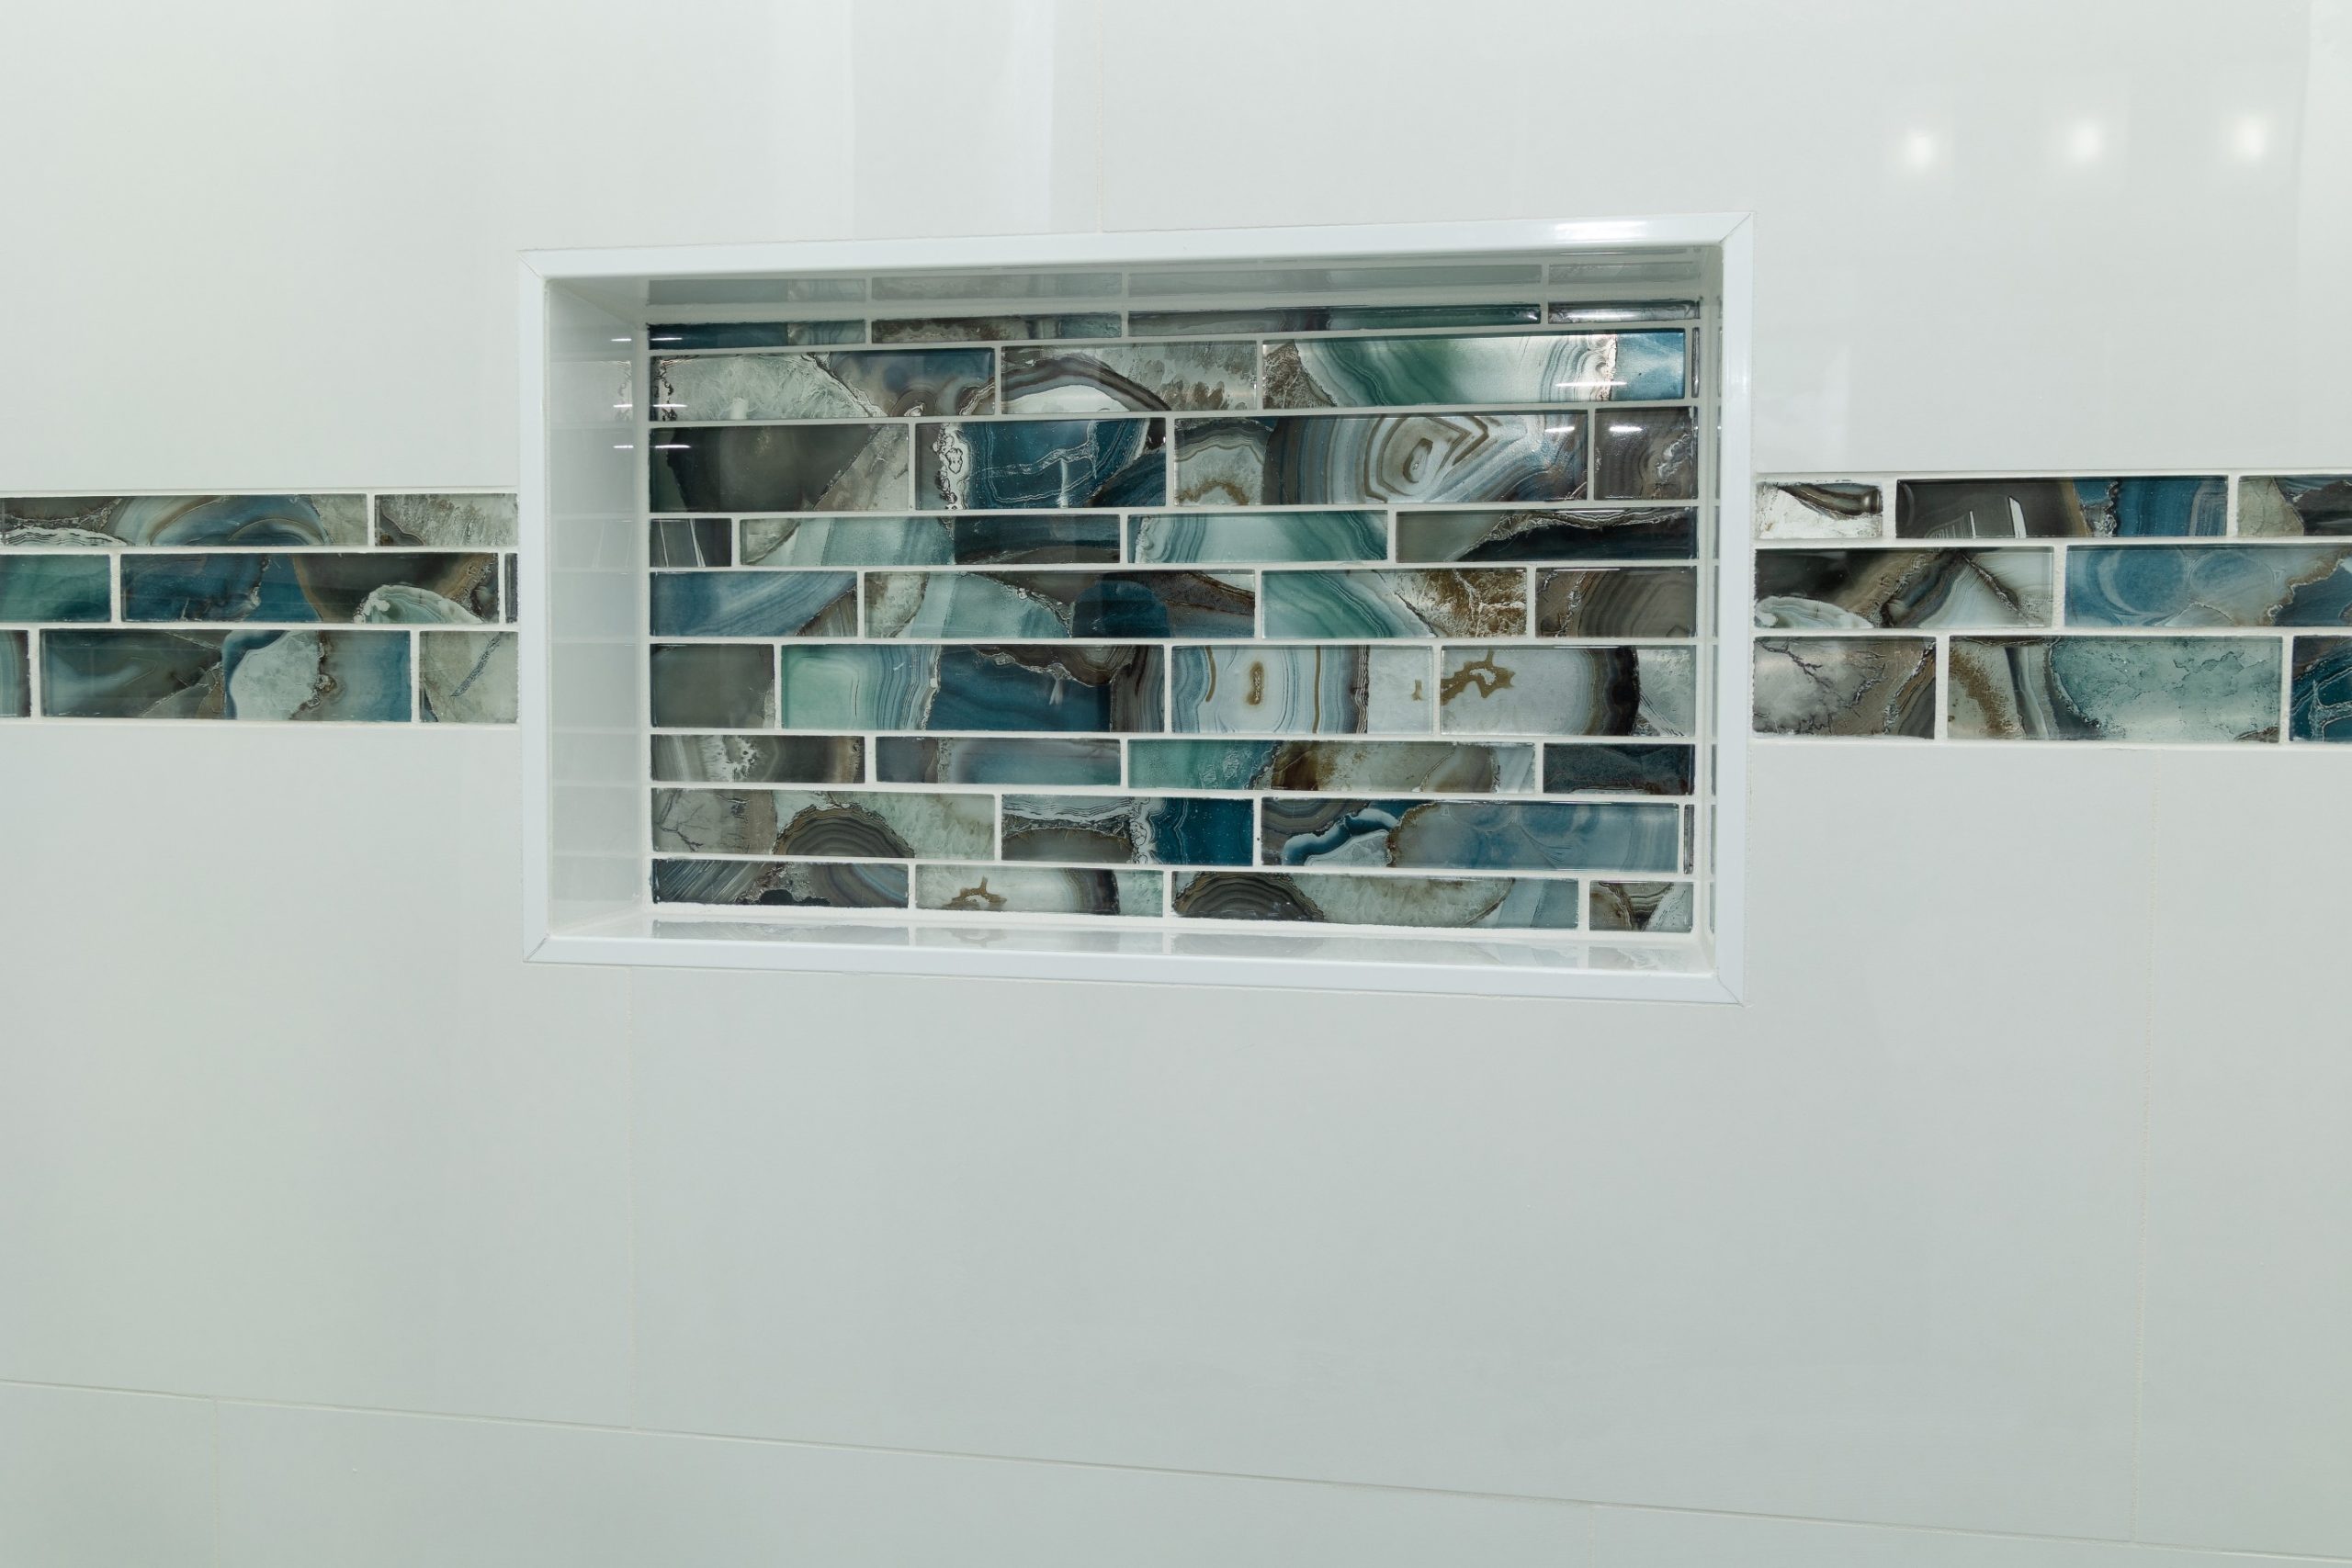
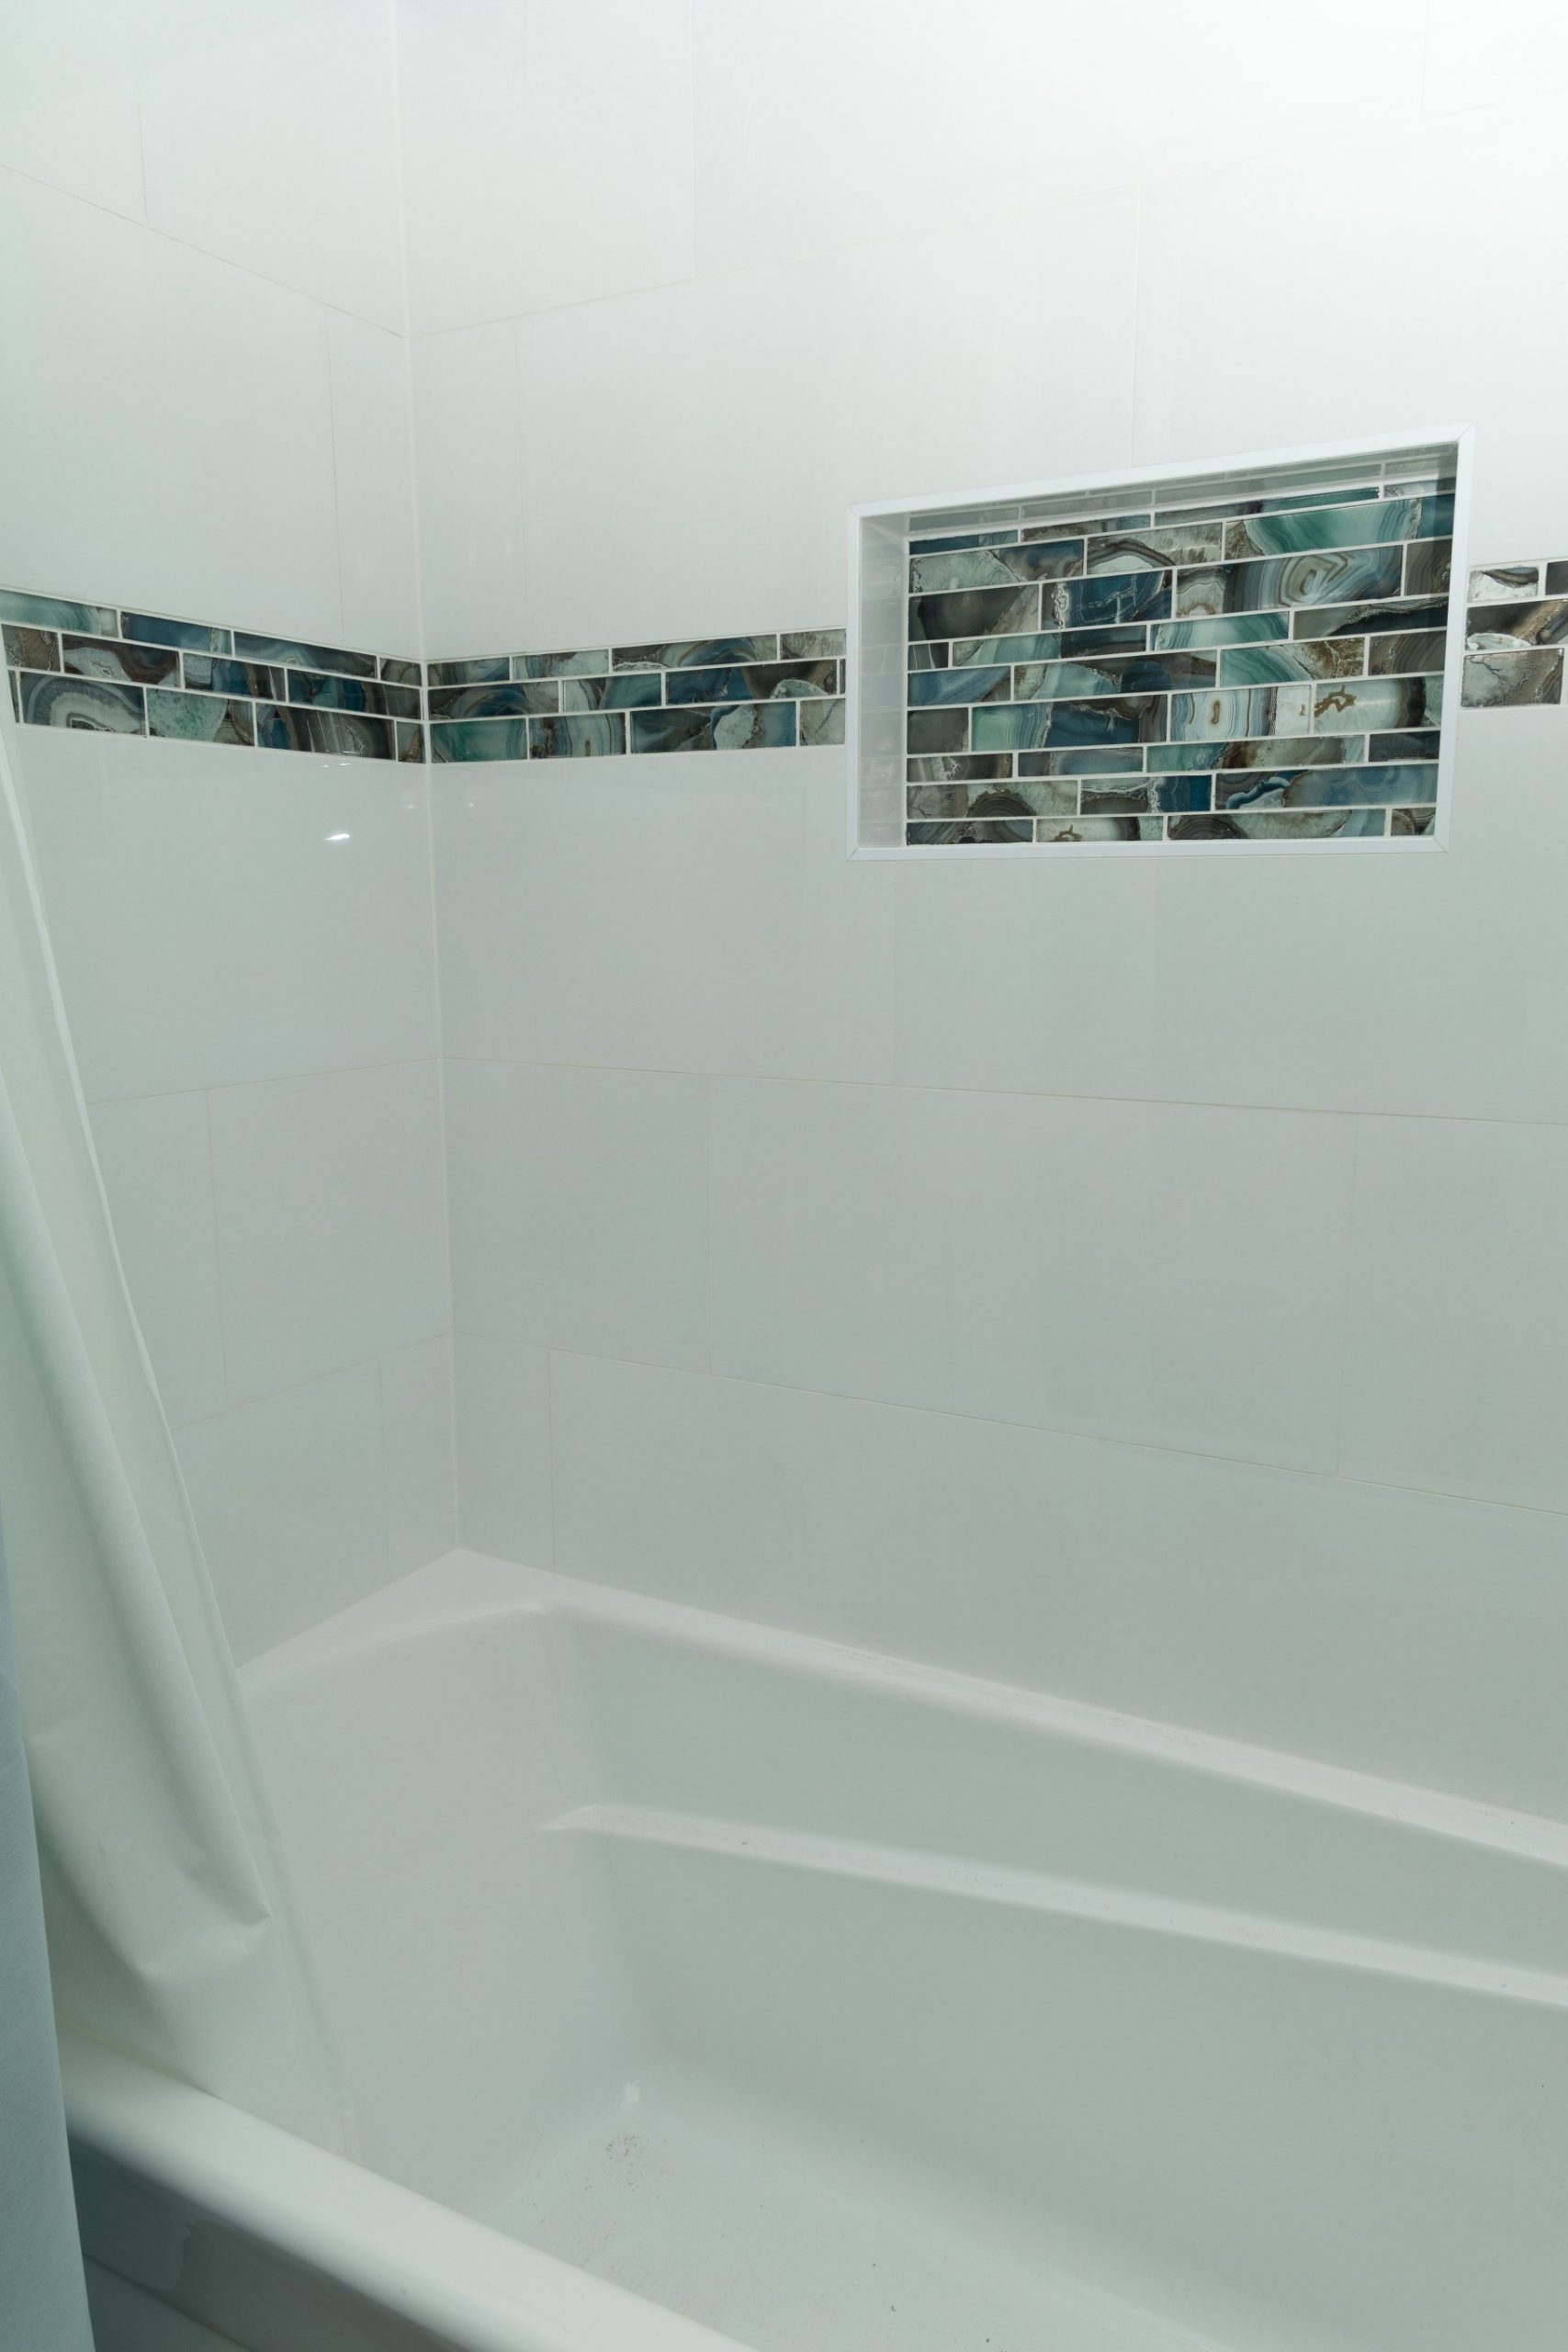
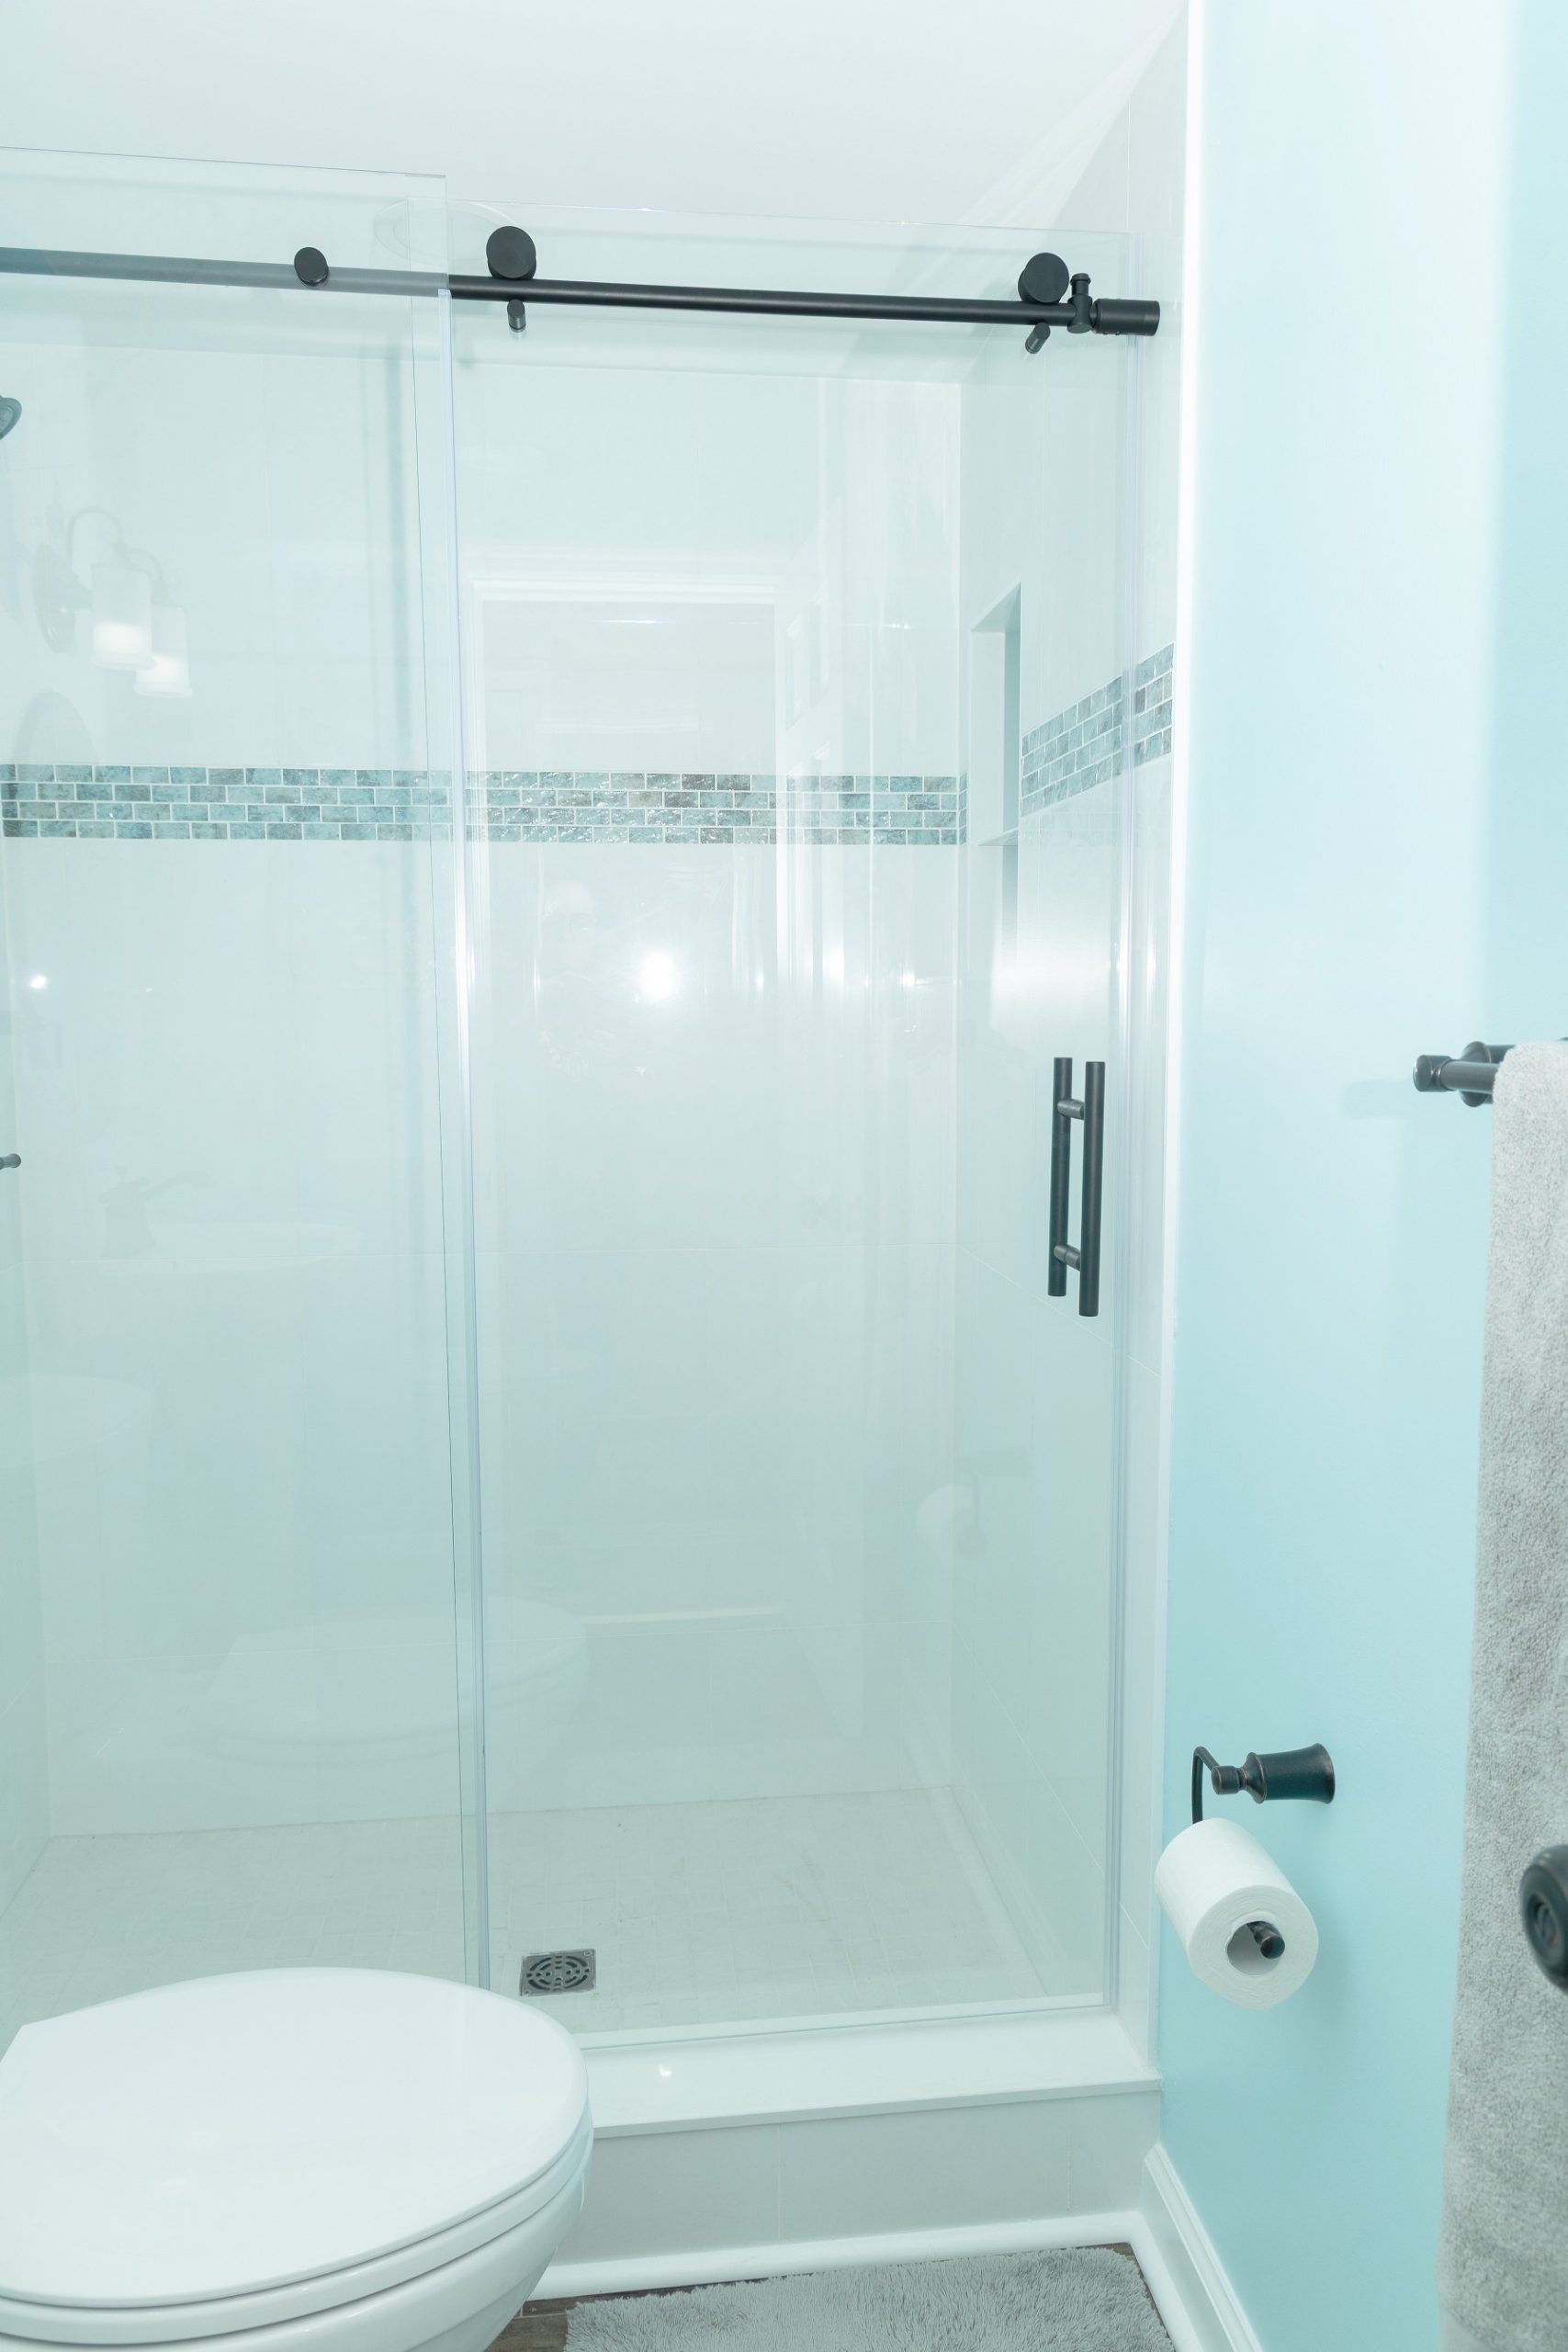
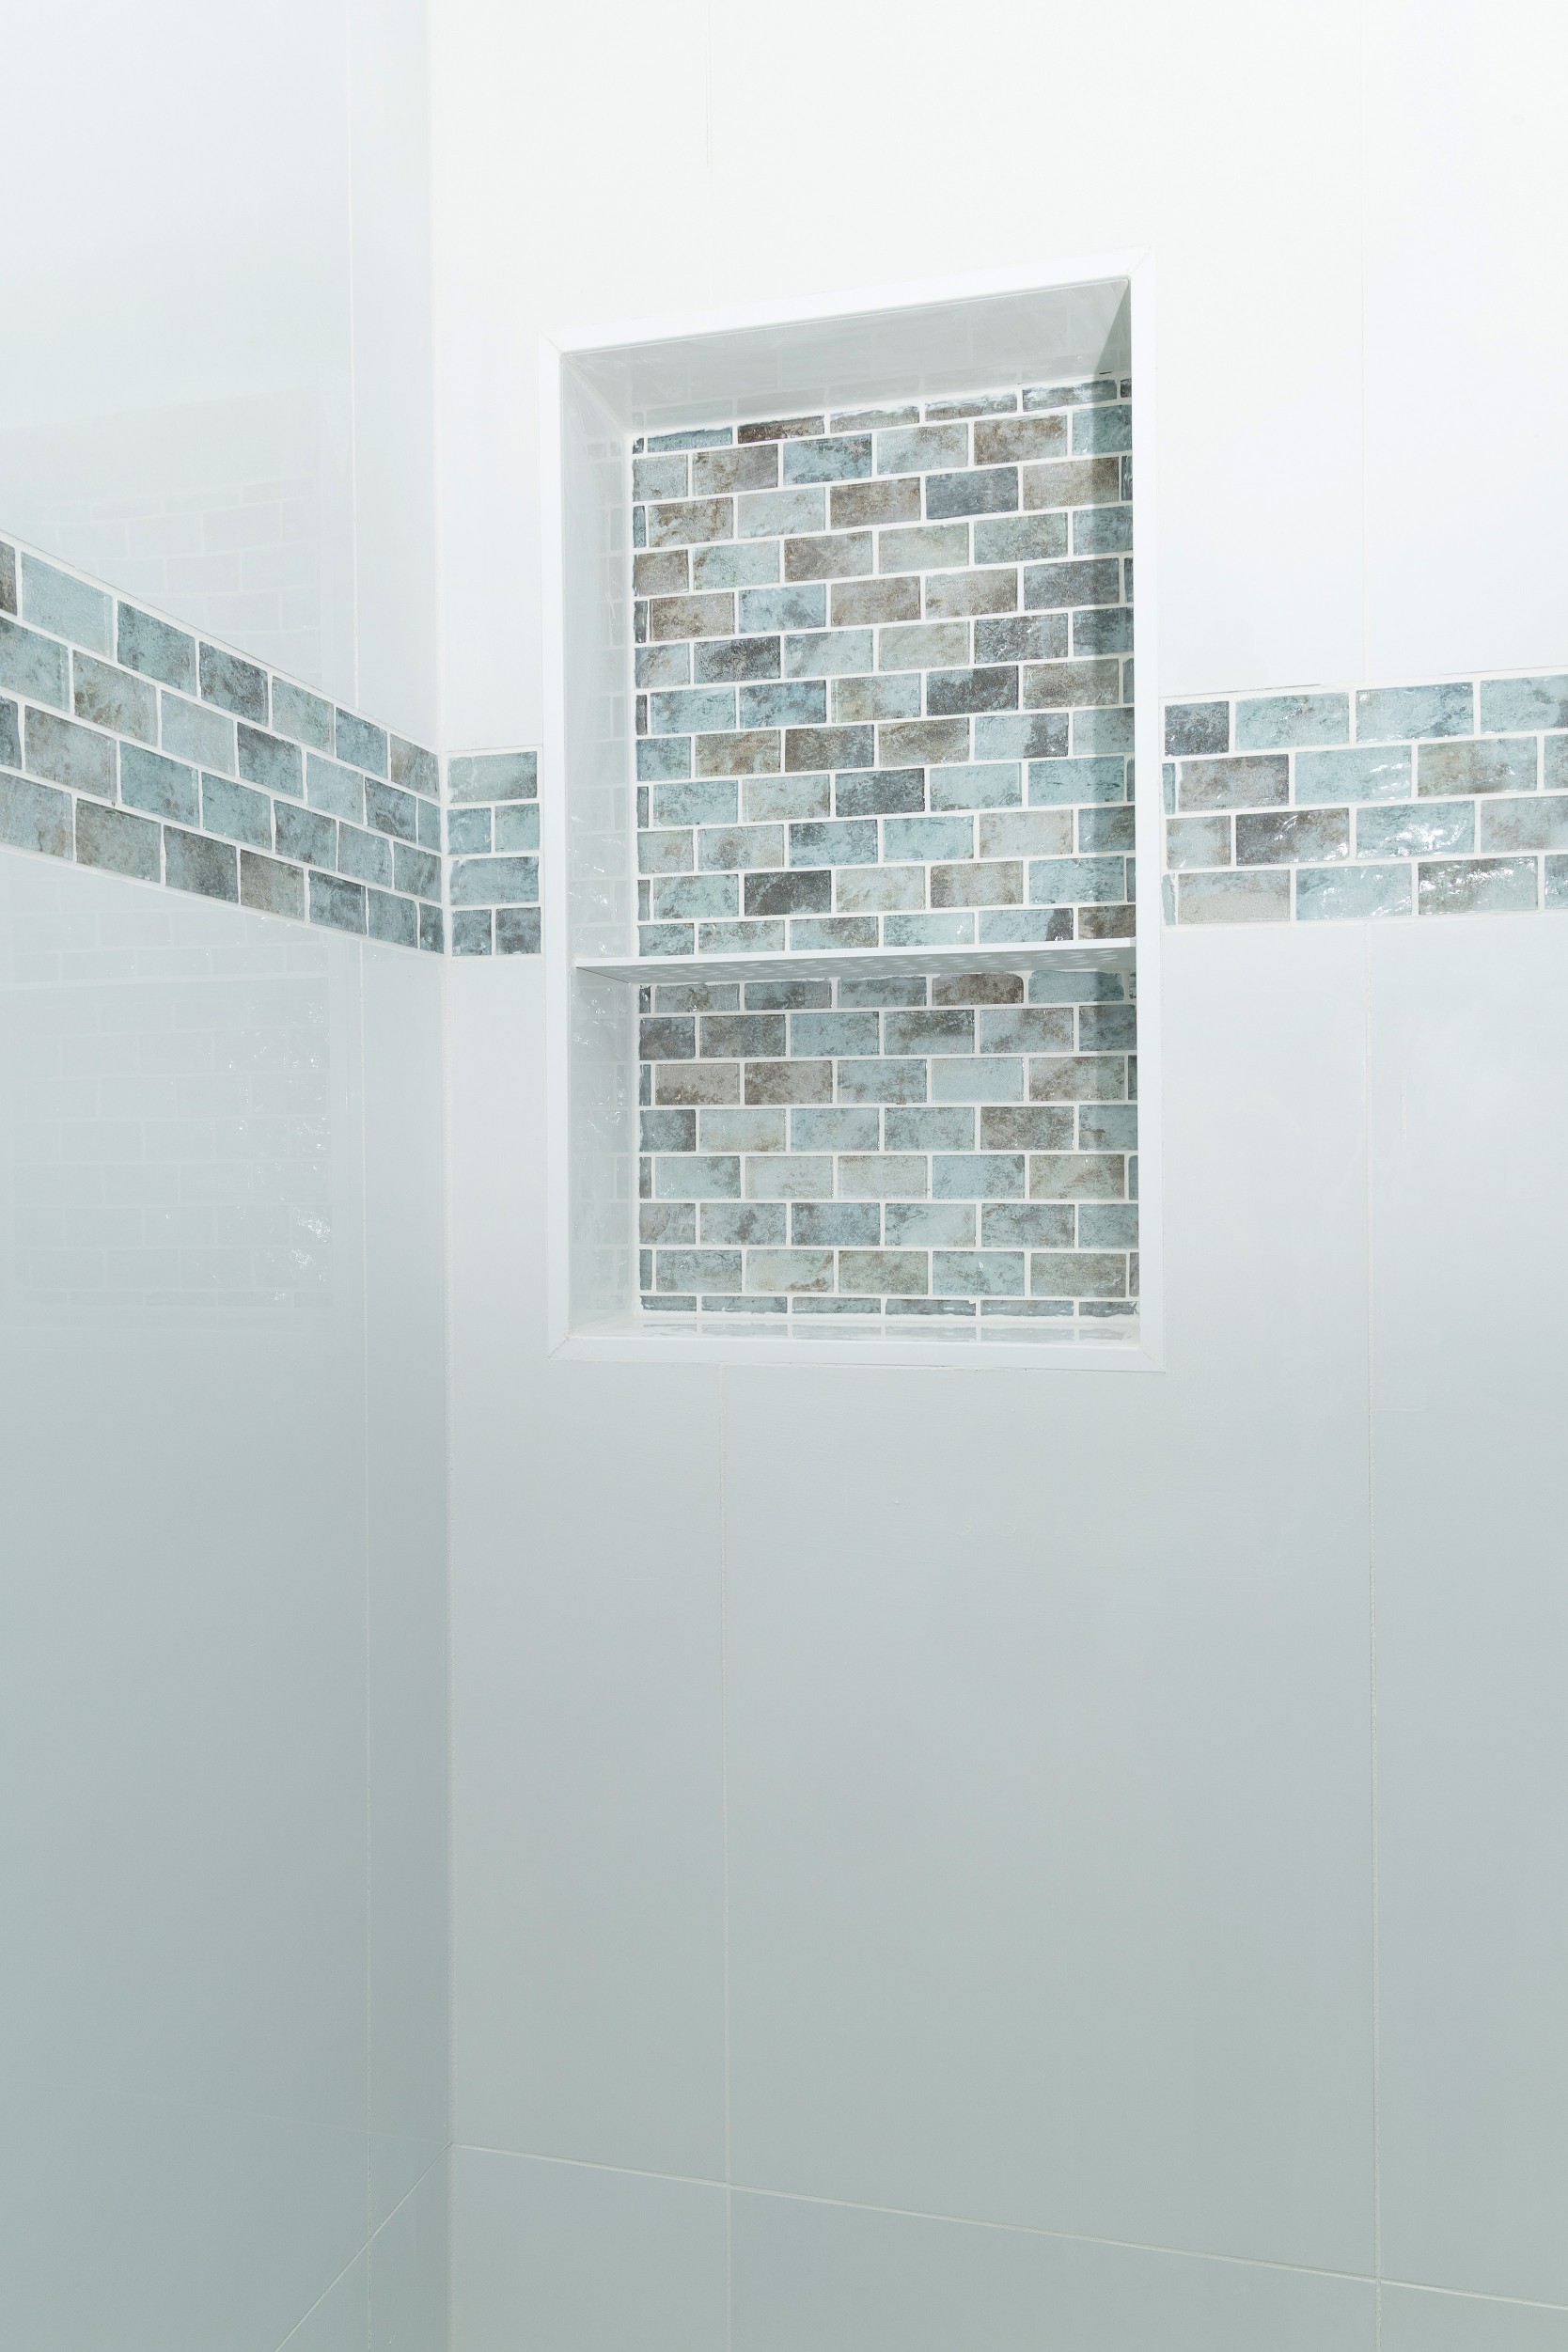
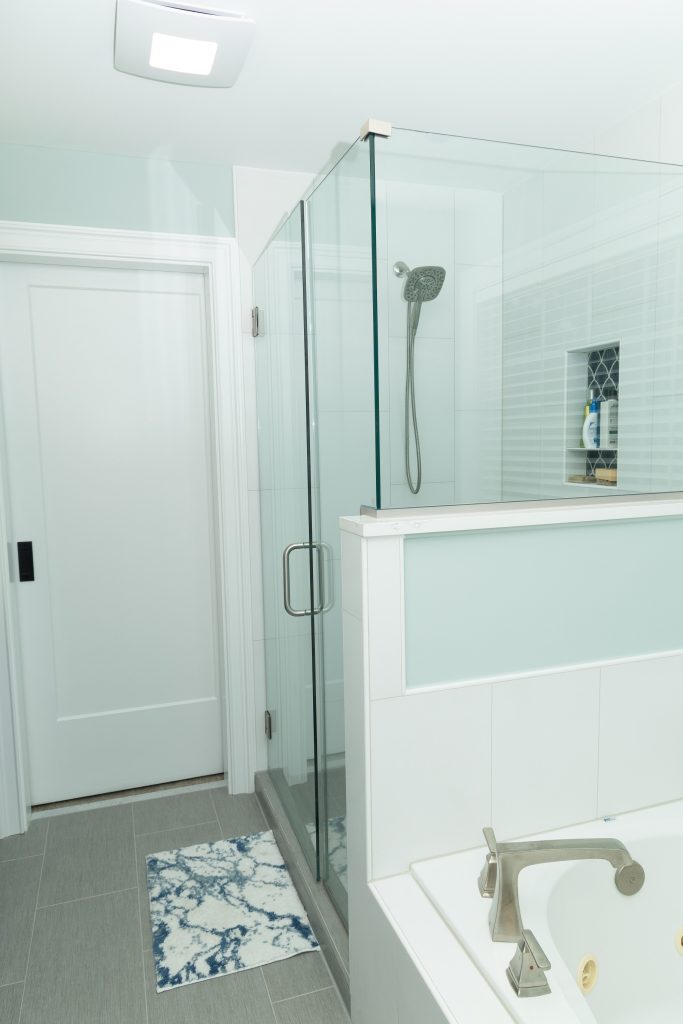
After cutting the wall between the shower and tub back to half its original height, and replacing it with a glass divider, it was bye-bye beige tile. The shower walls and tub surround were updated with 12×24 matte finished Arctic White tile. A bench and a niche were added in the shower, and the niche features eye-catching midnight blue “Baroque Fan” accent tile. The floor and shower base were done in a contrasting, textured tile called “Wool”.

The vanity, in Ocean Blue, was topped with Chantilly White quartz. This quartz was also used on the top of the half wall, shower bench, and shower curb. New lighting and mirrors, and fresh paint complete the makeover.

What do you think? Are you a fan of classic colors, or would you go bold and bright? Either way, we can help you design the tile look of your dreams!

Let’s Talk About Tile Read More »
Insurance Claim Becomes Multi-Room Makeover, Part Two

In Part One of this project, we repaired and remodeled Rachael’s downstairs bathroom after a leaking tub drain upstairs caused damage below. Rachael was so pleased with the results that she asked us to update the upstairs bathroom and her kitchen! These home remodeling projects gave both spaces a fresh, updated look while keeping the layouts functional. In Part Two, we’ll tell you about those projects and share some before & after photos.

Let’s start in the bathroom. The original 1960s layout was functional, but the white and tan tile, which extended onto the walls, was seriously dated so it all had to go. We also took out the tub, vanity, toilet, and floor tile.

The new, deeper, Aker soaker tub was a big improvement over the old, original tub. The updated tub surround, in 12×24 polished white tile, installed horizontally, brightens up the space. As with the downstairs bathroom, we added a glass mosaic deco strip along the walls and in the back of the 12×20 horizontal niche.

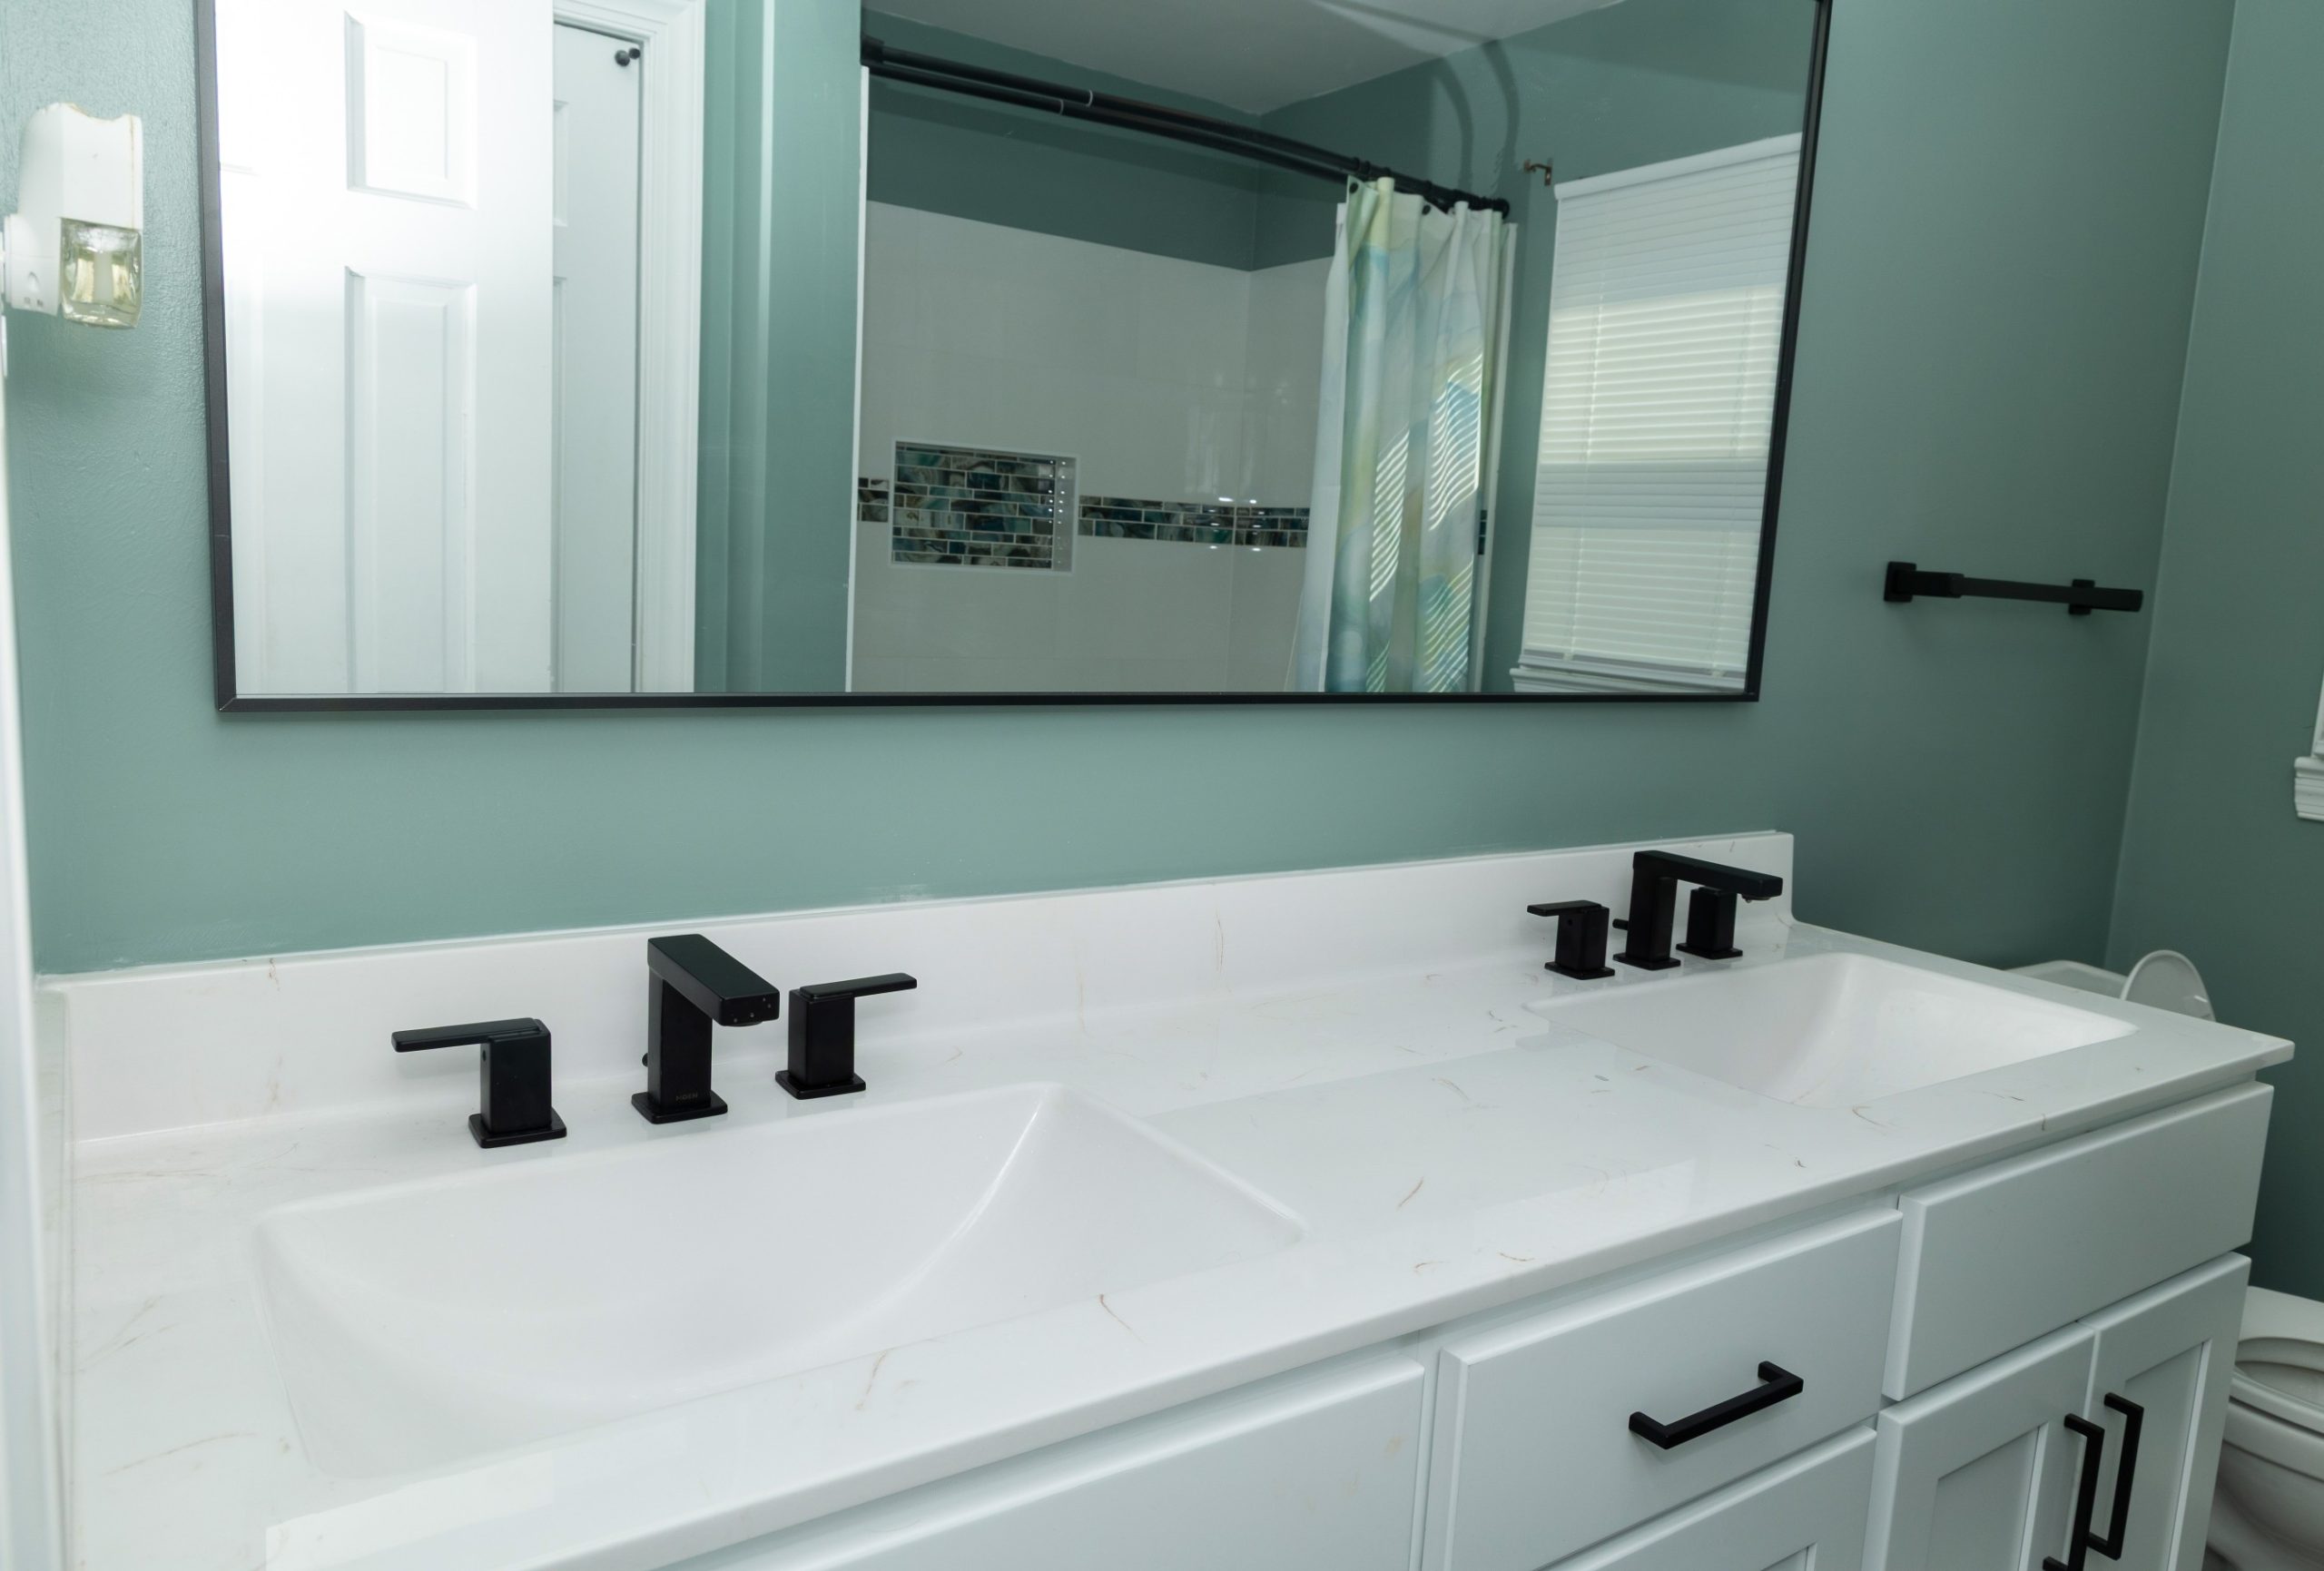
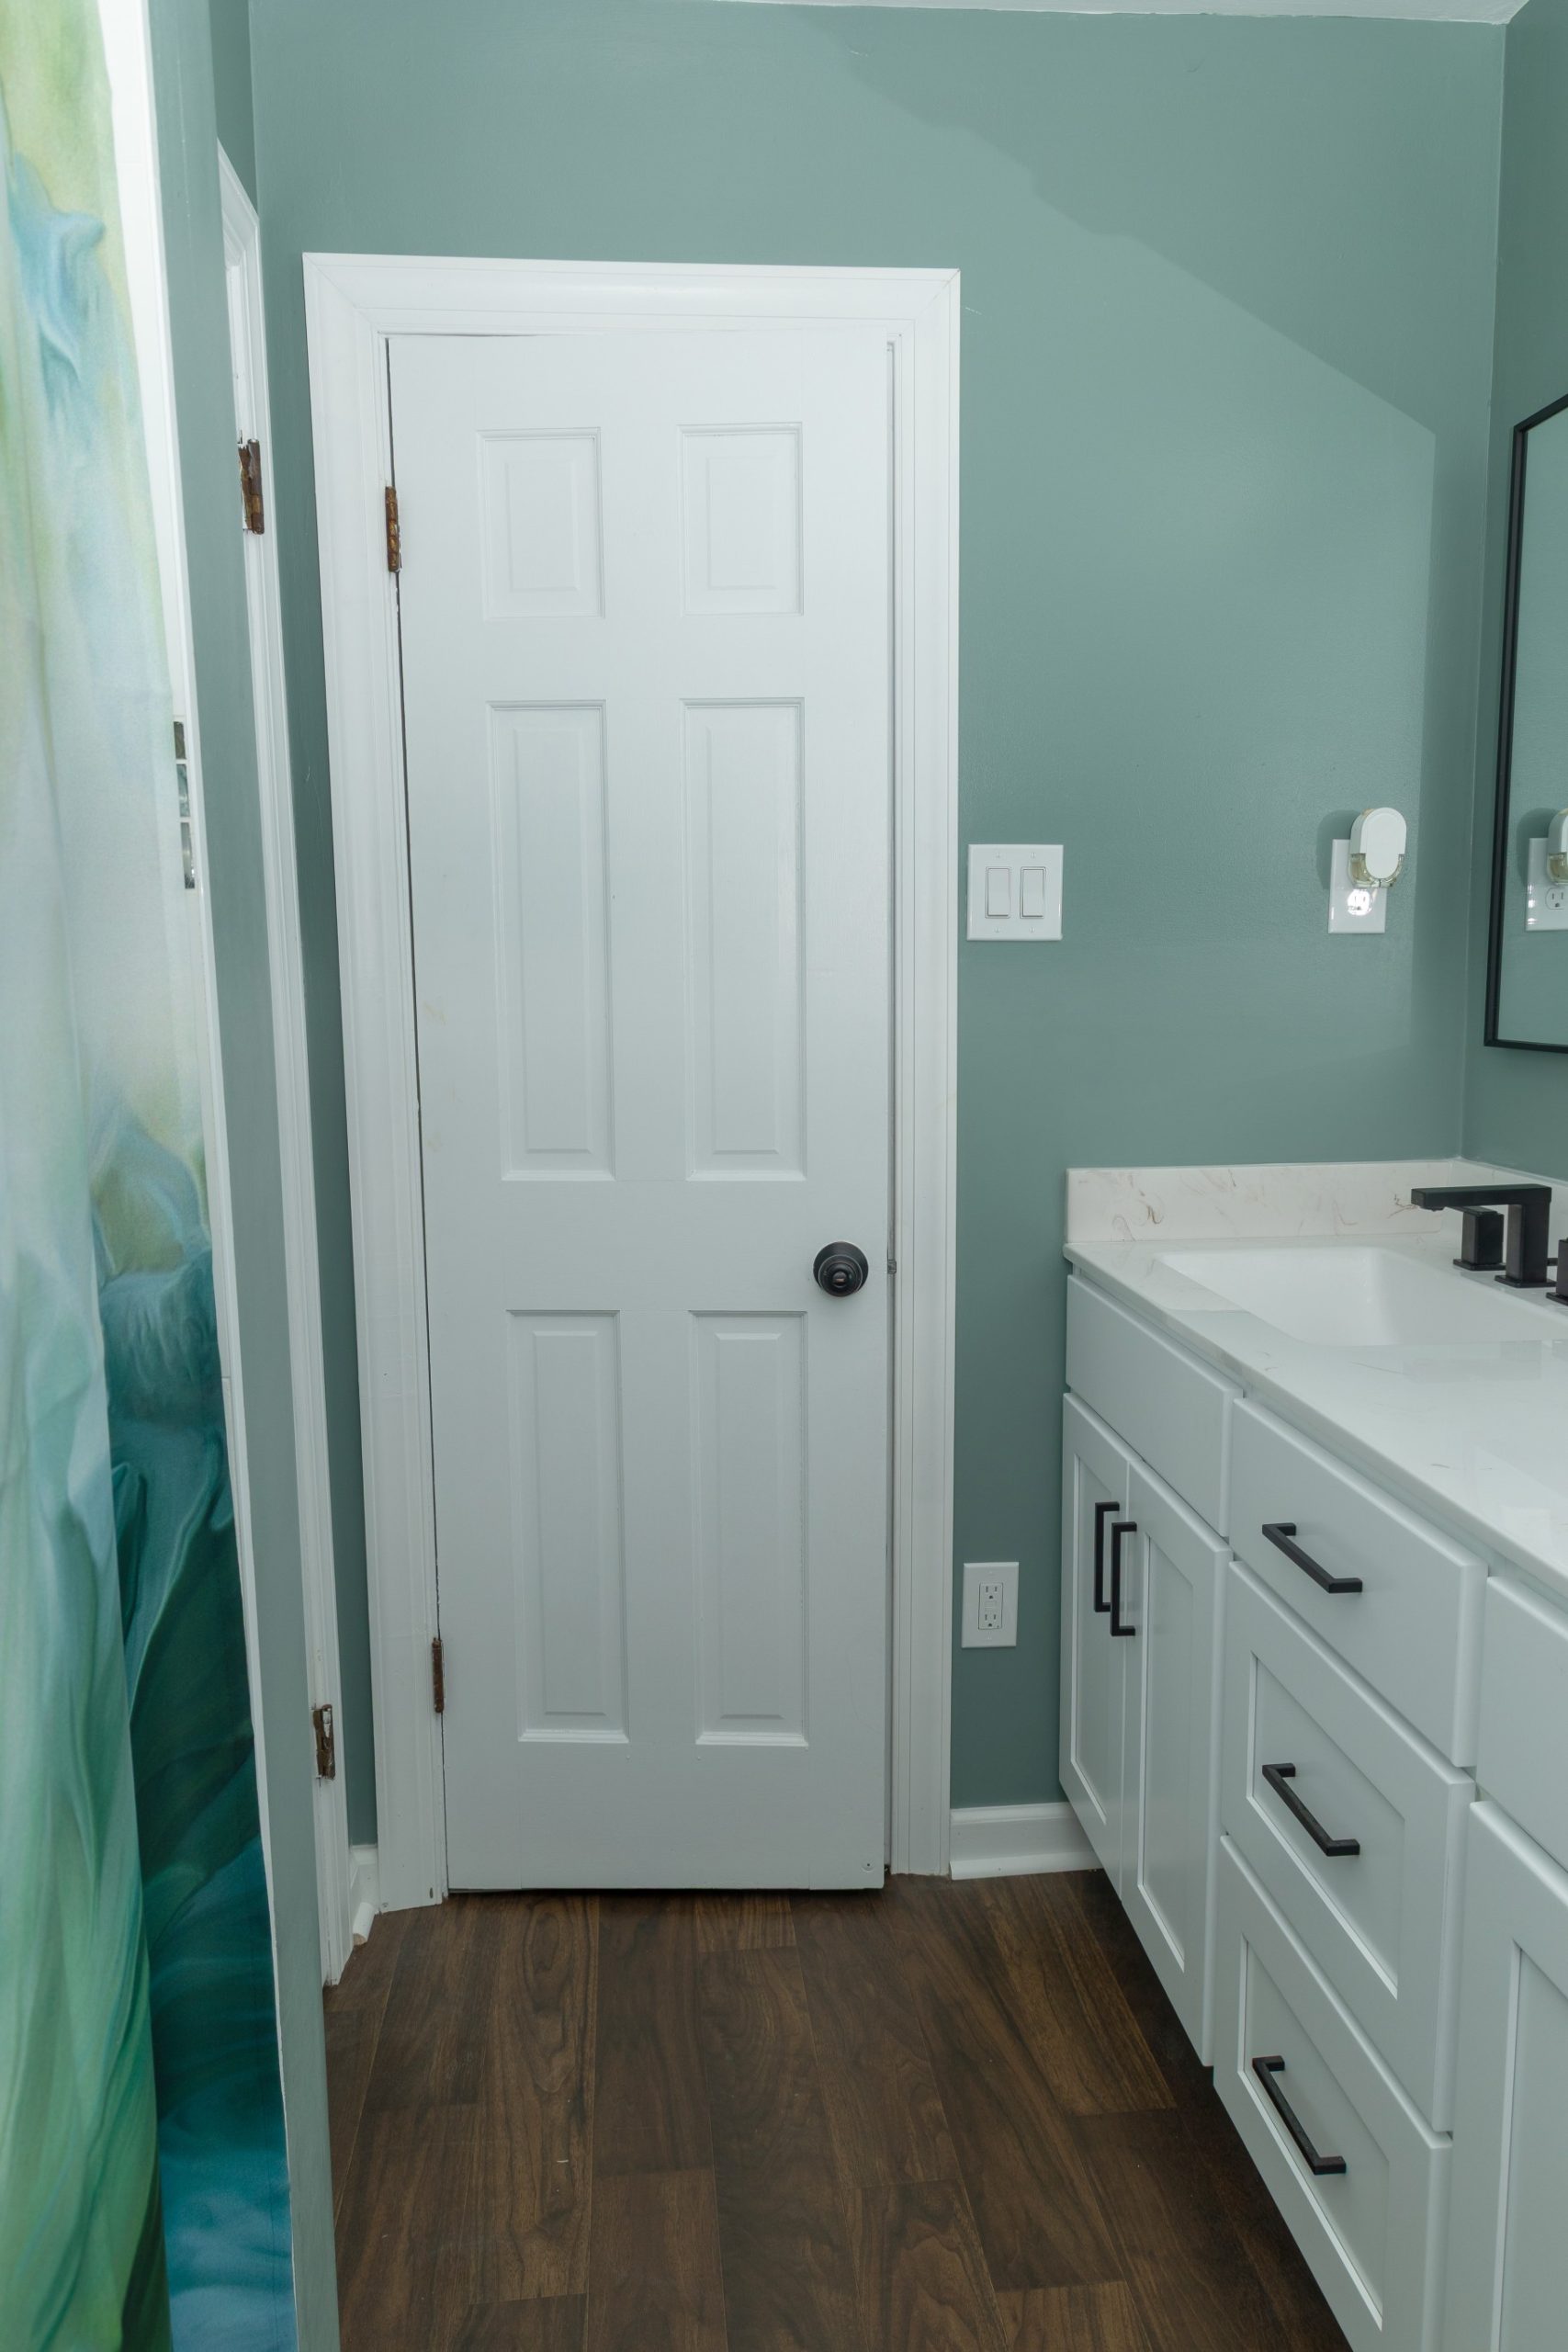
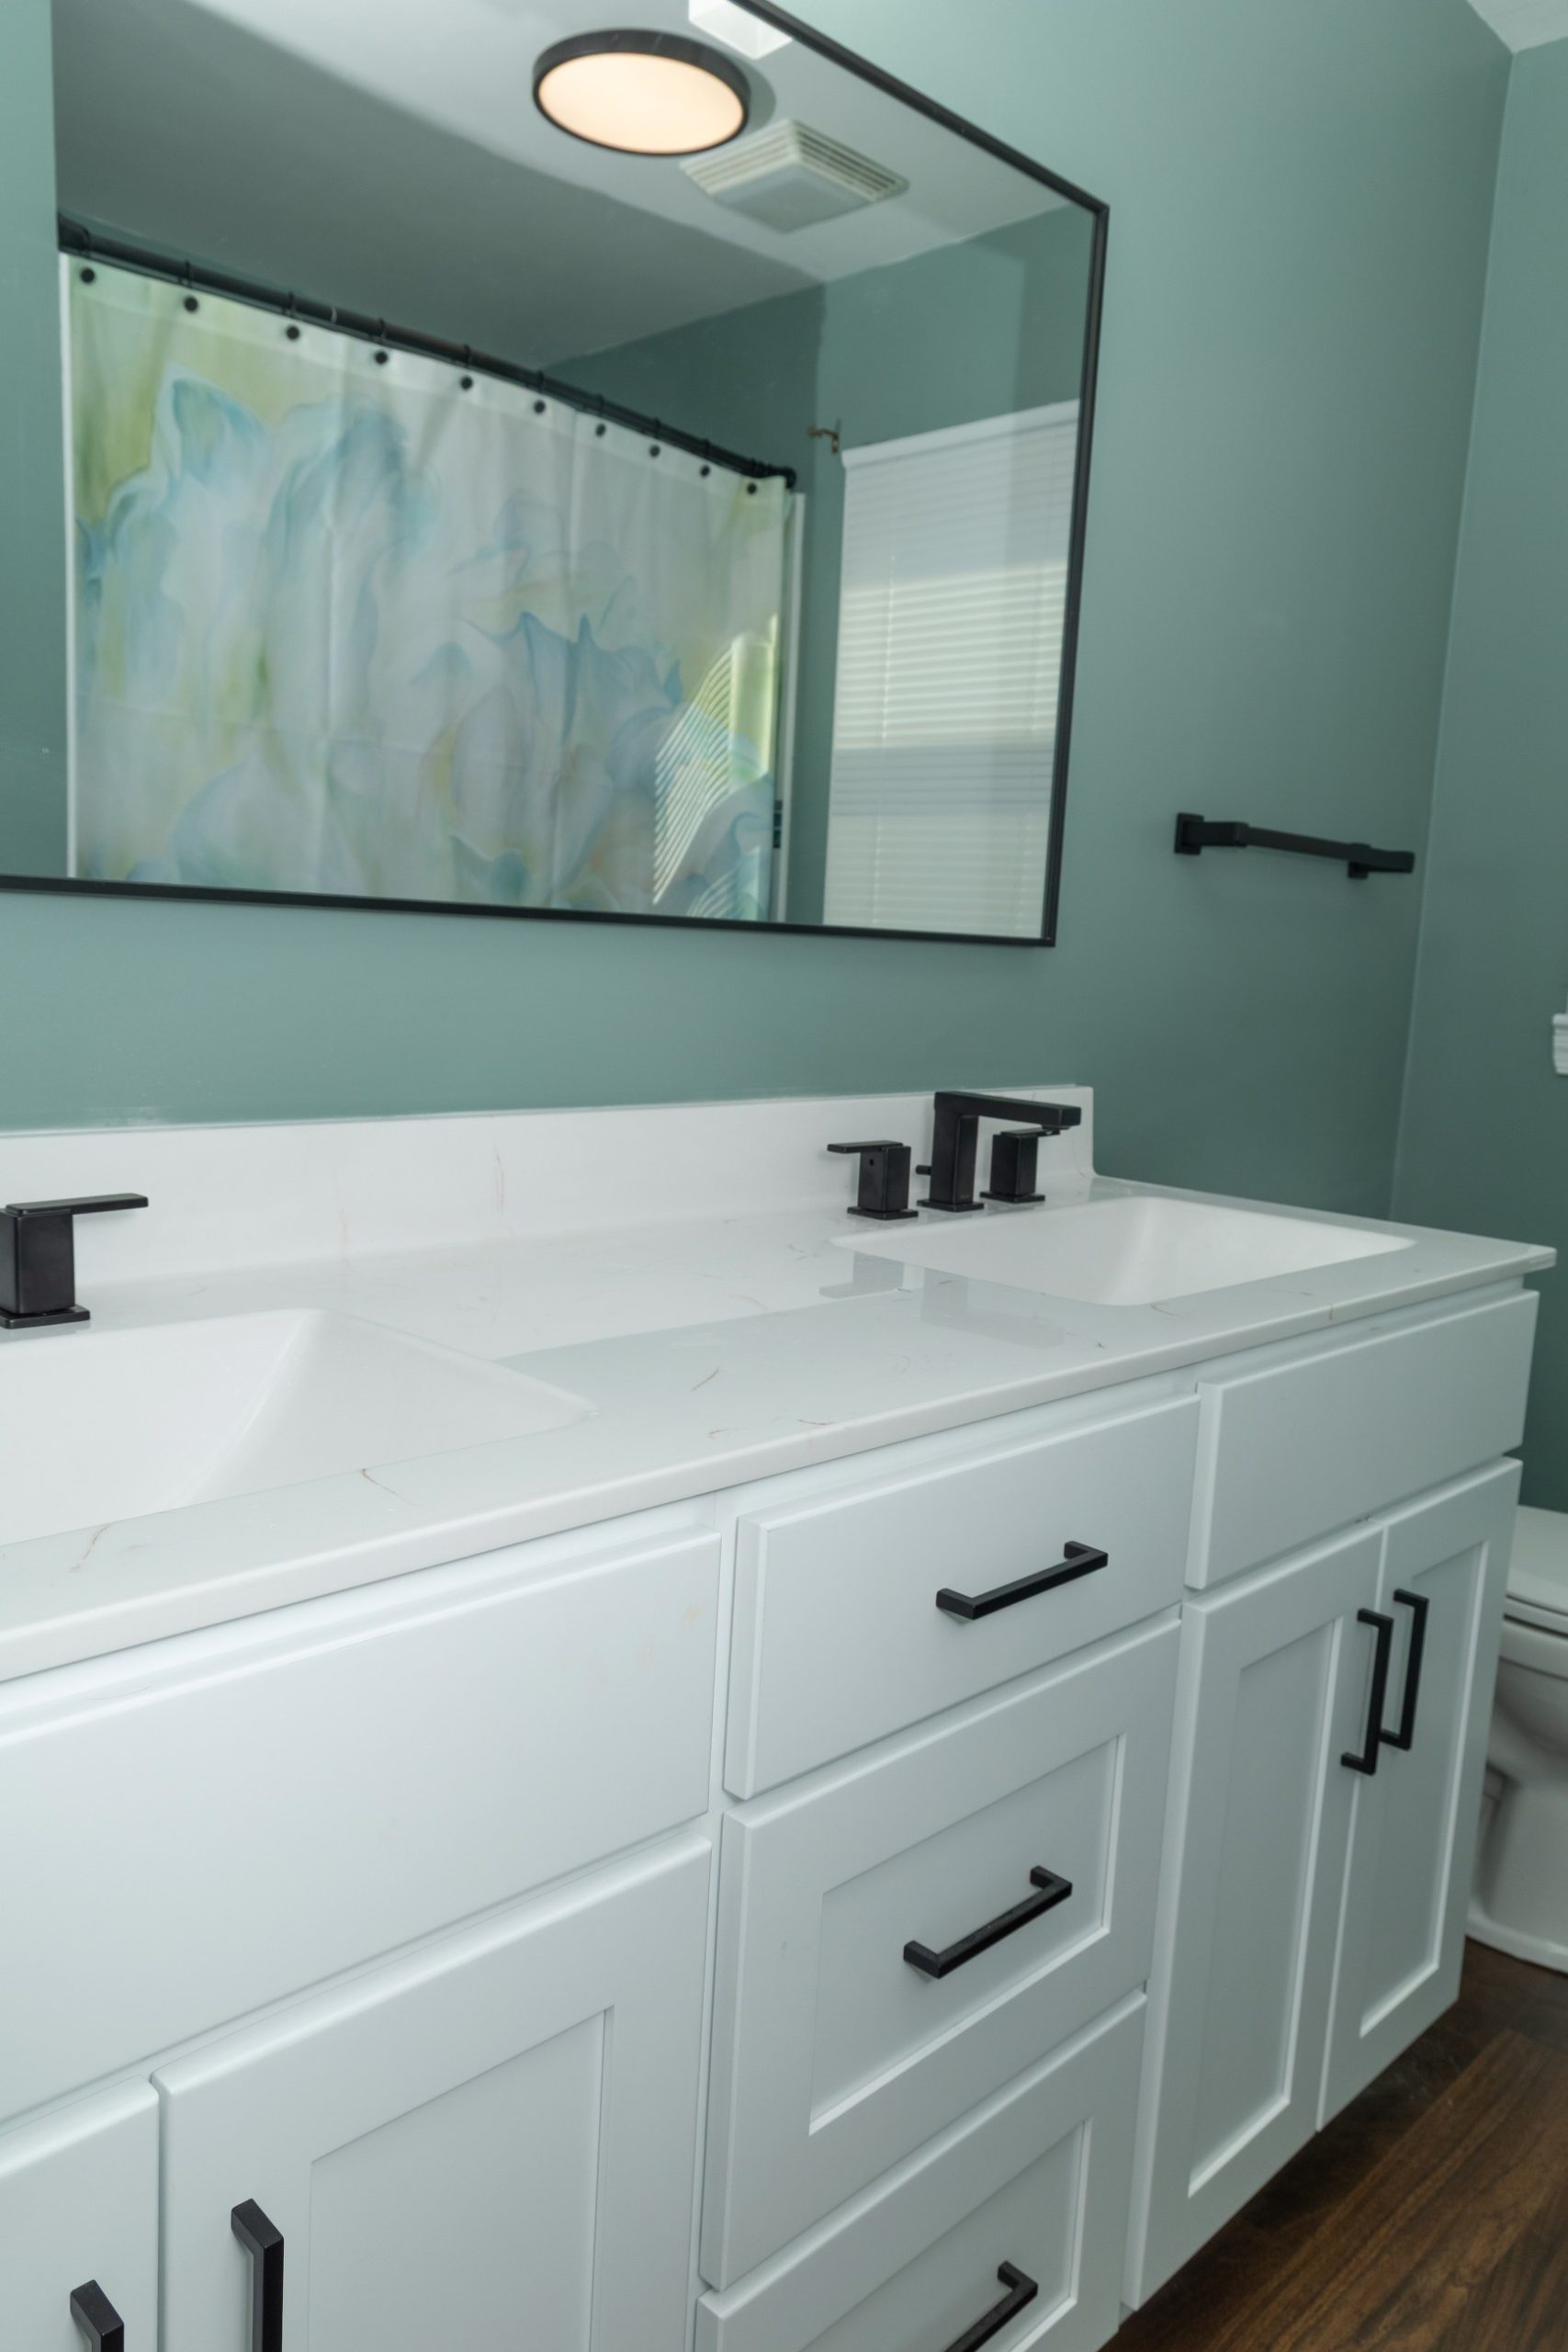
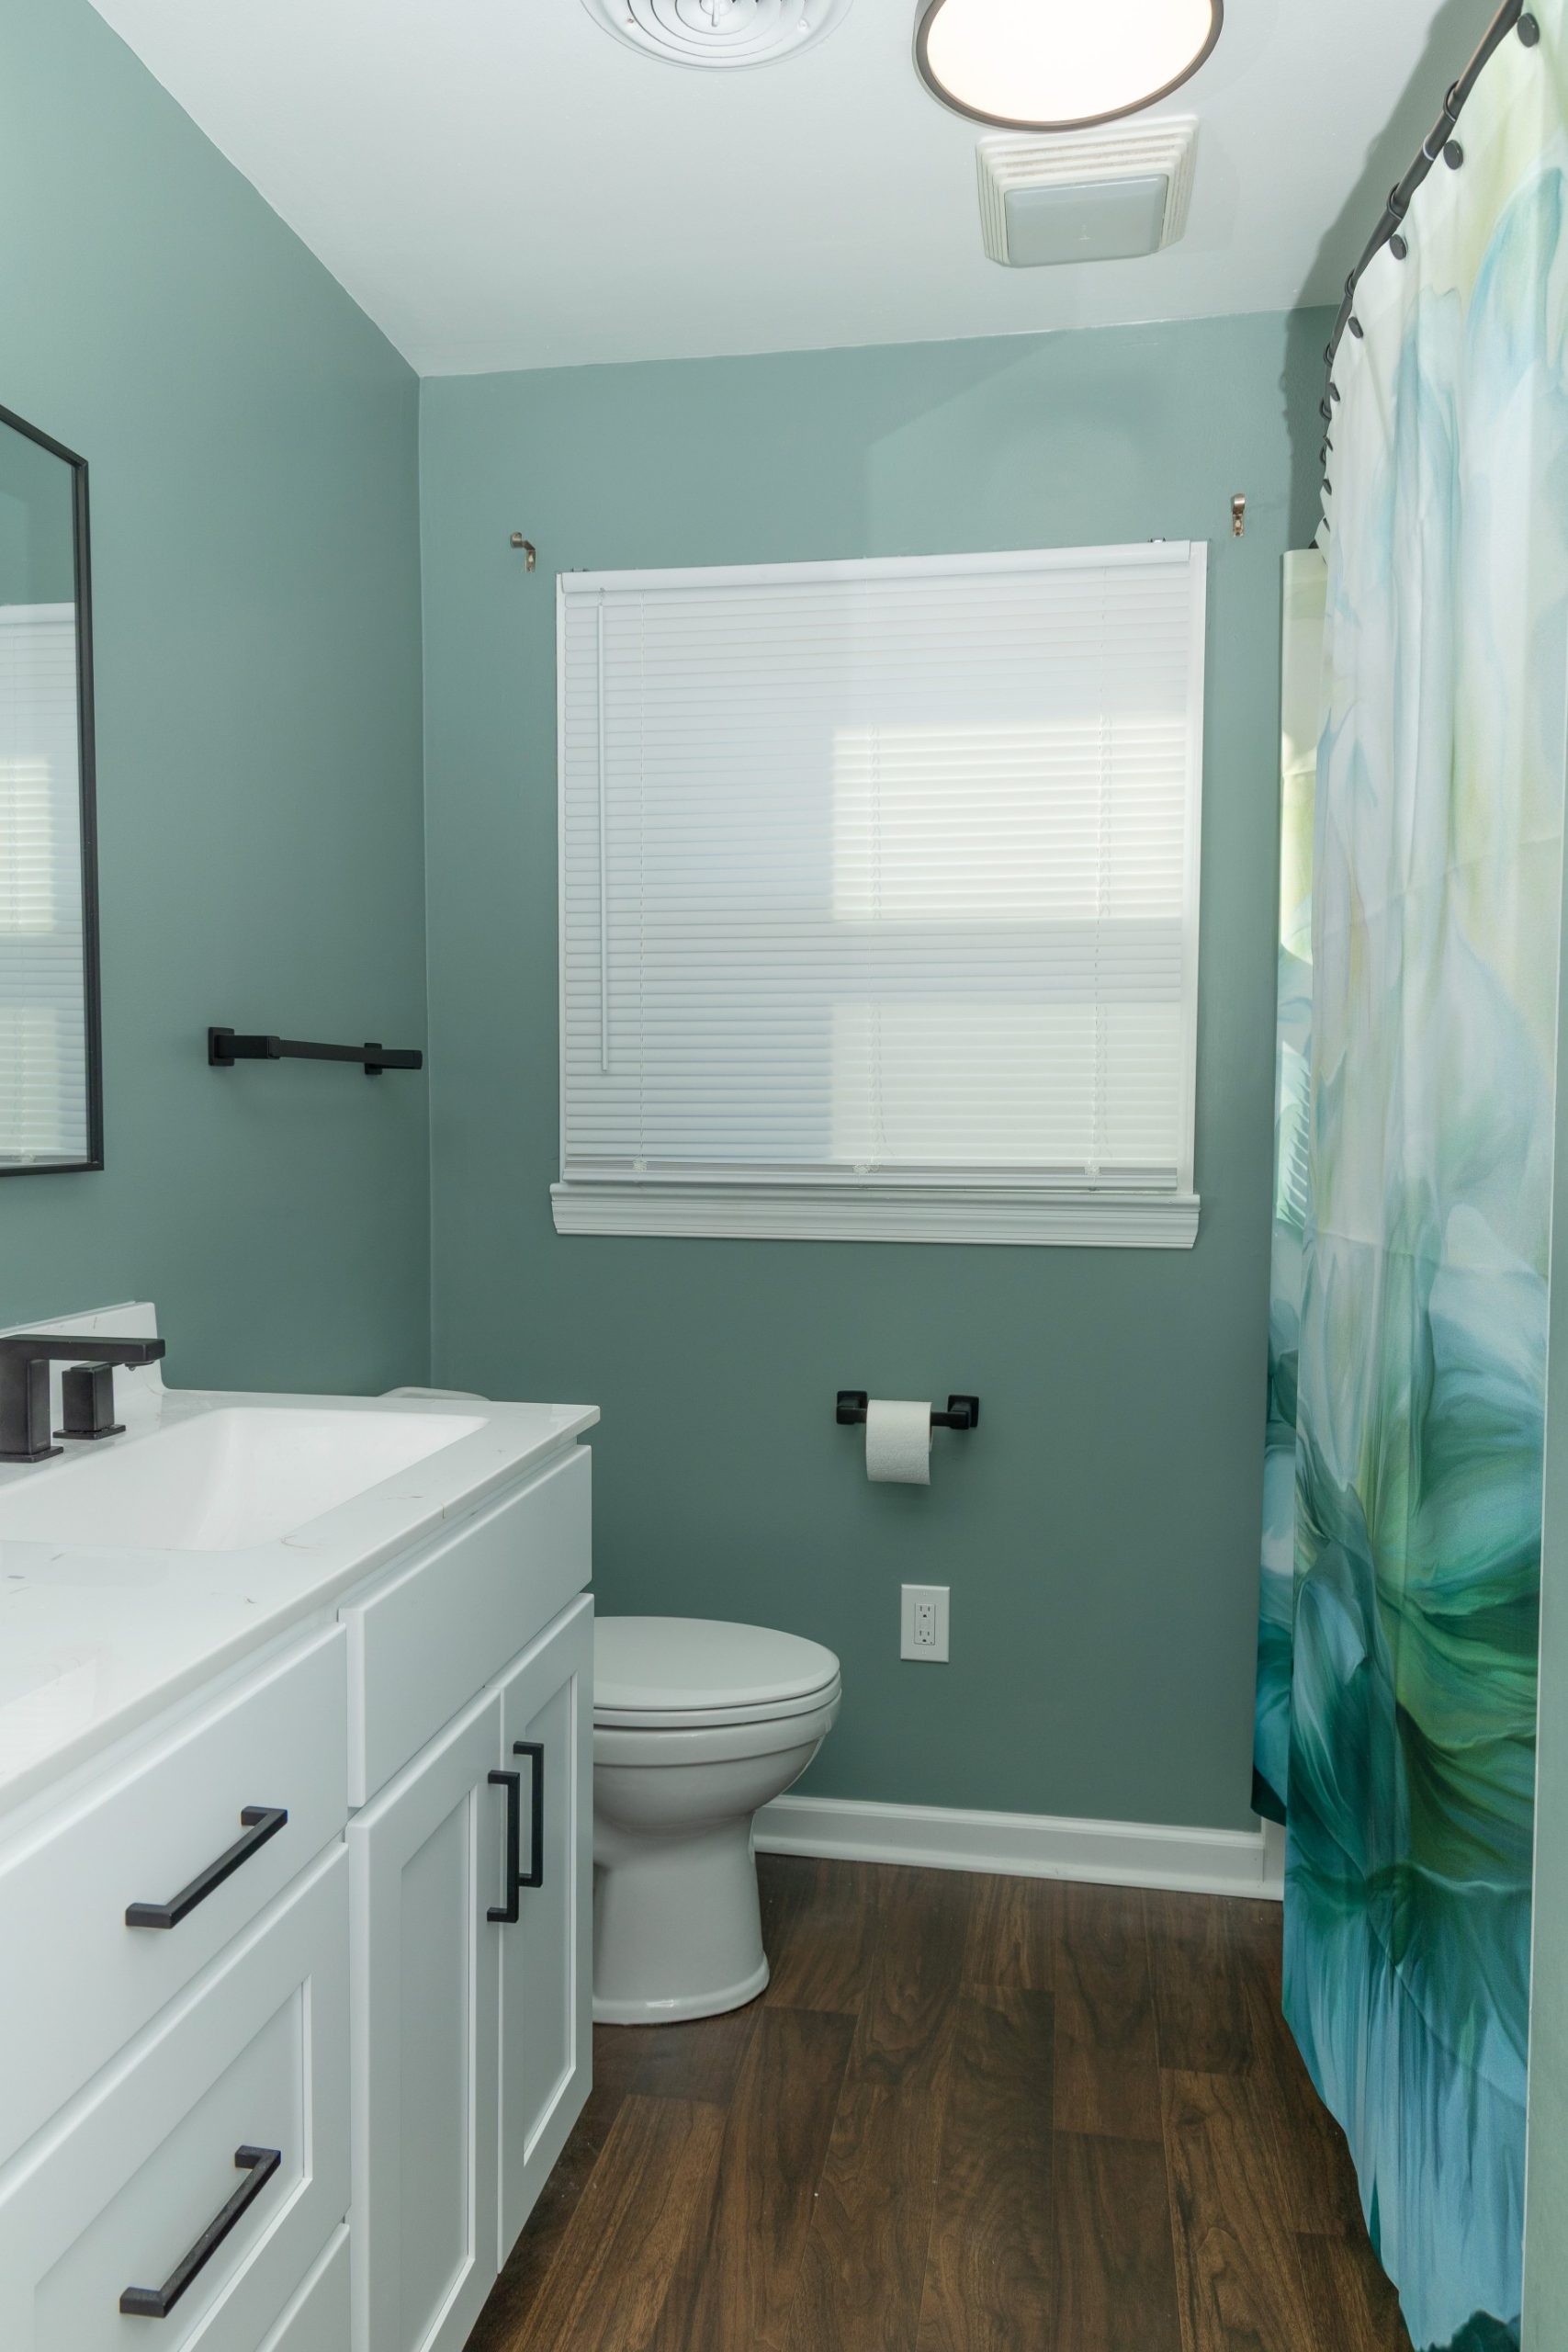
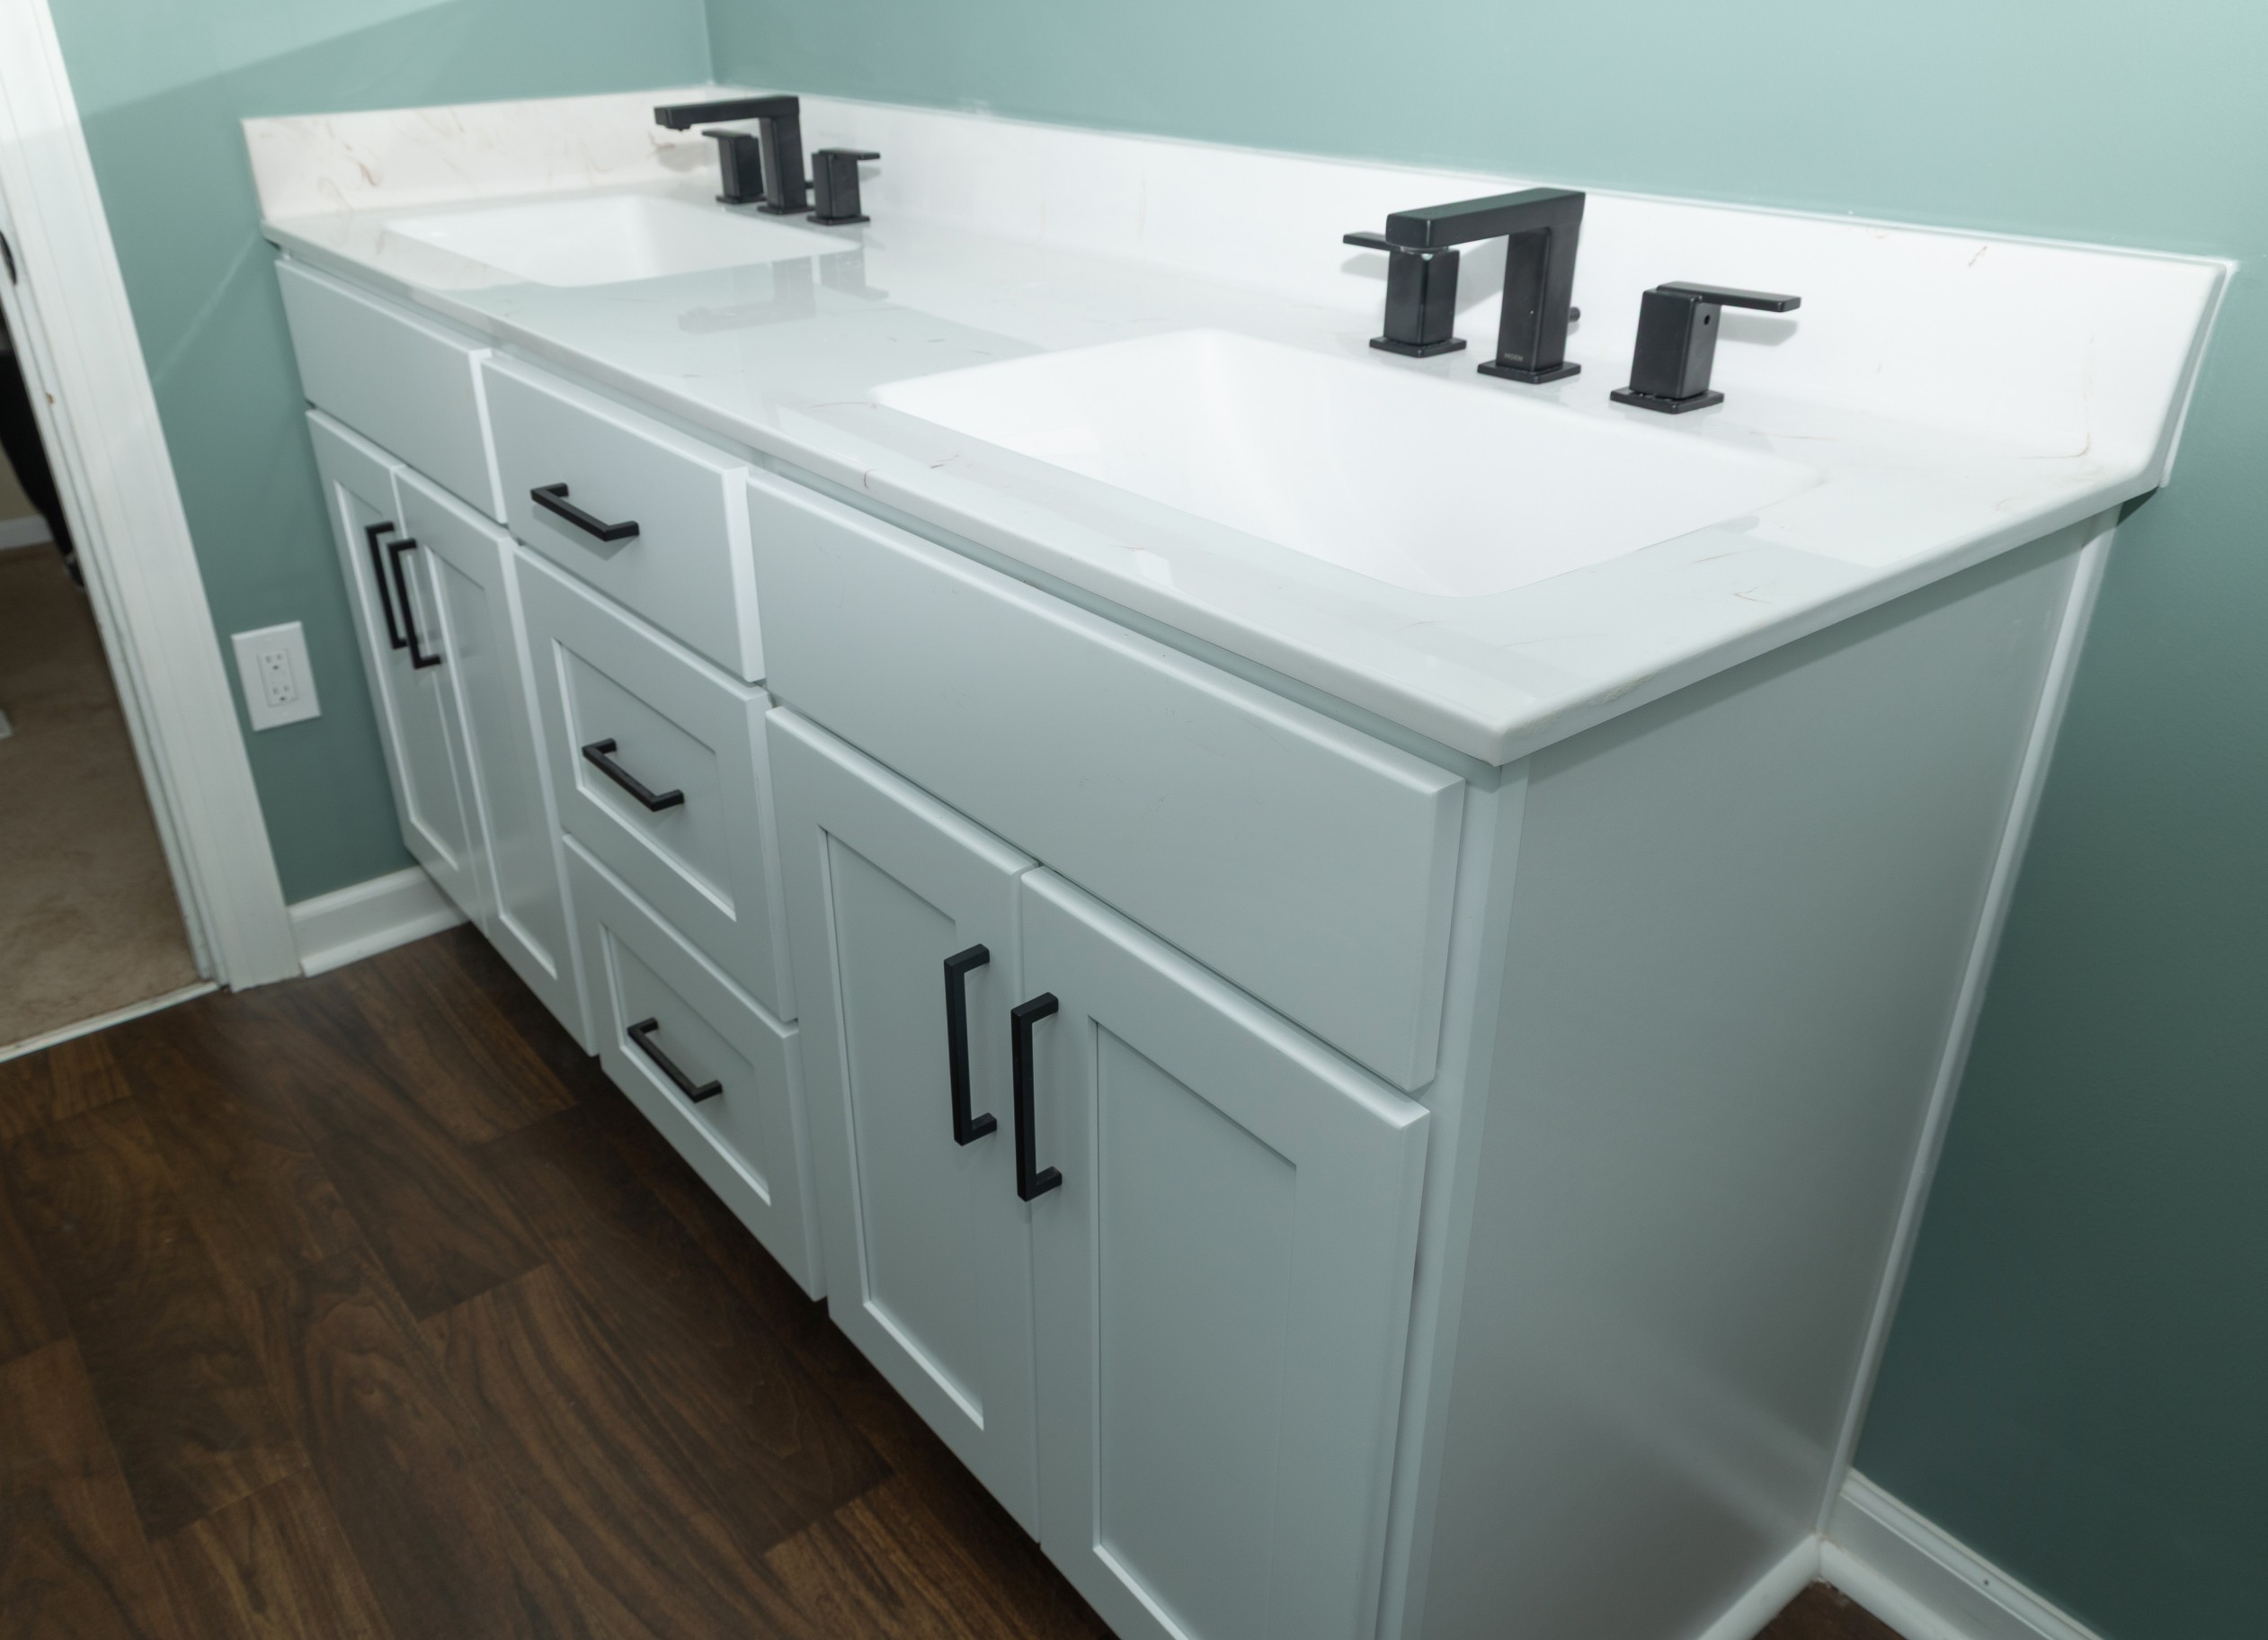
The vanity was replaced with a new shaker style in white, which features a drawer stack in the center – lots of new storage space here! The cultured marble countertop, with rectangle integrated sinks, is white, accented with a light walnut veining. The matte black mirror, hardware, and faucets, with squared-off profiles, compliment the sink shape perfectly.

Dark wood grain floors, light teal walls, and bright white trim complete this makeover. 

On to the kitchen –

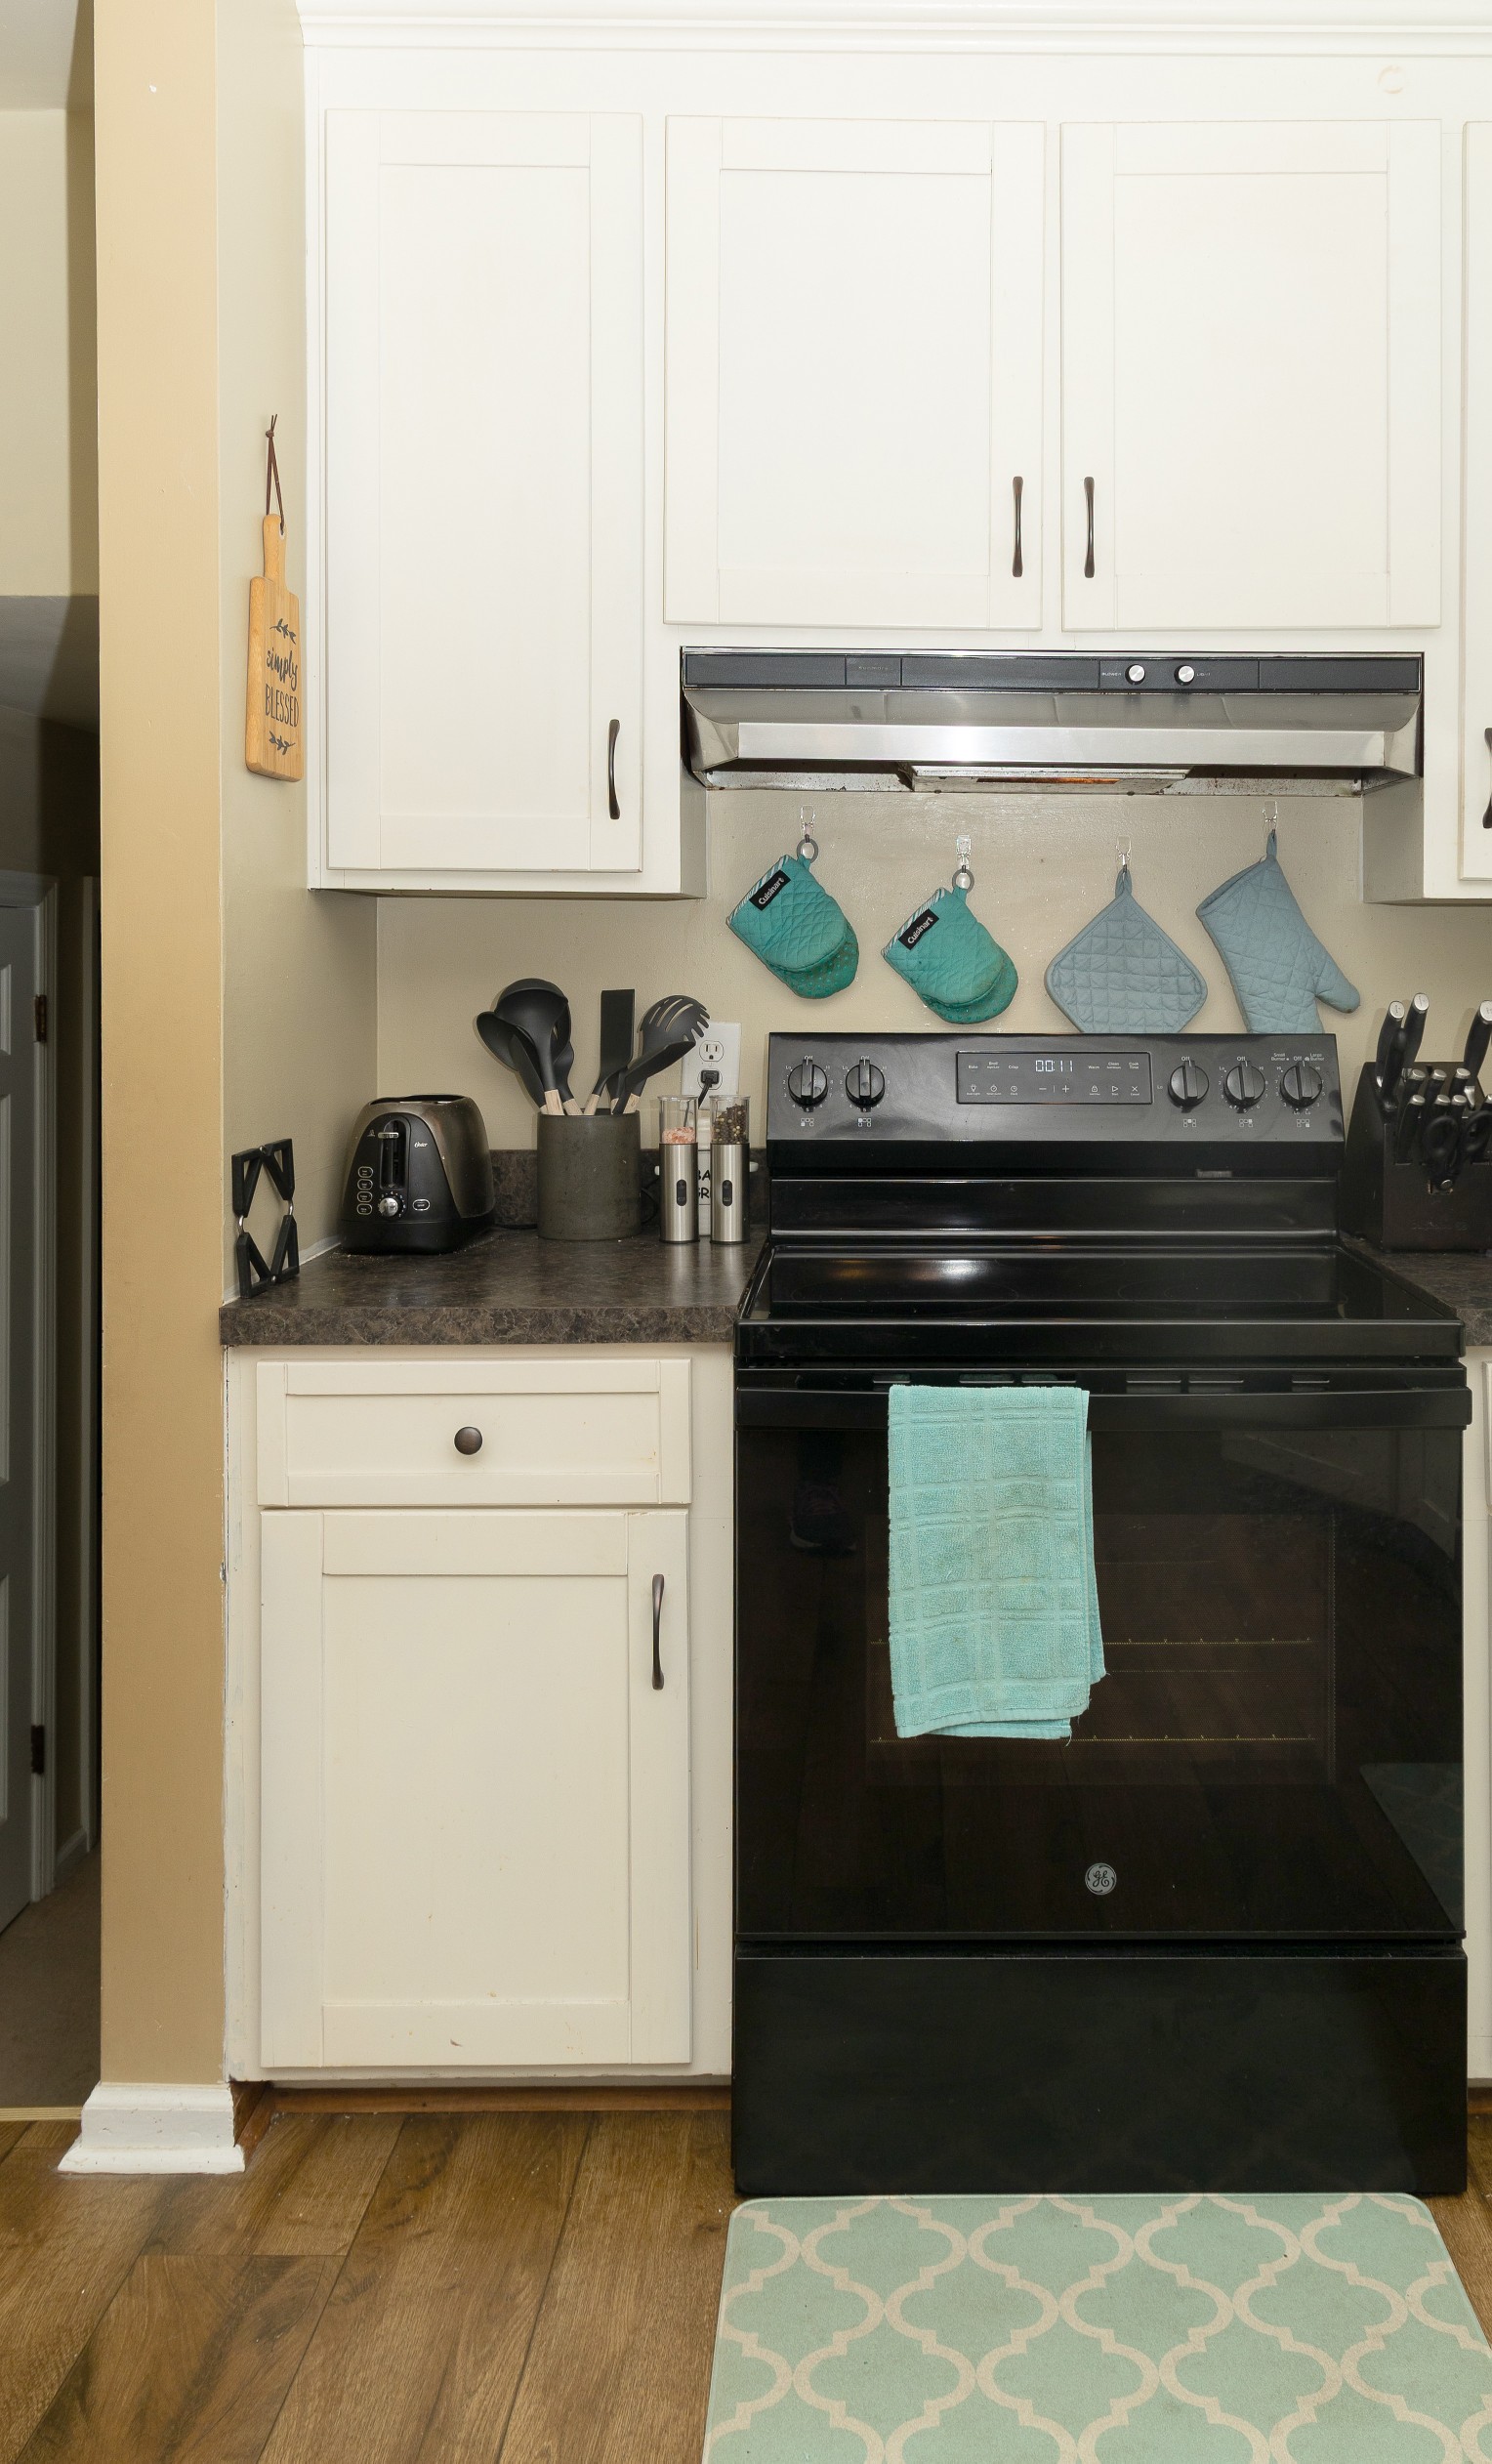
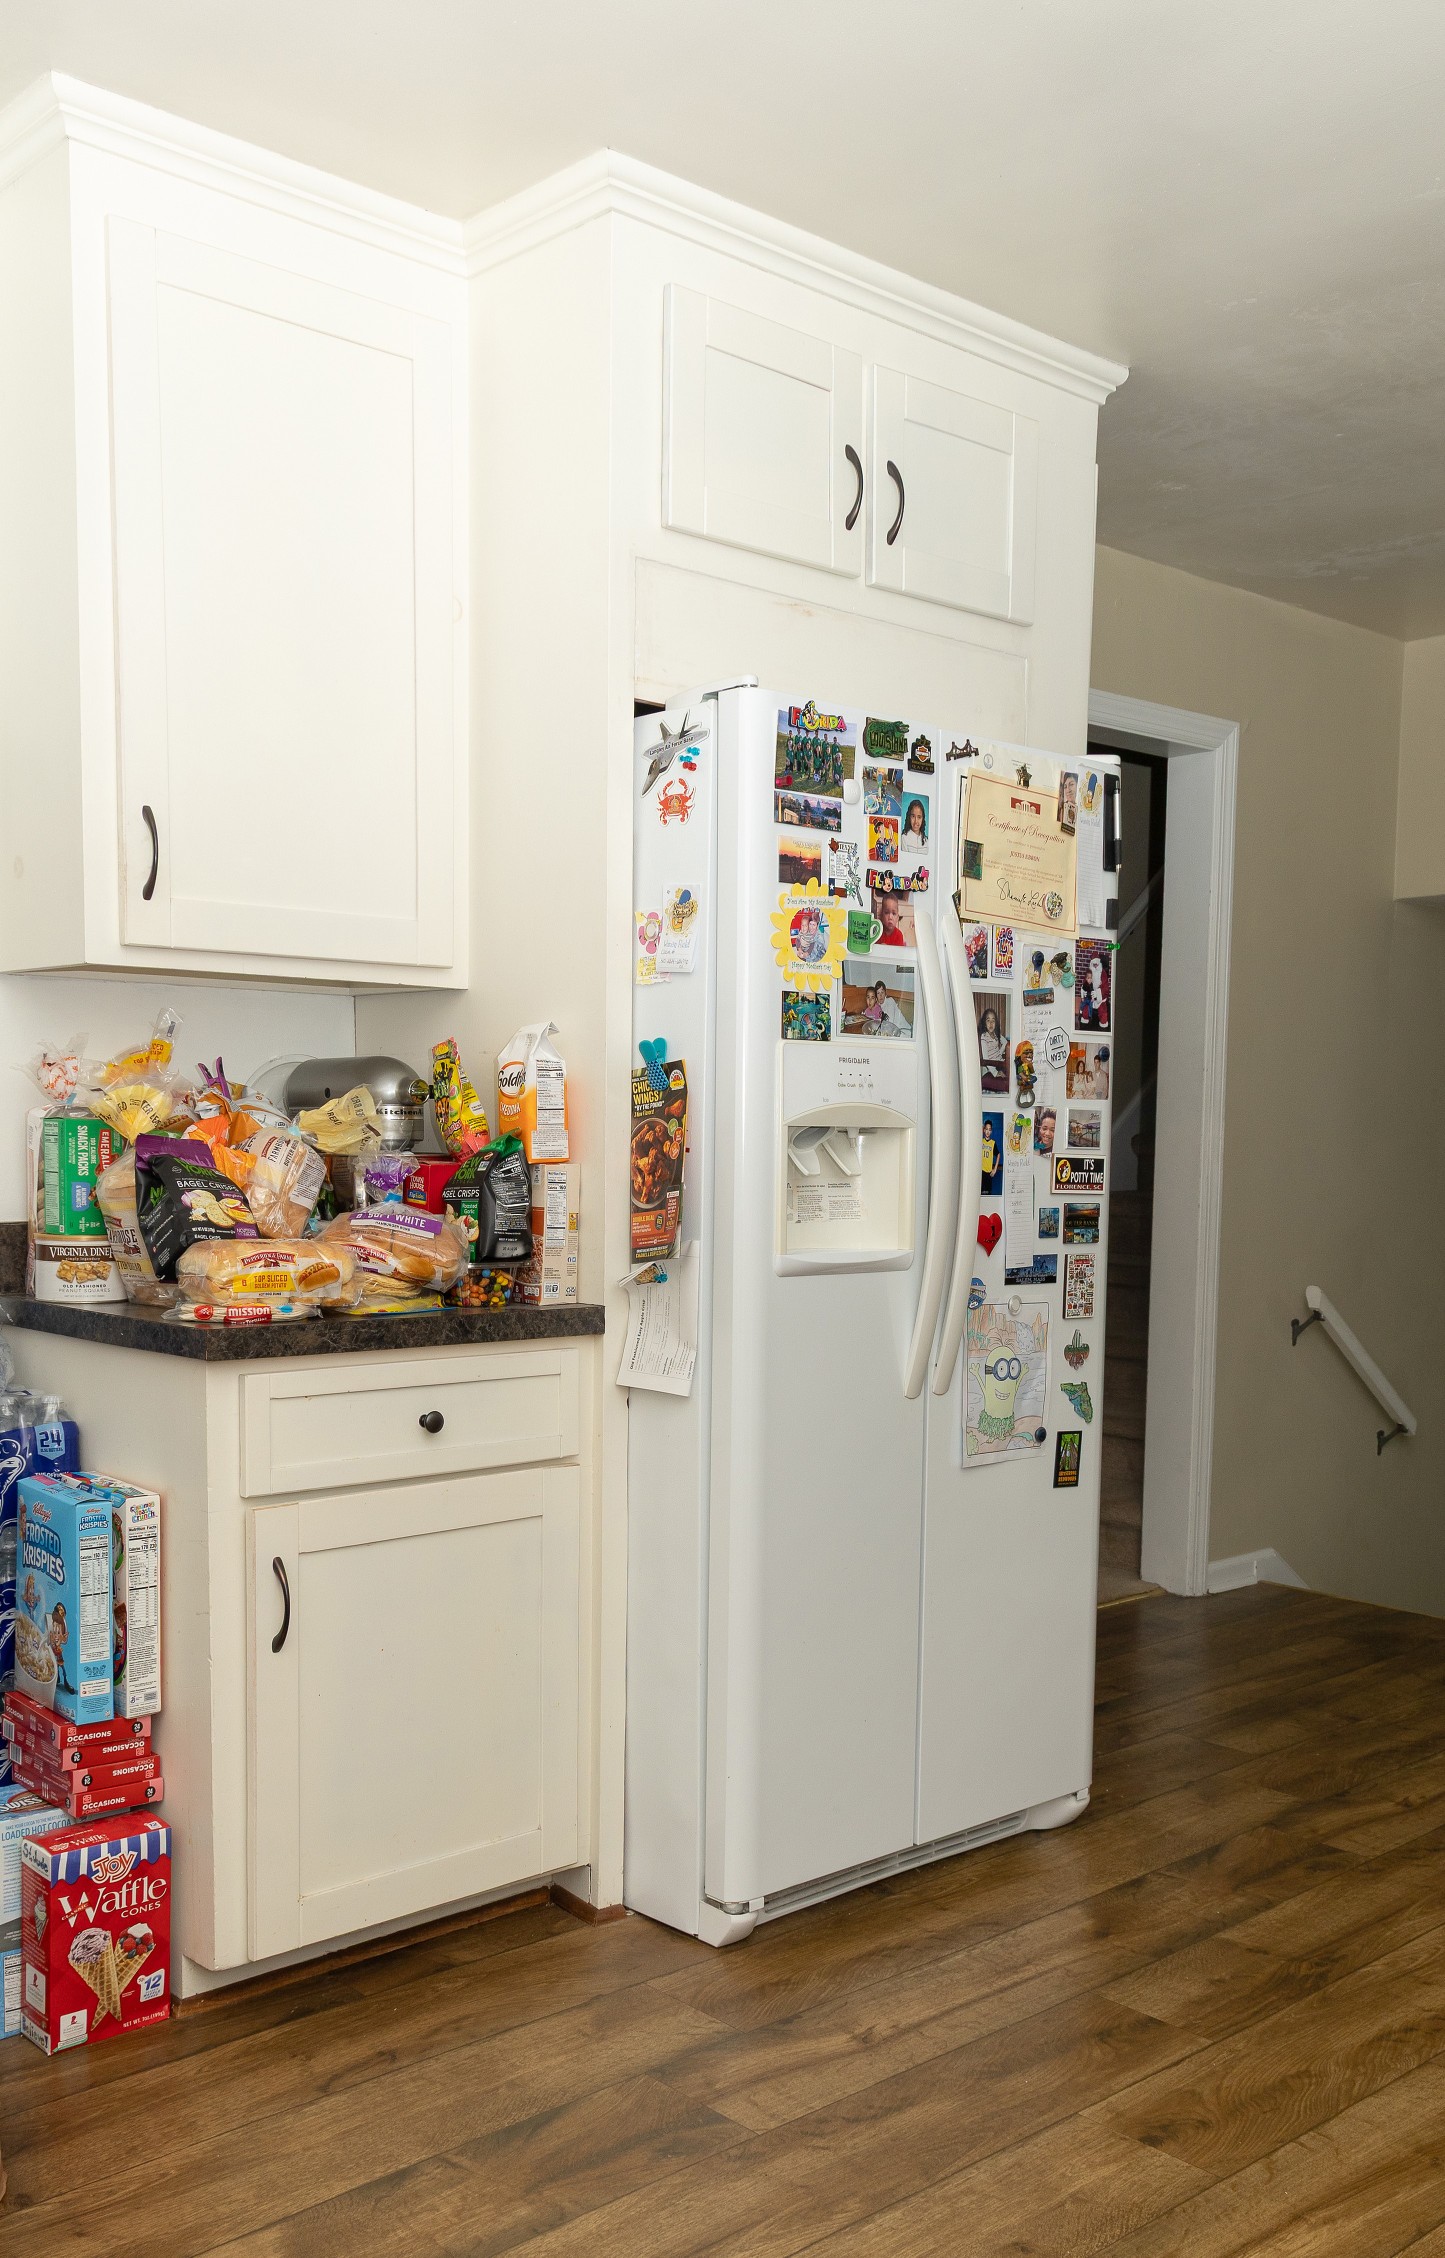
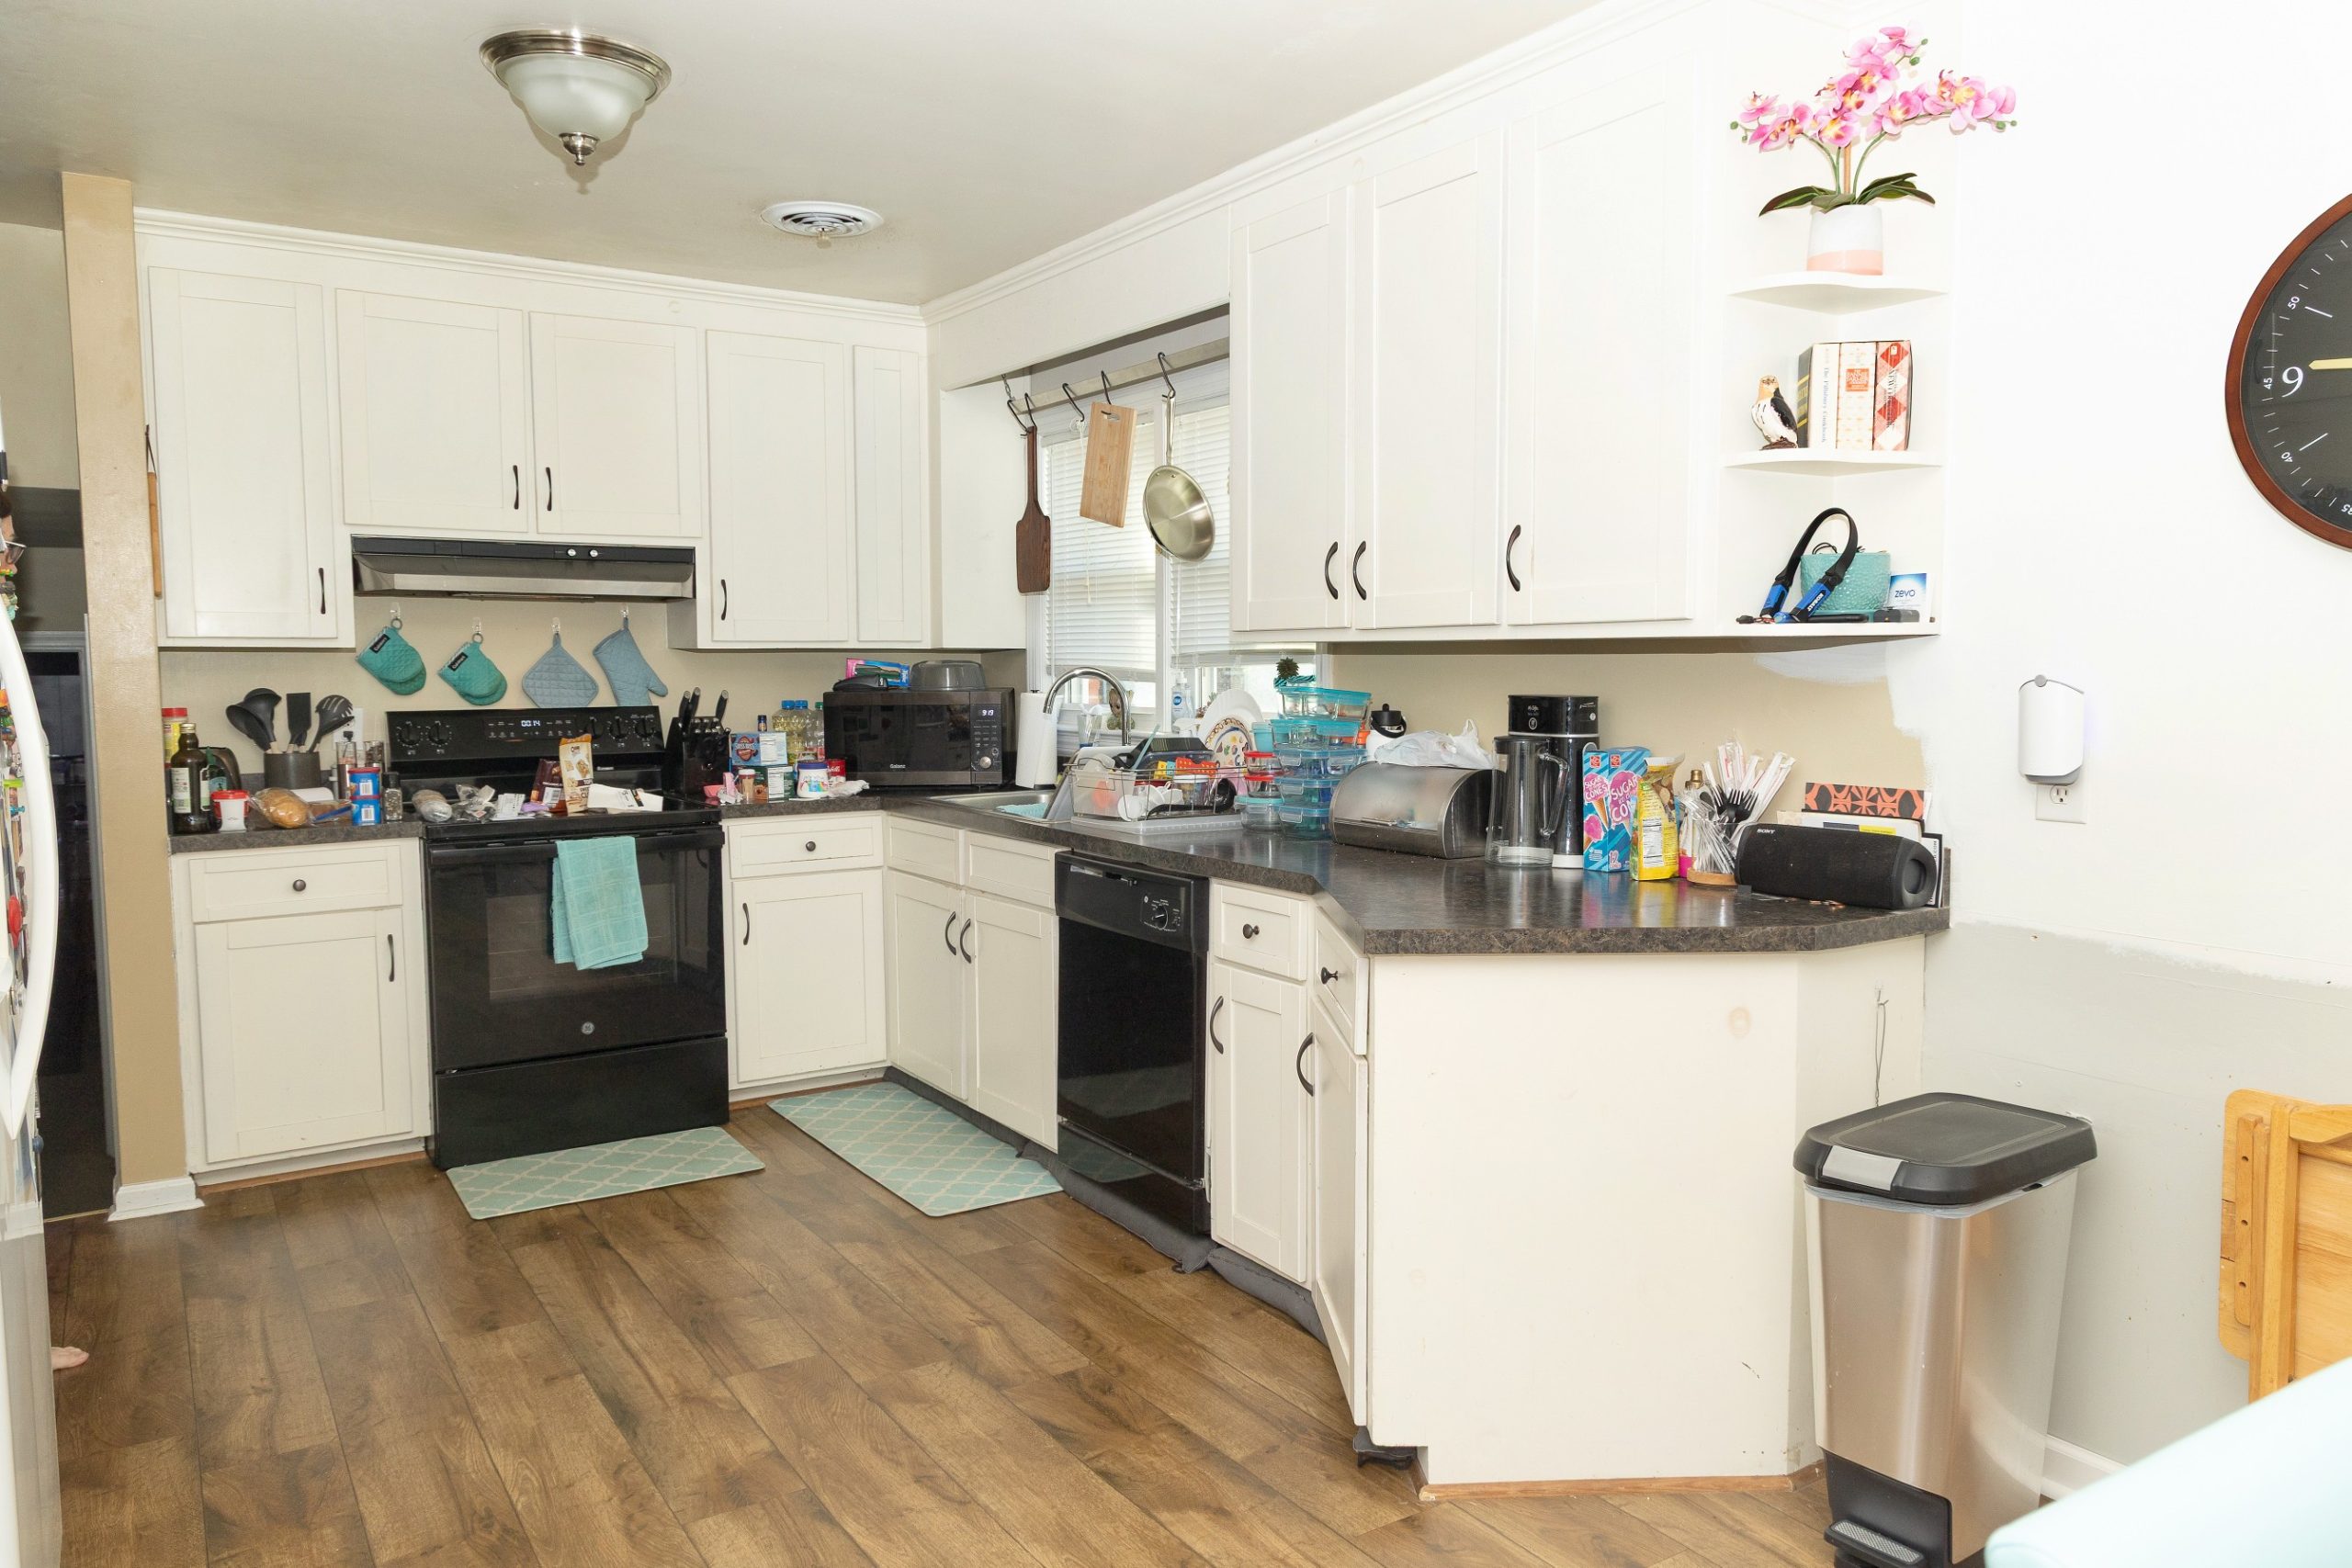
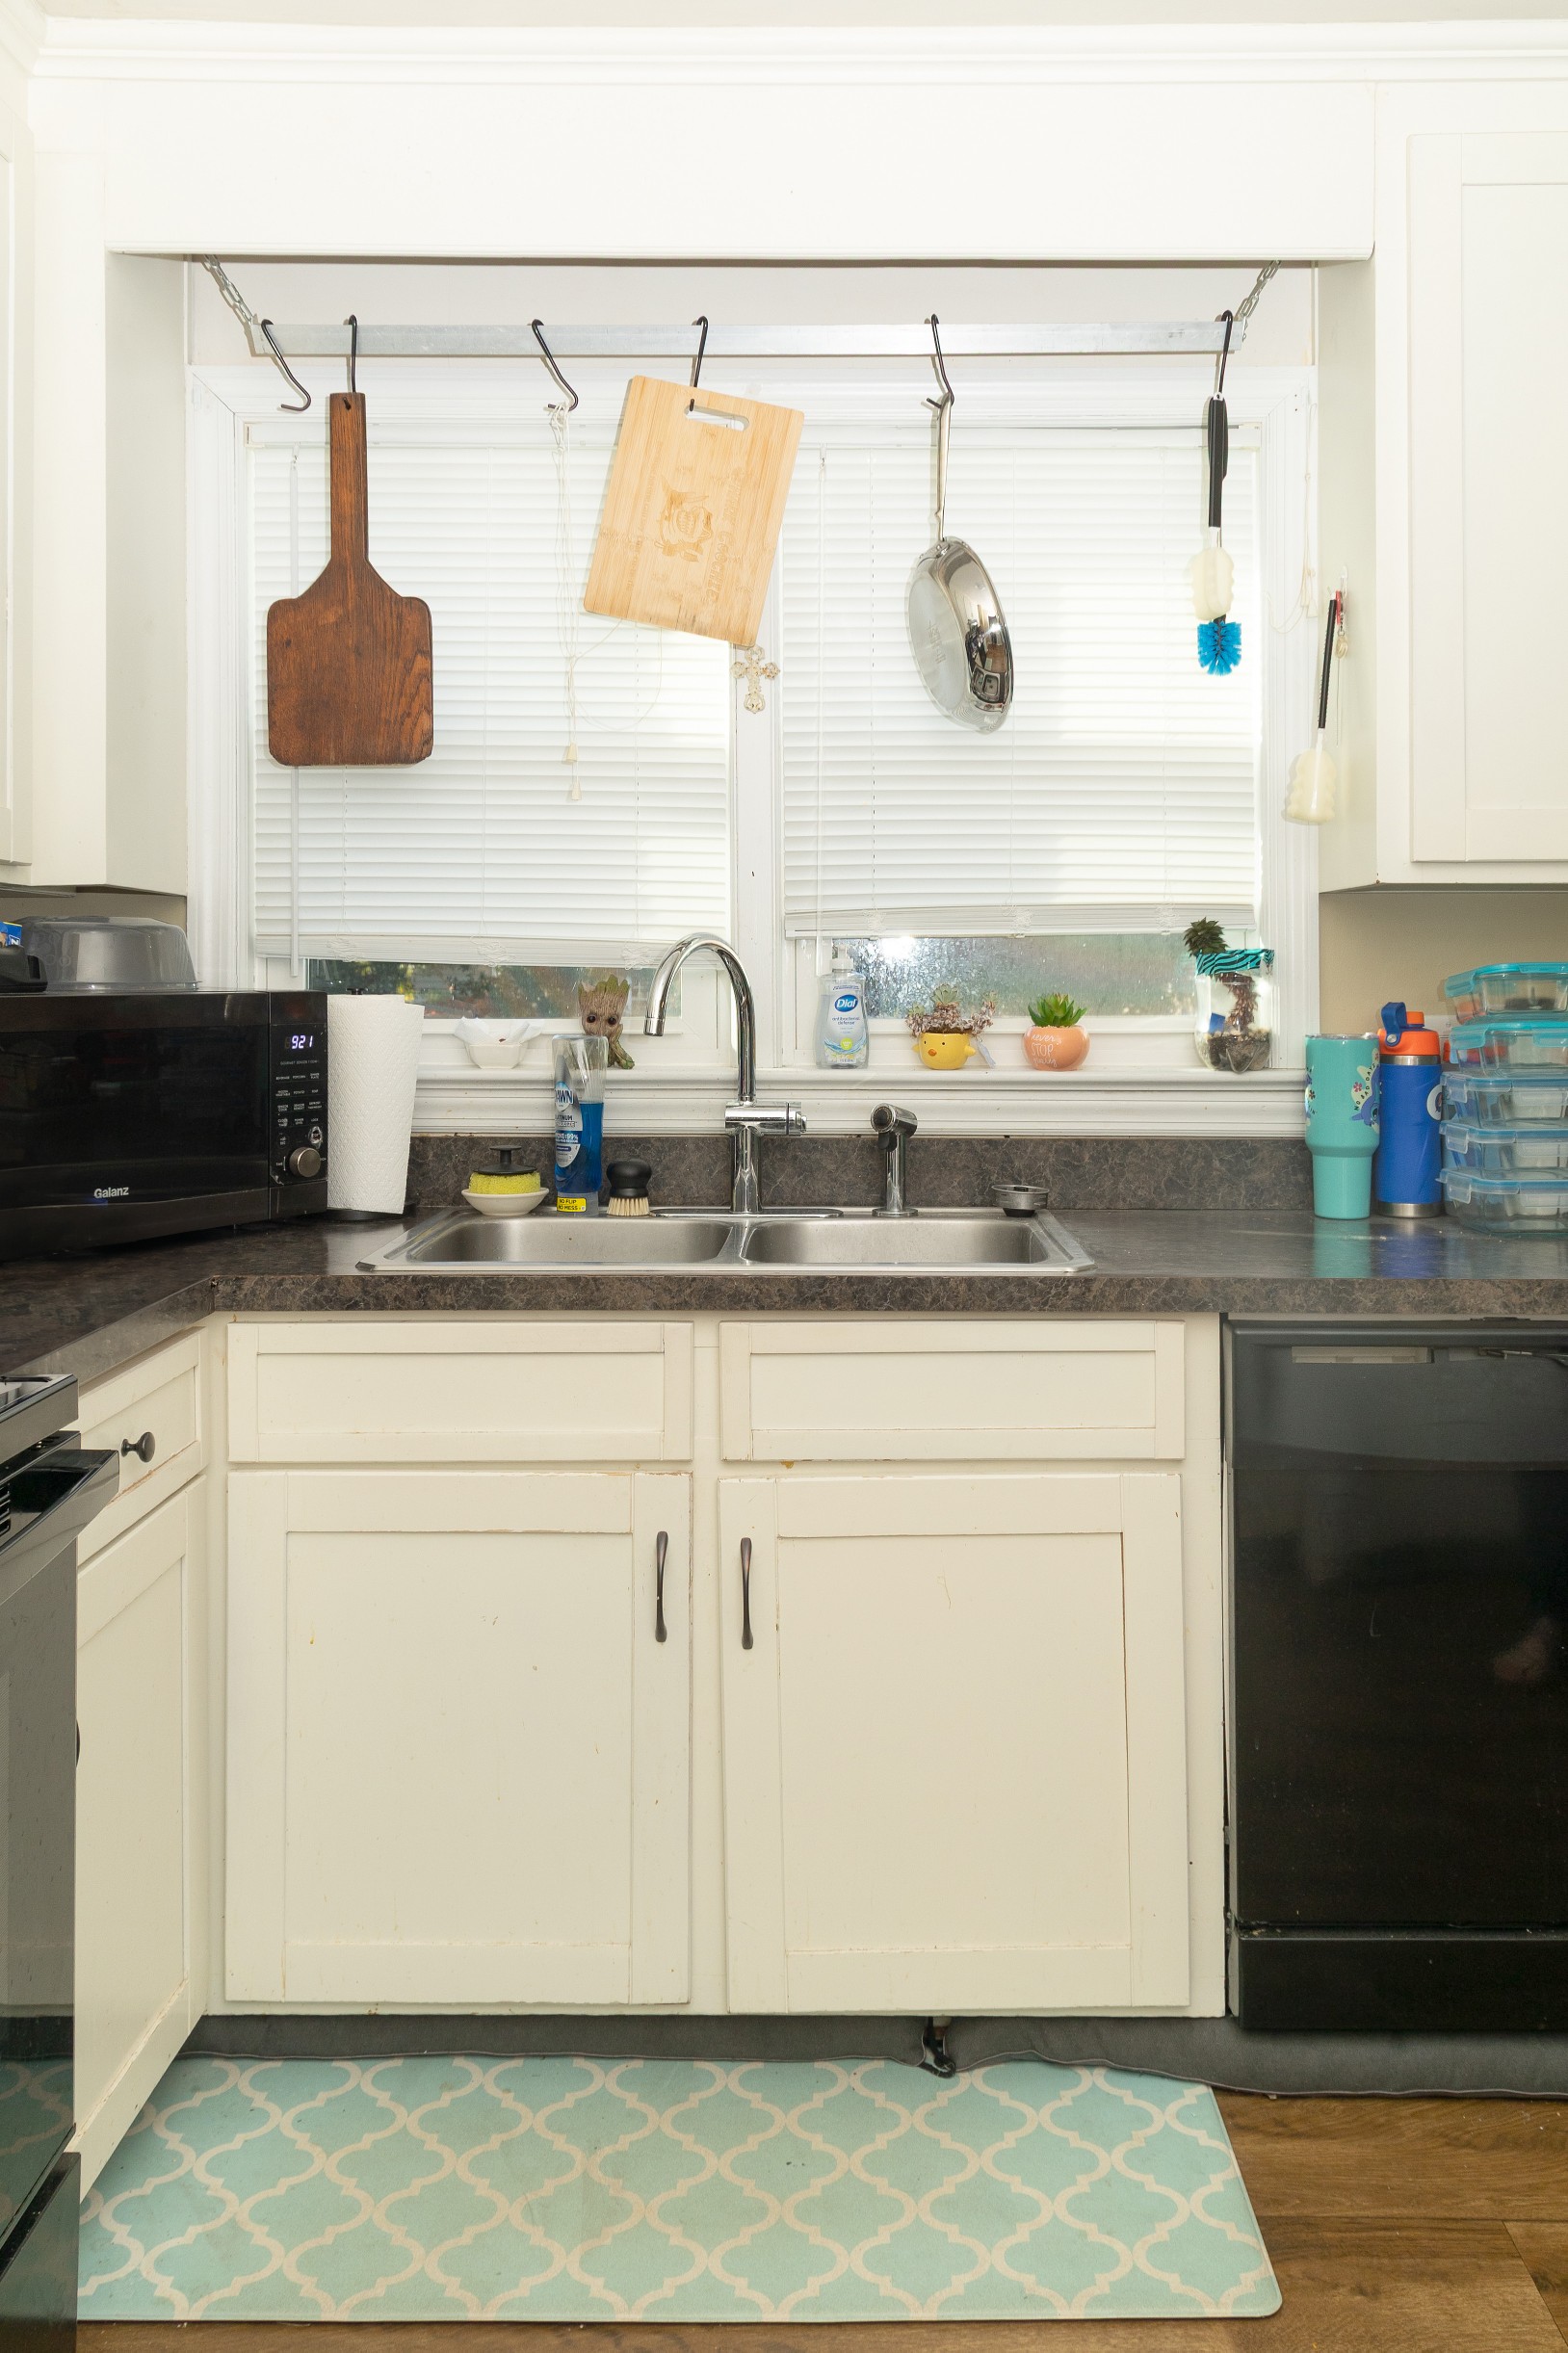
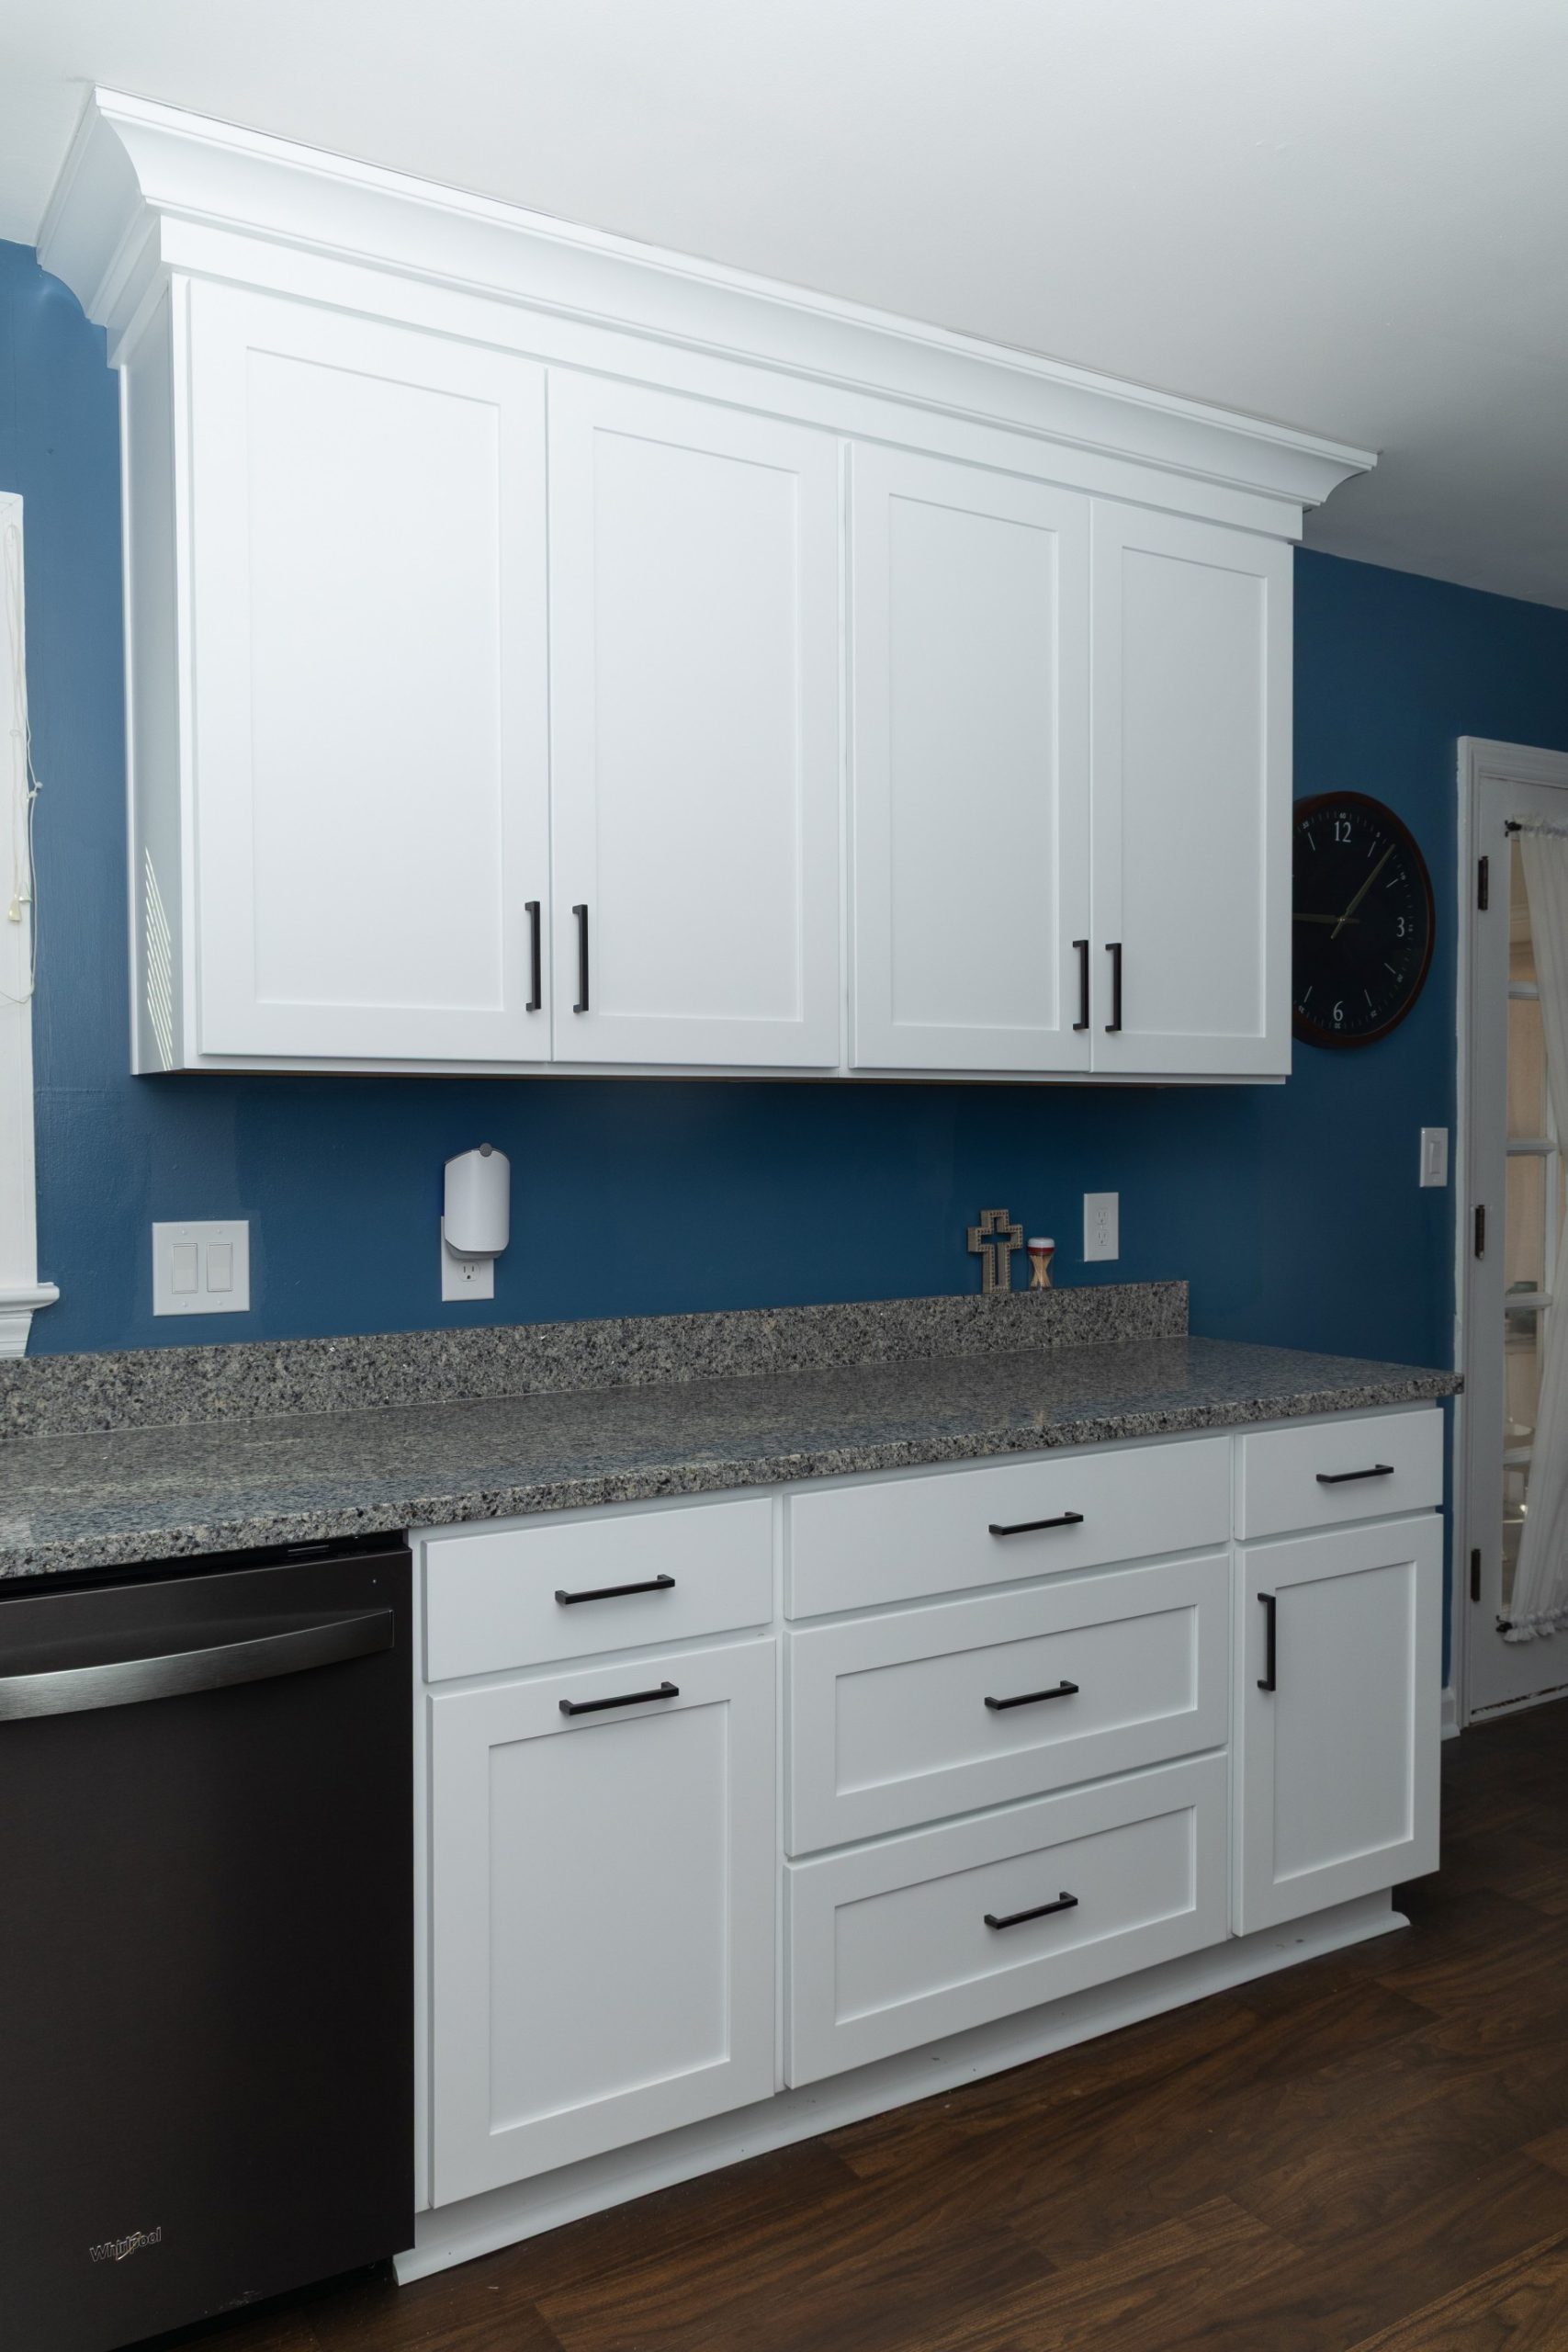
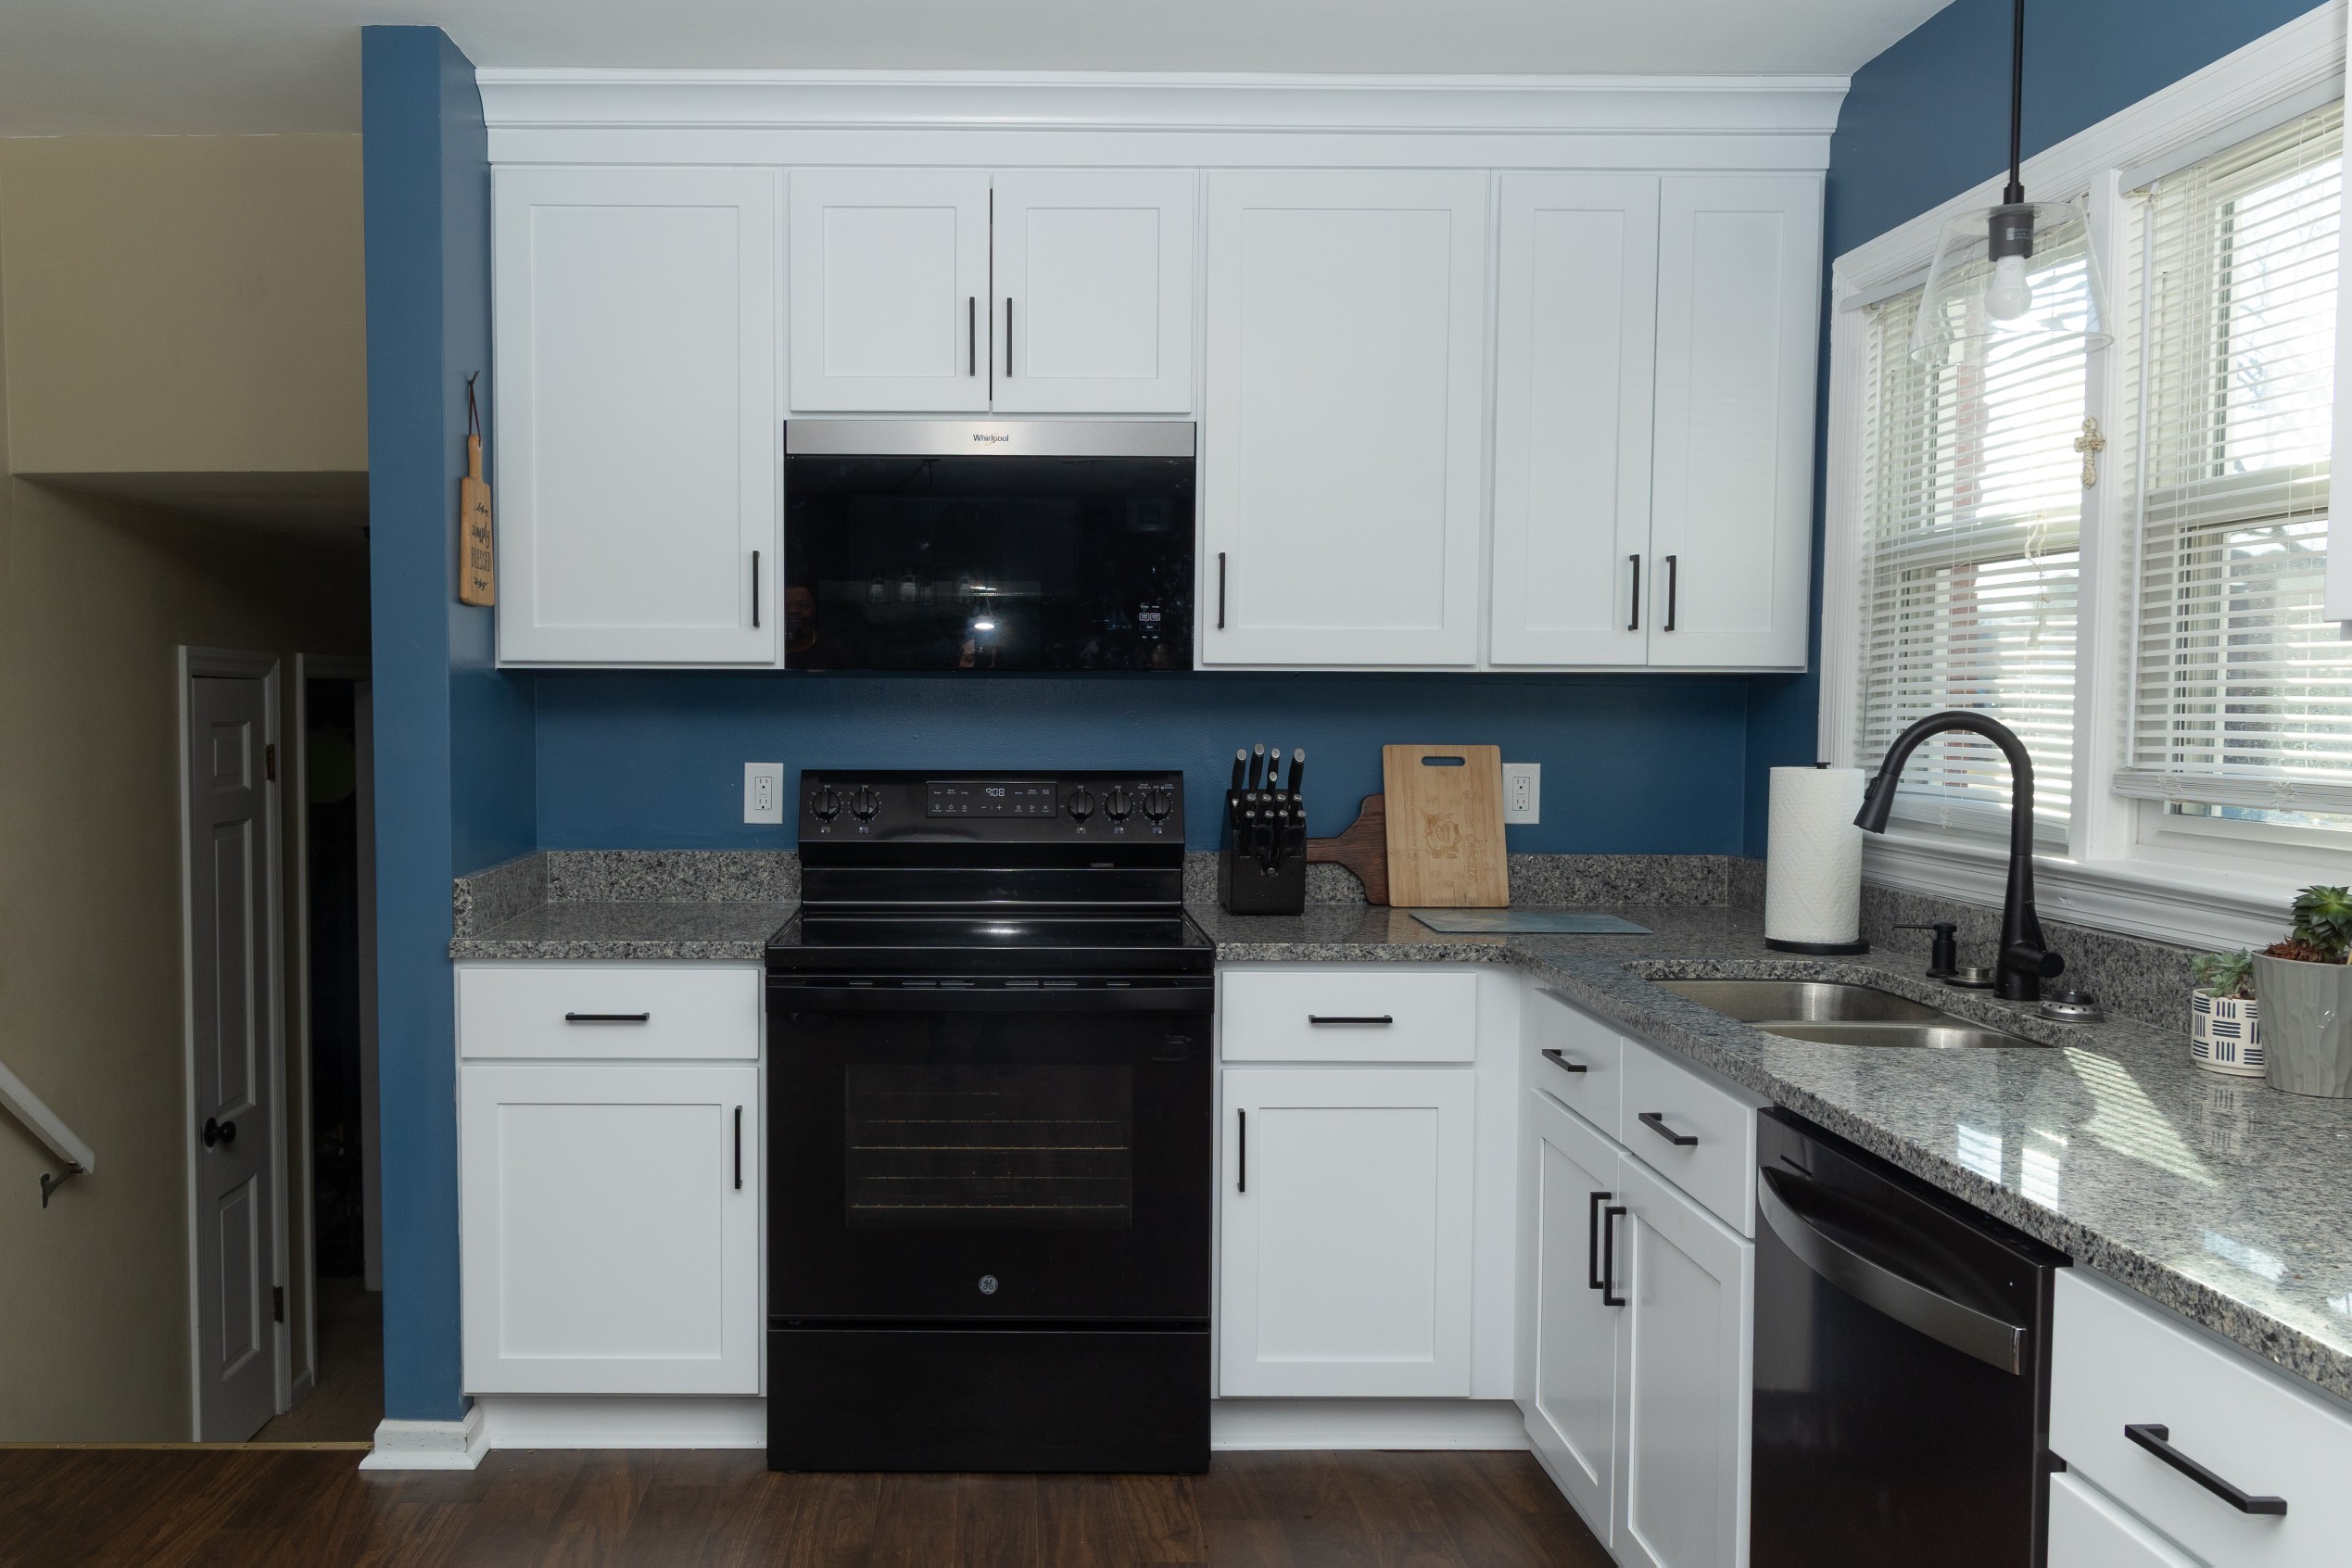
Like the bathrooms, the layout of the kitchen worked, but Rachael wanted a fresh, new look. All the cabinets, countertops, and floor covering were removed. After repairing some floor damage we found near the sink base, we started on the remodel.

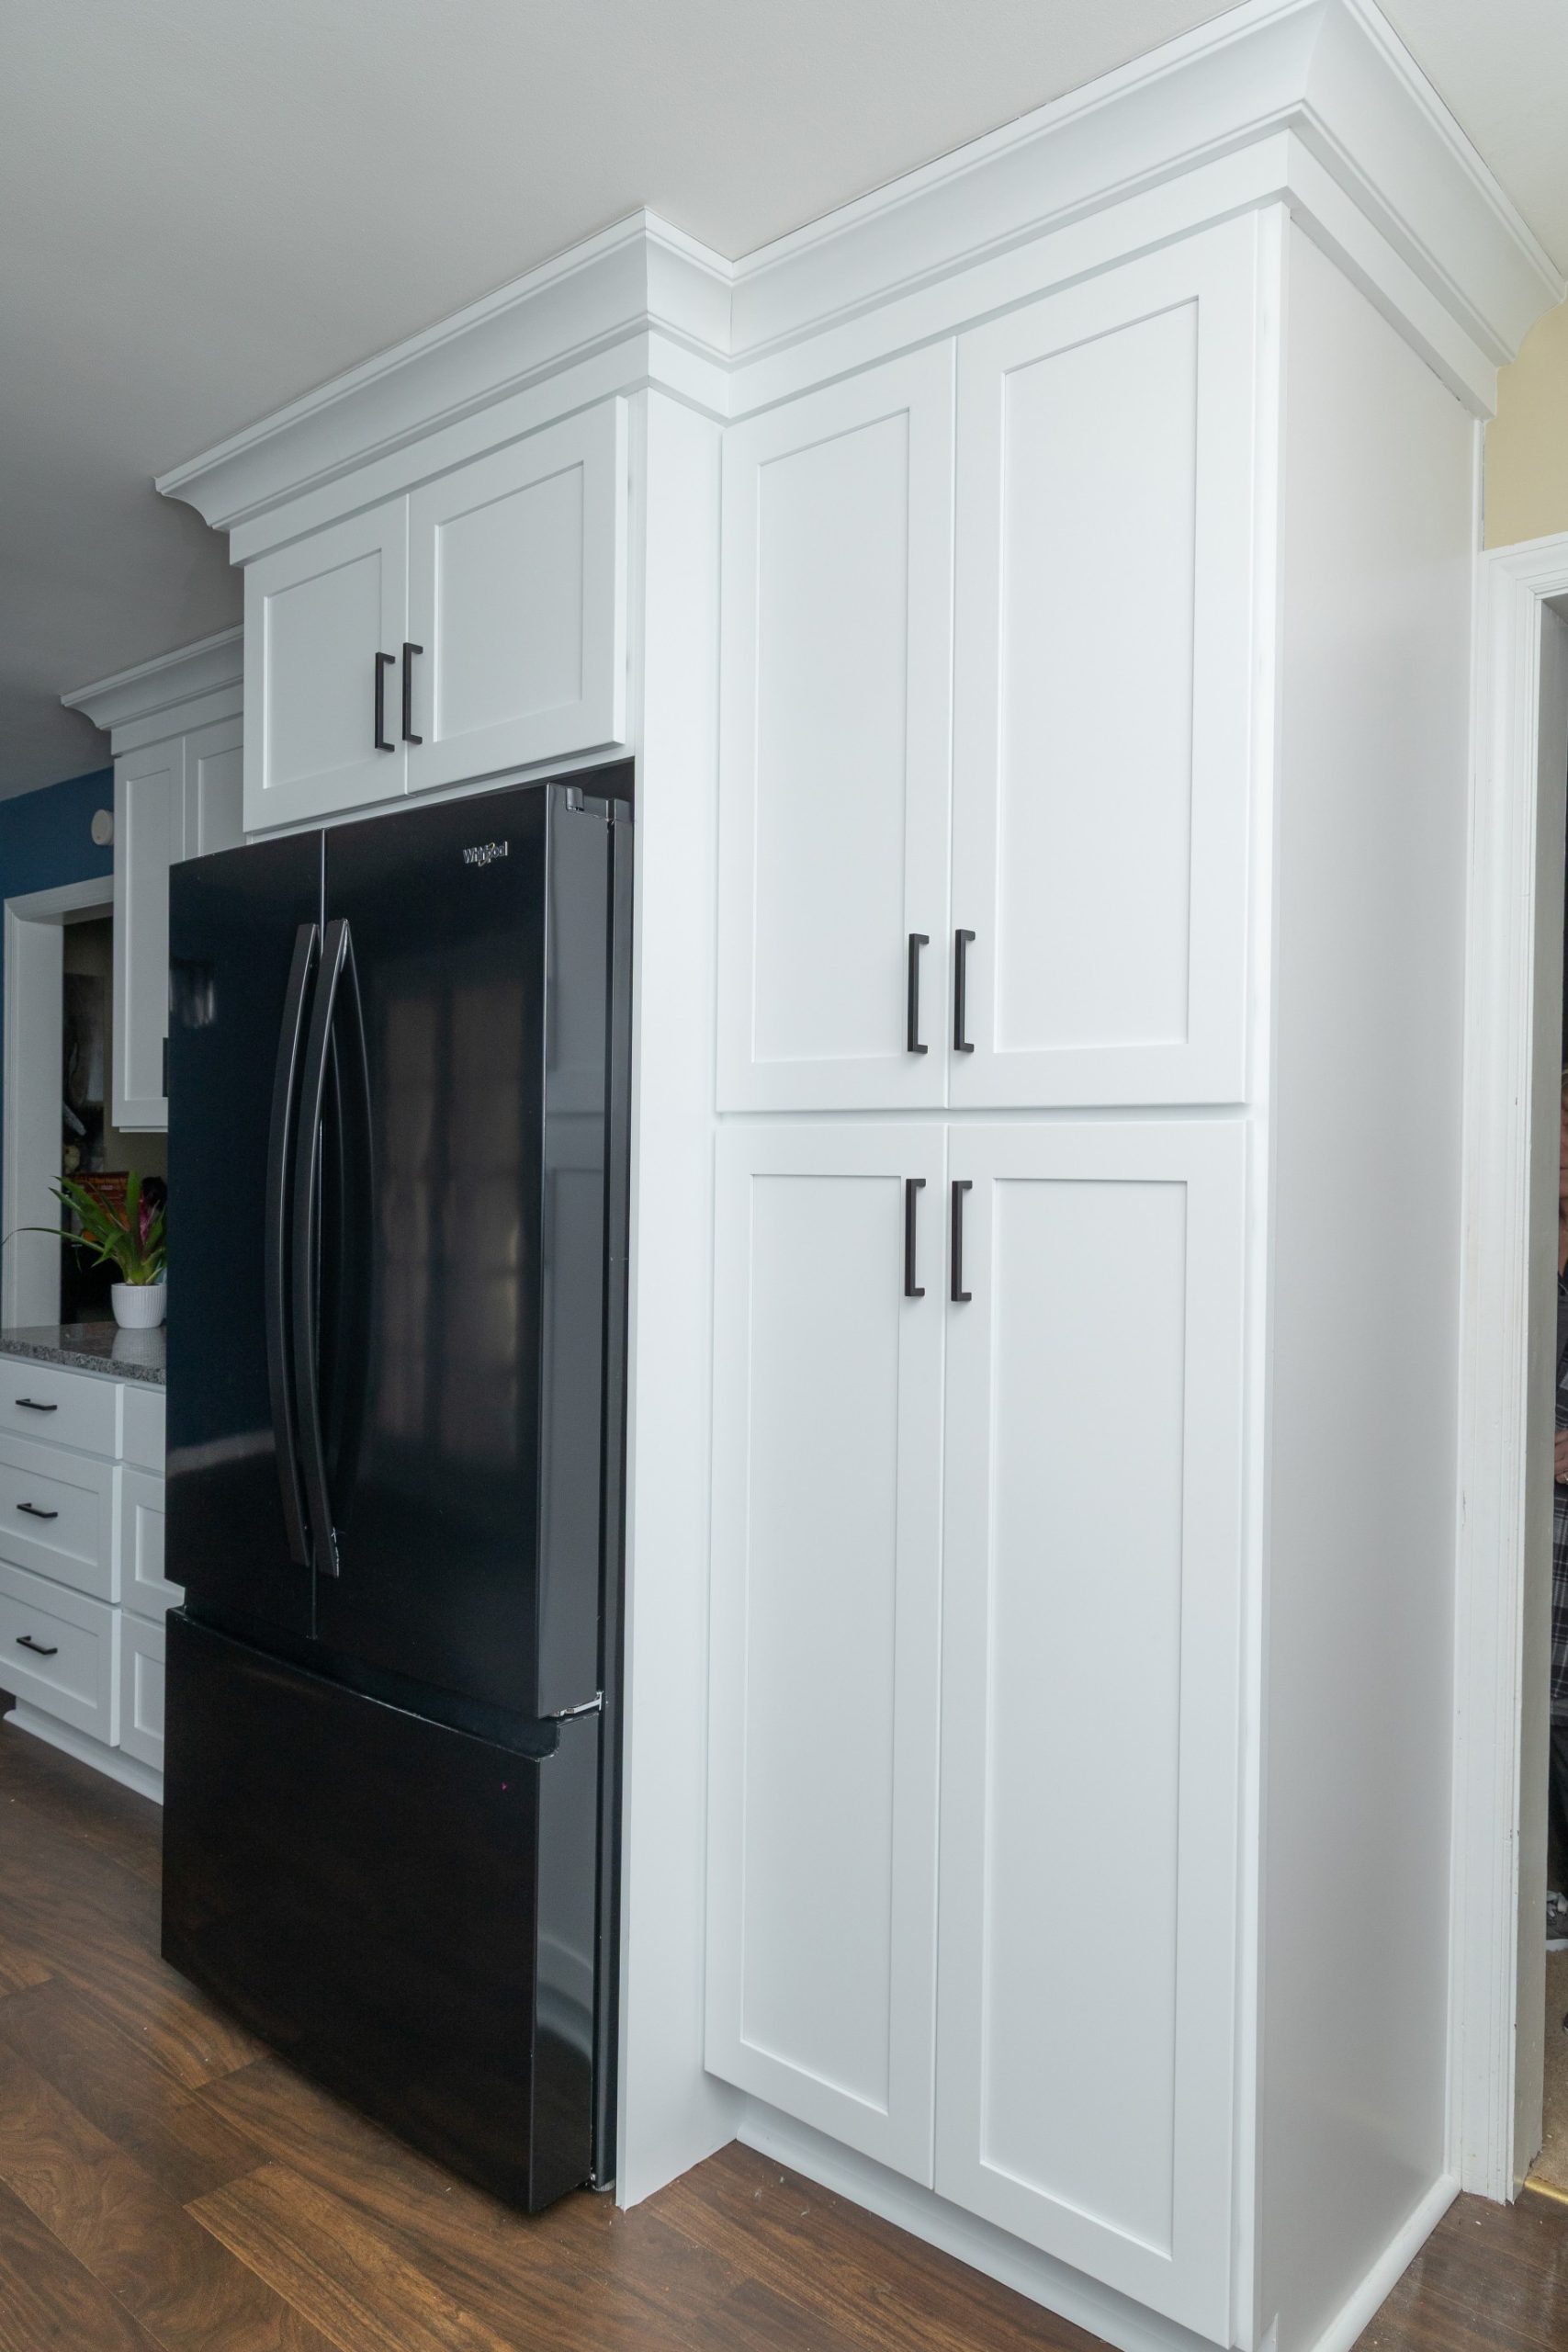
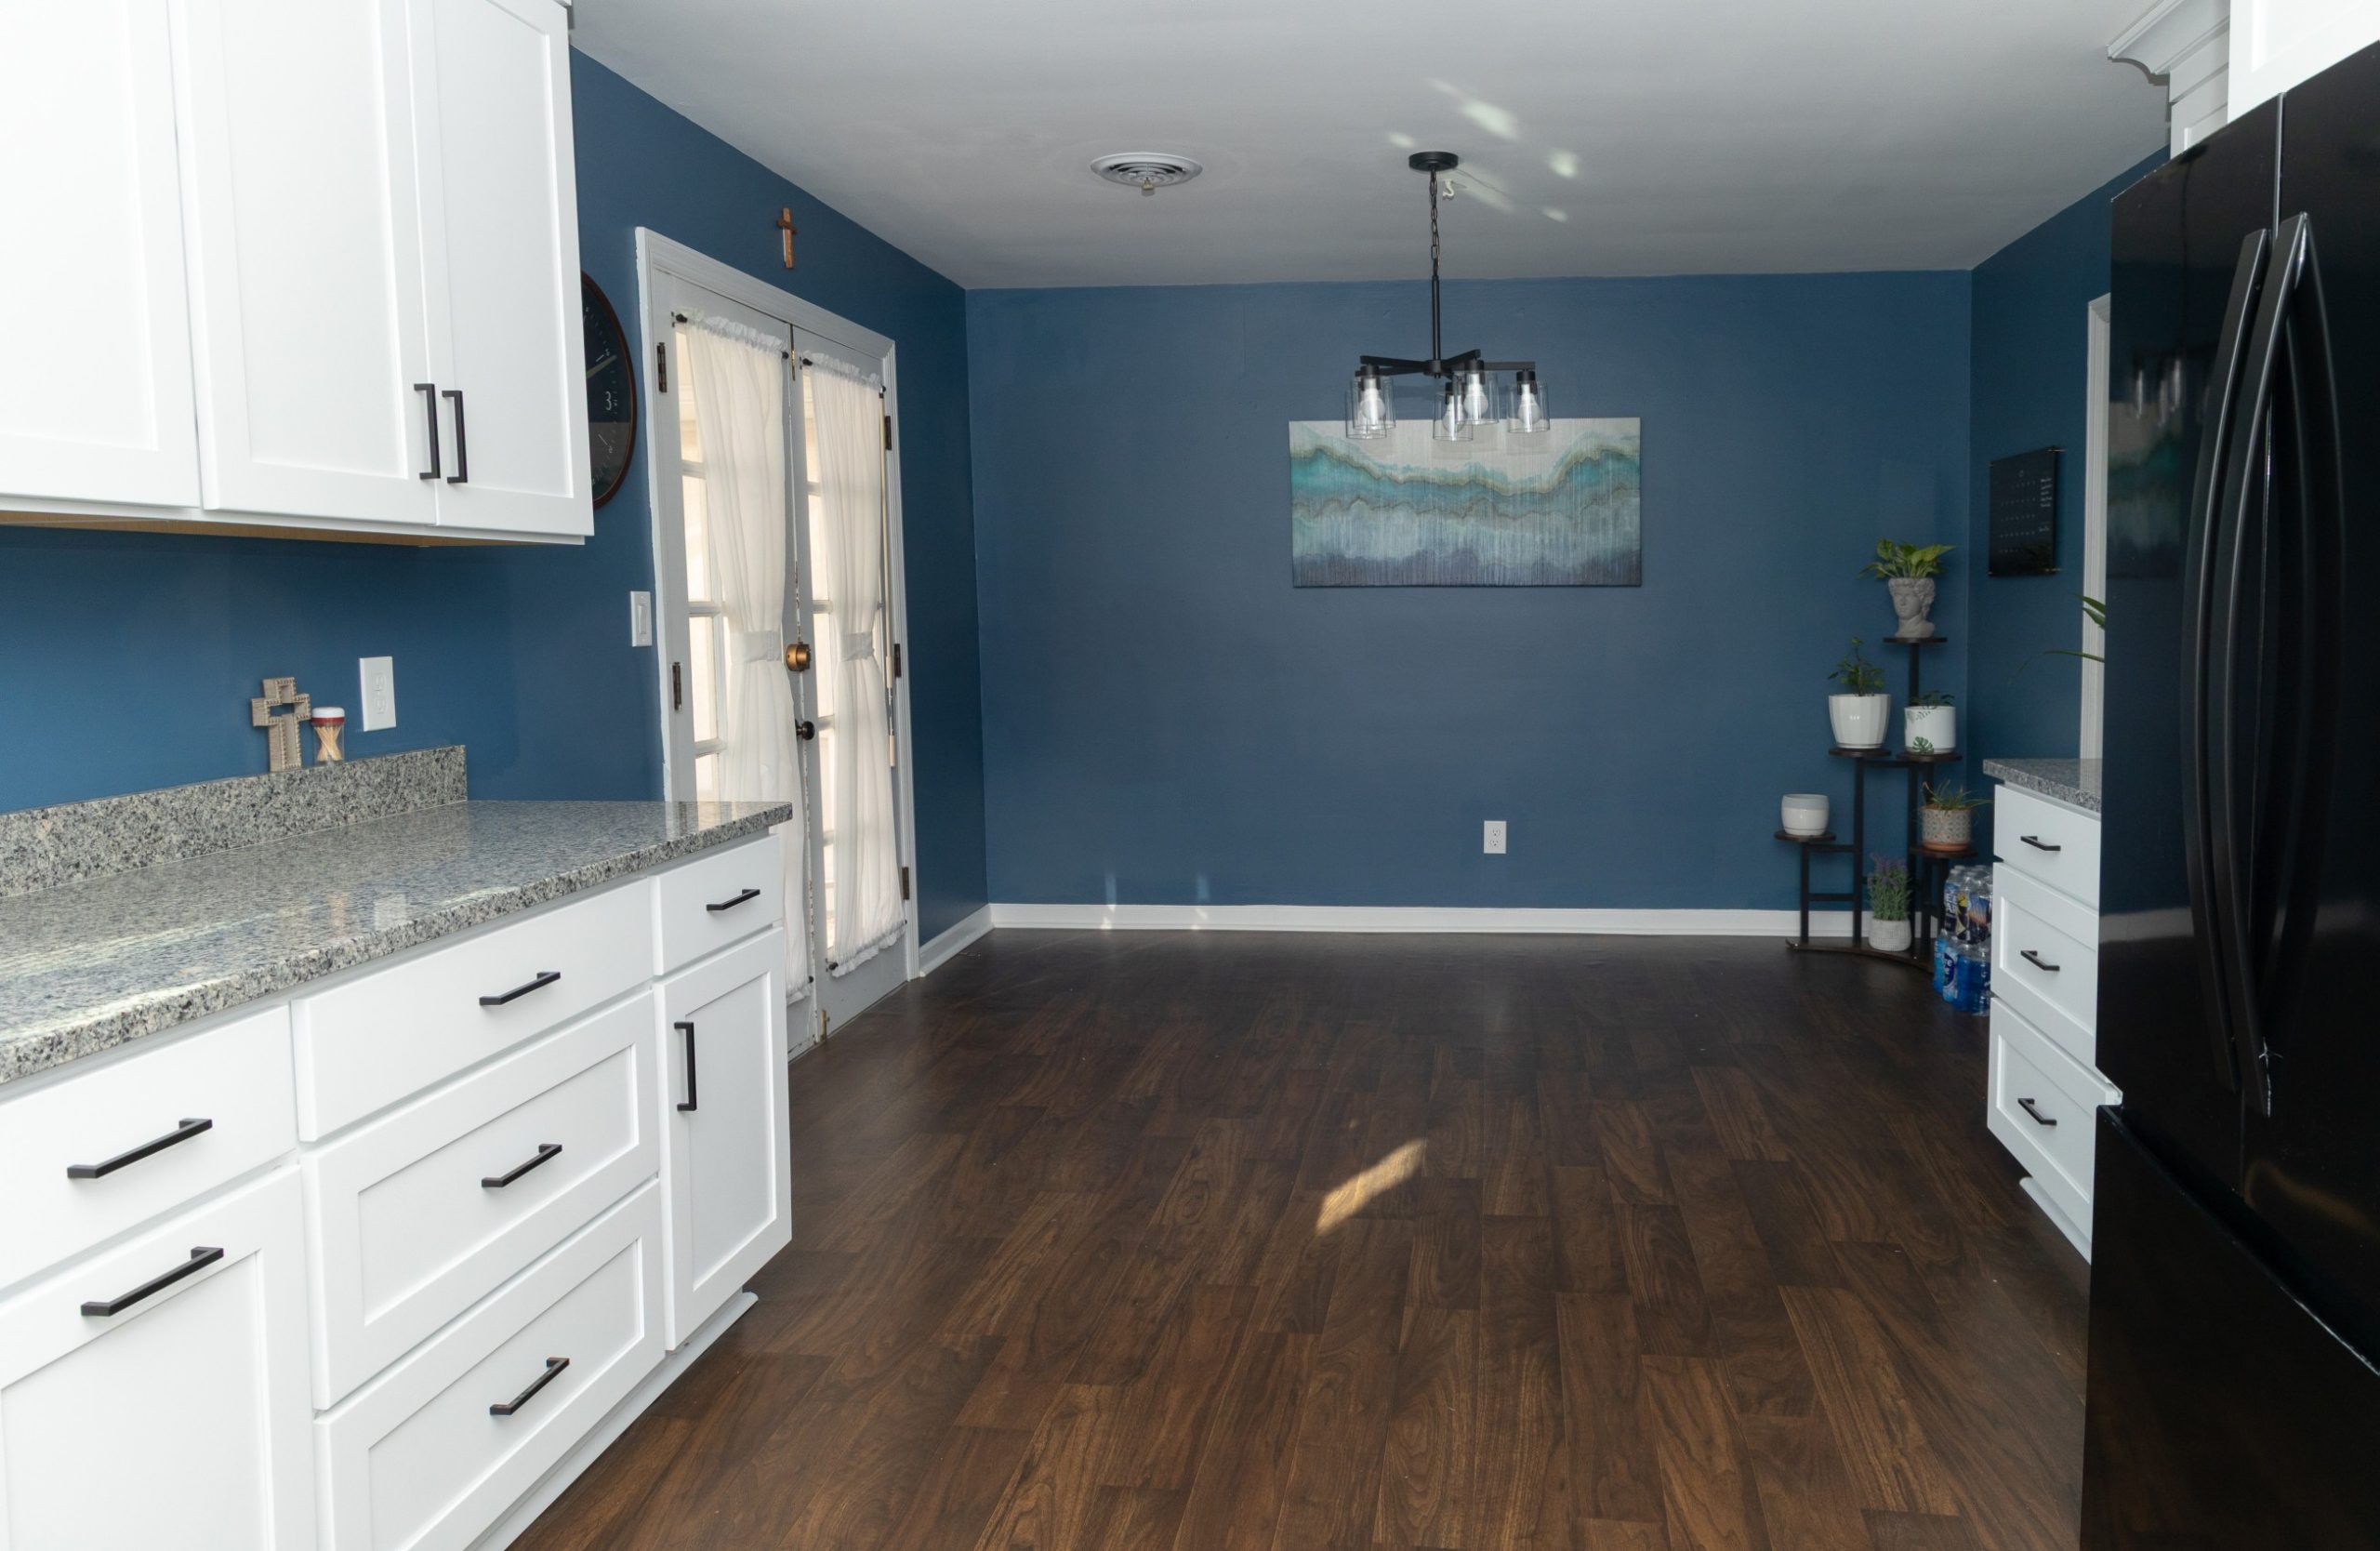
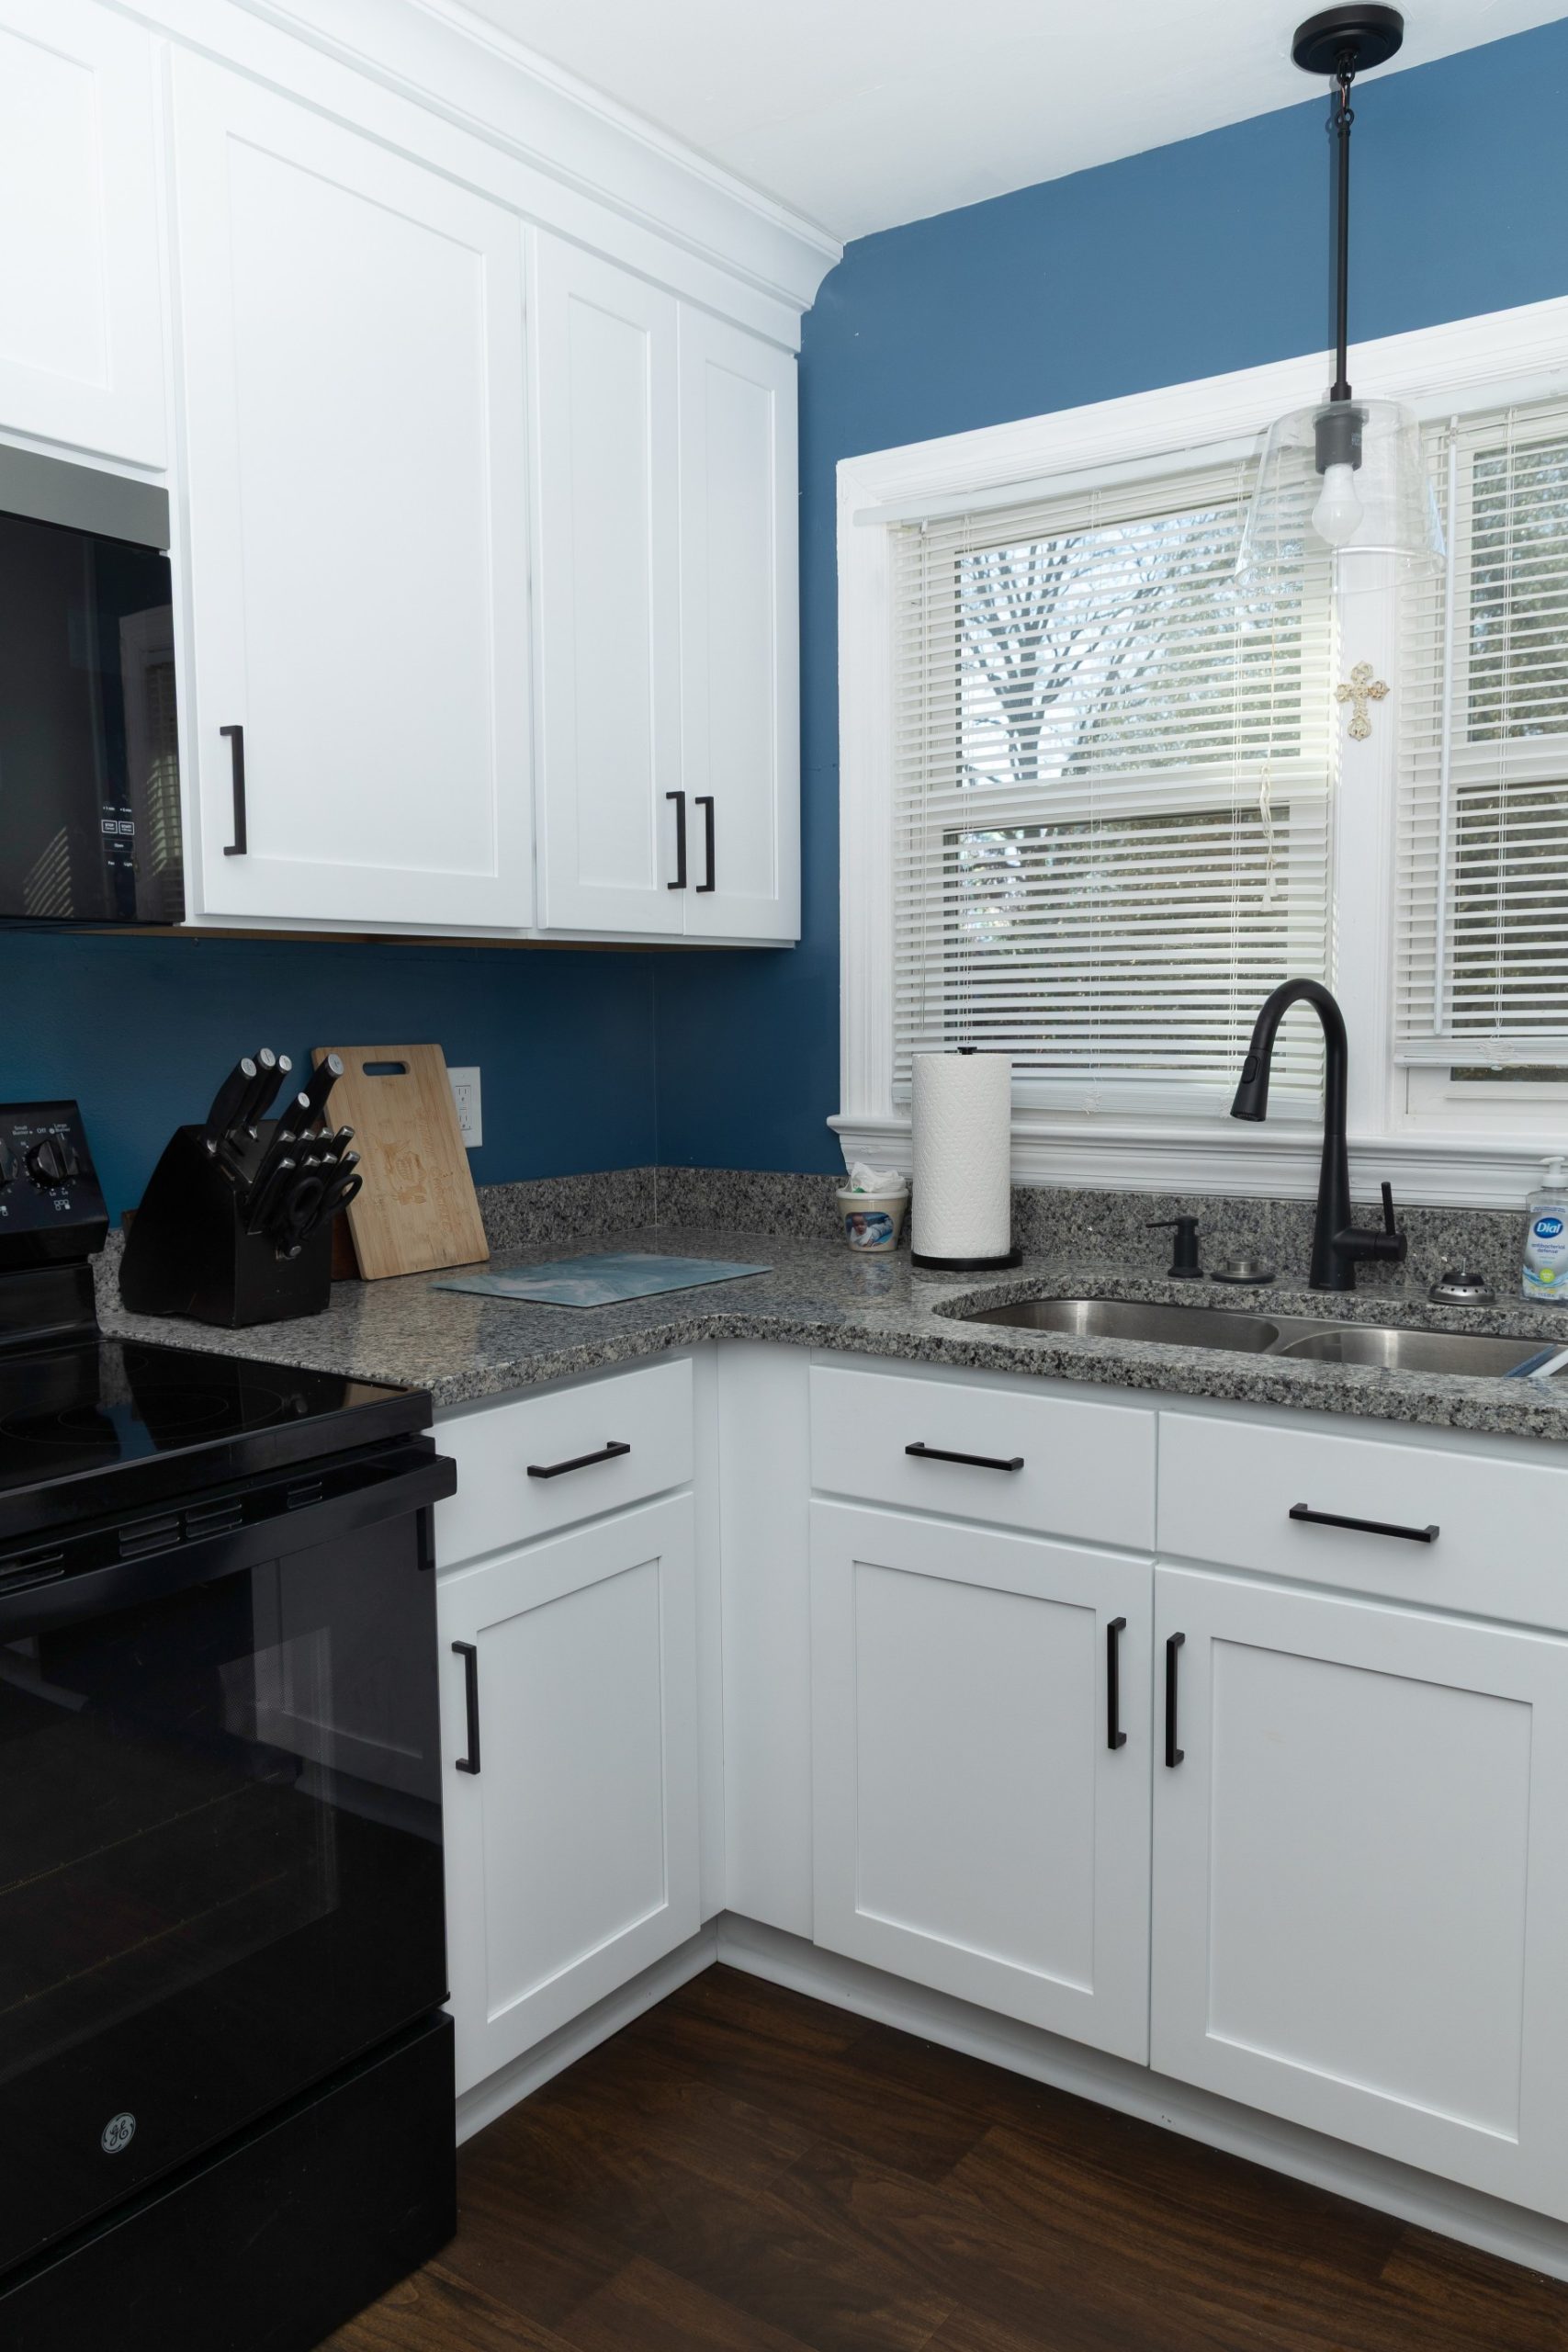
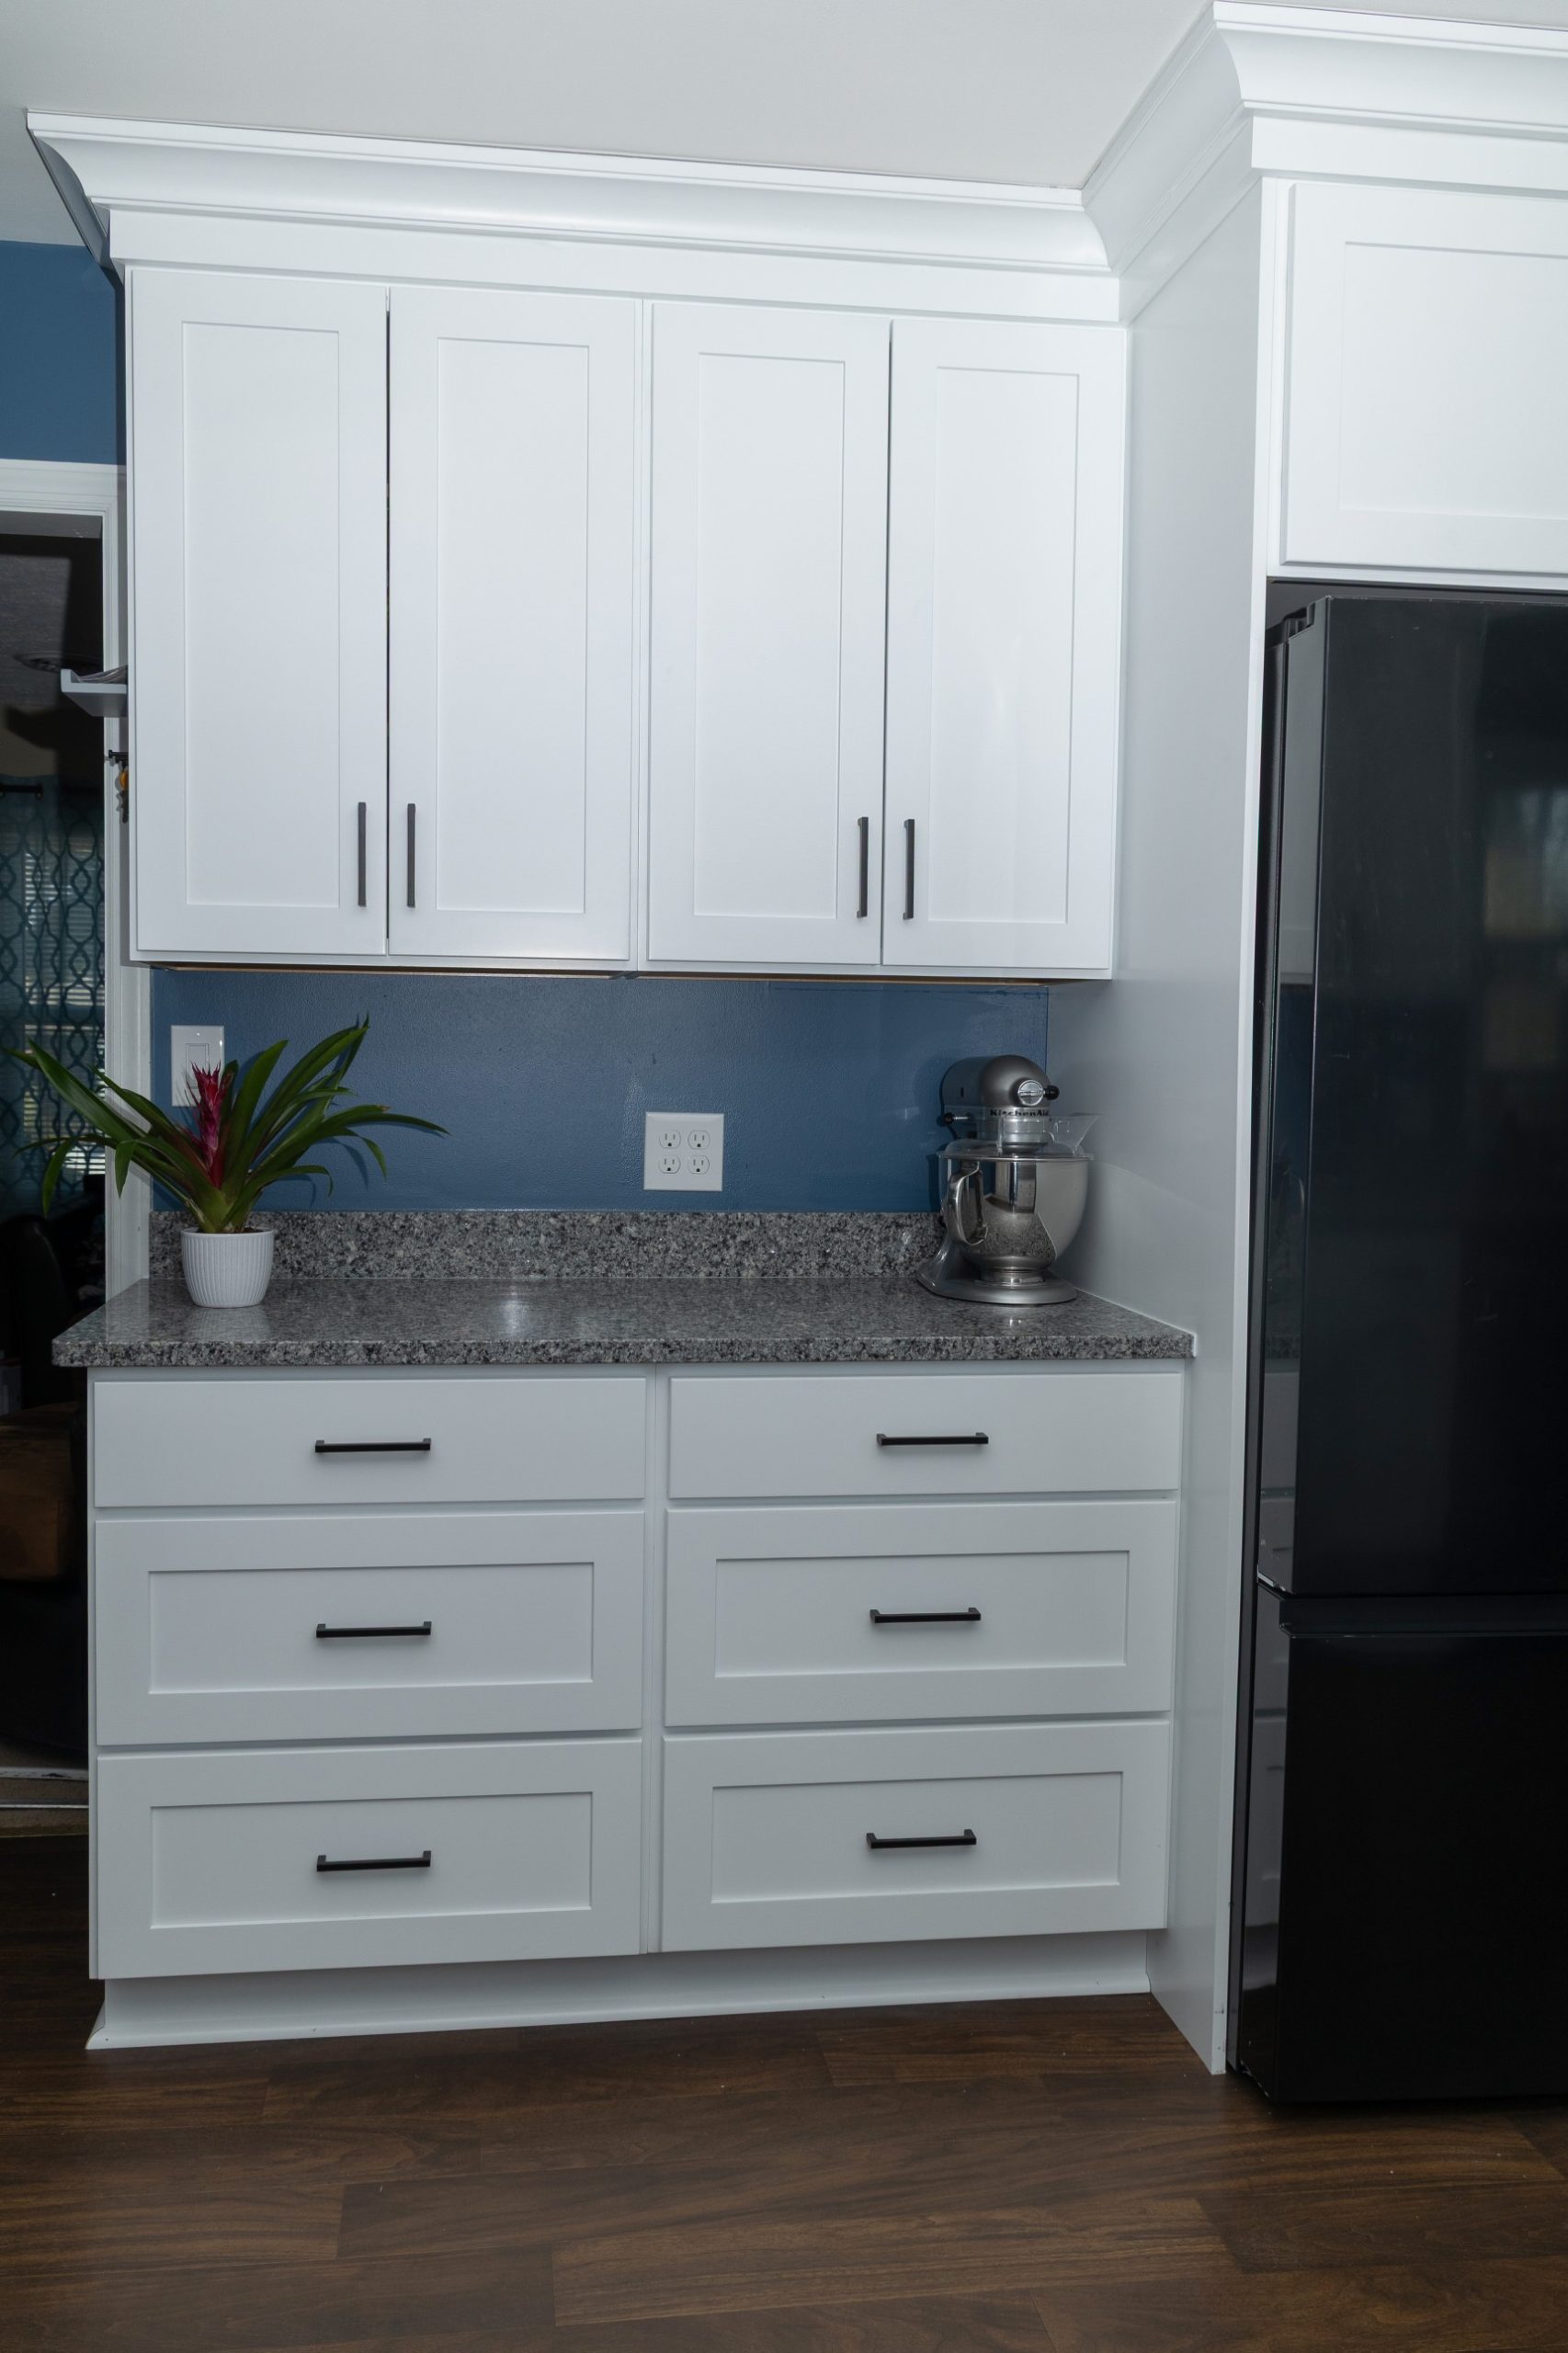
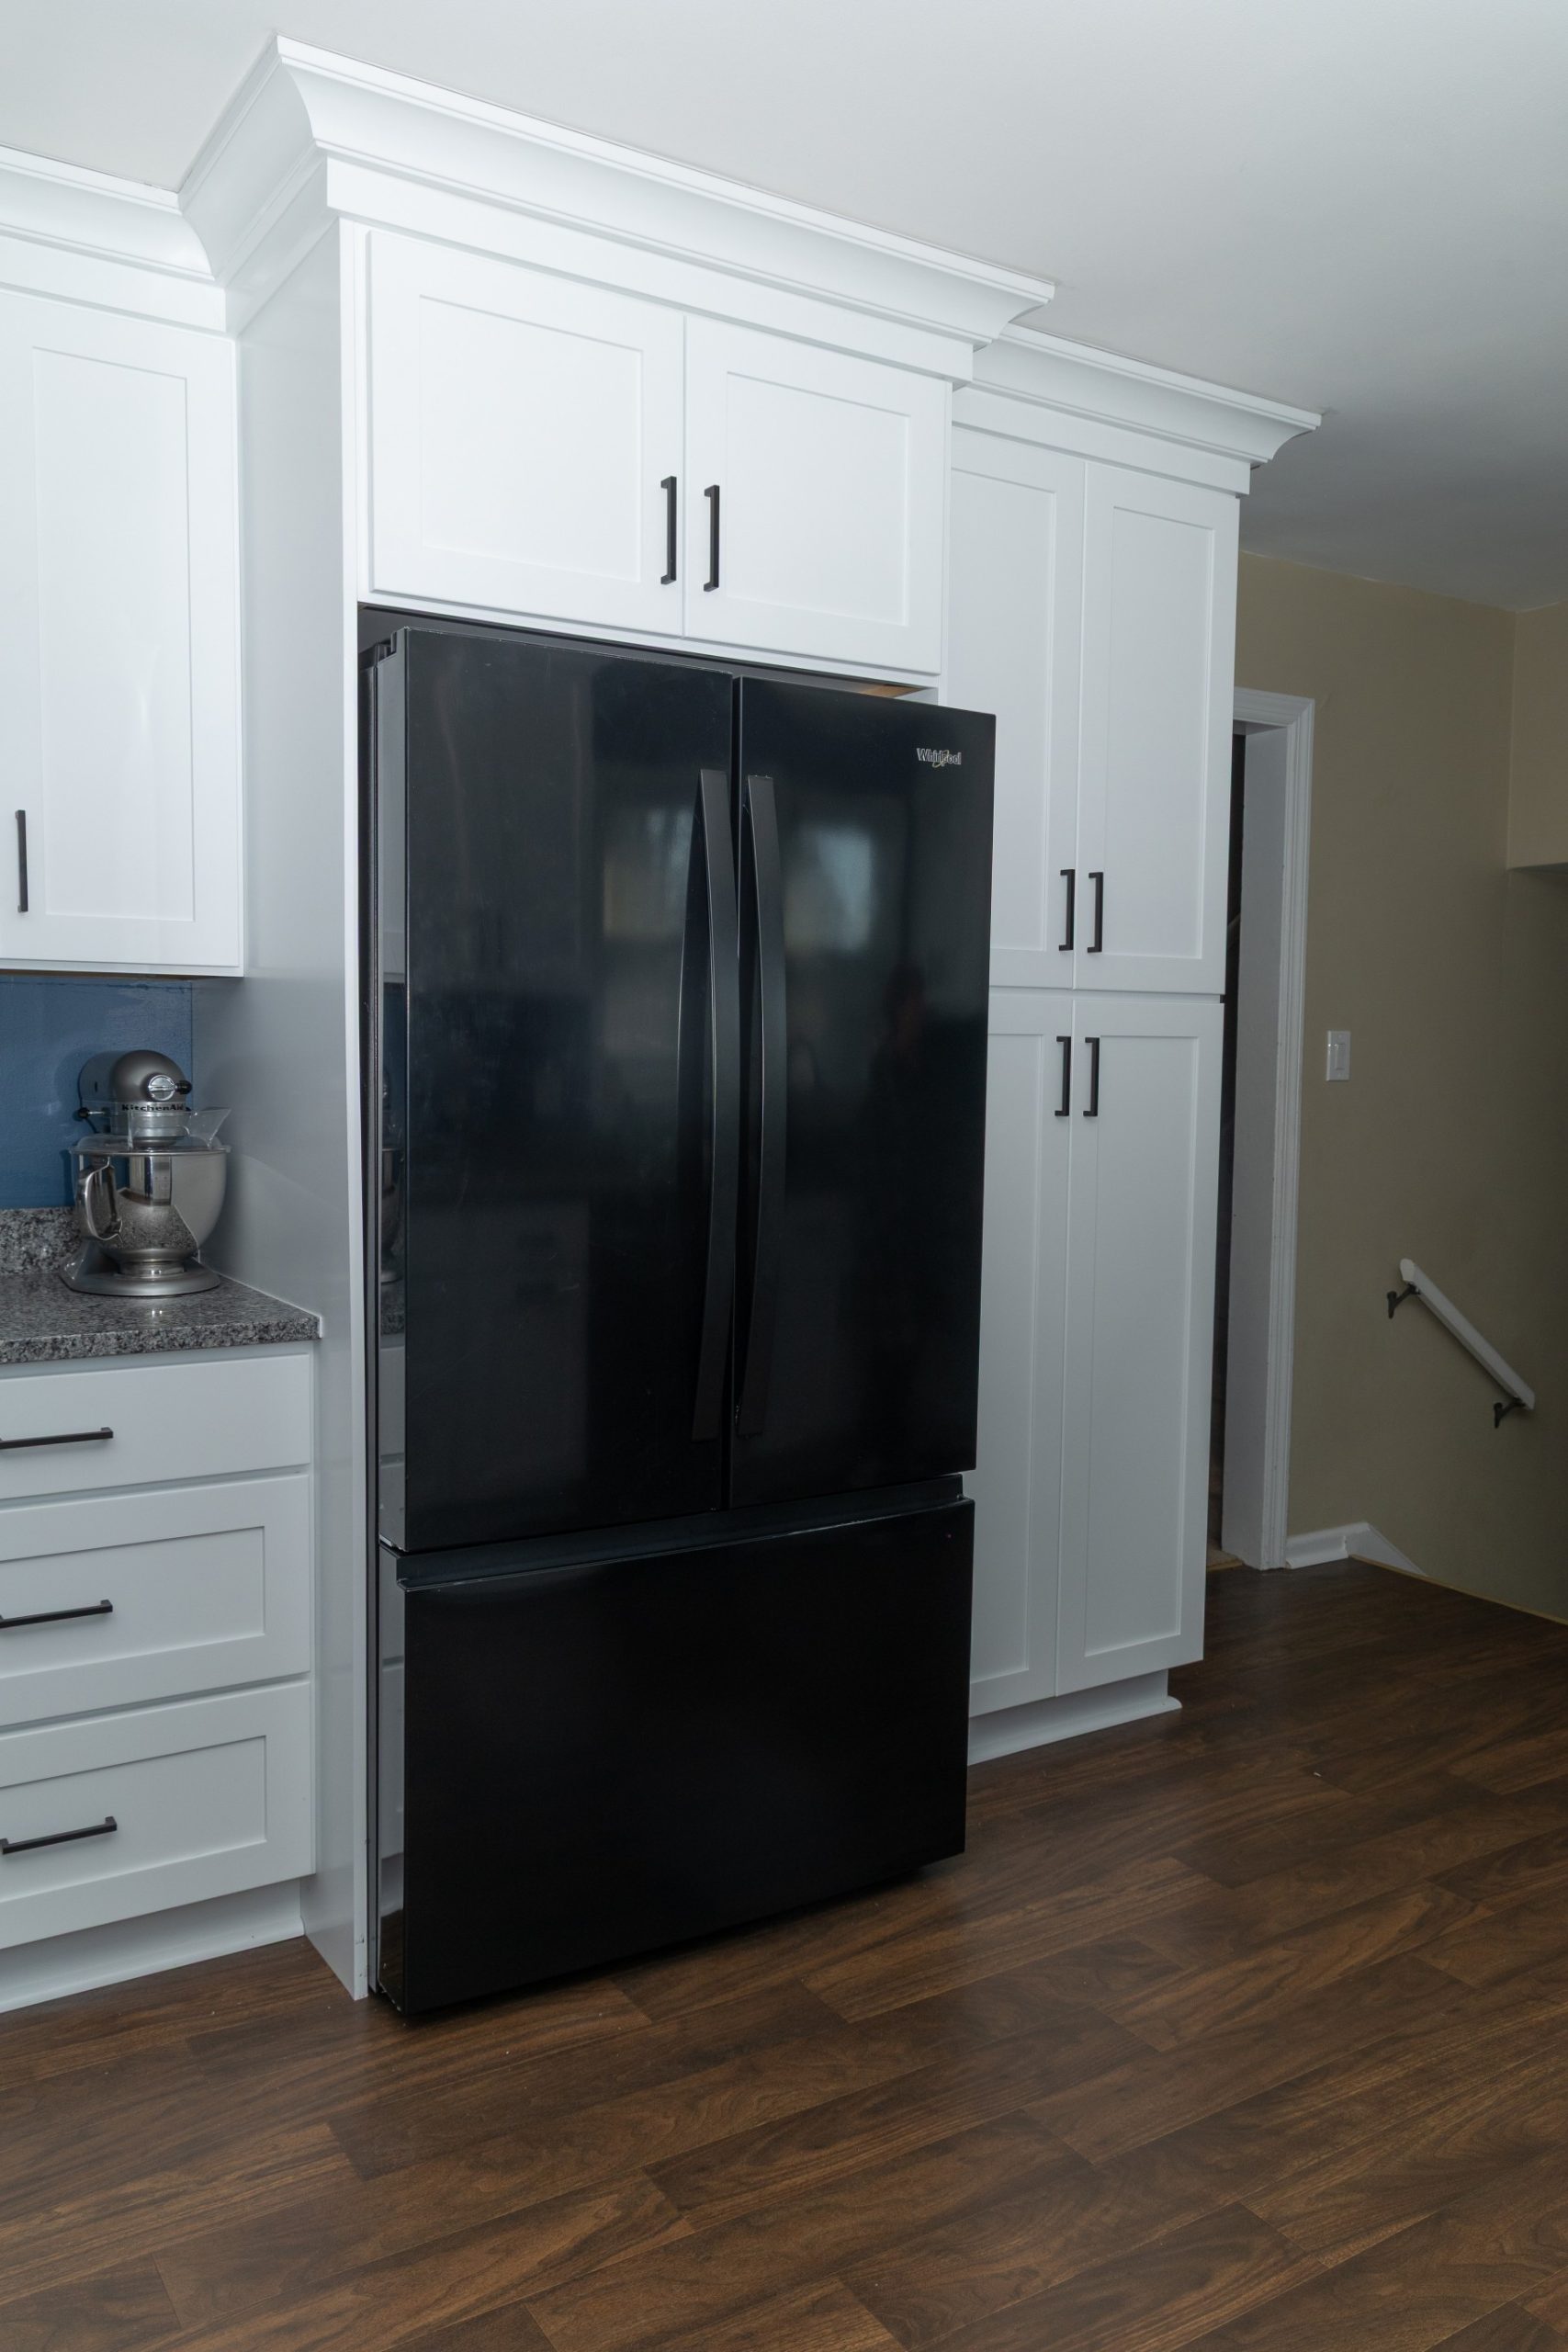
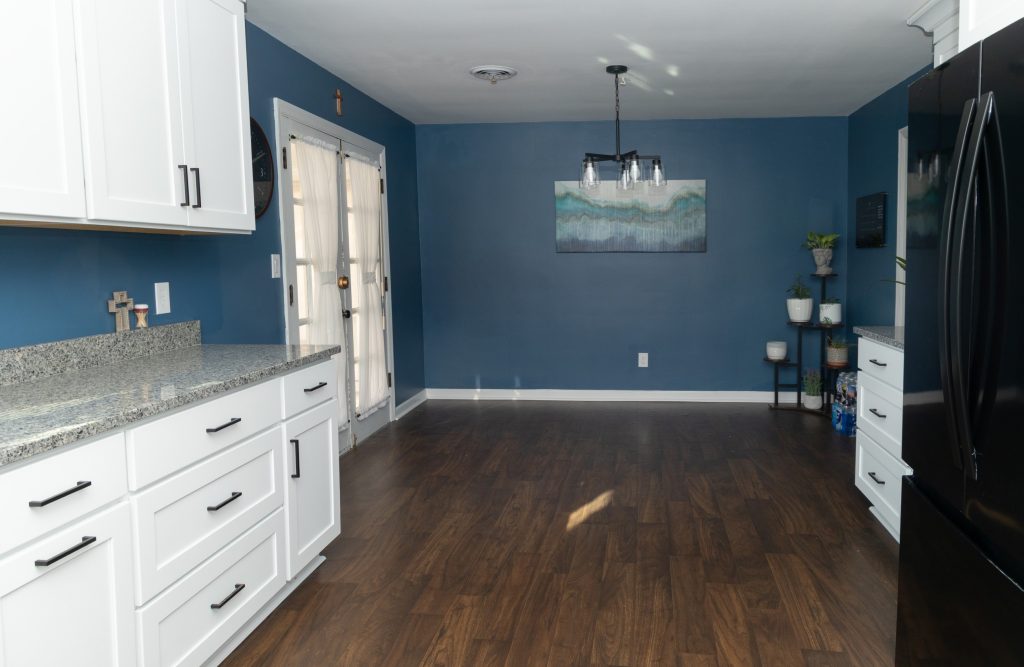
Bright white shaker cabinets with matte black trim were first. The new granite countertop in Azul Platino includes a 4” matching backsplash. The “Sleek” by Moen faucet with a pull-down sprayer and soap dispenser adds convenience when it’s time to wash up. The floor covering is the same sheet vinyl that was used in the upstairs bathroom, “BlackTex Velvet” by Beauflor.

From the Black appliances, cobalt blue walls with bright white trim, to the new accent lighting that finishes the kitchen and dining area in a sophisticated style, this home remodeling project gave Rachael’s home a completely refreshed look that she can enjoy for years to come.

Thank you, Rachael, for trusting us with these projects!

Insurance Claim Becomes Multi-Room Makeover, Part Two Read More »

Insurance Claim Becomes Multi-Room Makeover, Part One

When we first met with Rachael, she needed help with an insurance claim, related to a leaking tub drain in her upstairs bathroom that caused damage in the downstairs bath. After the mitigation contractors removed the damaged ceiling, and dried everything out, we got to work. This bathroom remodeling project involved repairing the damage while giving Rachael’s outdated bathroom a much-needed modern update.

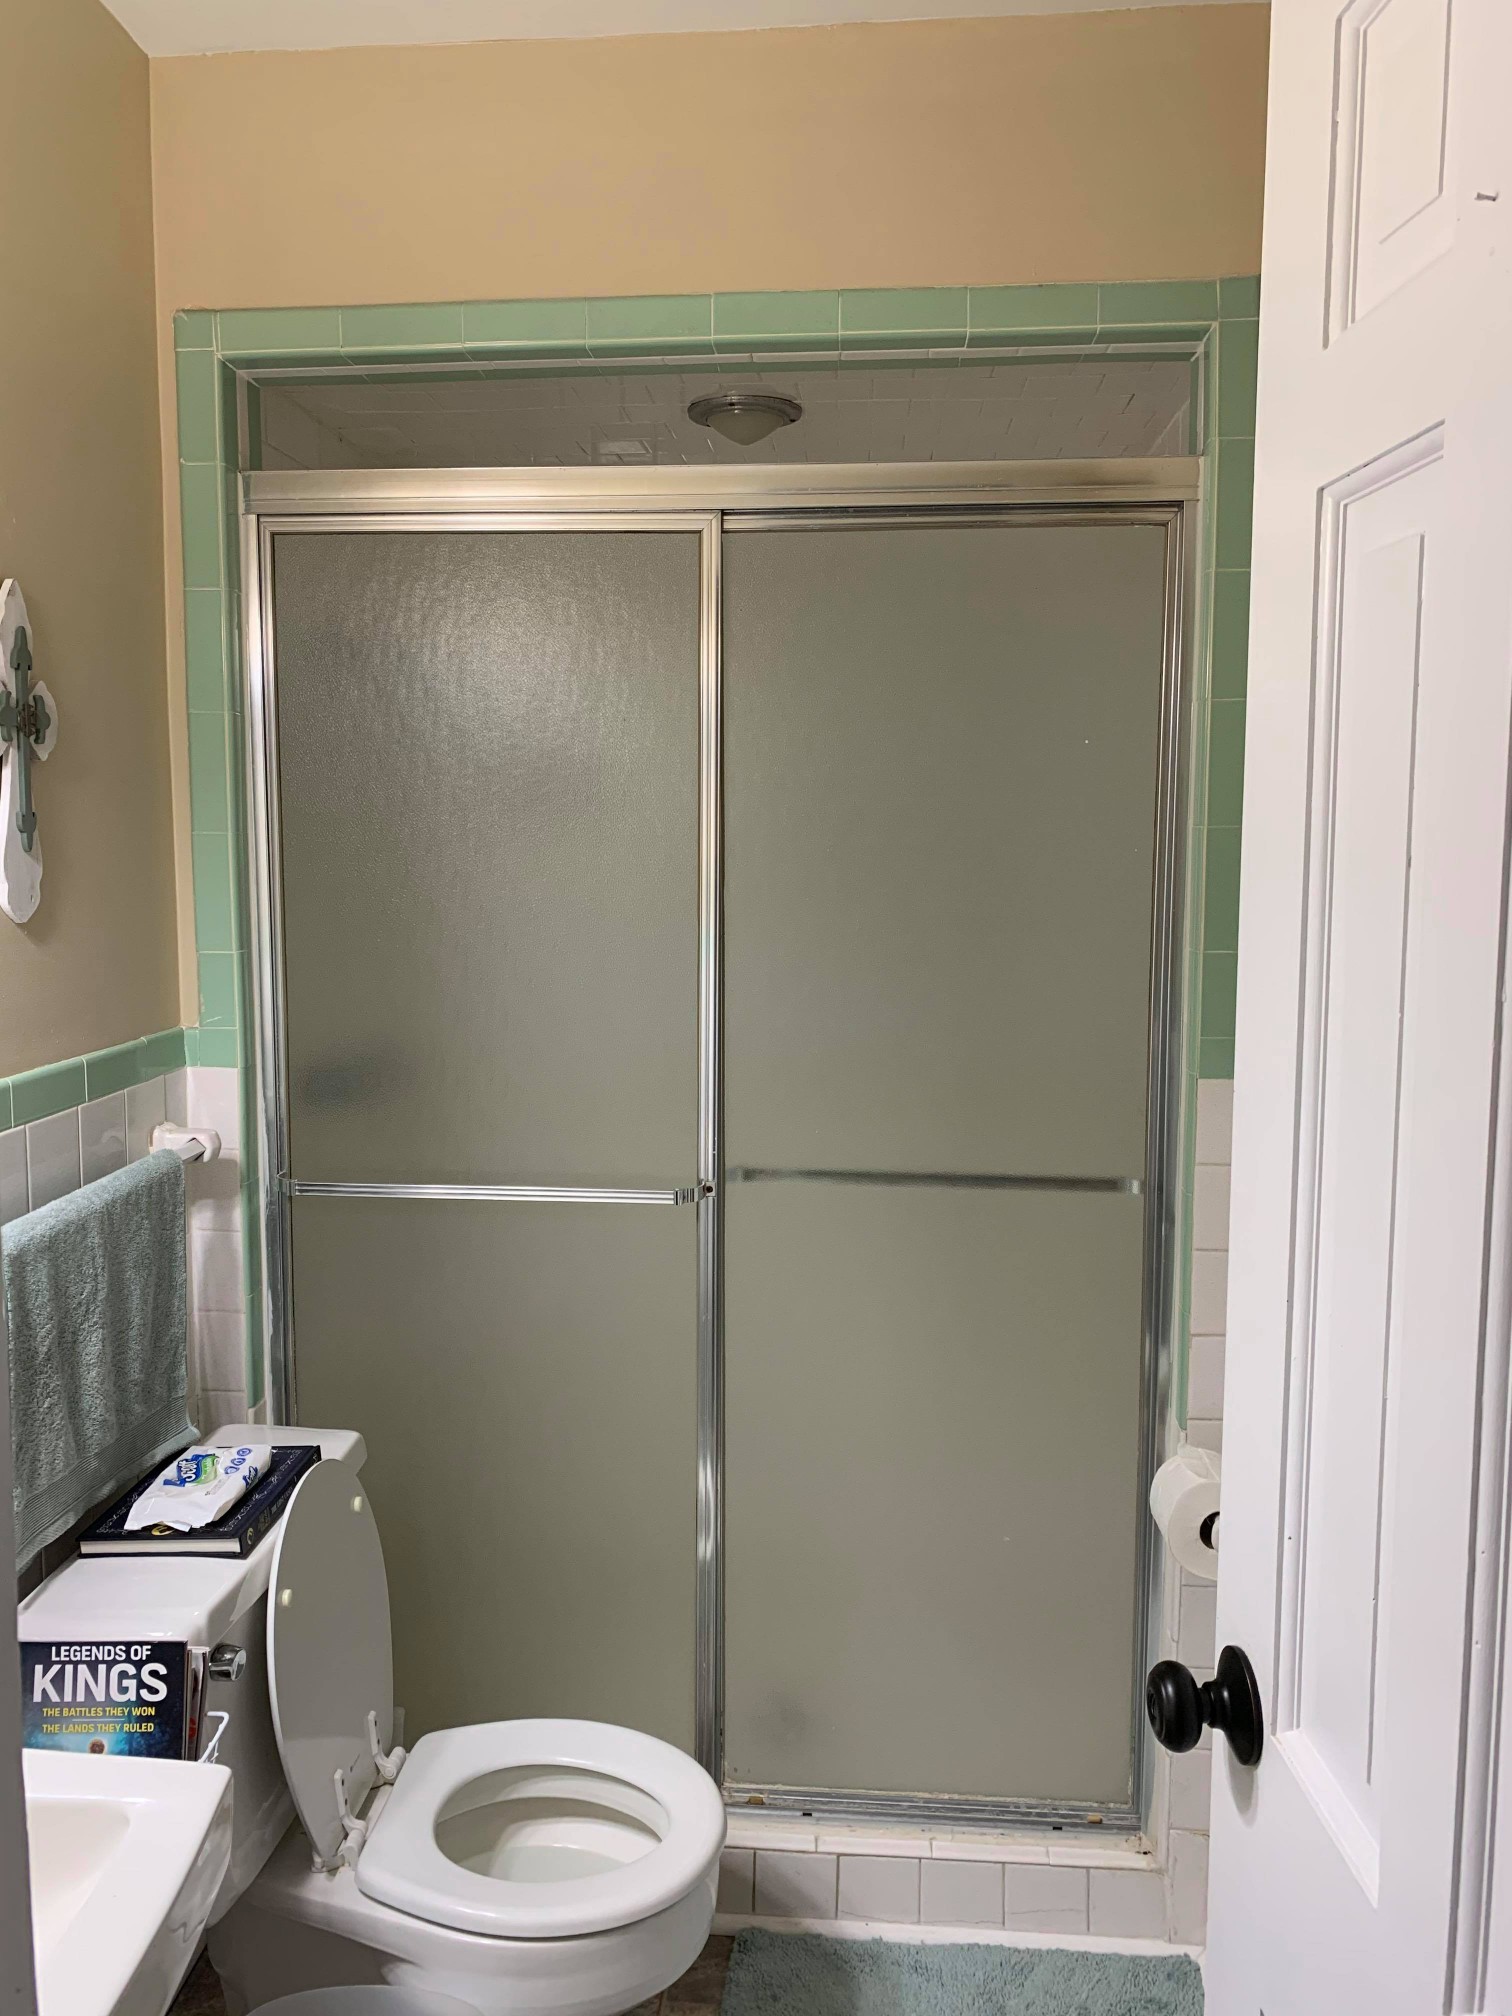
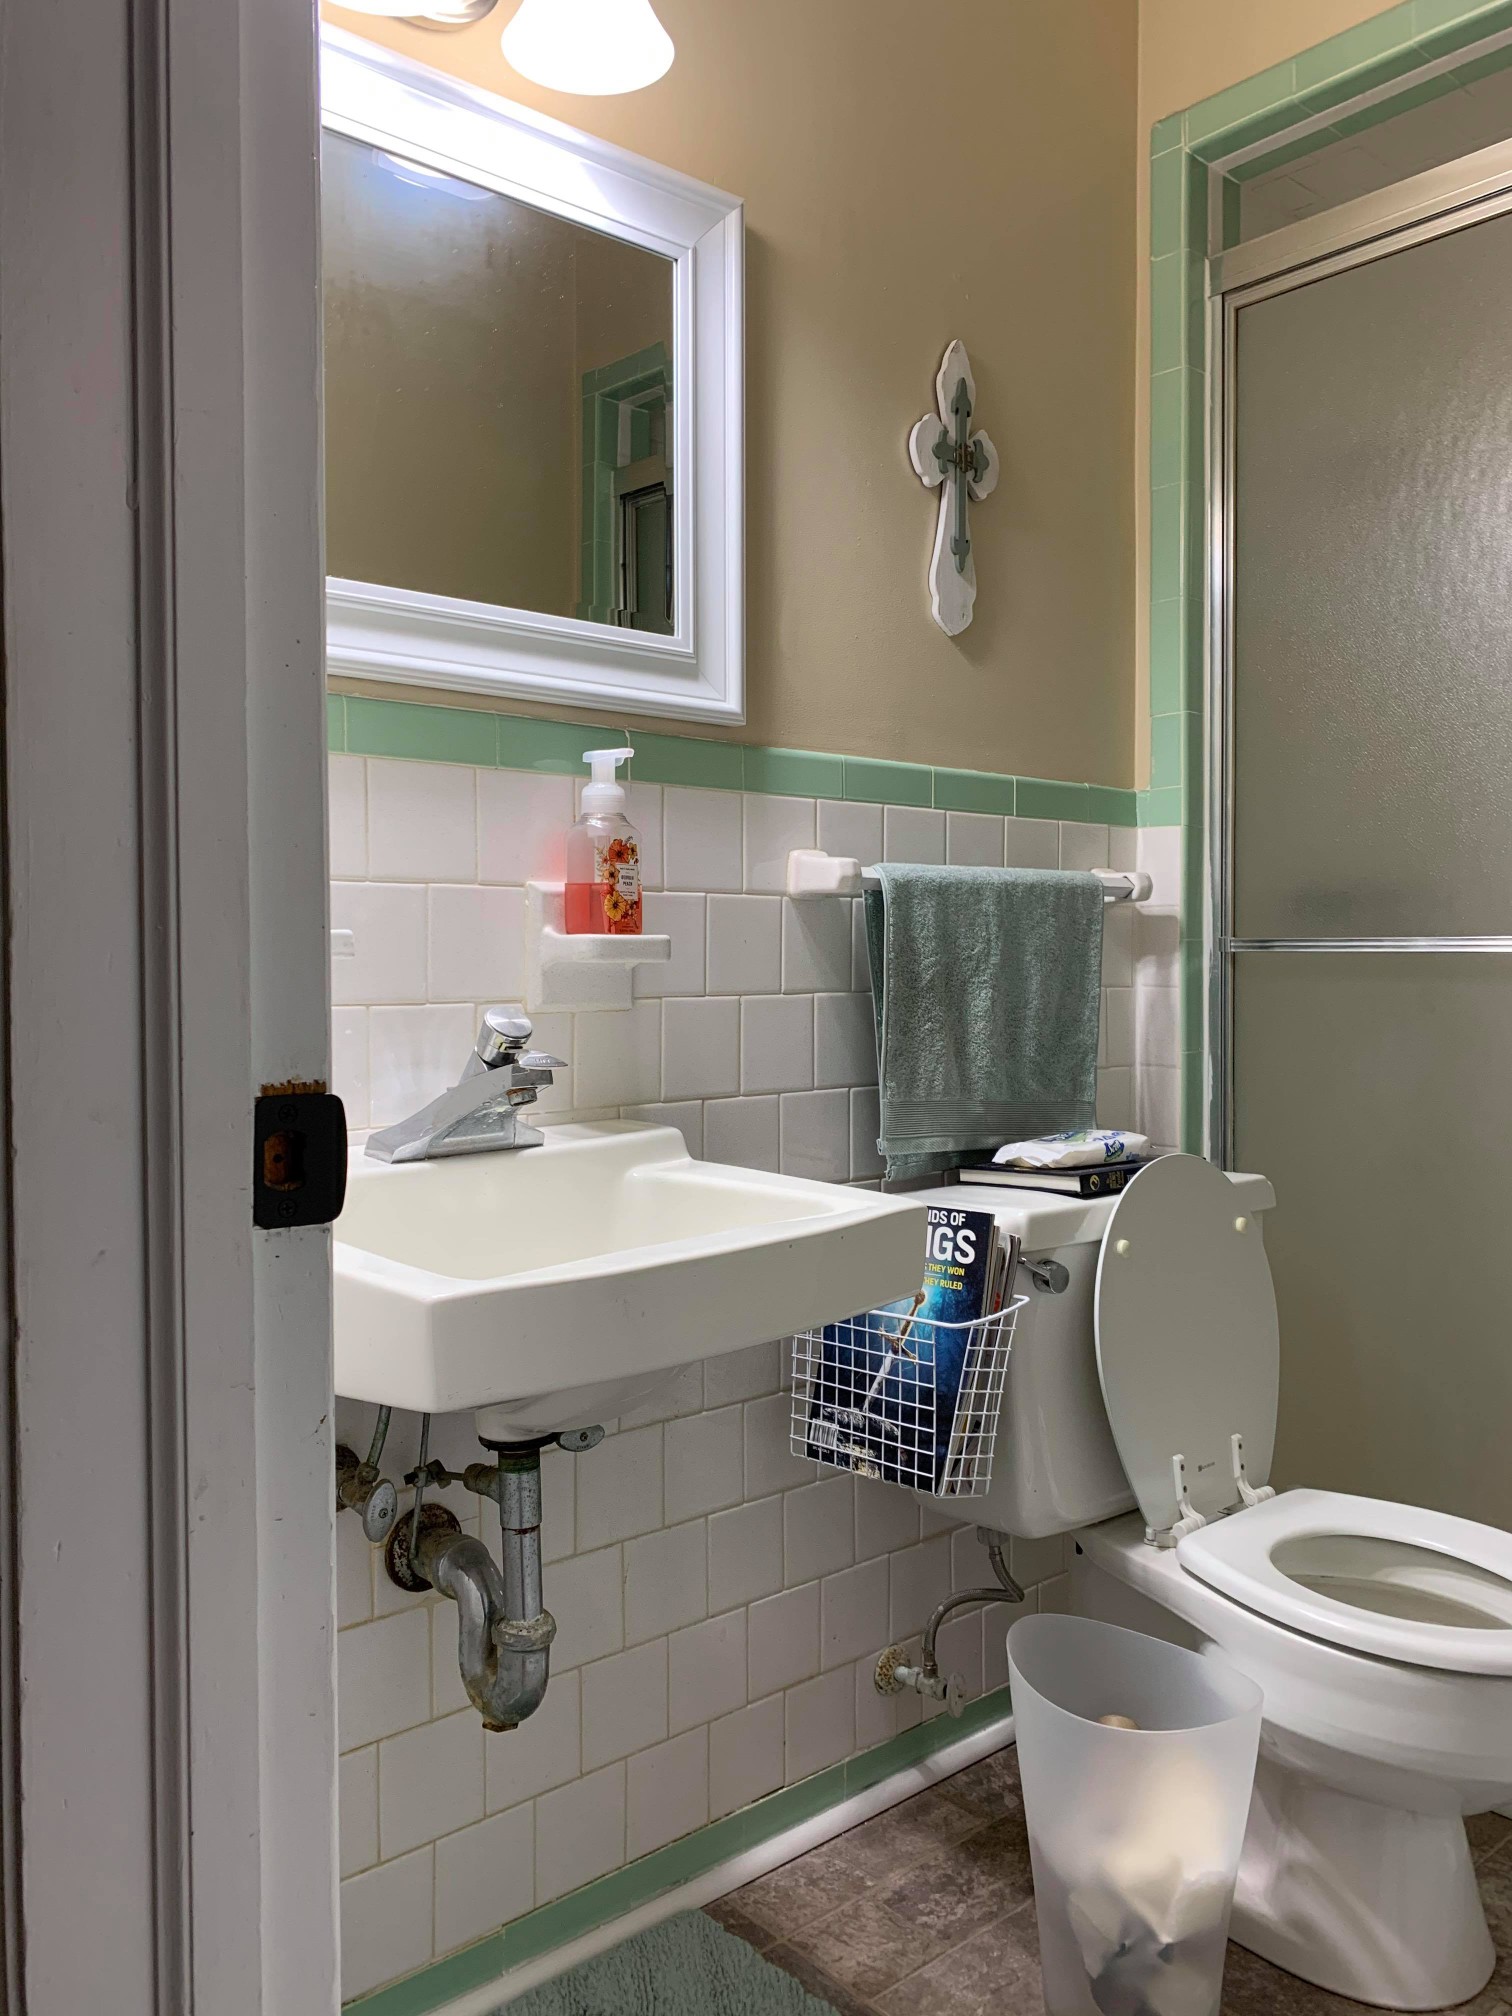
Our first step, after the claim was settled, was to remove the existing tile in the shower to access the damage underneath. Because the tile extended onto the walls, and matching tile for the 1961 shower was unavailable, it was removed there as well. Rachael decided to replace the pedestal sink and the toilet, so those were also removed.

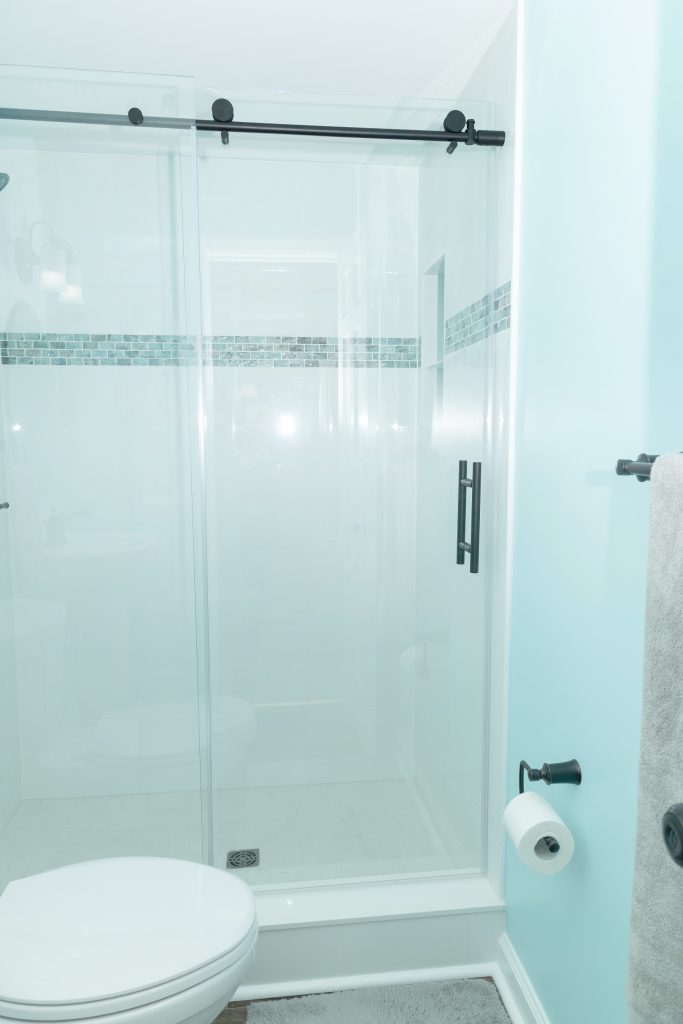
Once the repairs to the framing, flooring, and drywall were made, it was time to start putting the bathroom back together. For the shower walls, Rachael chose a simple 12×24 Arctic White tile, installed vertically. To add interest, a glass mosaic deco strip was installed below the first row of white tiles and in the back of the niche. The shower floor was finished with 2×2 Adrock Frost mosaic tiles. New fixtures in black, and a sliding shower door completed the look of the new shower.

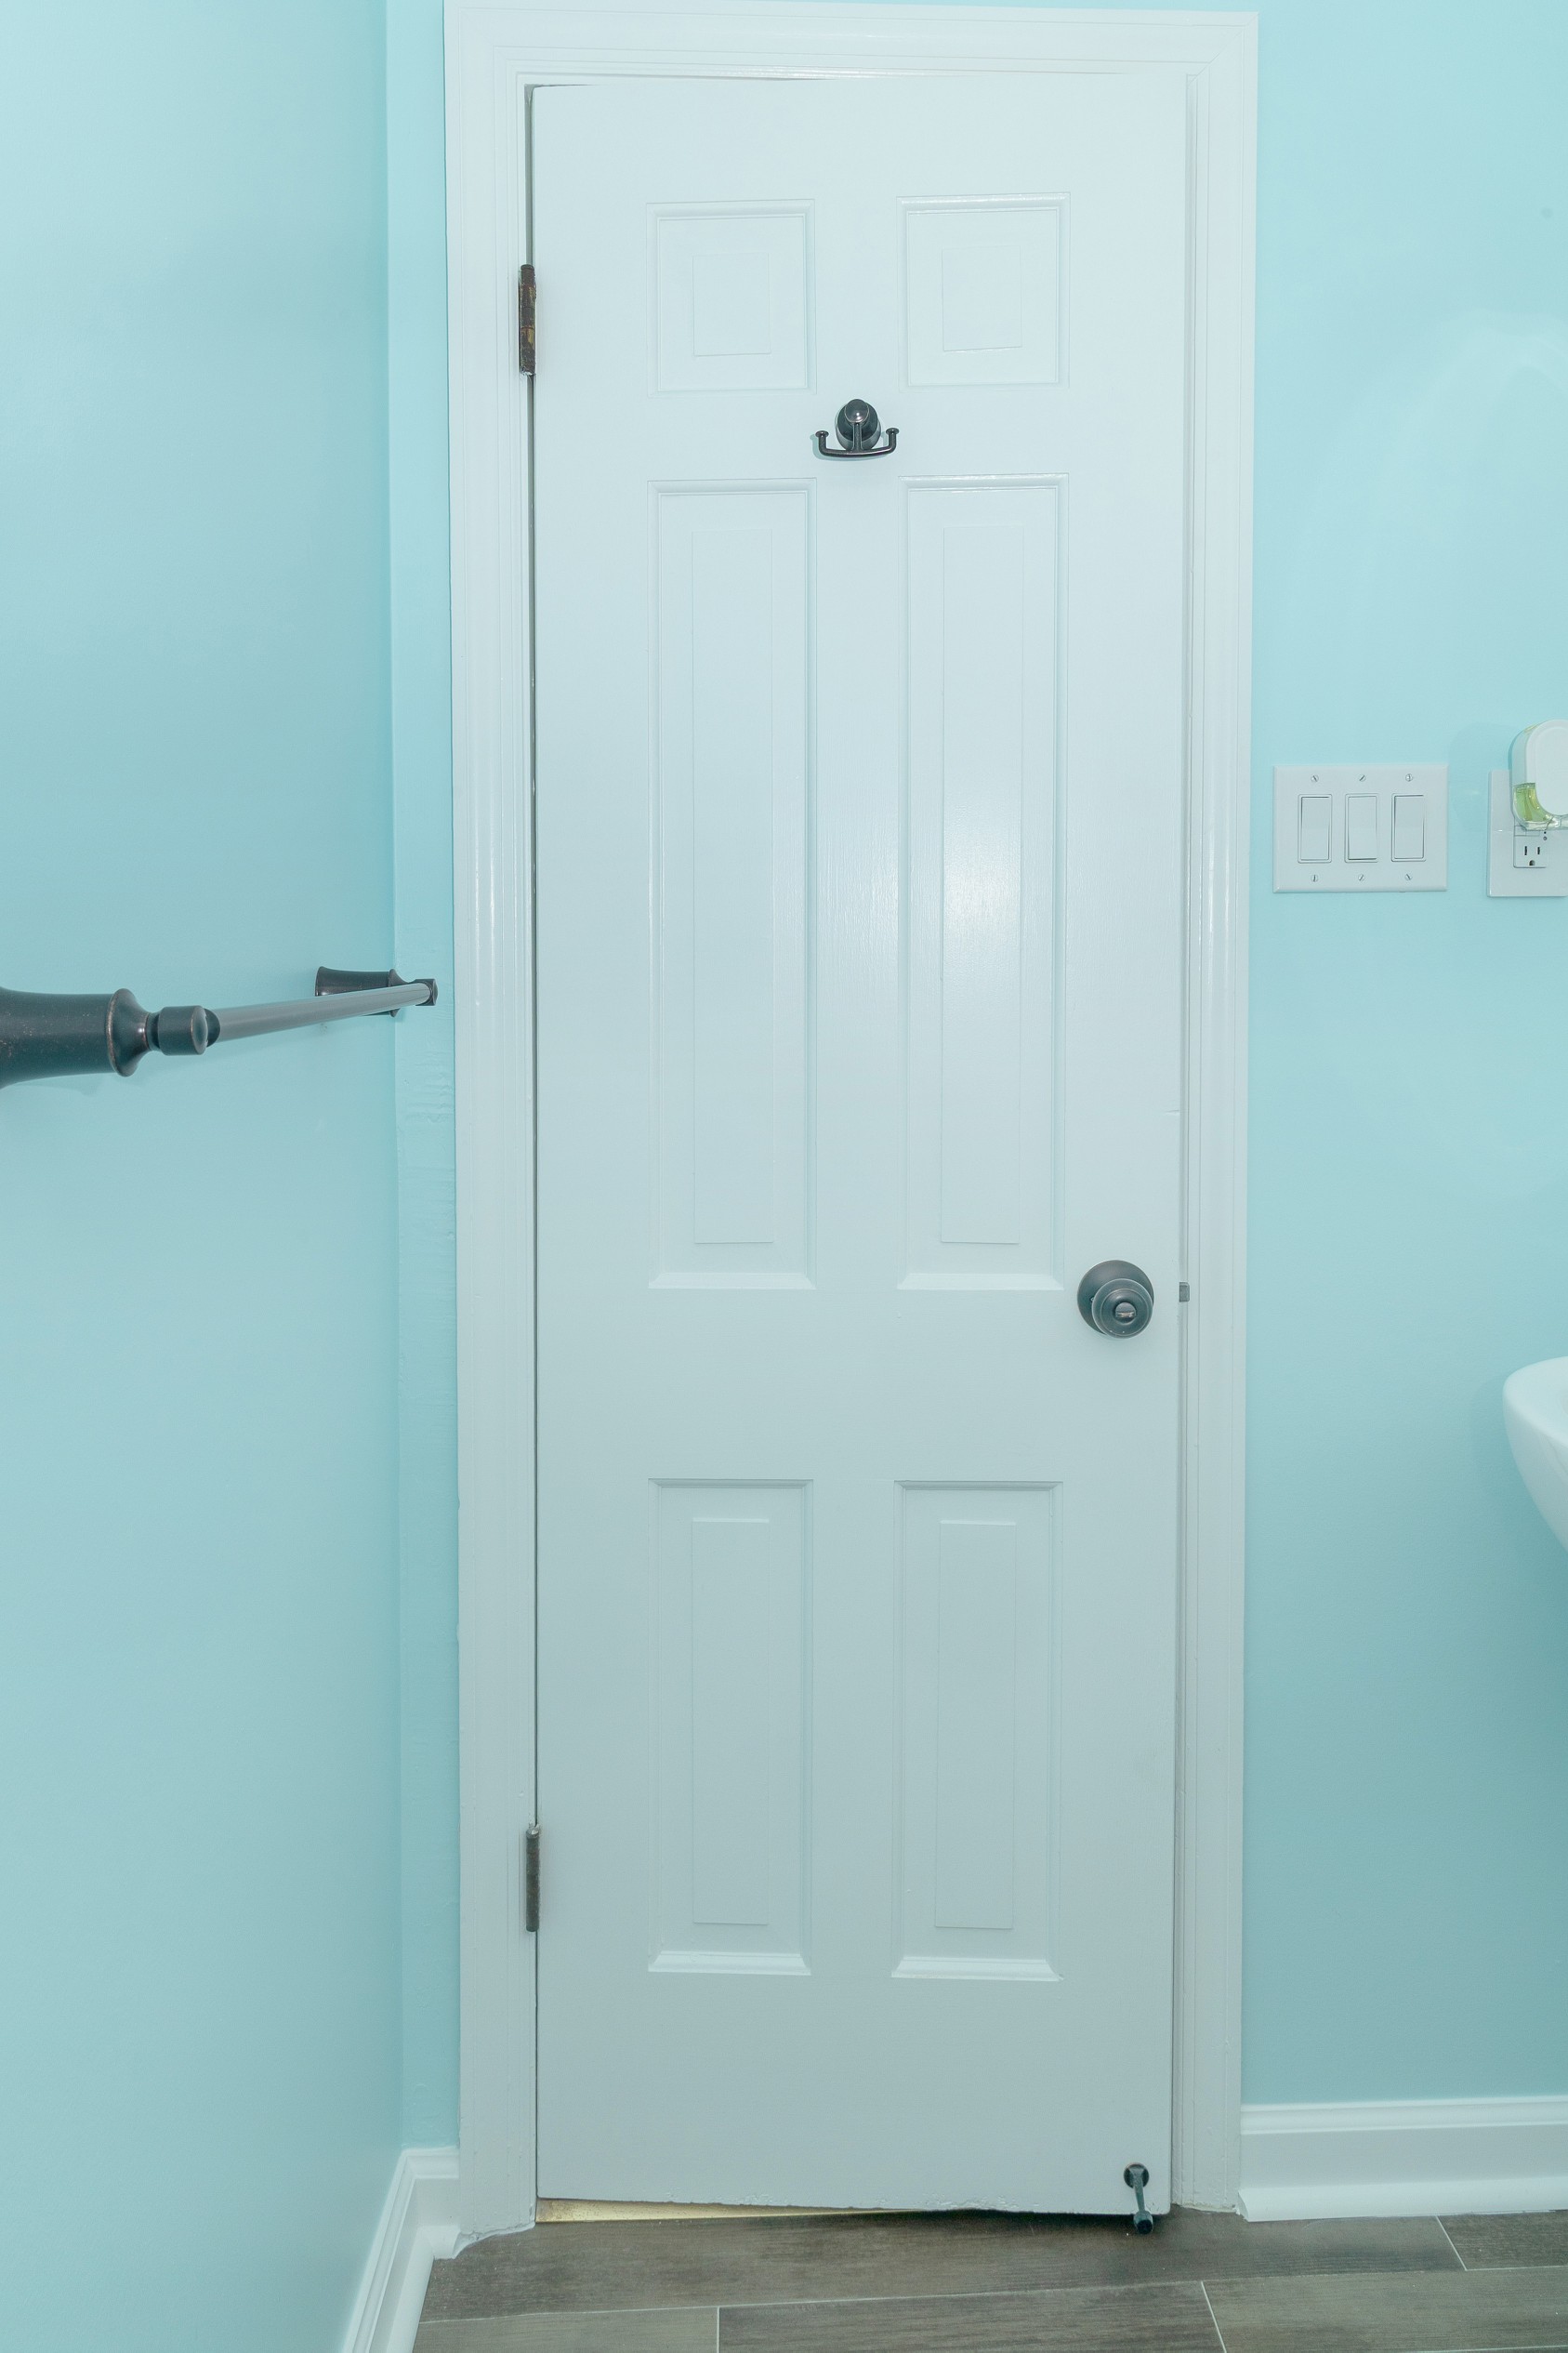
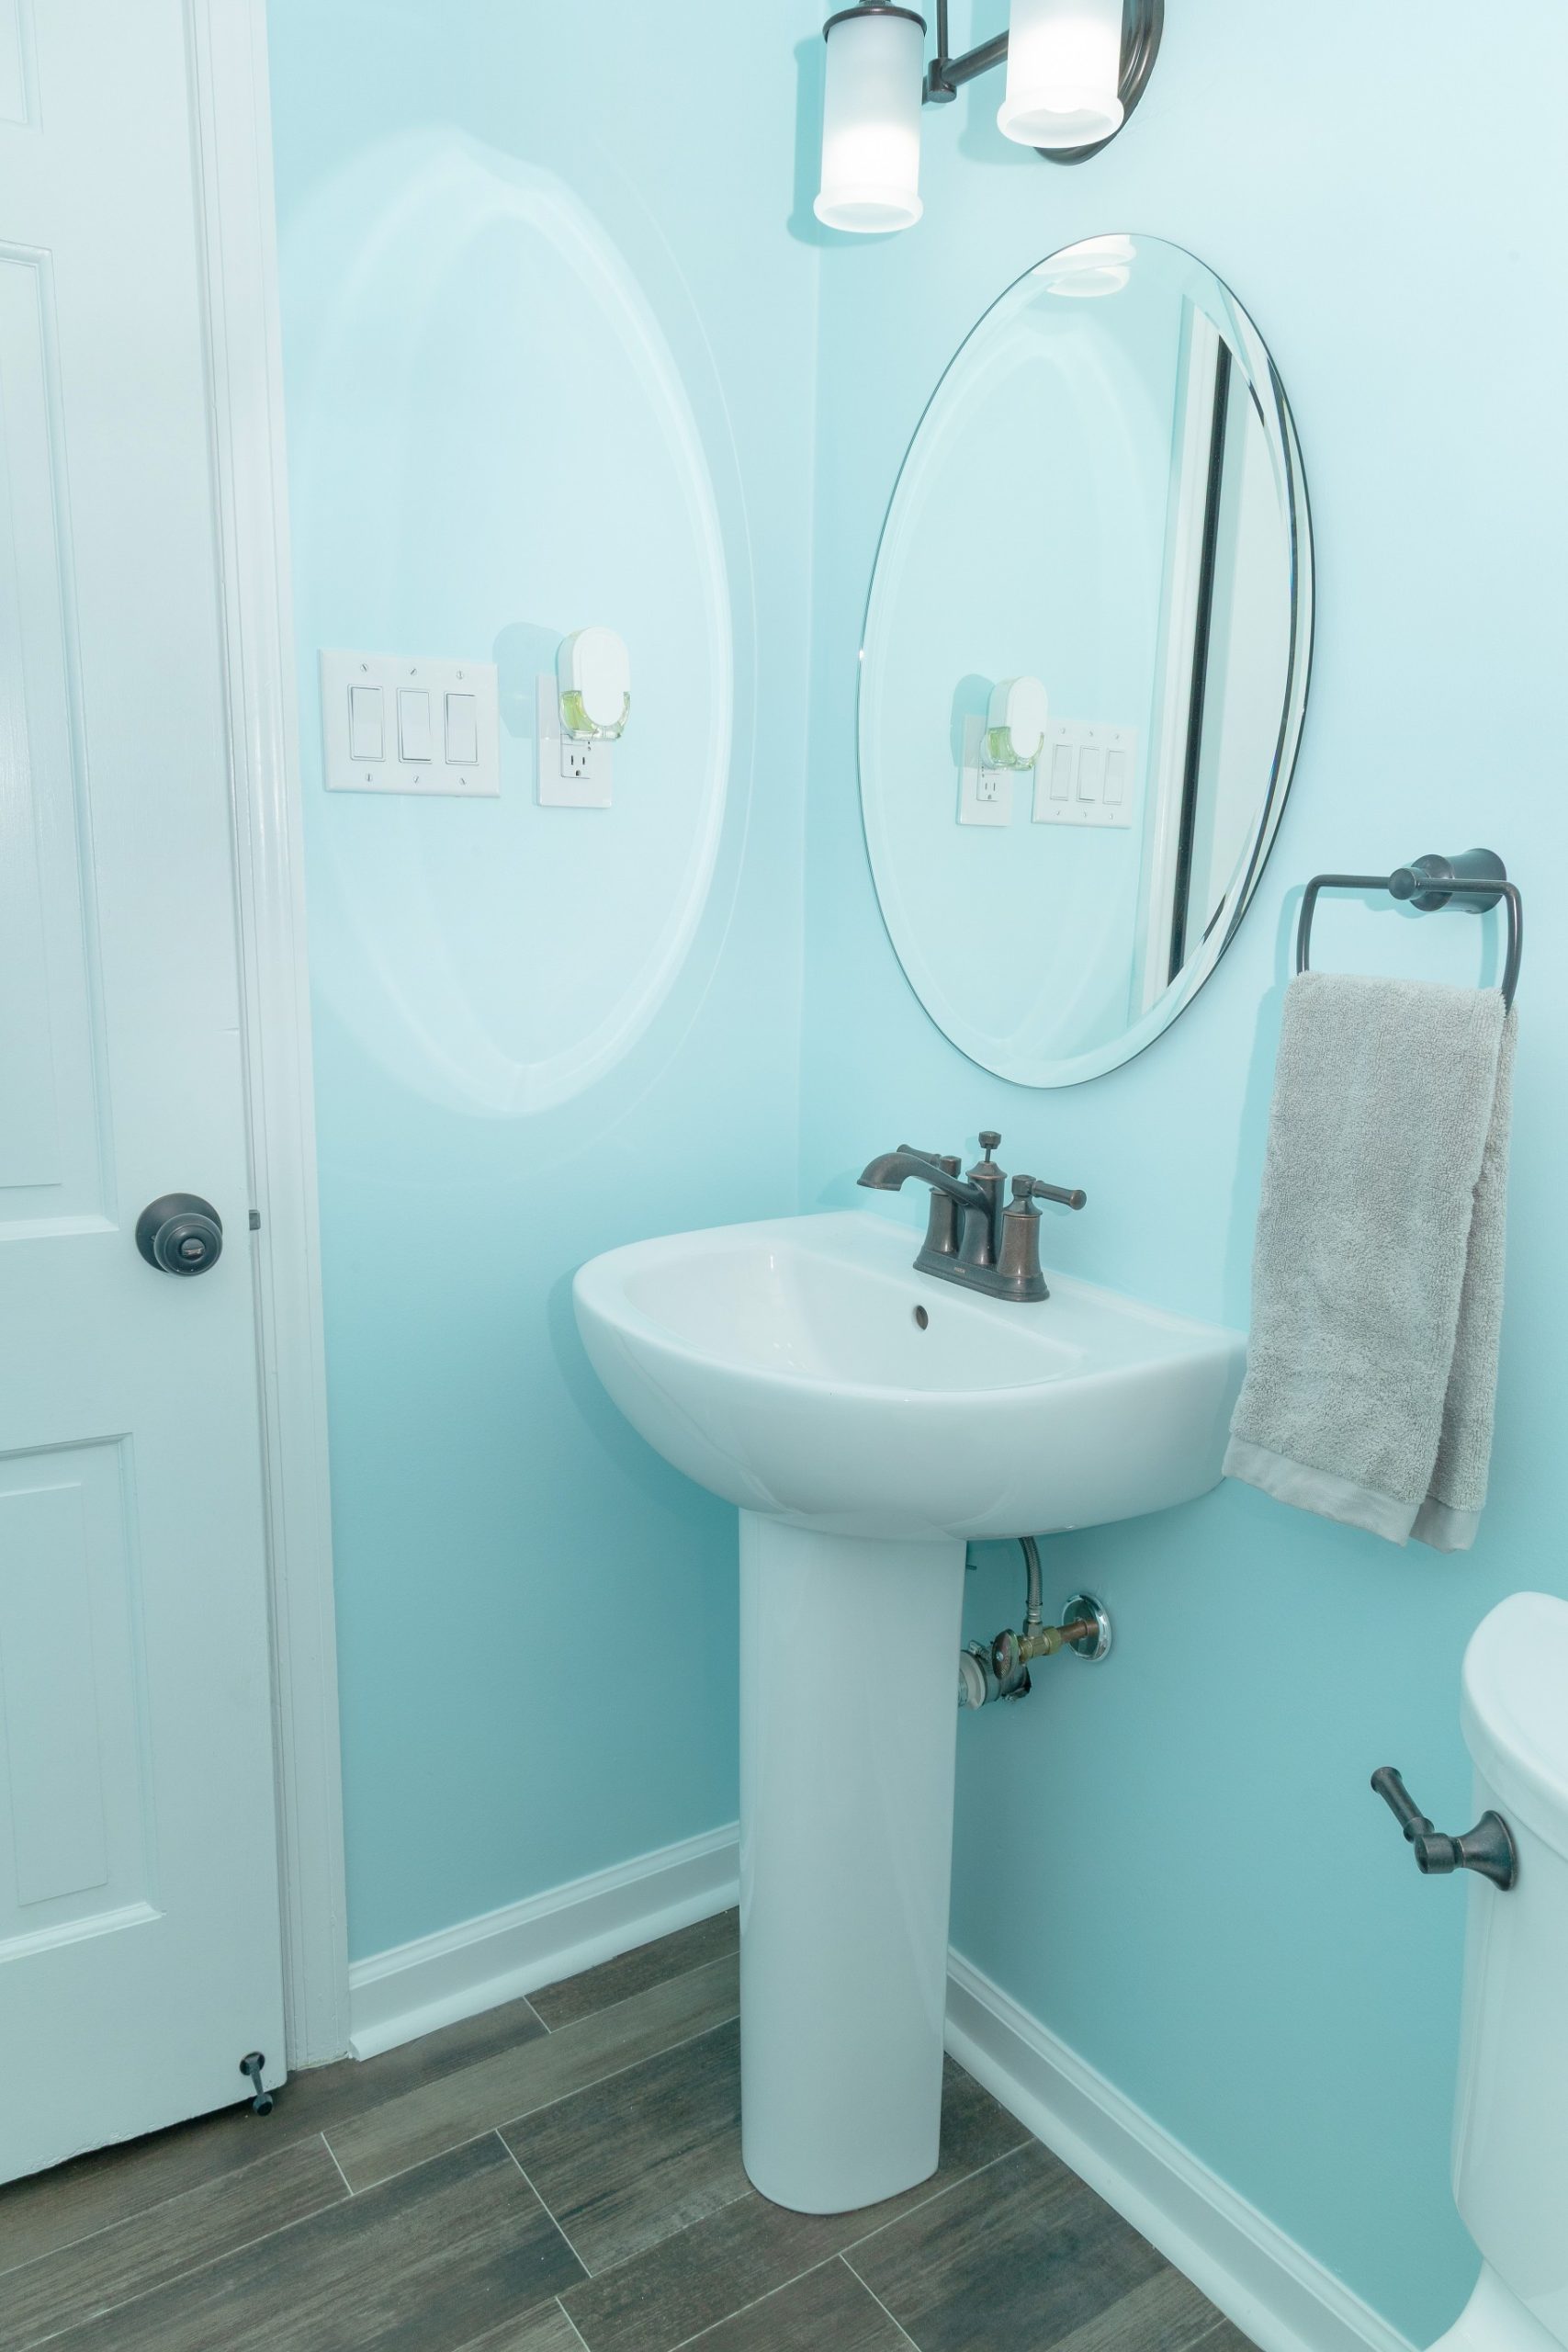
New wood grain floors and fresh blue paint with white trim, along with new lighting, a pedestal sink, and a new toilet, brought the bathroom out of the 1960s and into the 21st century.

Rachael was so pleased with the finished bathroom remodeling project that she asked us to update the kitchen and upstairs bathroom, too! Stay tuned for Part Two!

Insurance Claim Becomes Multi-Room Makeover, Part One Read More »

Bringing a 1970s Bathroom into the 21st Century

In the 1950s, pastel colors were favored for kitchens and bathrooms. Among them were “Mamie Pink” (named for President Eisenhower’s wife), powder blue, and pale shades of green and yellow. In the kitchen, these colors were seen on appliances, and metal cabinets with built in sinks and drainboards. In the bathroom, everything from wall tiles and bathtubs to sinks, toilets, and fixtures could be found in these colors. Today, there are multiple websites and Facebook groups devoted to lovers of this nostalgic look.

Moving into the 1960s and early 1970s, the color palette shifted to deeper colors like orange, avocado green, harvest gold, and brick red. Appliances, wall phones, and Mom’s Tupperware all featured these tones. While some fondly remember the 1970s (hello Brady Bunch!), its color scheme has not evoked the same devotion as the earlier looks.

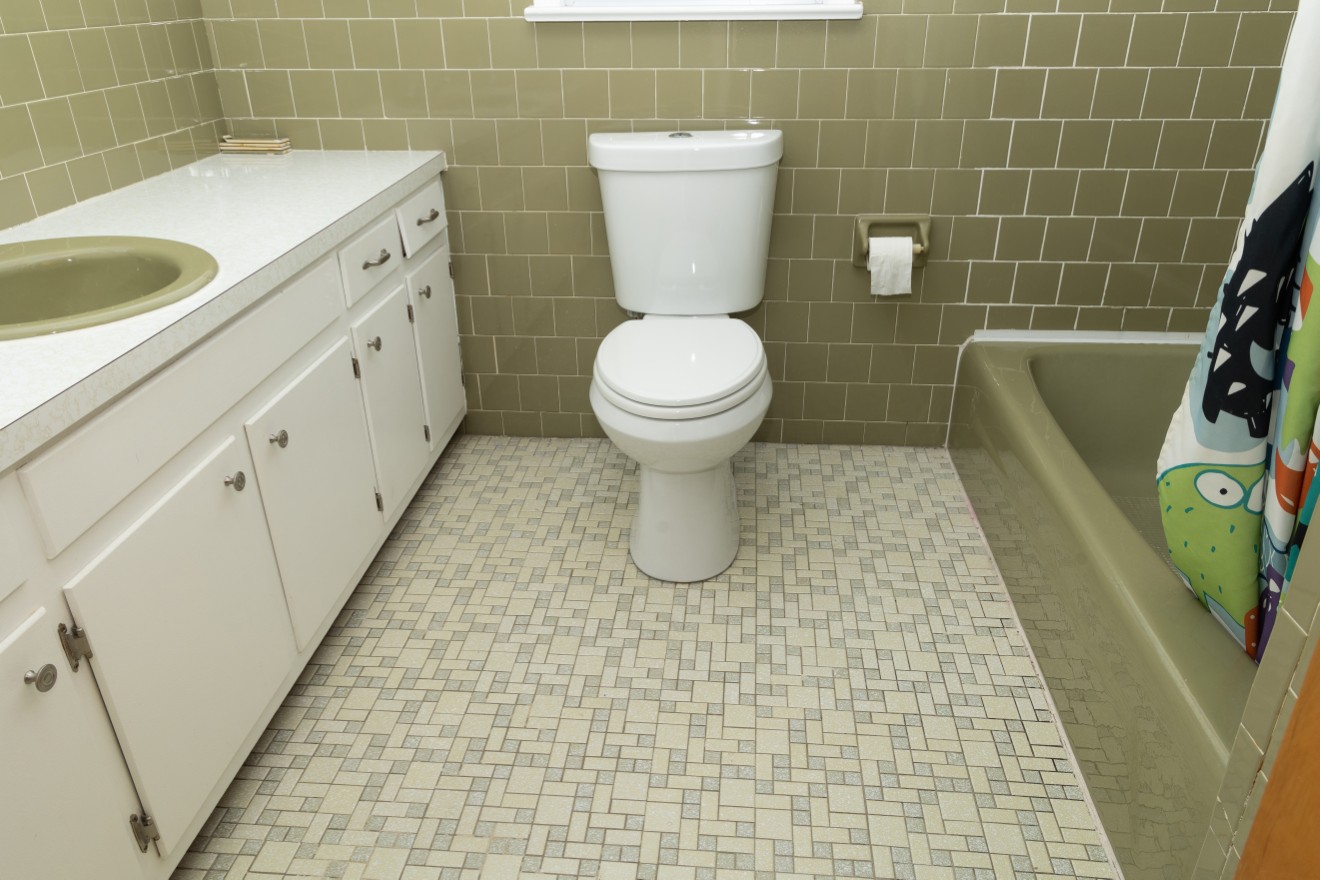
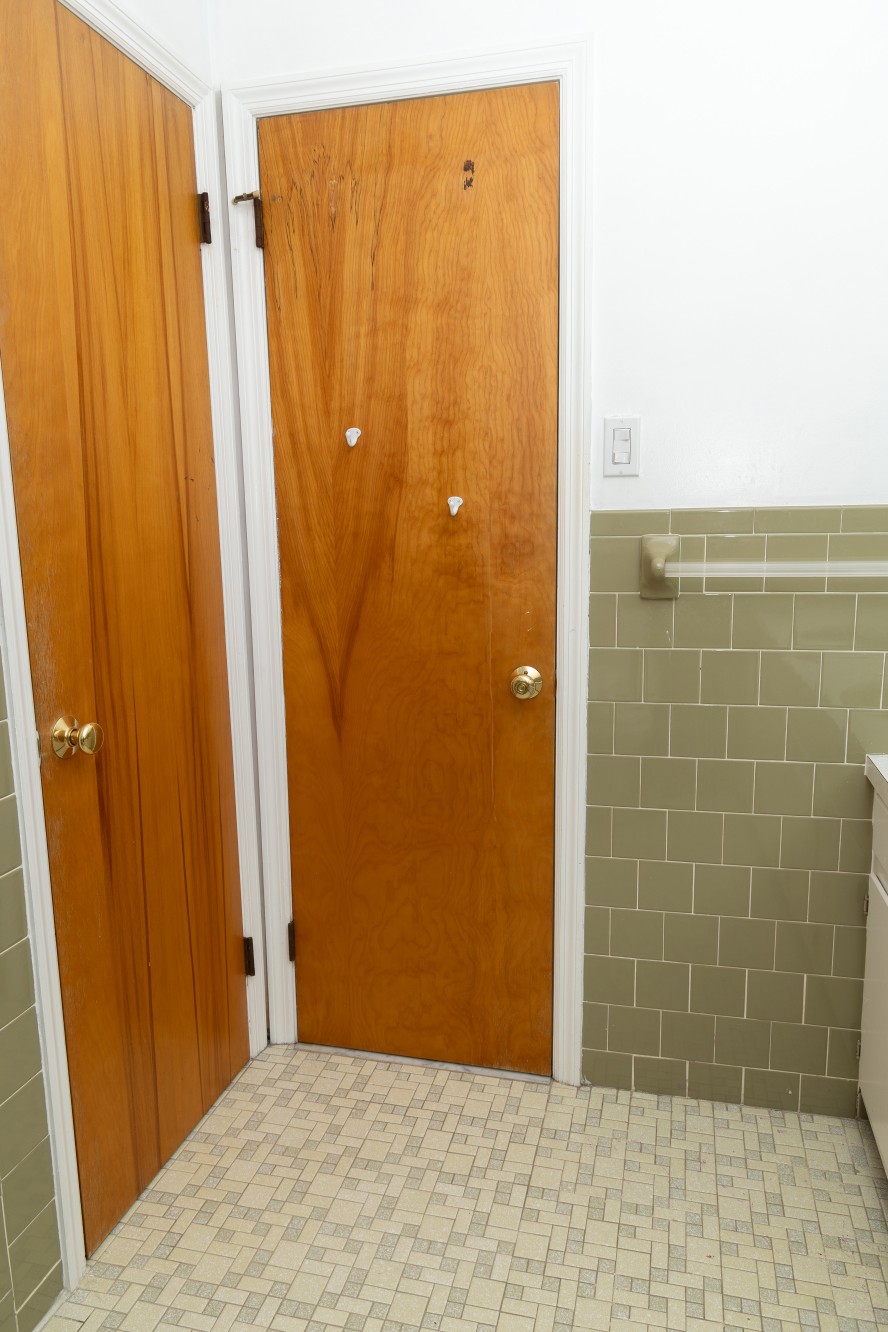
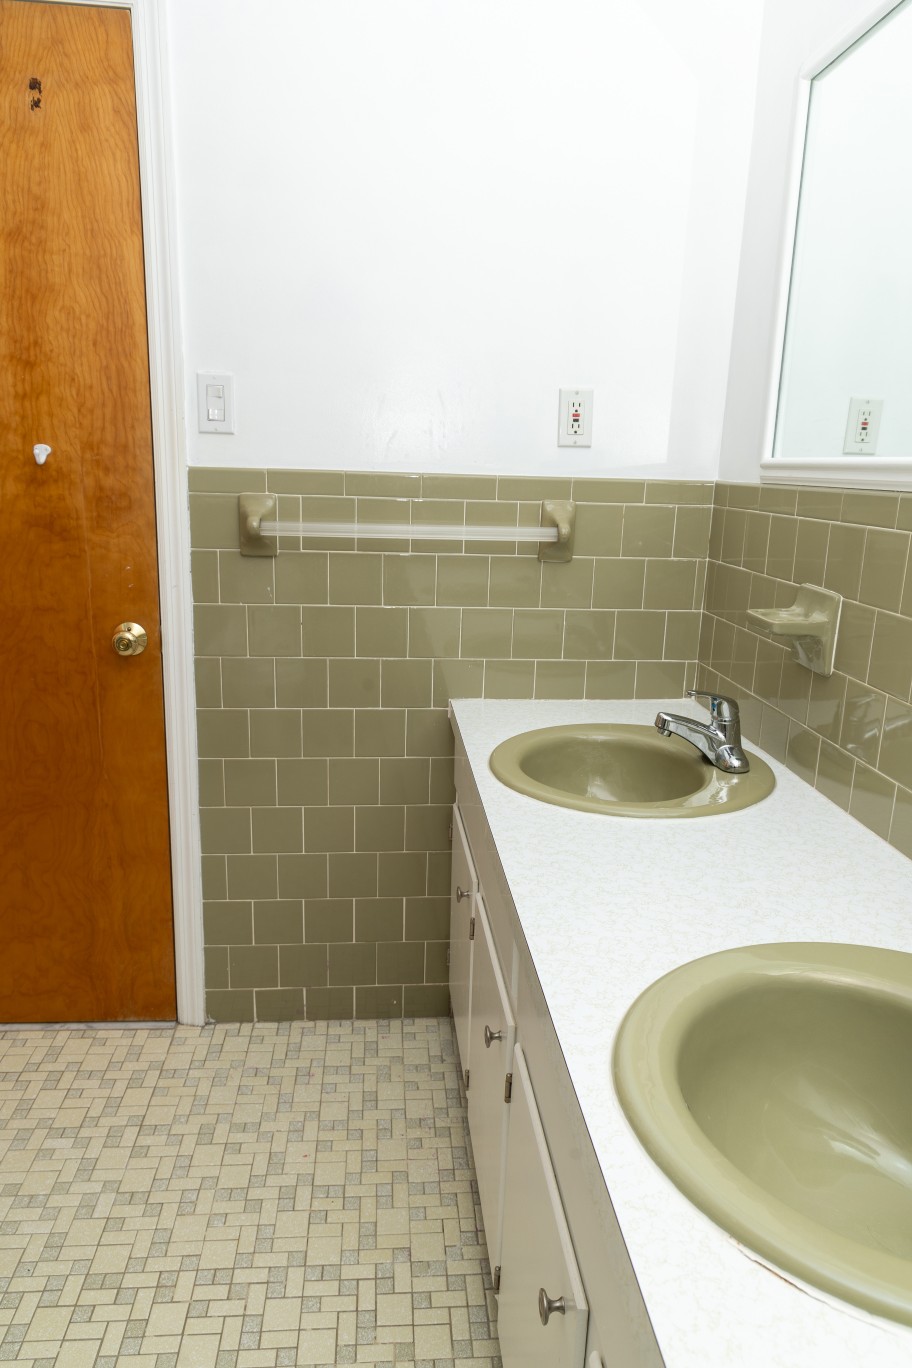
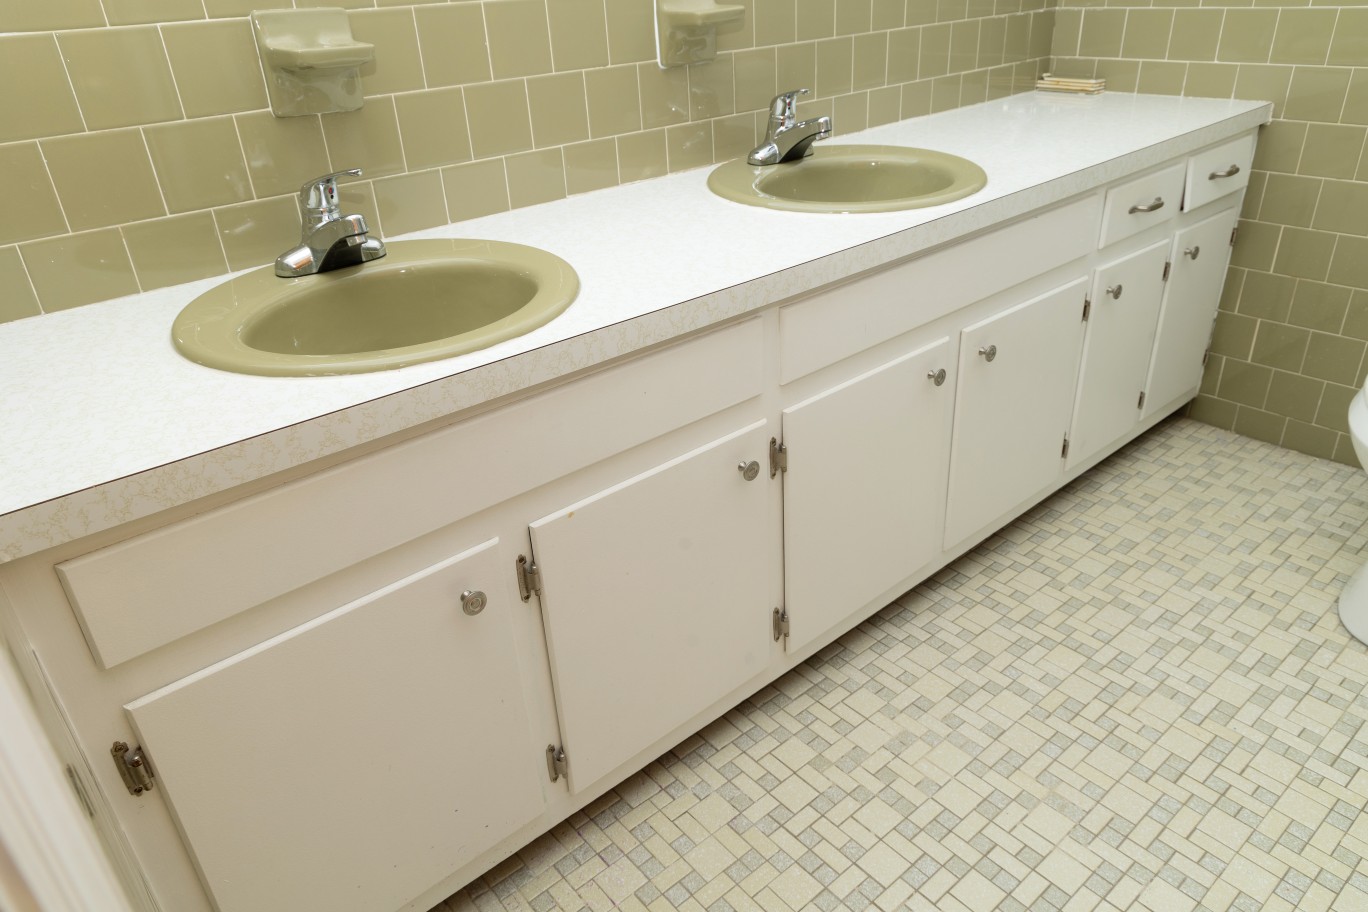
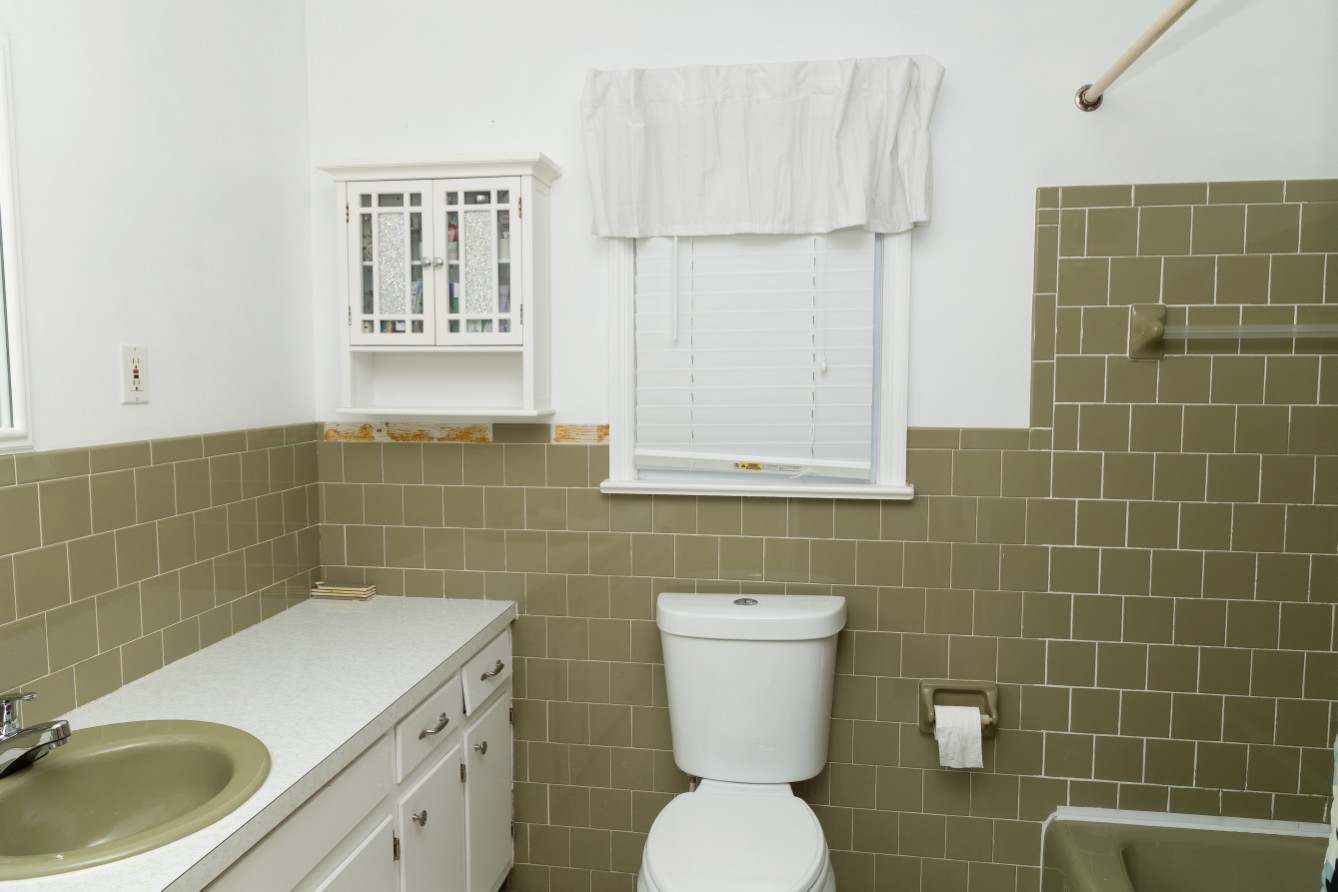
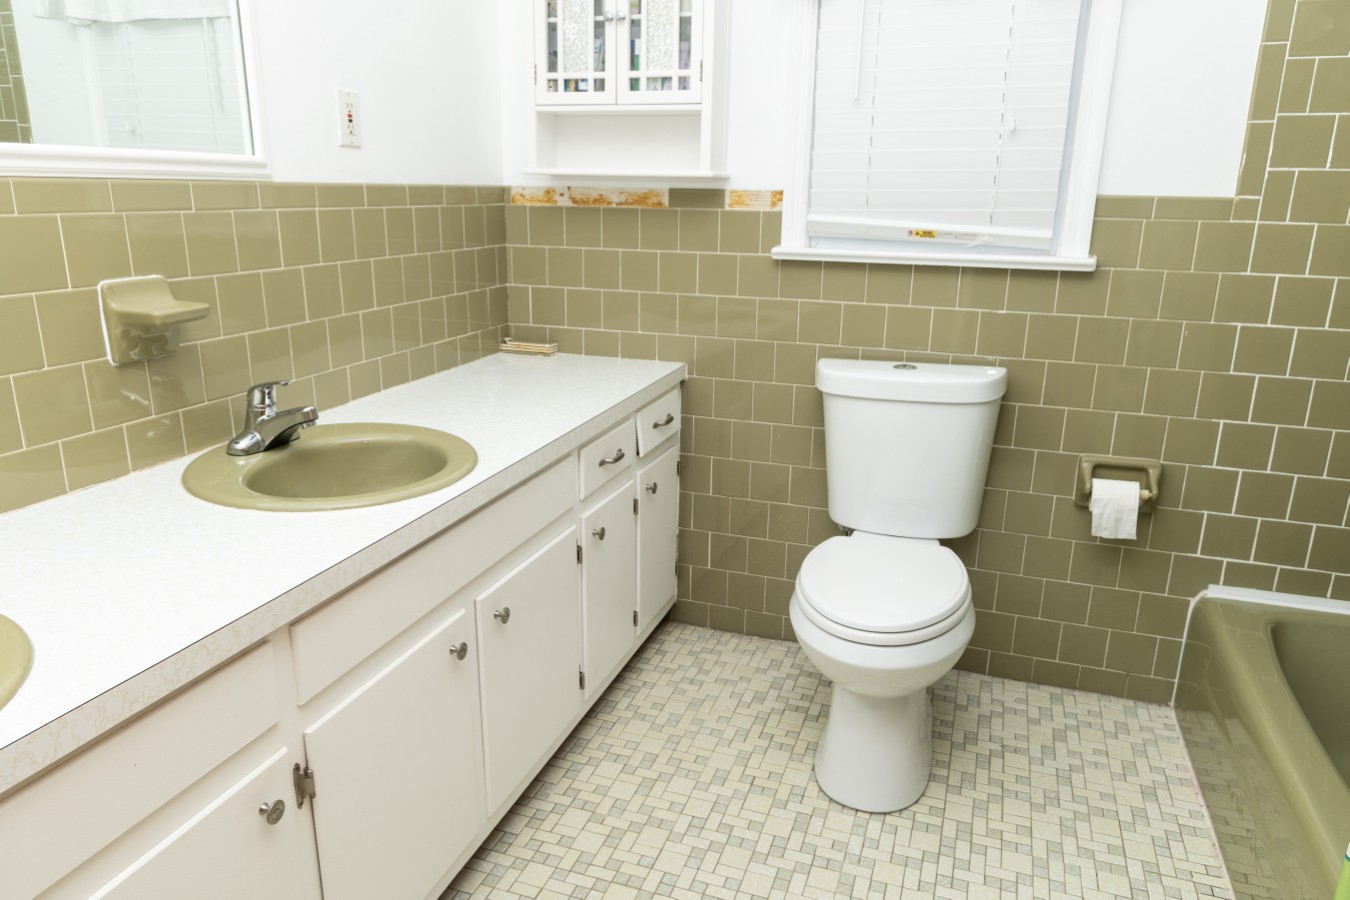
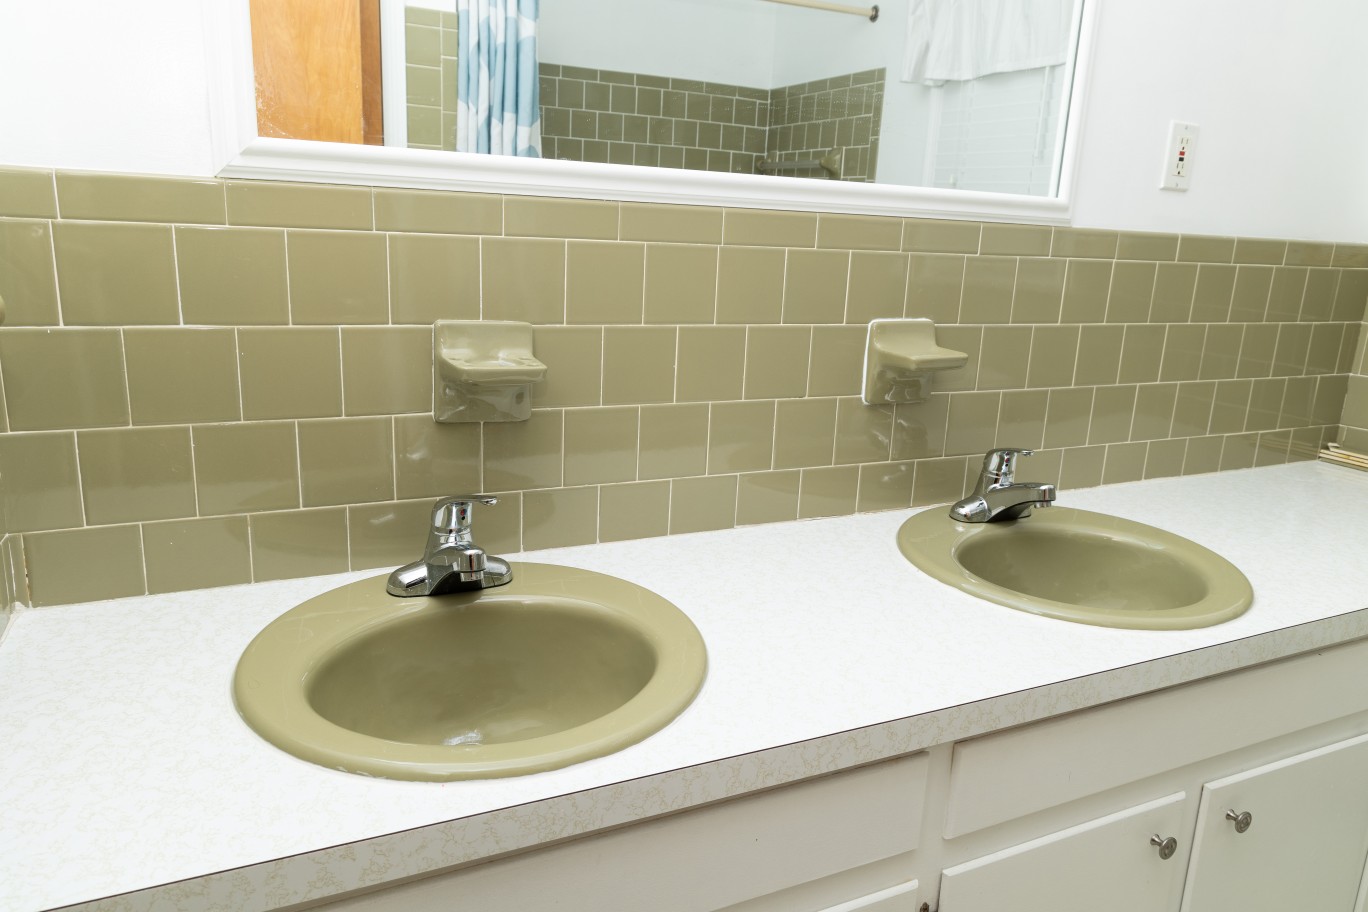
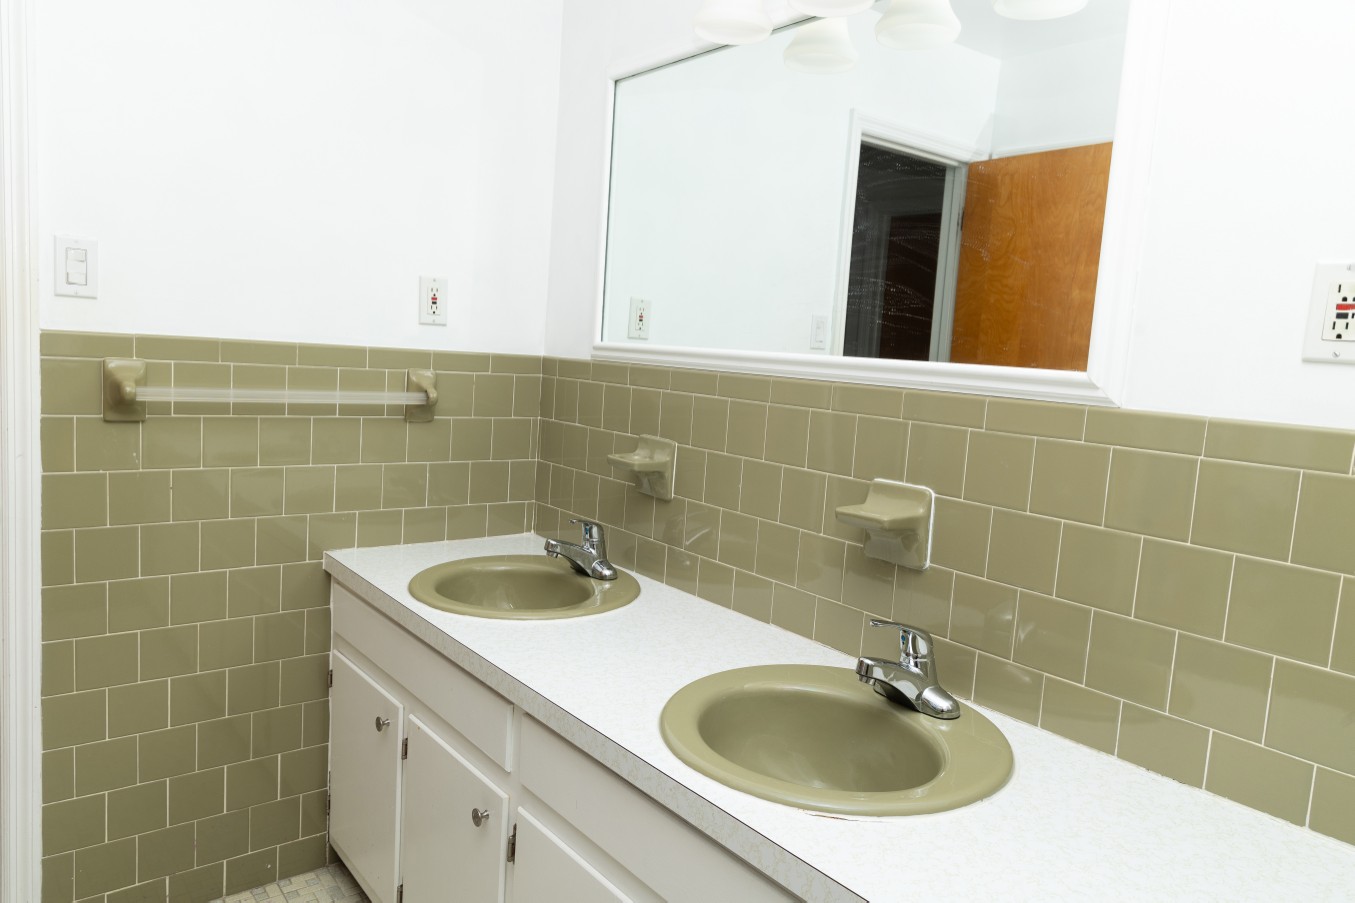
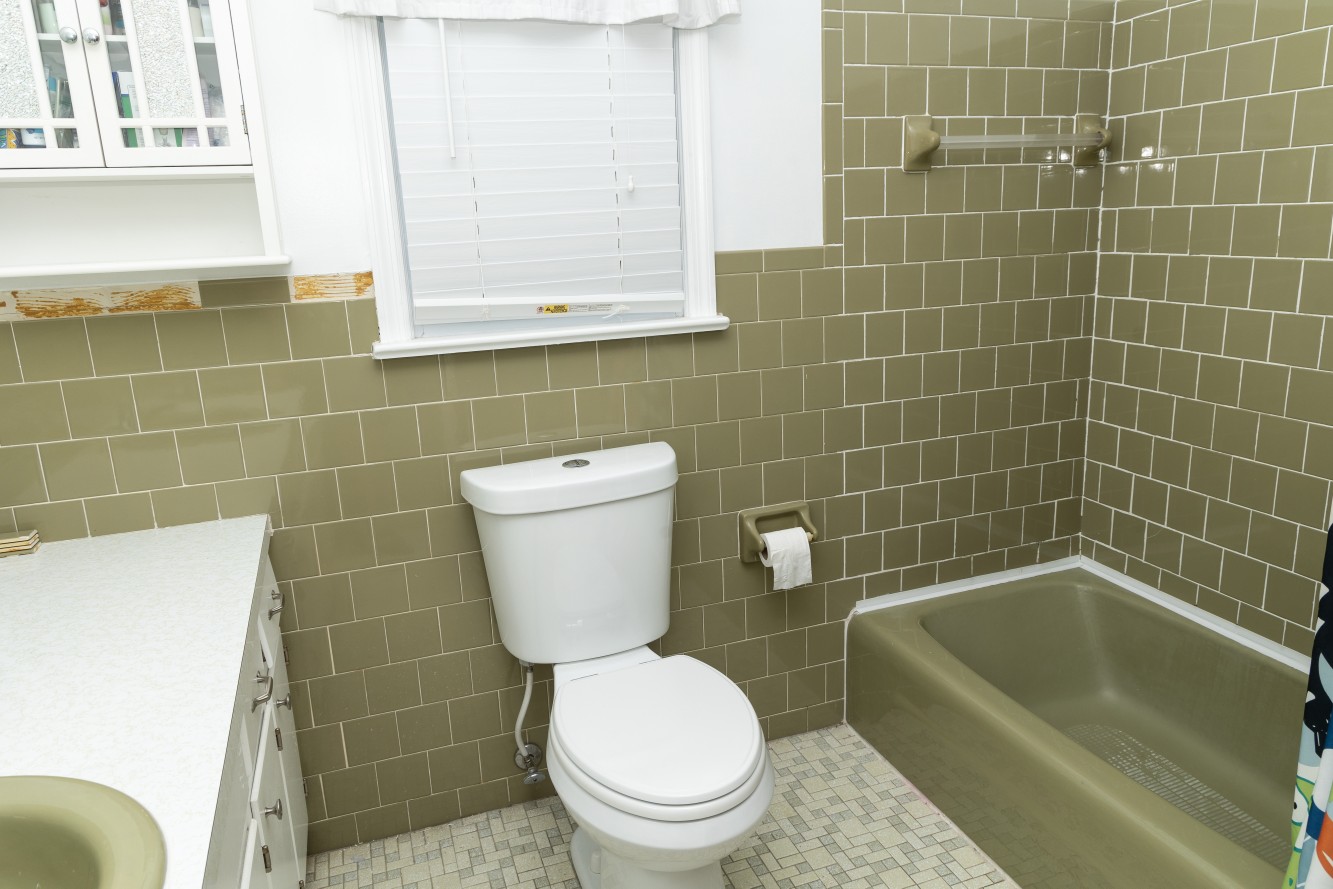
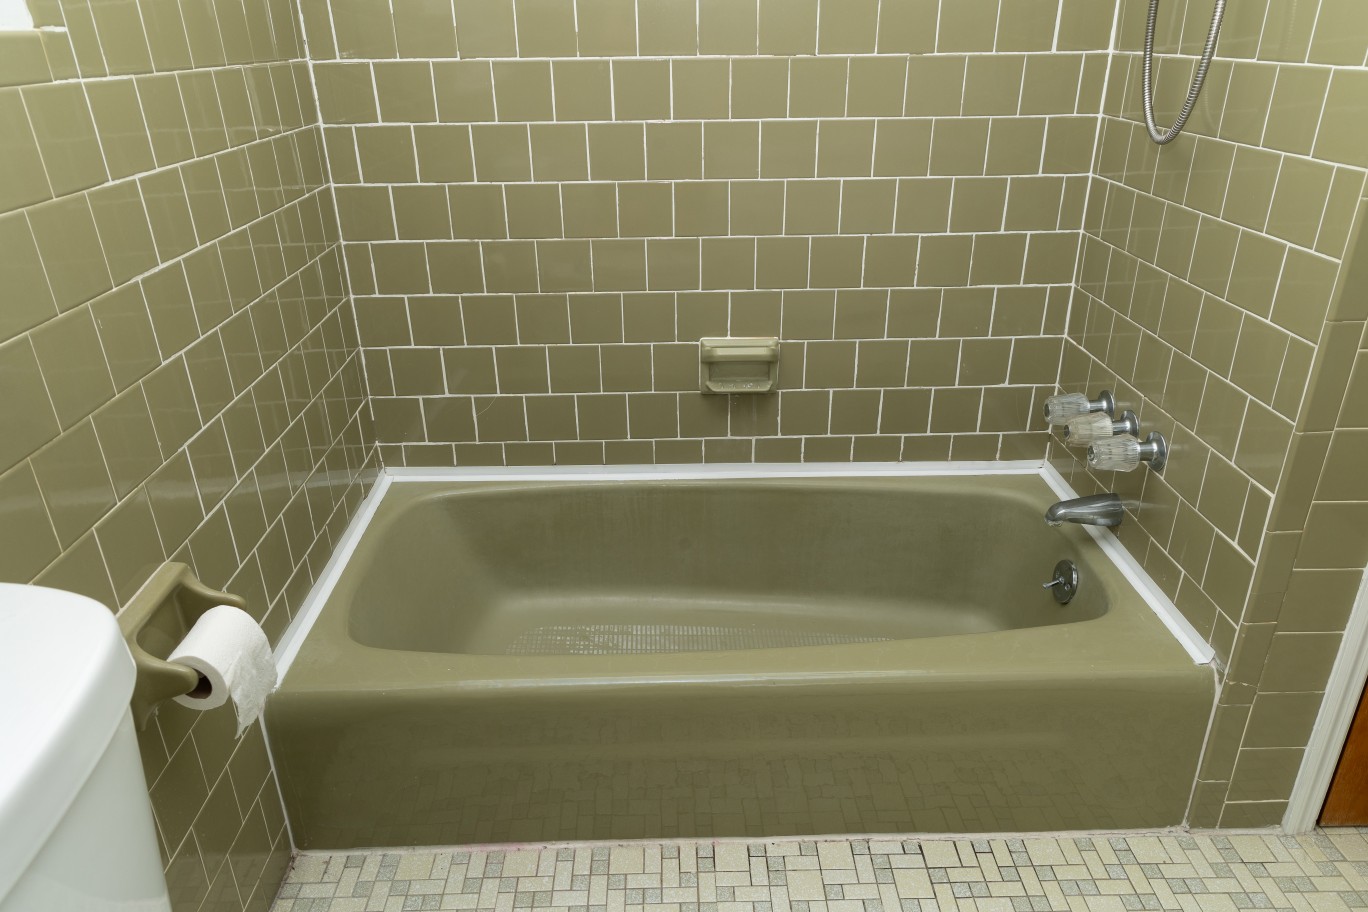
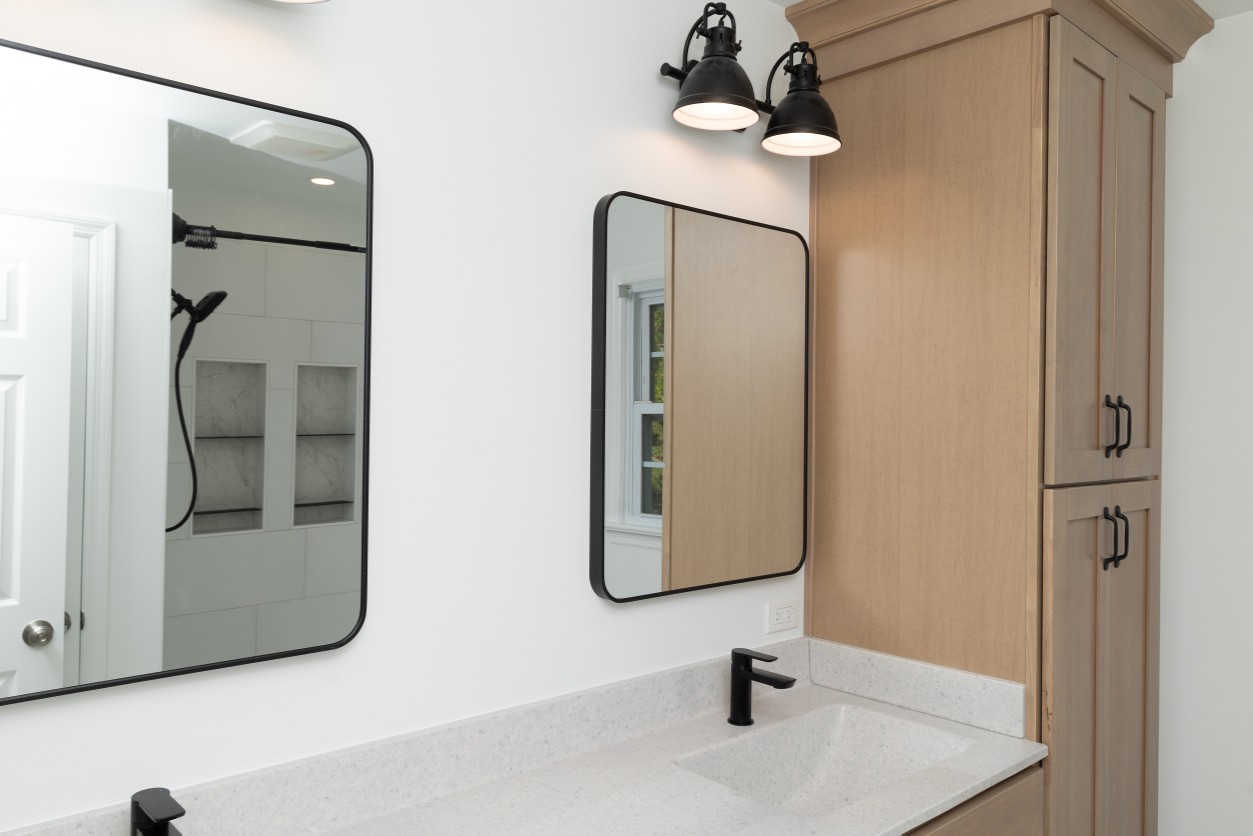
This leads us to our clients, Zach and Tricia. Their hall bathroom was a 1970s time capsule: green tile on all the walls, green bathtub, green soap dish and towel holder. They even had the original green vanity sinks and the white laminate countertop! It was the perfect candidate for a complete bathroom remodeling project.

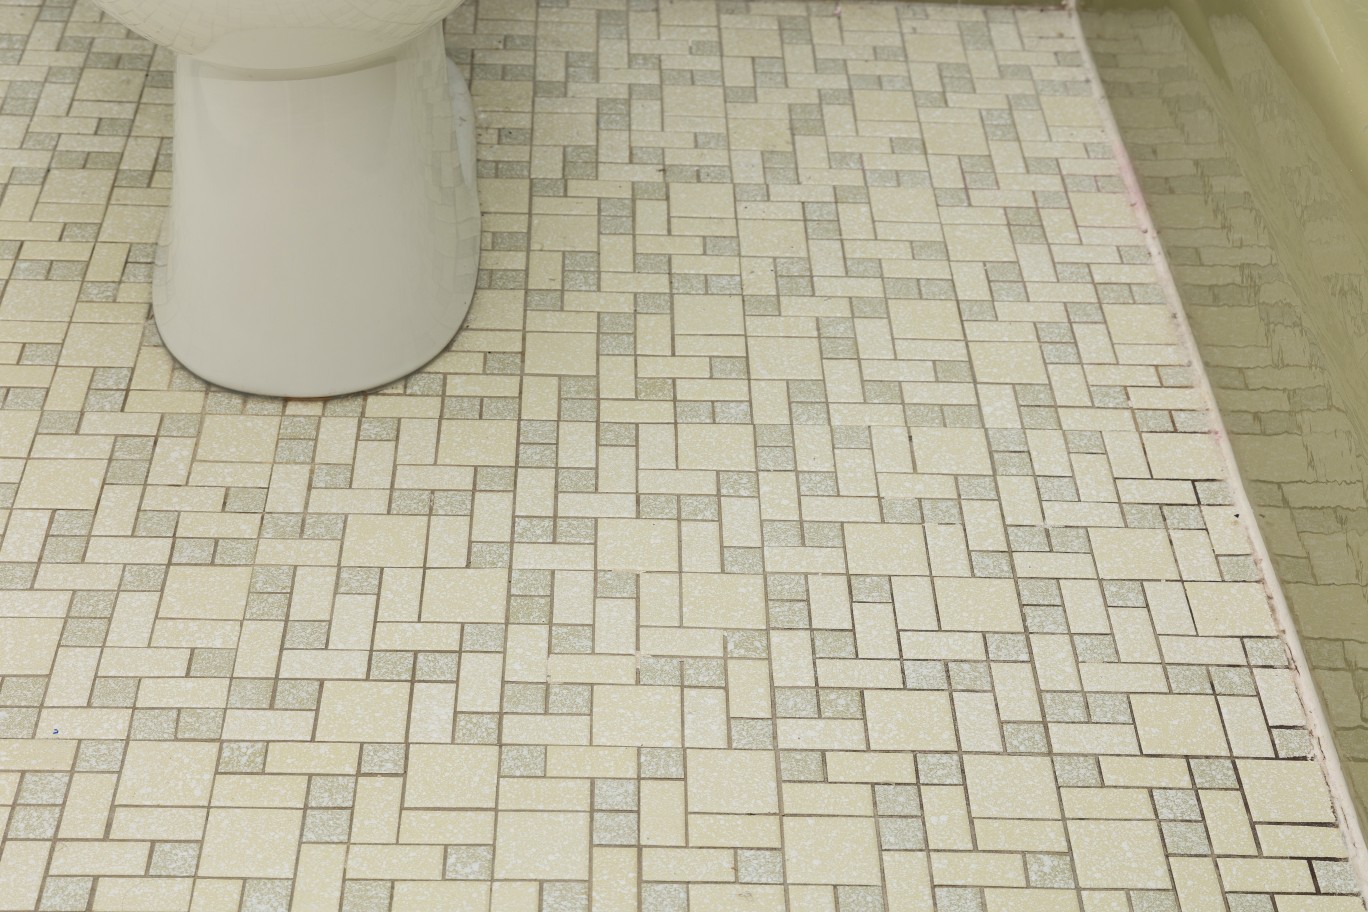
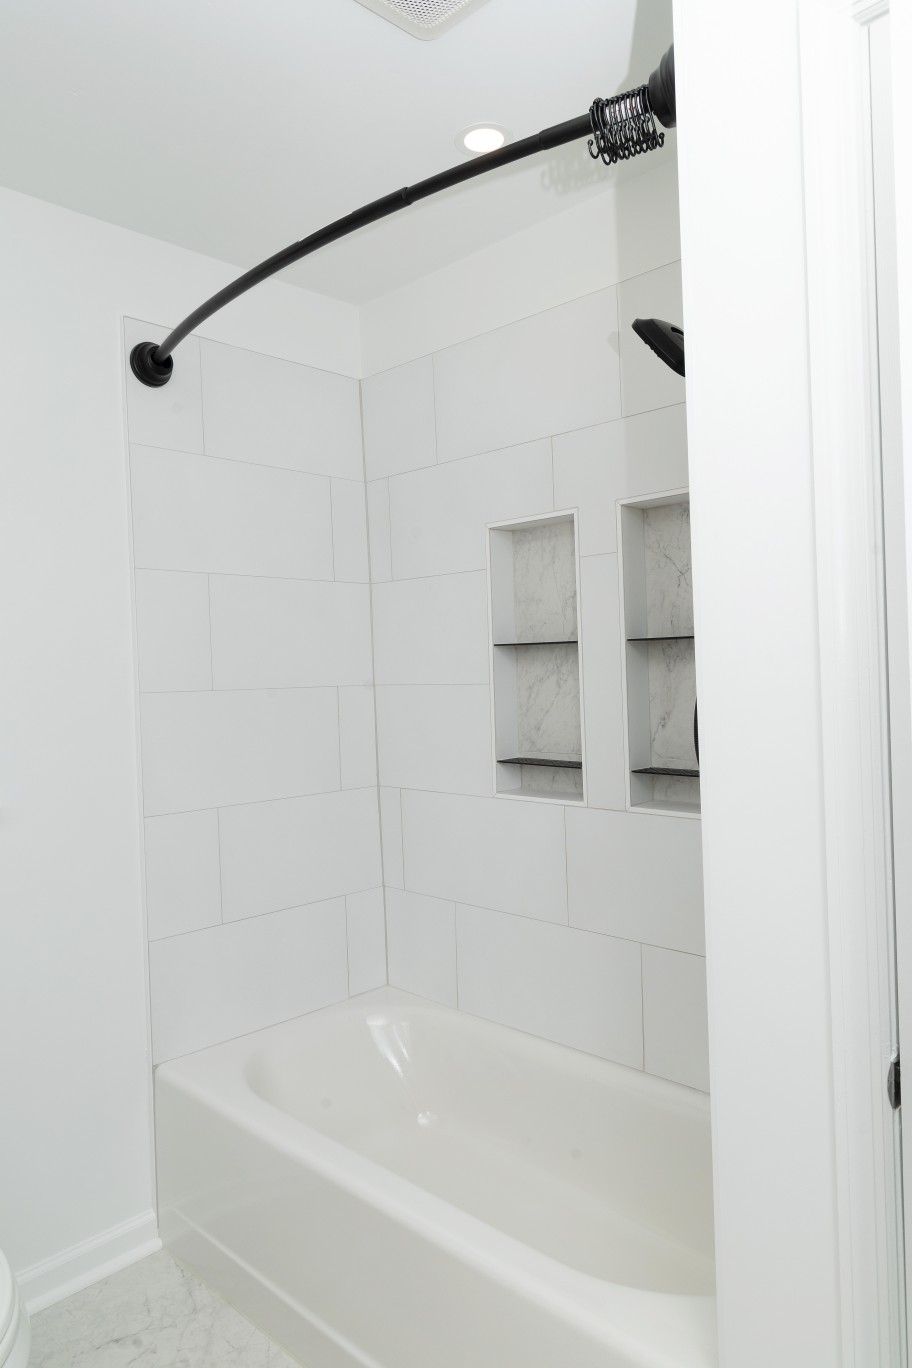
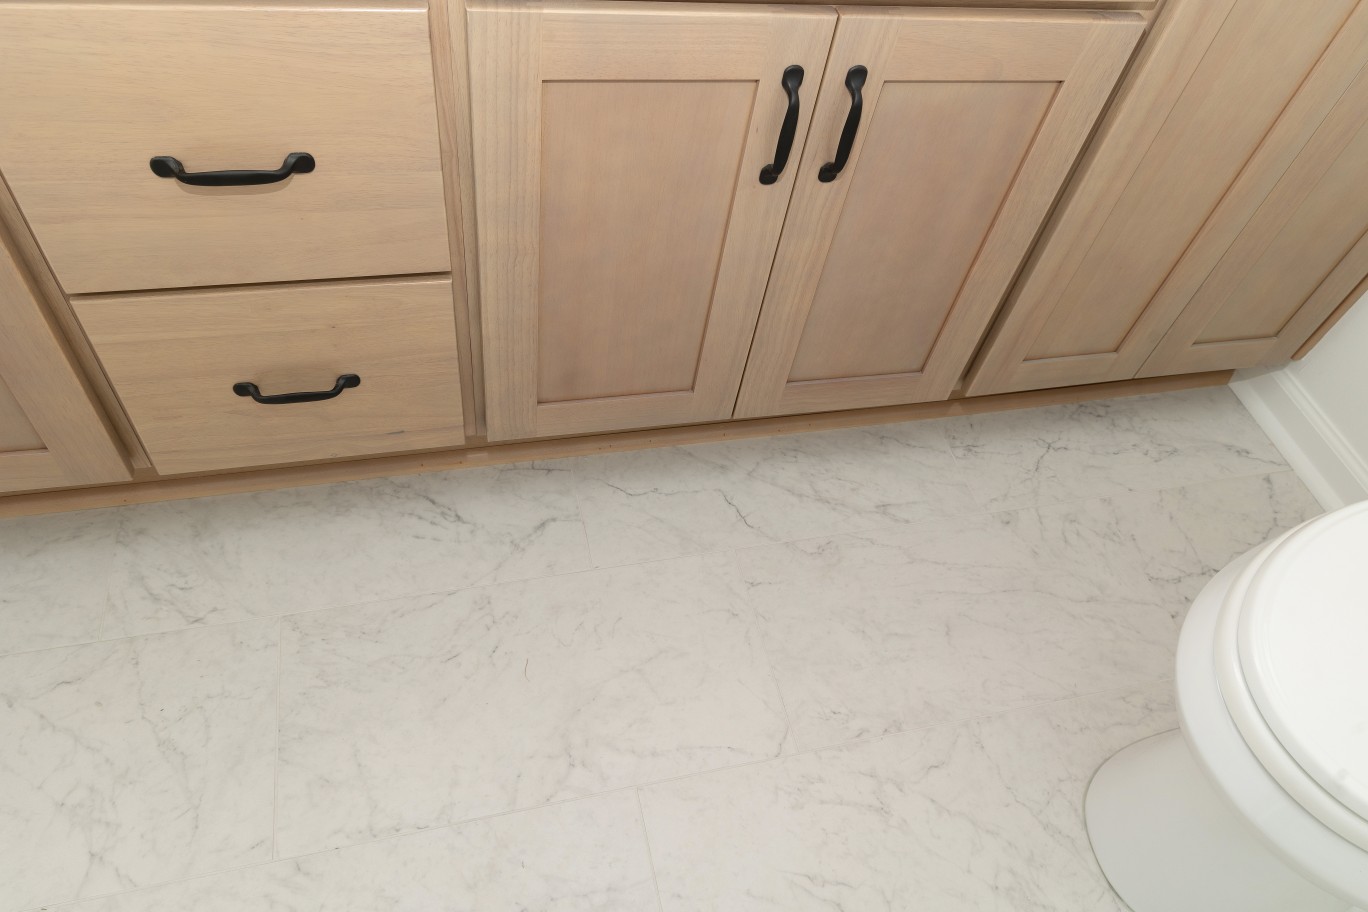
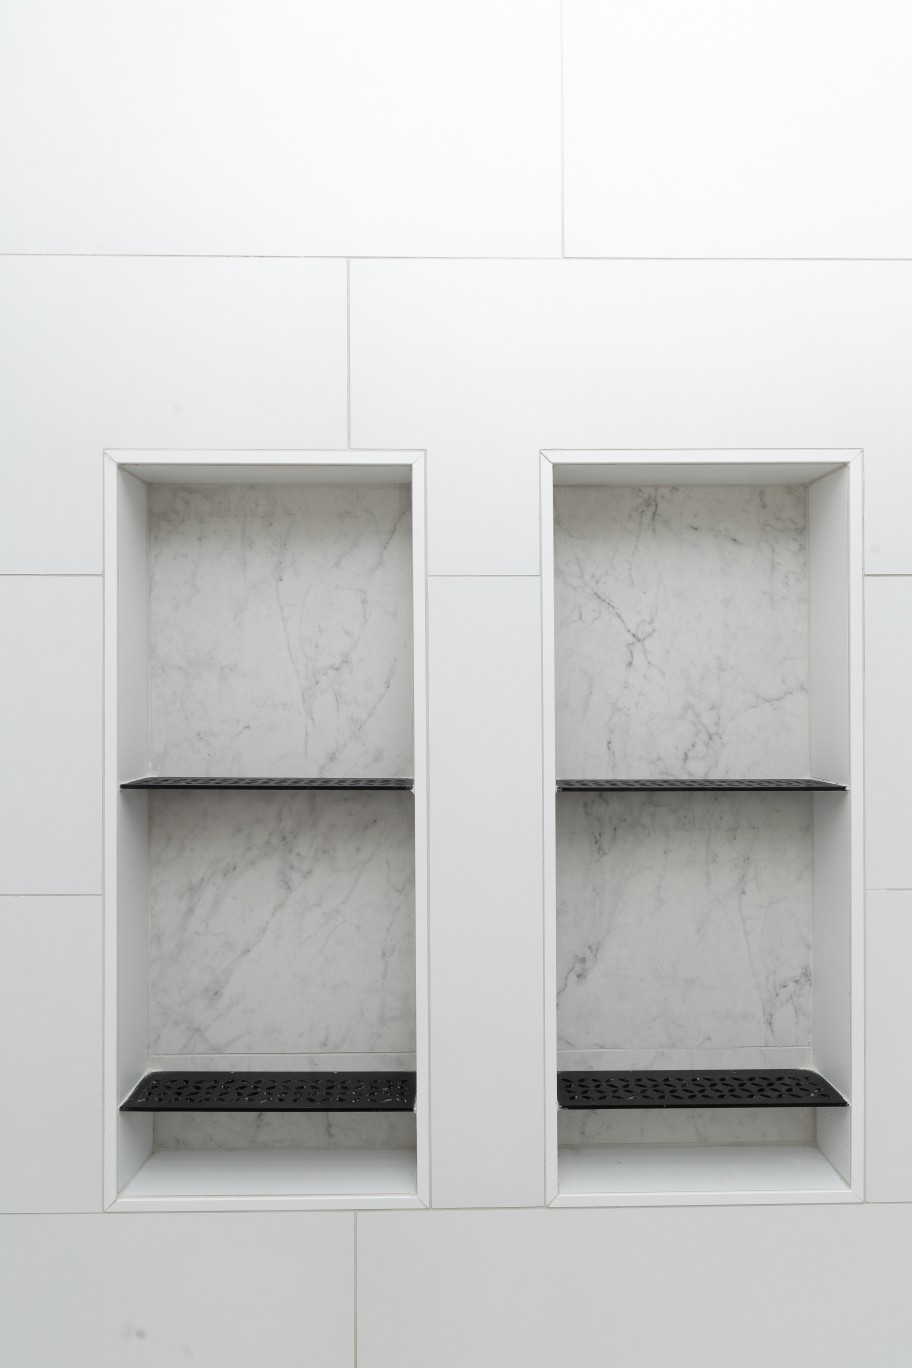
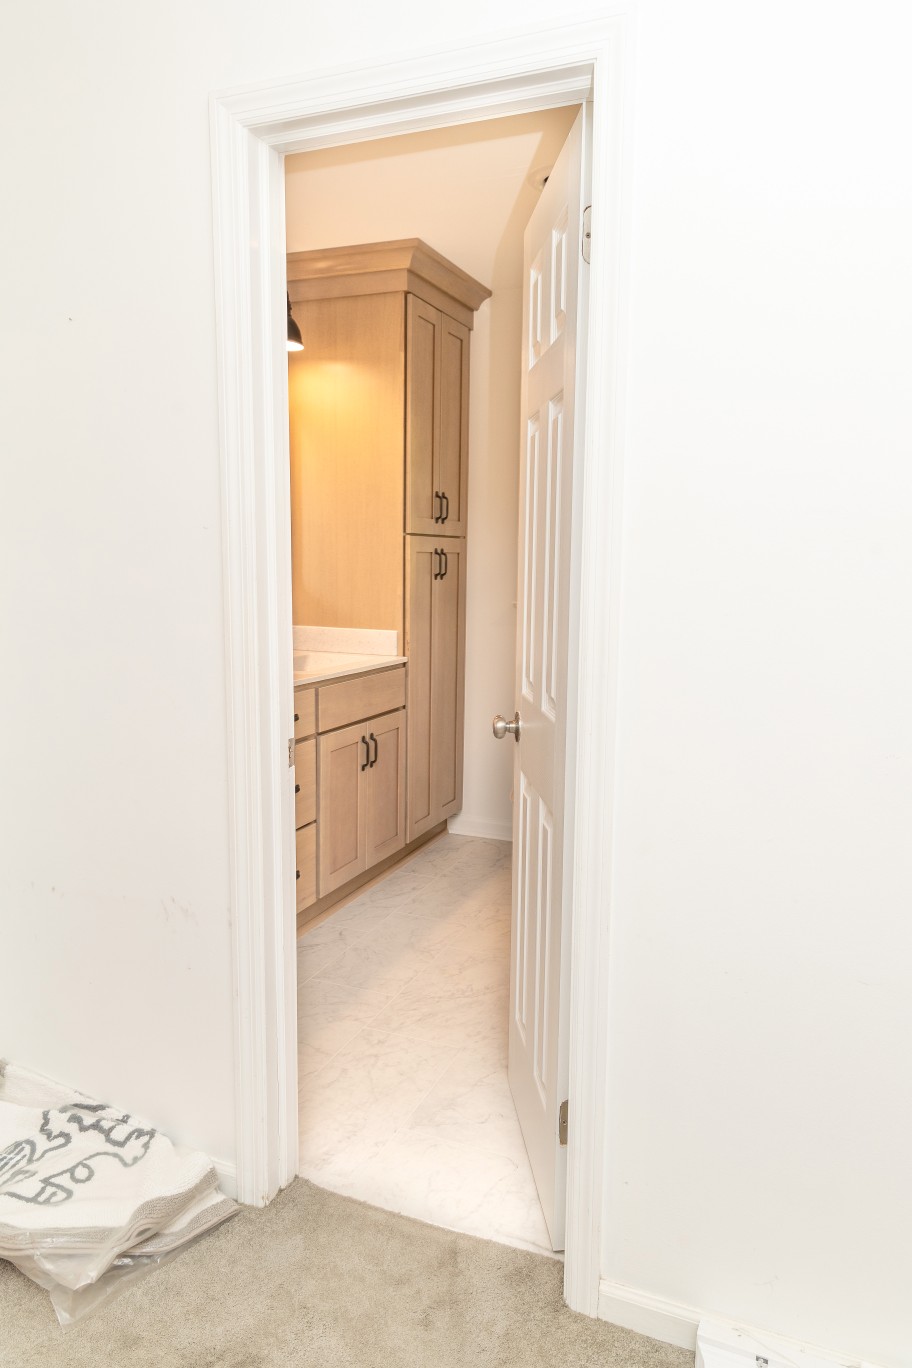
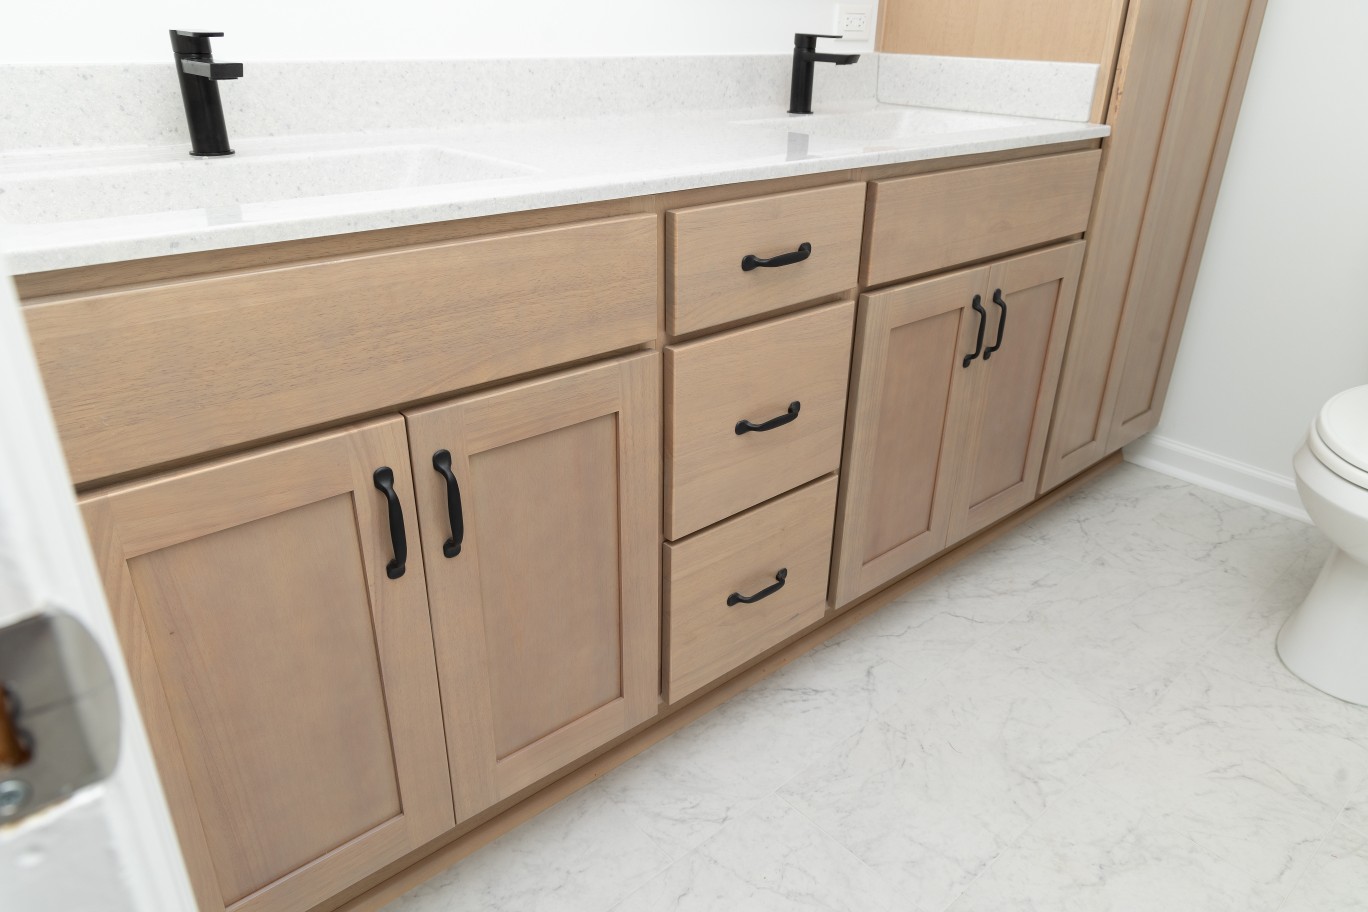
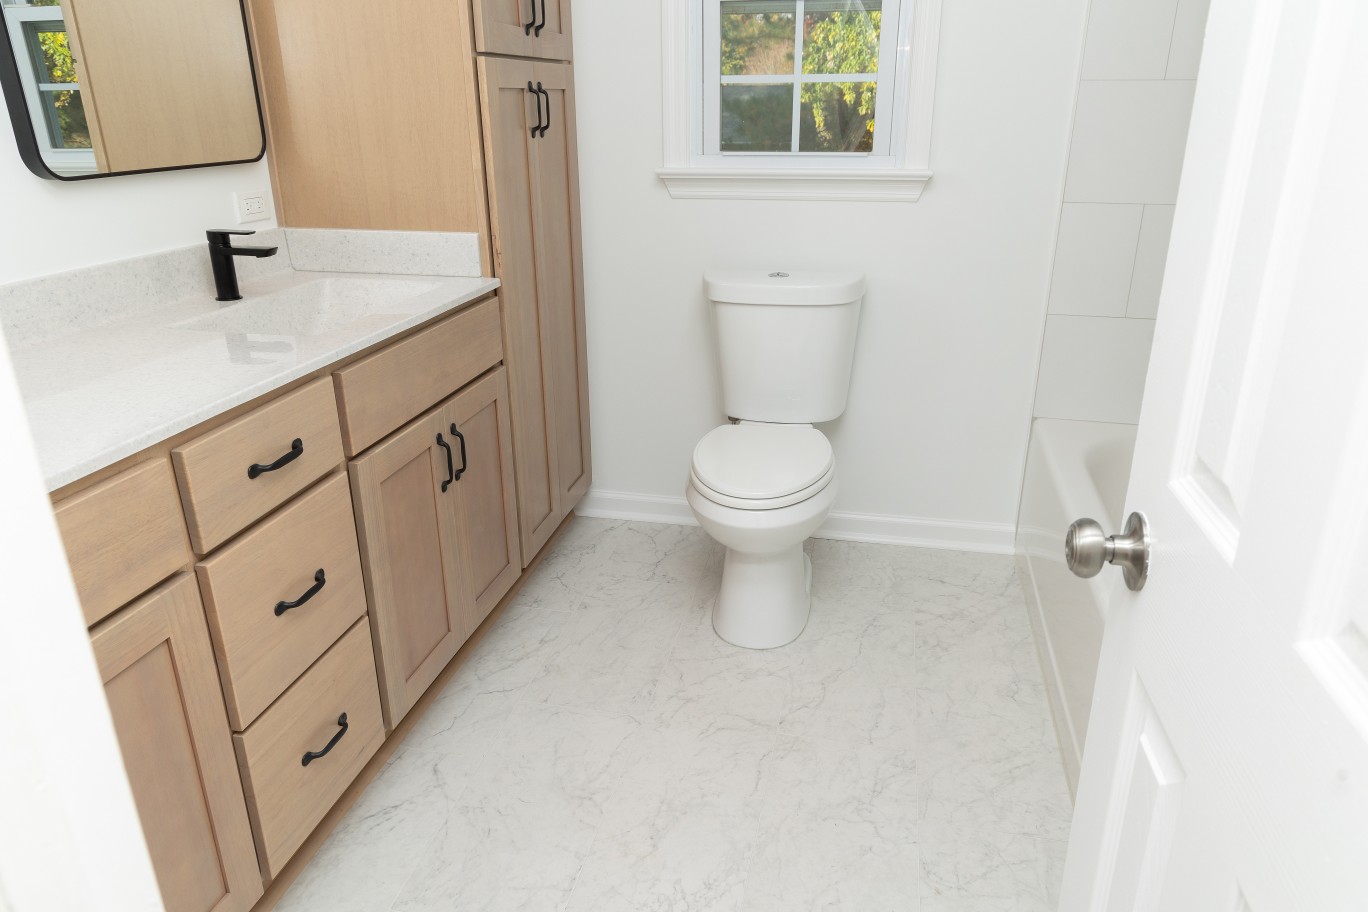
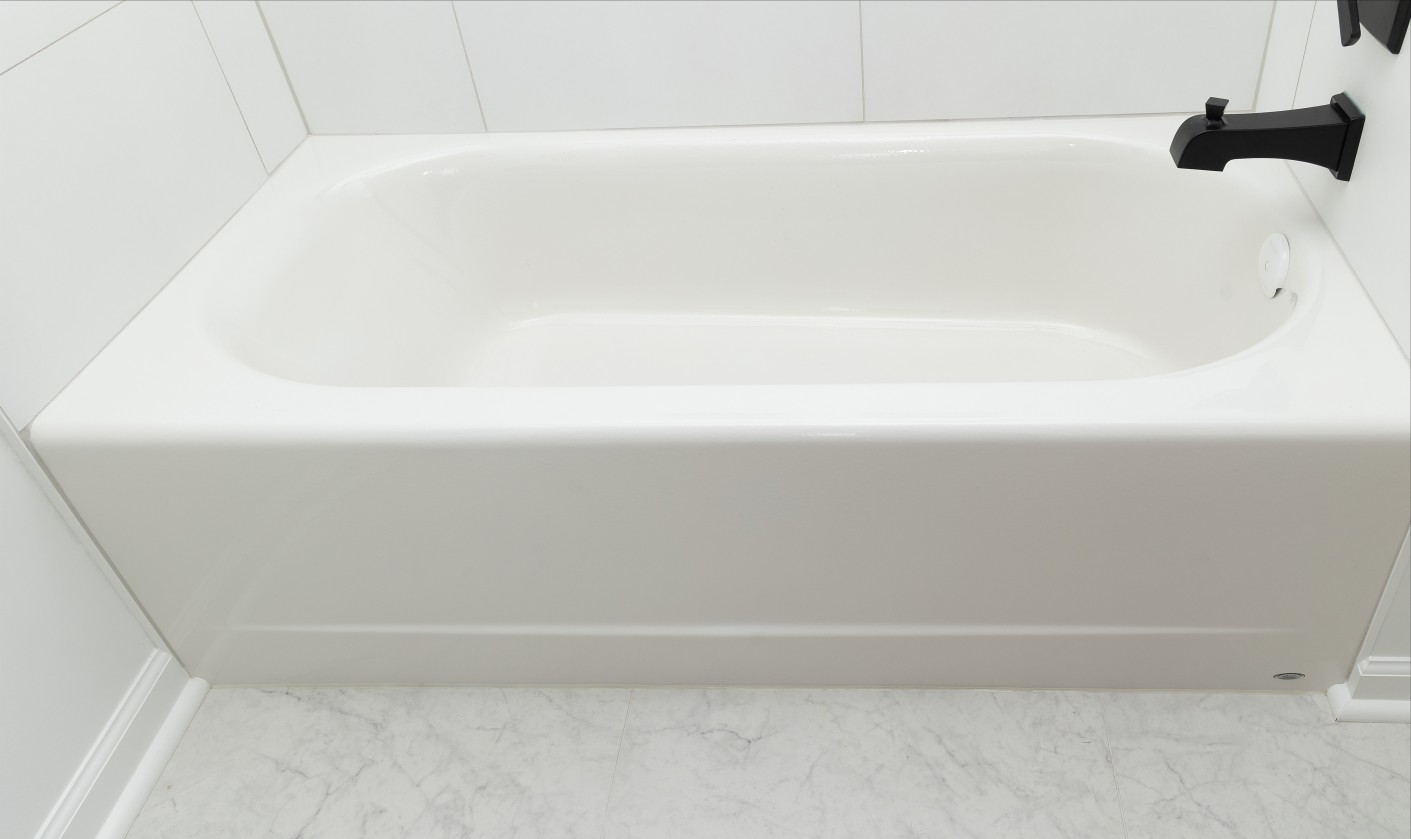
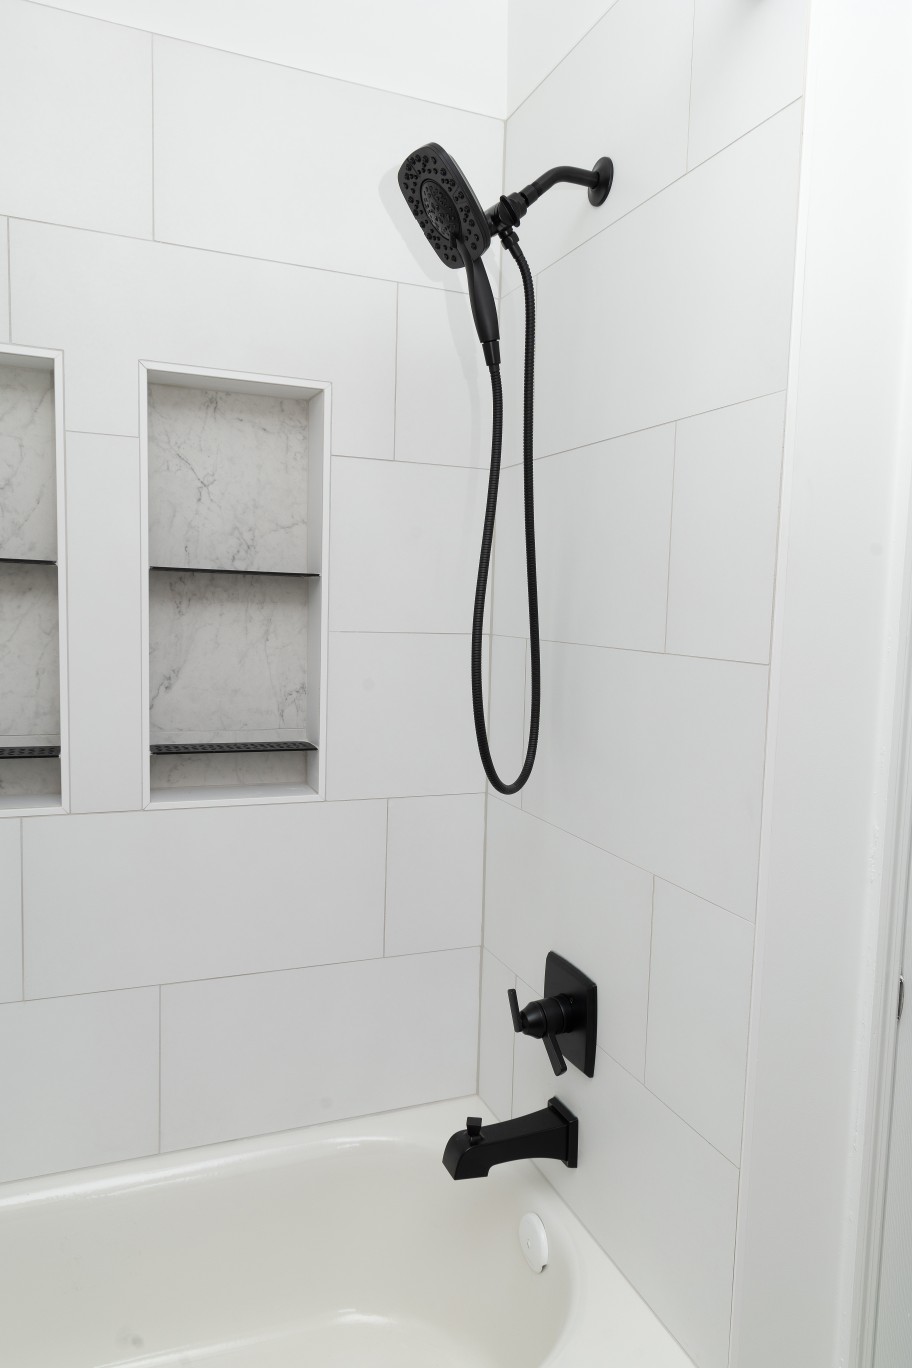
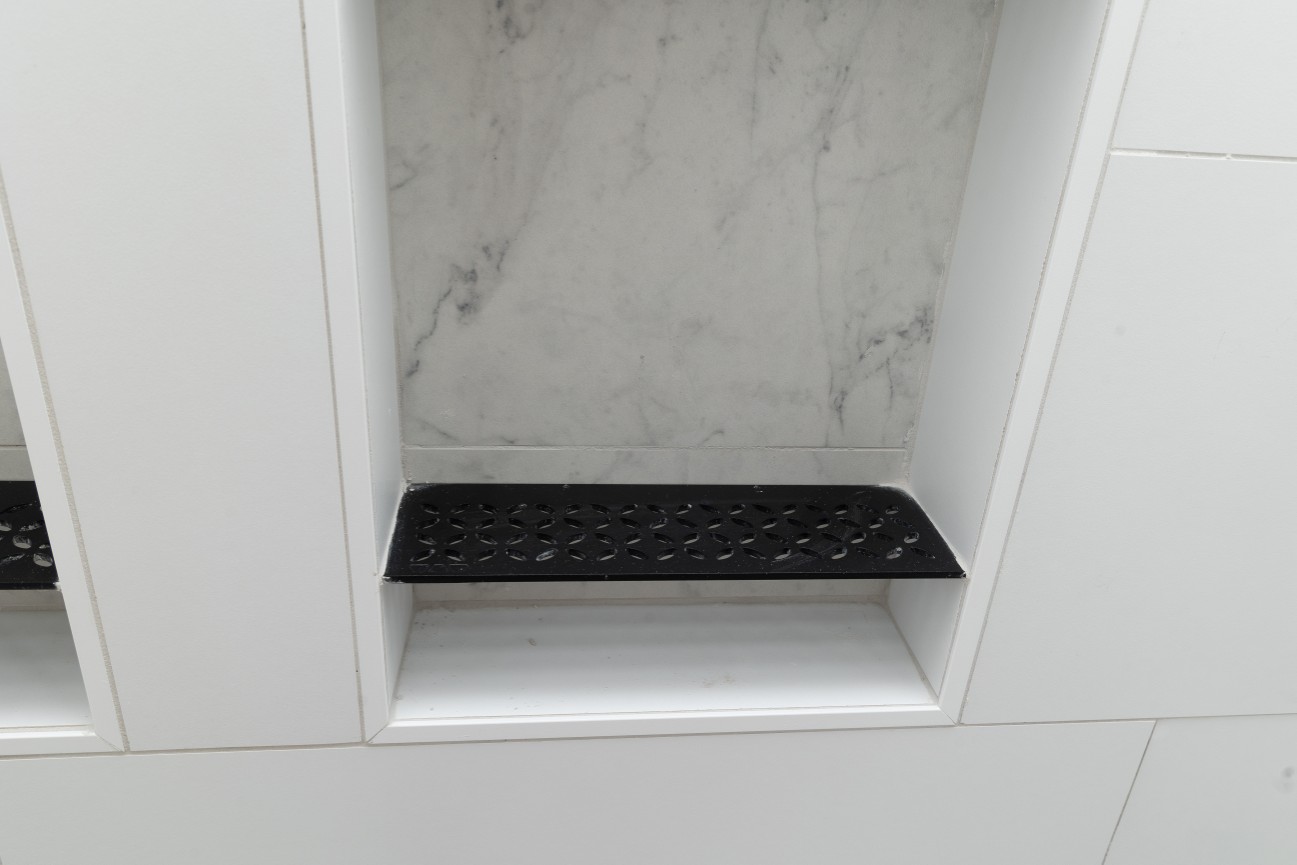
Our clients wanted a complete makeover in this bathroom, so goodbye avocado green! New 12×24 matte white porcelain tile went on the walls around the tub, and matte finished “Carrara” tile with a white/grey marbled pattern was installed on the bathroom floor. A new, bright white tub replaced the old green one. We added two wall niches with matte black shelves for soaps and shampoo, and carried the matte black finish over to the shower fixtures.

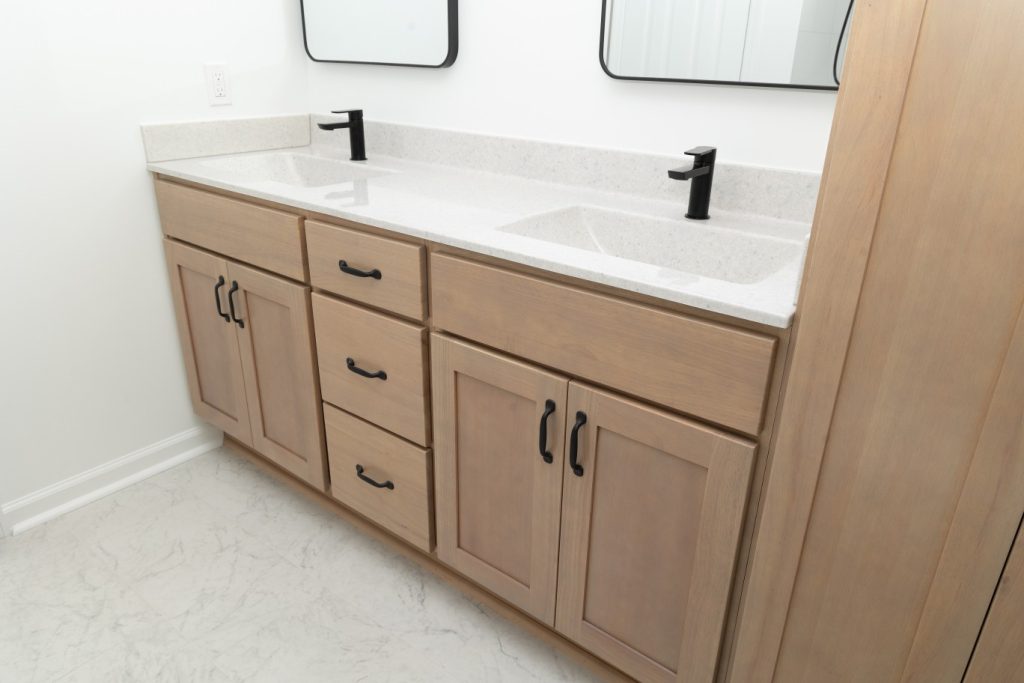
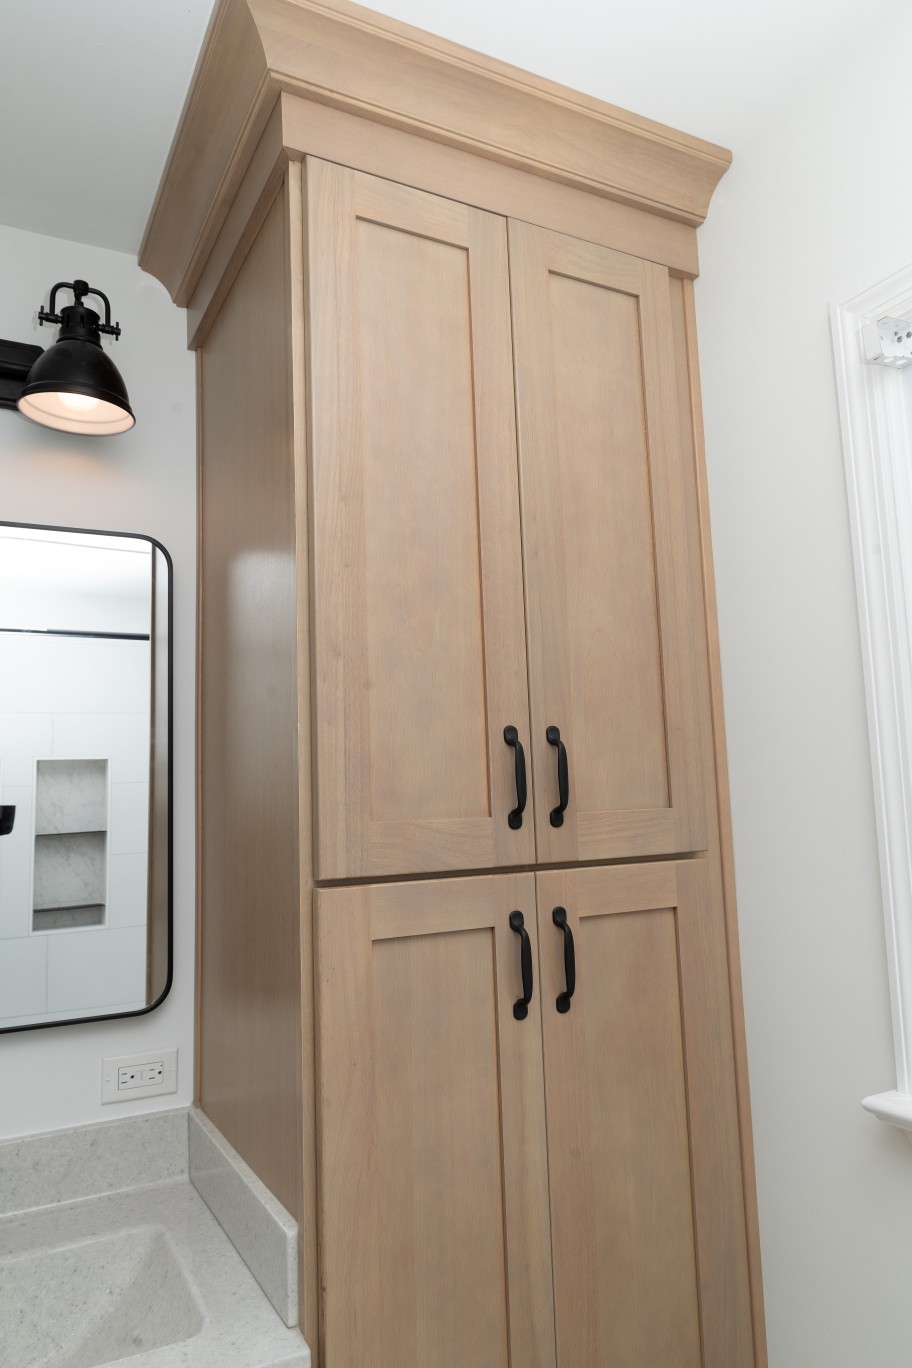
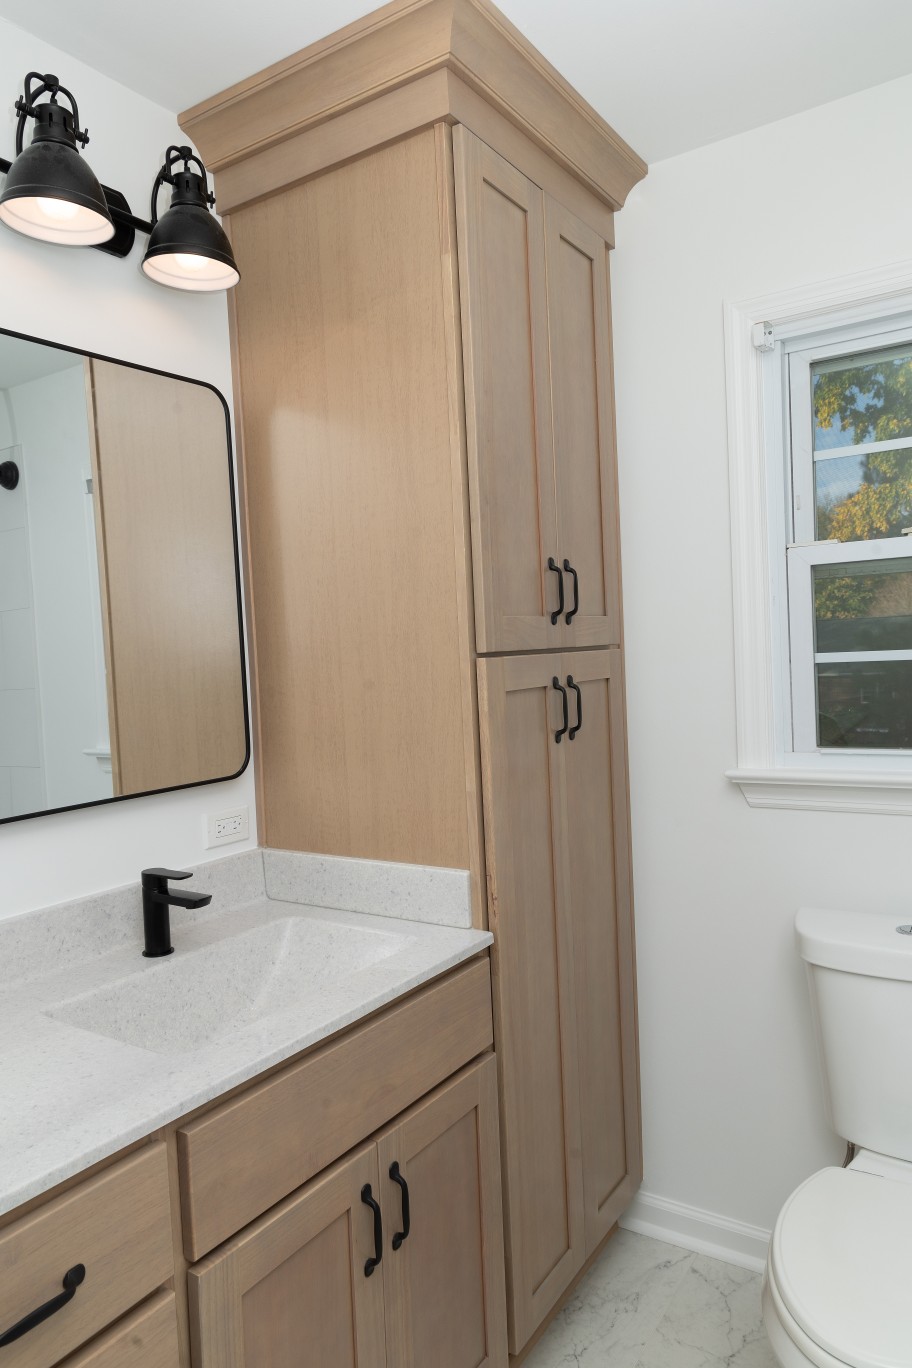
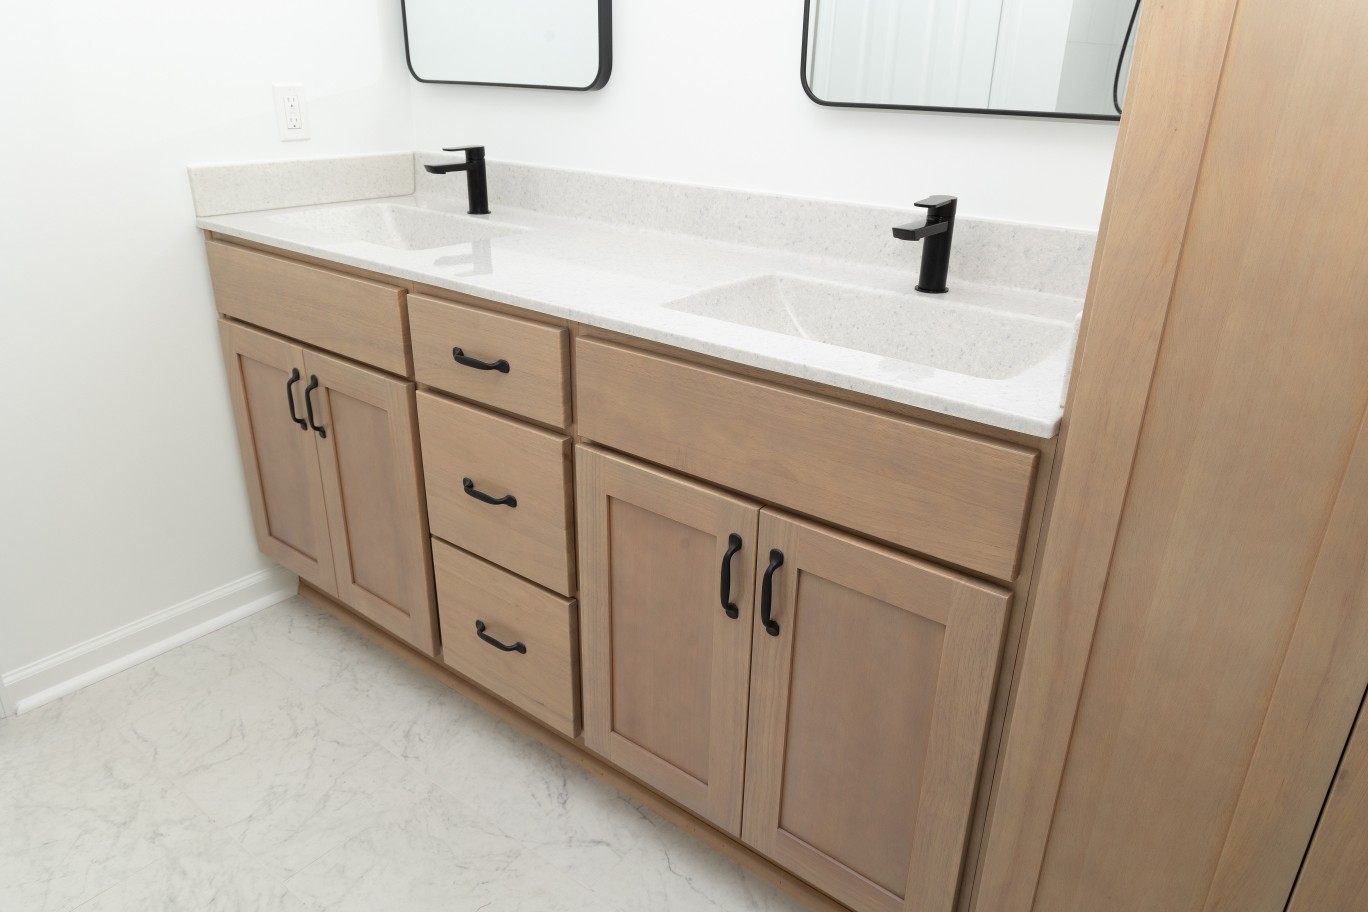
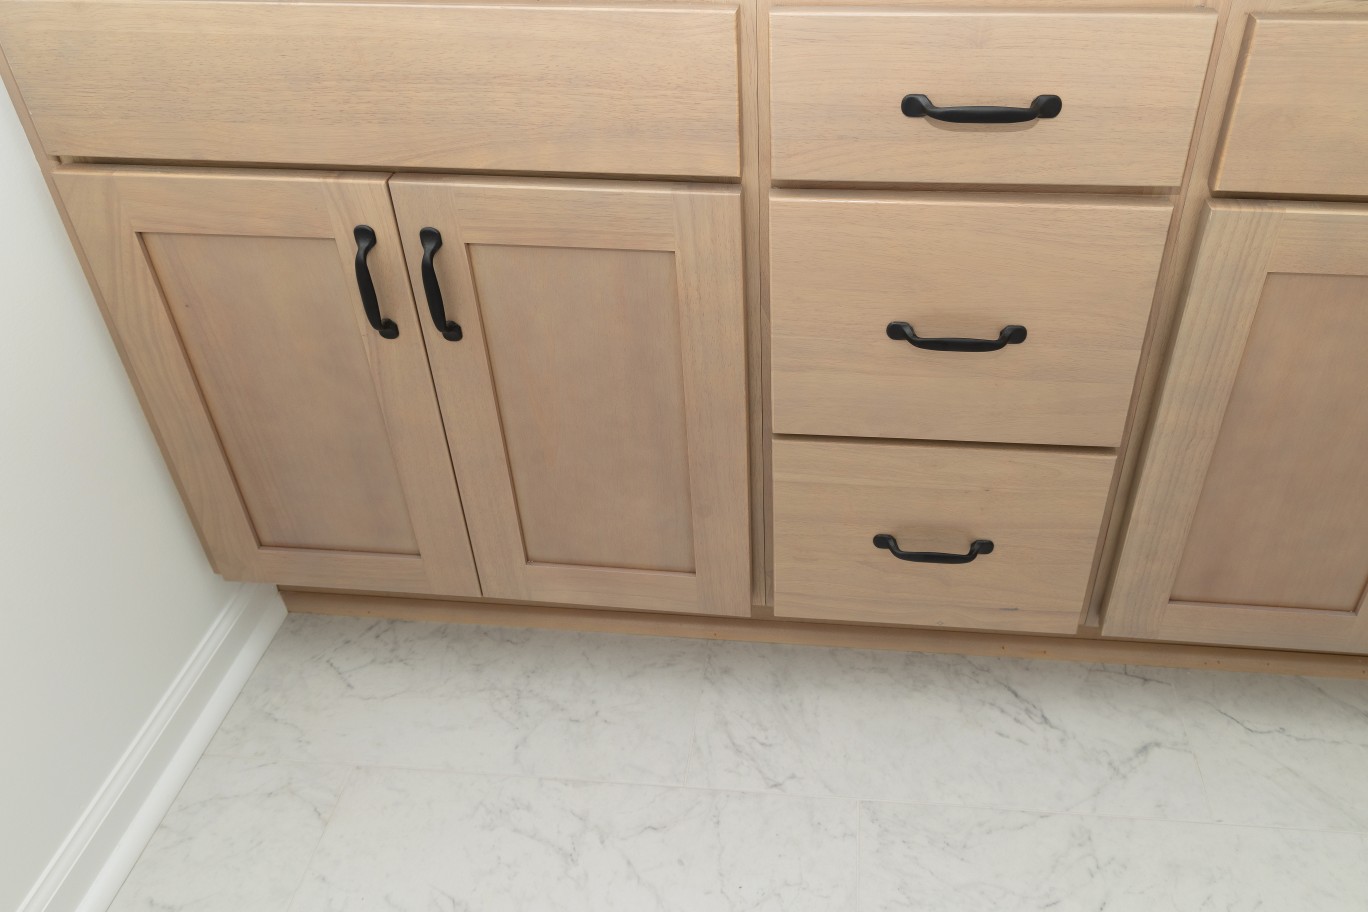
The white vanity was replaced with a shaker-style one in “Harvest” stain. A tall cabinet was also added, to provide additional storage. The “Frost Granite” cultured marble countertop, matte black faucets, and black hardware complete the look.

We also updated the primary bathroom. The vanity and toilet were relatively new, so they remained as is. The shower, however, needed a fresh look. We replaced the acrylic shower insert with the same matte white tile we used in the hall bathroom. The shower floor tile is 2×2 “Designer White” mosaic from the Daltile “Color Story” collection. Two 12×28 wall niches, stacked vertically with matte white shelves, provide storage, while the Herringbone mosaic tile installed in the back of the niches adds interest and pattern. Because the shower is too small to accommodate a corner shelf or seat, a third, smaller “foot niche” was set into the left wall. Suggested by our tile vendor, this niche allows for stability while shaving, without taking up valuable space in the shower.

Both bathrooms now have a more contemporary look that also provides better function for the family. This bathroom remodeling project shows how the right combination of tile, storage, fixtures, and finishes can completely transform an outdated space.

So, what’s your favorite style era? Mid Century Modern? Groovy 1970s? Clean and Classic? Ultra-Modern with glass and chrome? For those of you who favor a blast from the past retro look, manufacturers like Wilsonart and Formica are bringing back many of their old laminate patterns, and we’re seeing a wider variety of tile colors and shapes to suit any decor.

Whatever style you choose, we’re here to help you bring your dreams to reality!

Bringing a 1970s Bathroom into the 21st Century Read More »

Bathroom Makeover with an Eye to the Future

Back in the day, a separate tub in the primary bathroom was considered a must-have by home builders and buyers. Whether it was a corner garden tub, an oversized soaker tub, or a heated and jetted tub, a relaxing bath was a luxurious way to unwind after a long day.
Fast forward to the 2020s, and we find that this former “essential” is considered by many to be a waste of space. Our busy lifestyles, with work and activities, make it difficult to set aside time to let “Calgon take me away,” as the old TV commercial said. Today’s luxury is a large, walk-in shower with lots of special features.

If you’re a regular follower of this website, you’ll see that we’ve completed several projects where we removed the tub and reconfigured the bathroom with a large shower. This type of bathroom remodeling project has become increasingly popular as homeowners look for ways to make better use of their space. In that respect, this job is very similar – but with one big difference – the client’s eye to their future use. 

Jim and Laurie loved everything about their Gloucester home, except their en-suite bathroom. While the room was attractive, the seldom-used tub took up a lot of space, and the shower was quite small. The location of the linen closet, and the layout of its door and the bedroom door, was awkward.

We started with demo – the shower, tub, vanity, tile floor and linen closet all had to go.

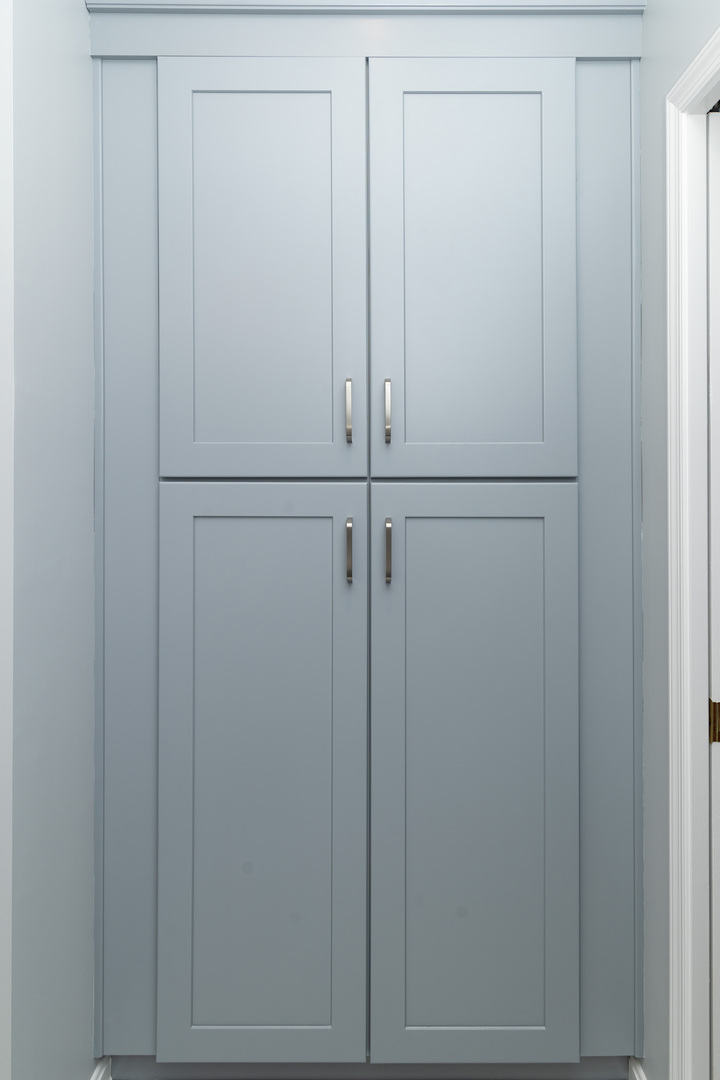
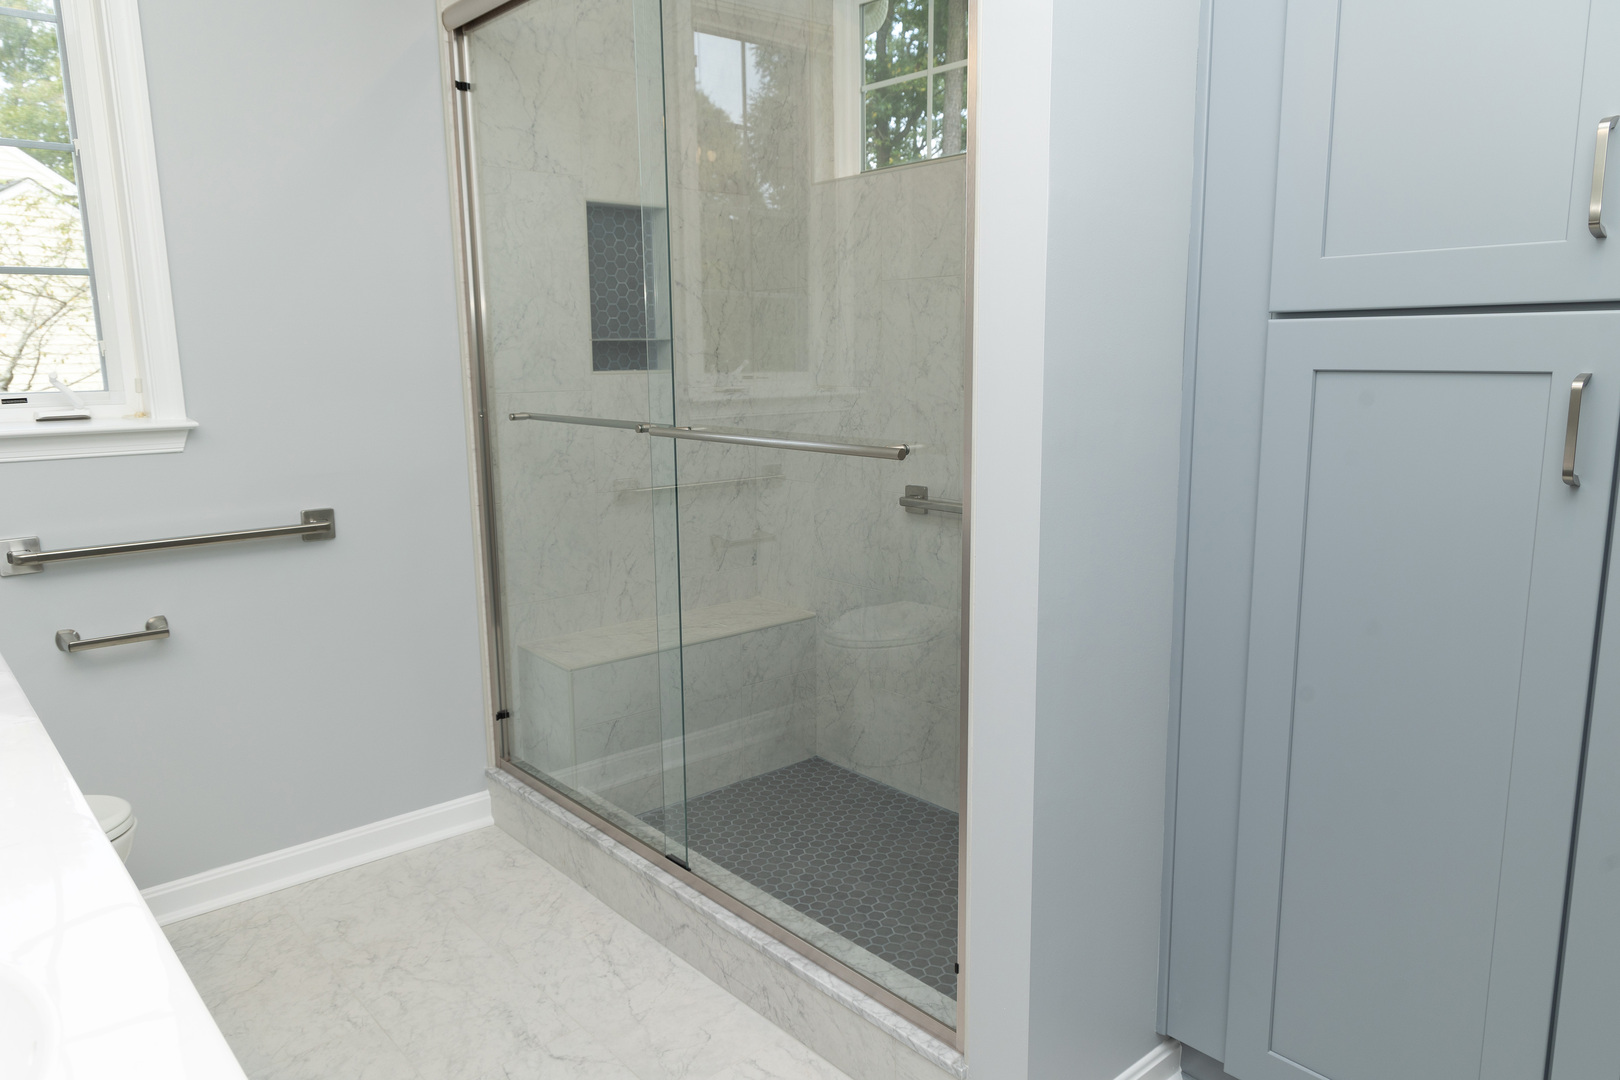
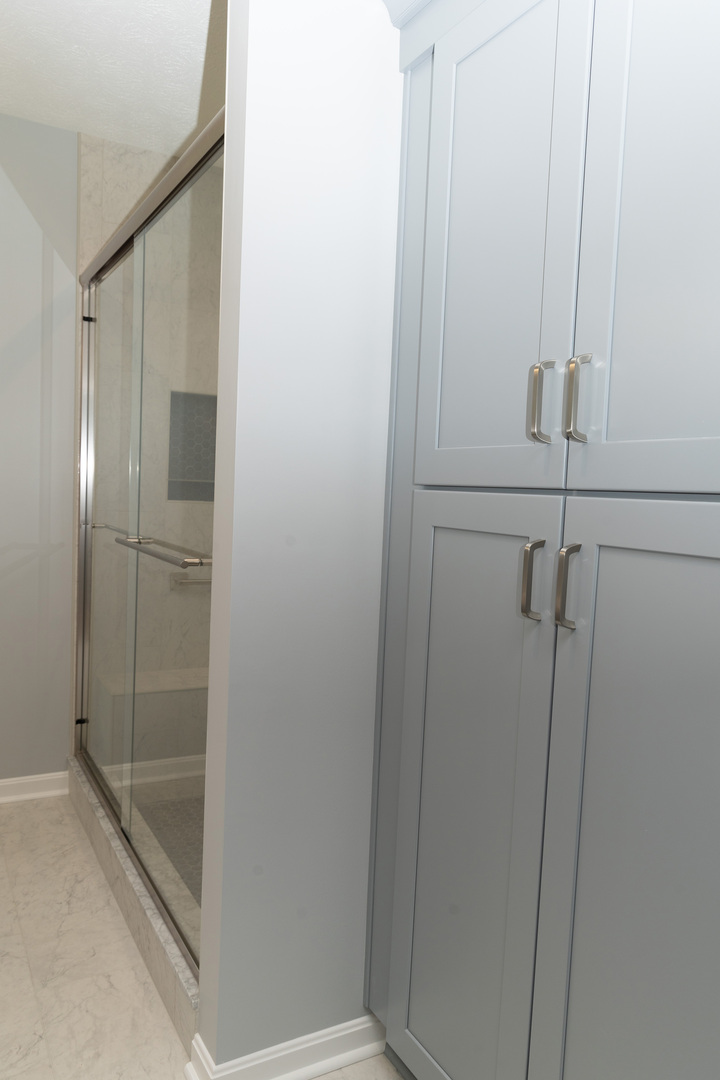
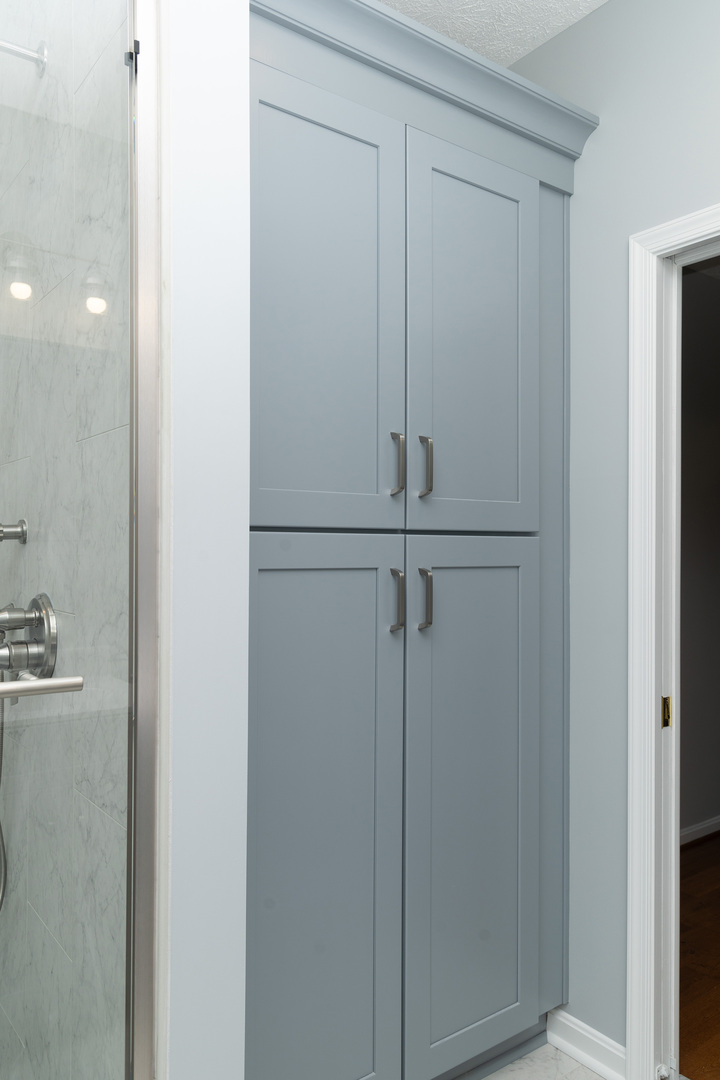
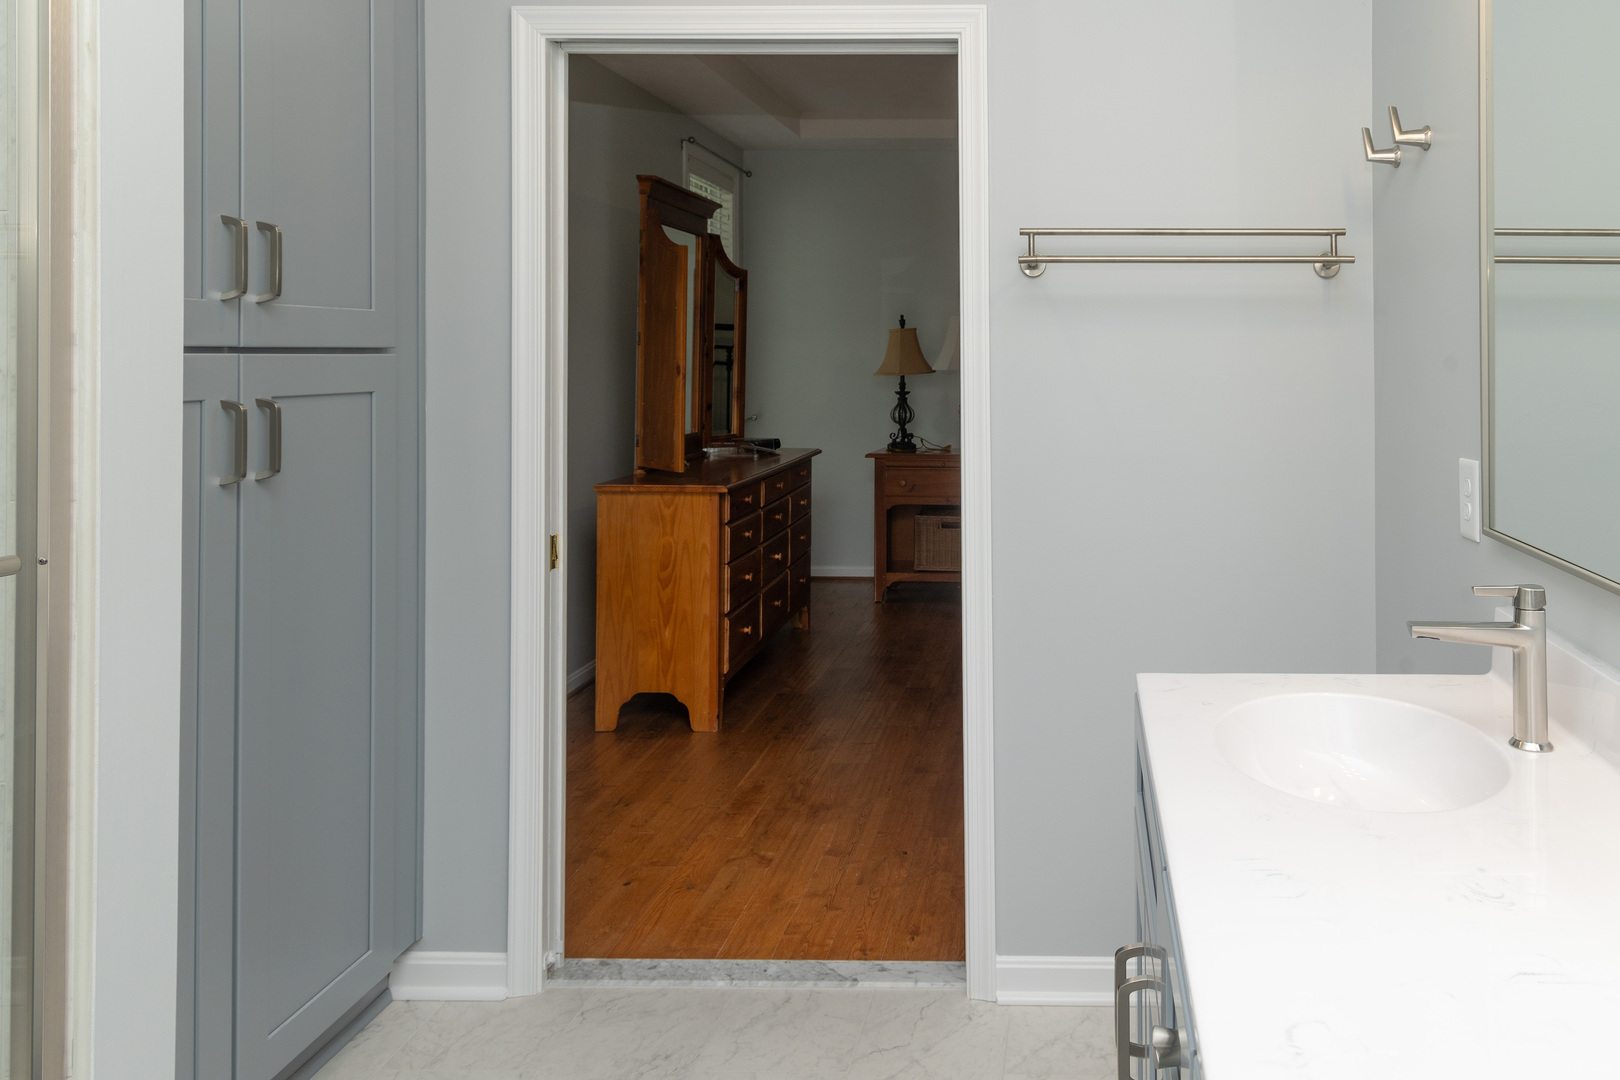
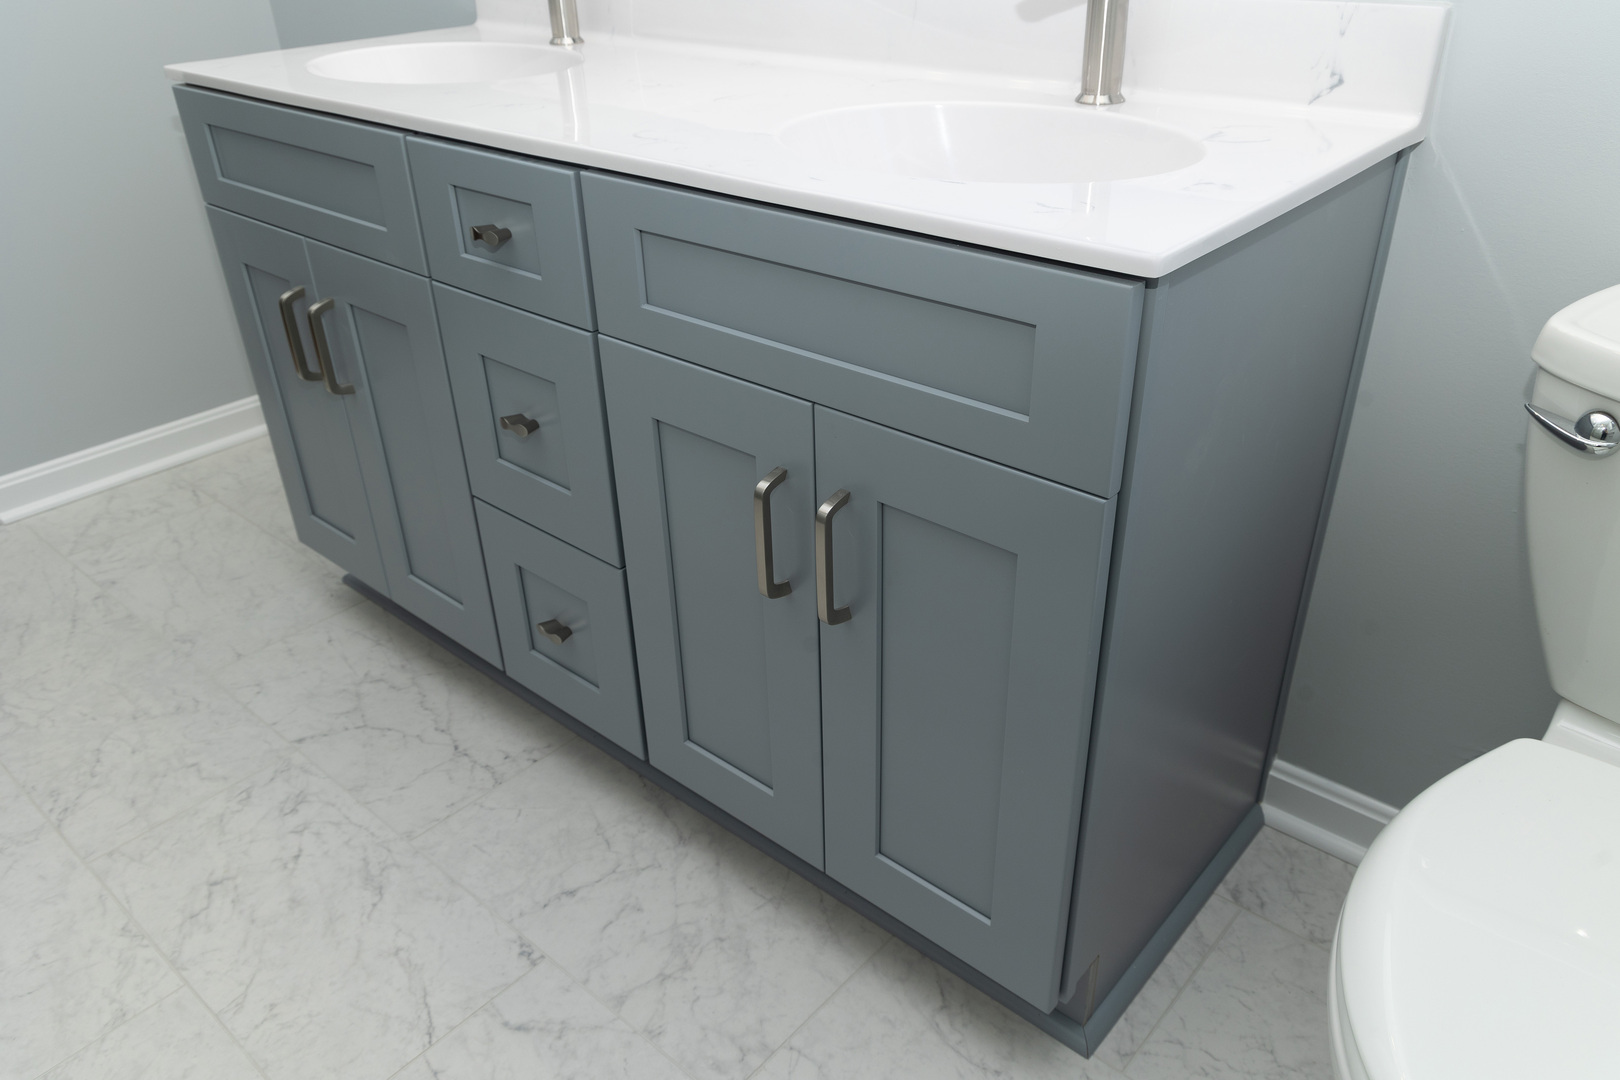
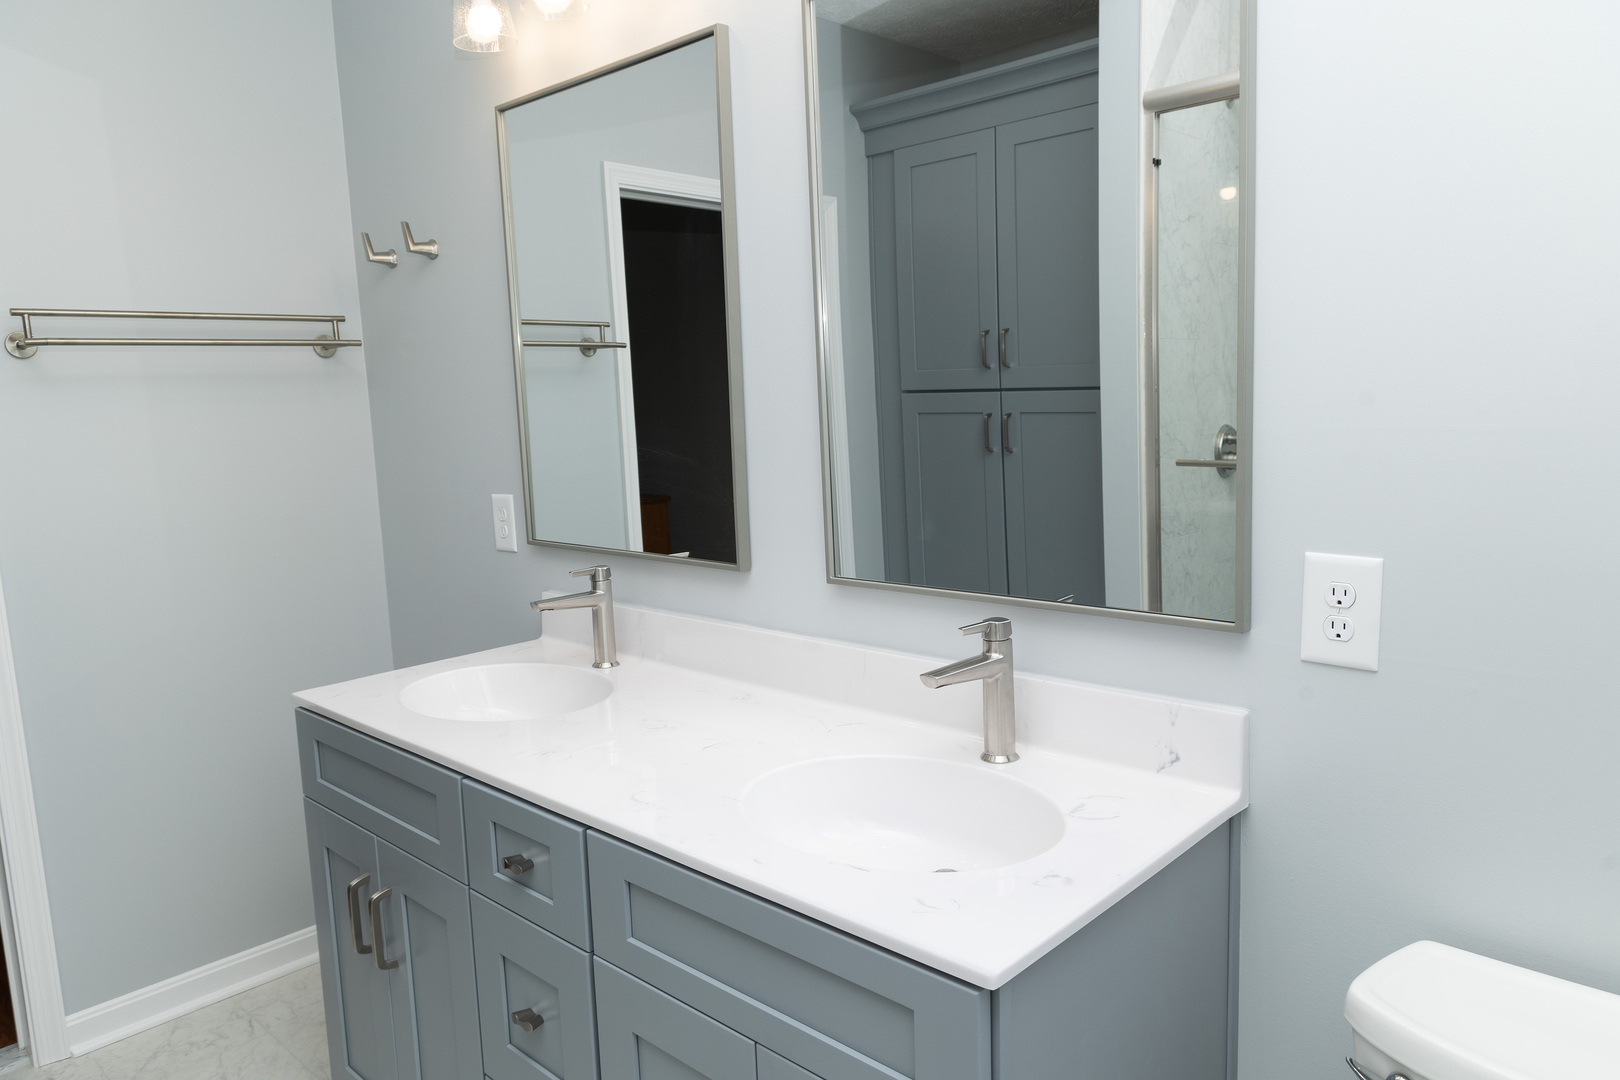
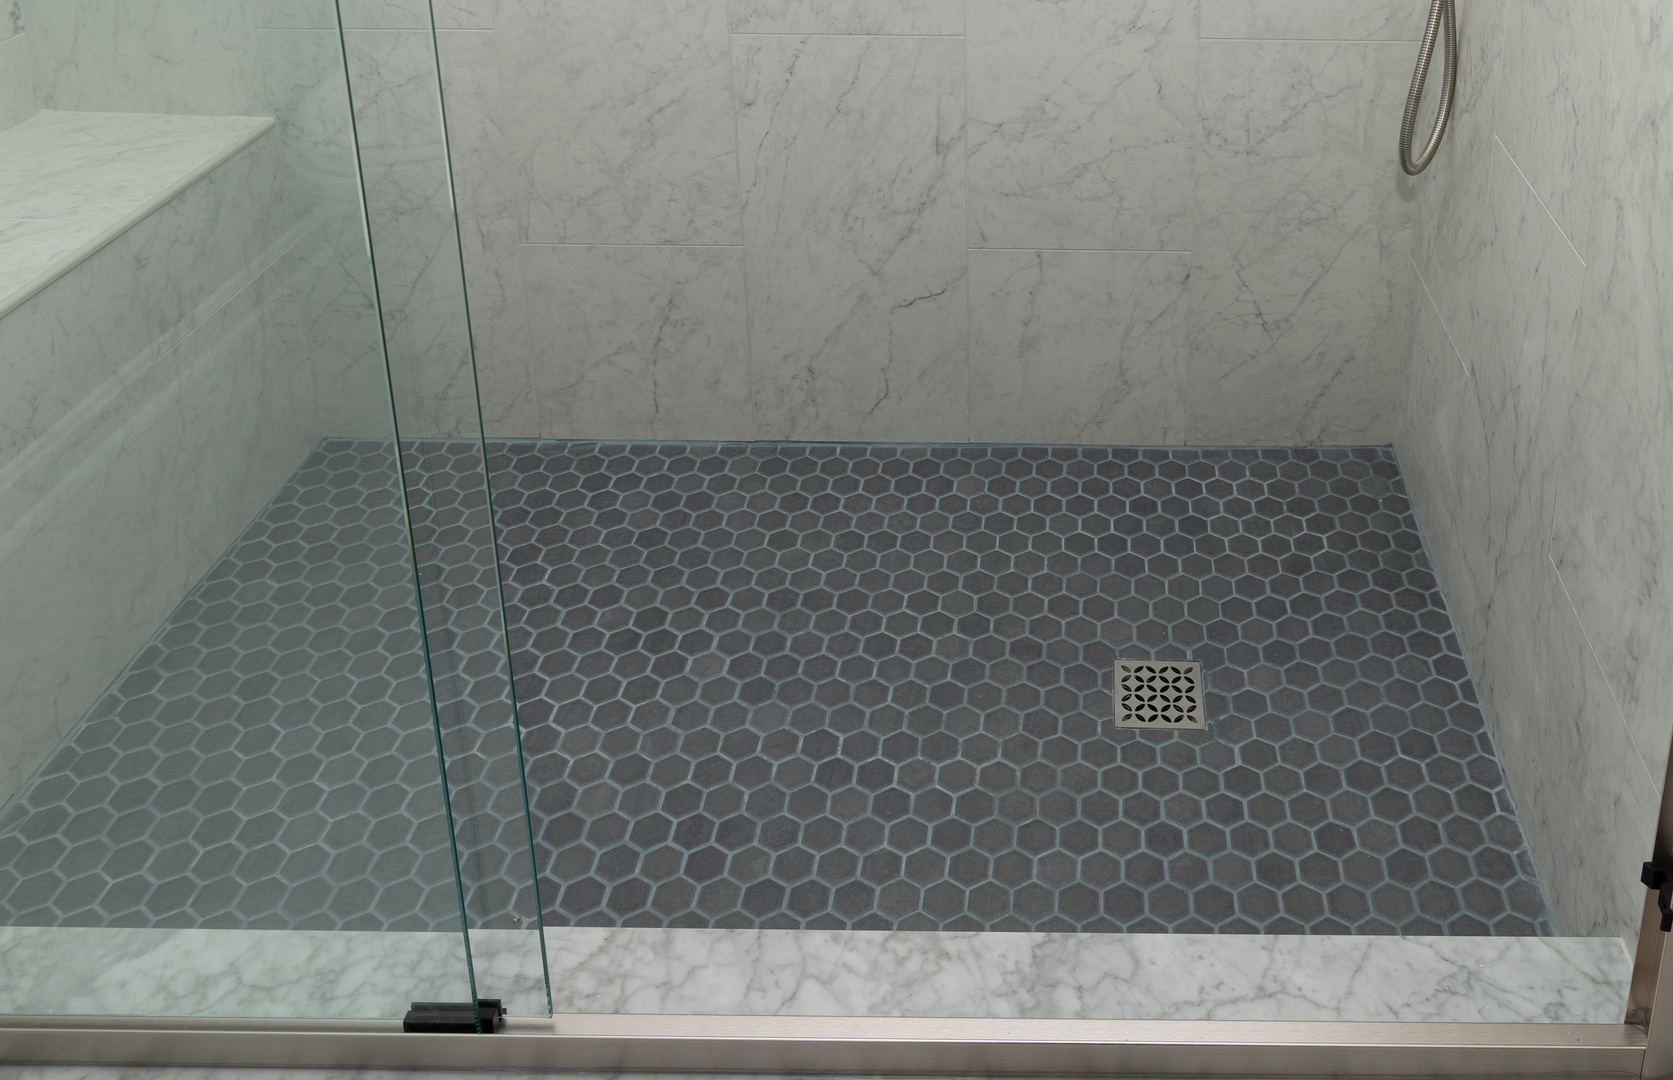
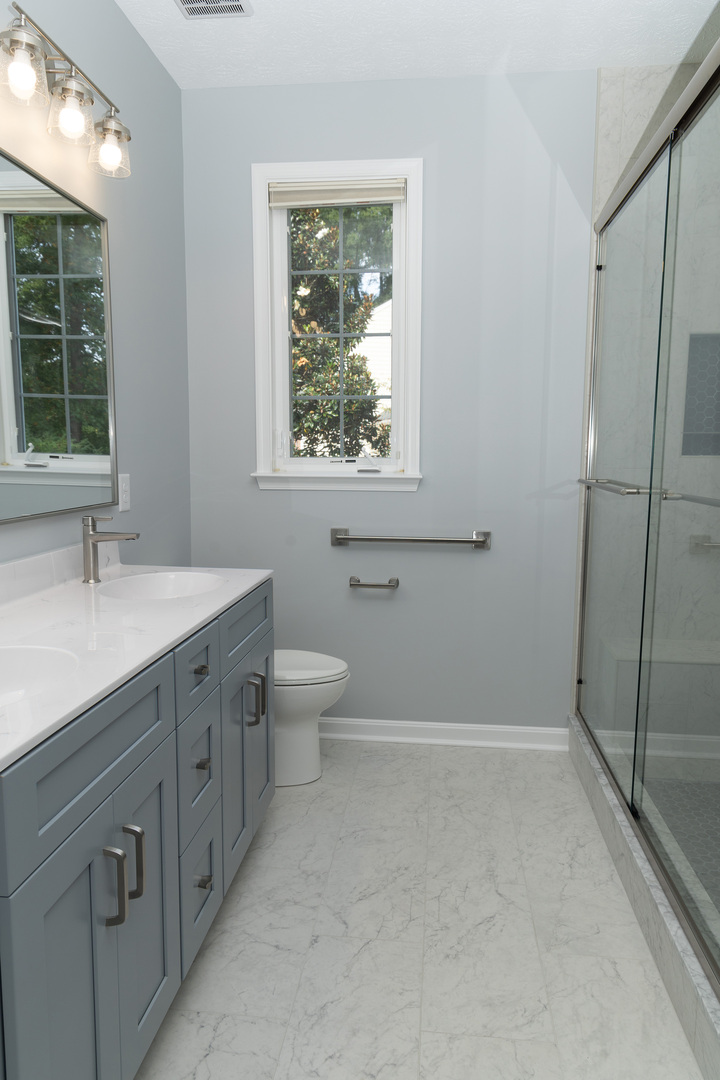
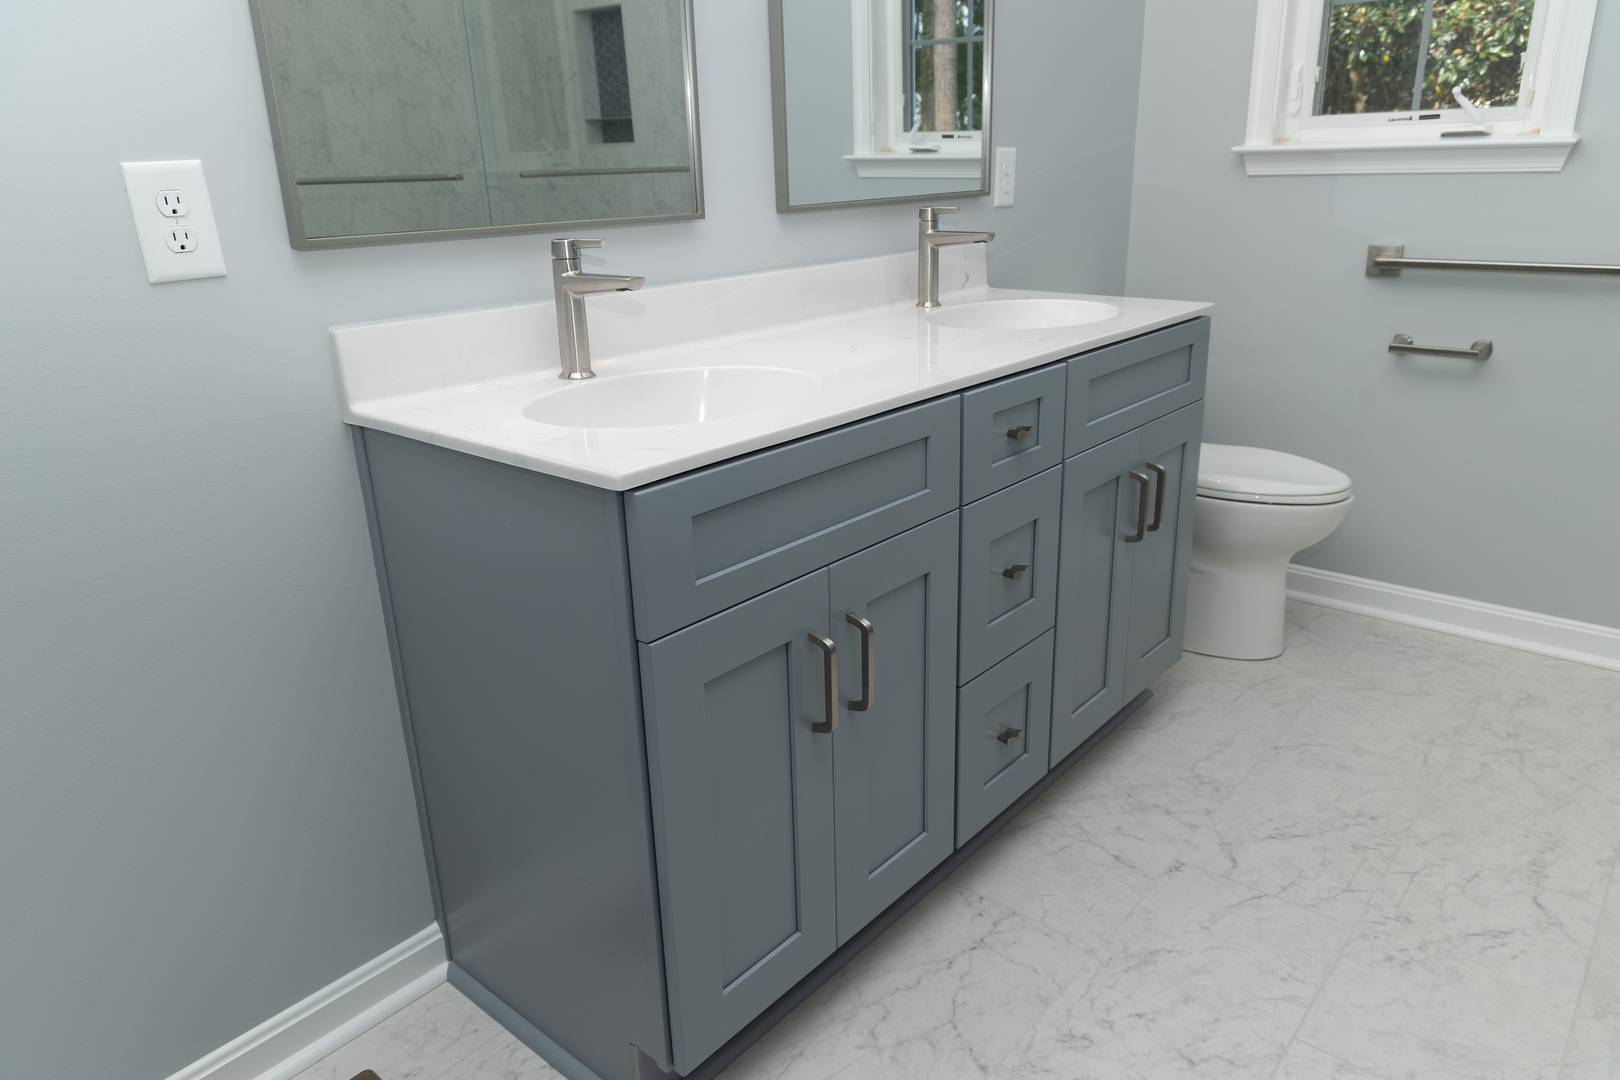
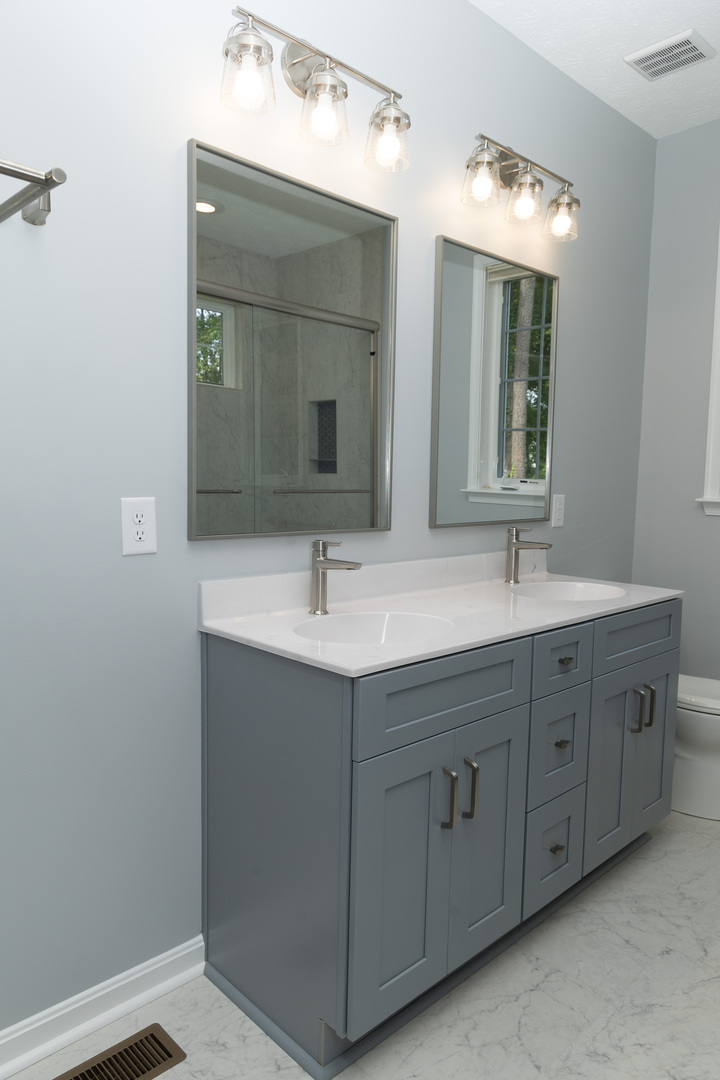
The new design replaced the former shower with a tall storage cabinet from the CNC Cabinetry “Elegant” line in Dove Grey. A pull-out hamper in the left cabinet, and pull-out trays in the right cabinet add convenience. The new vanity remained in the same space as the old one, but it was upgraded to the same Dove Grey and topped with a beautiful, cultured marble counter with two integrated sinks.

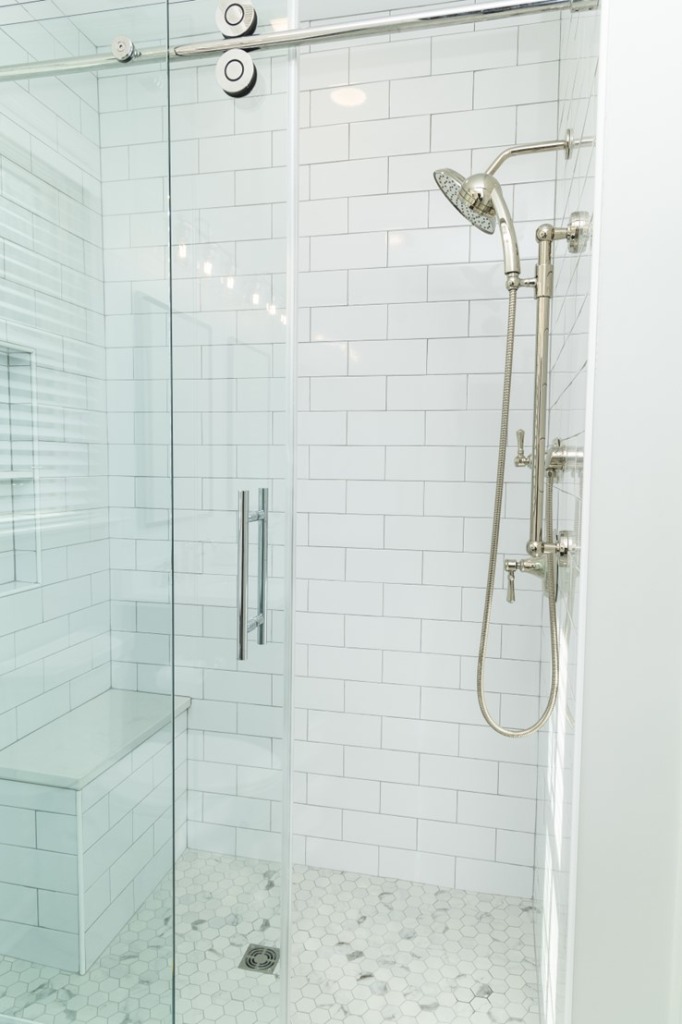
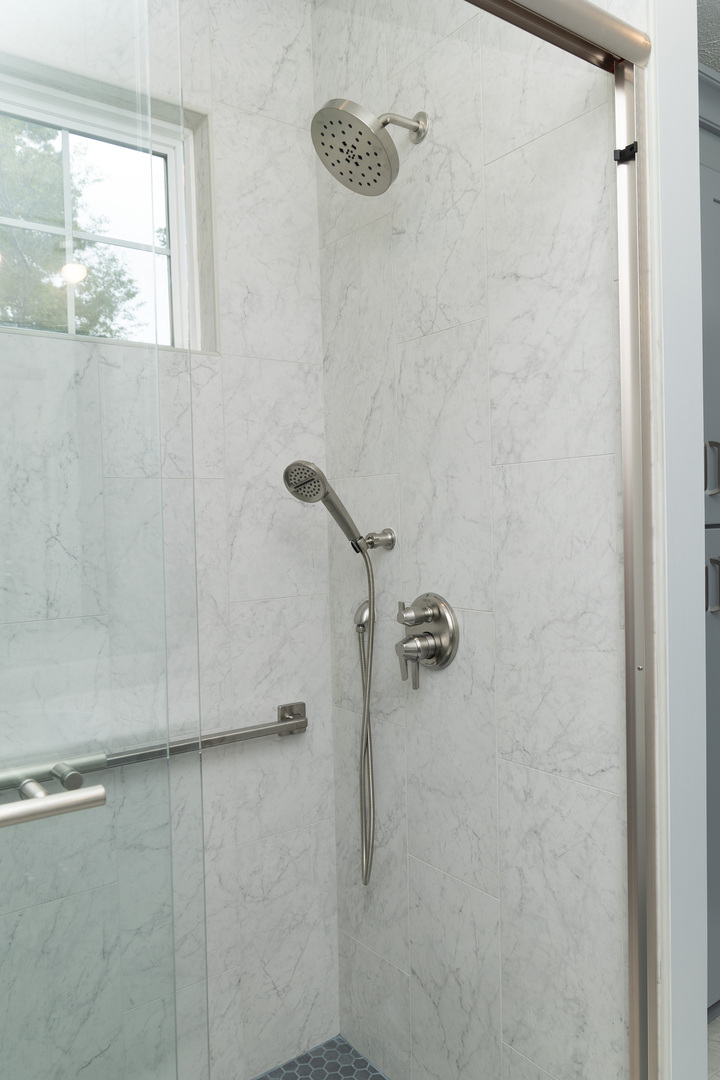
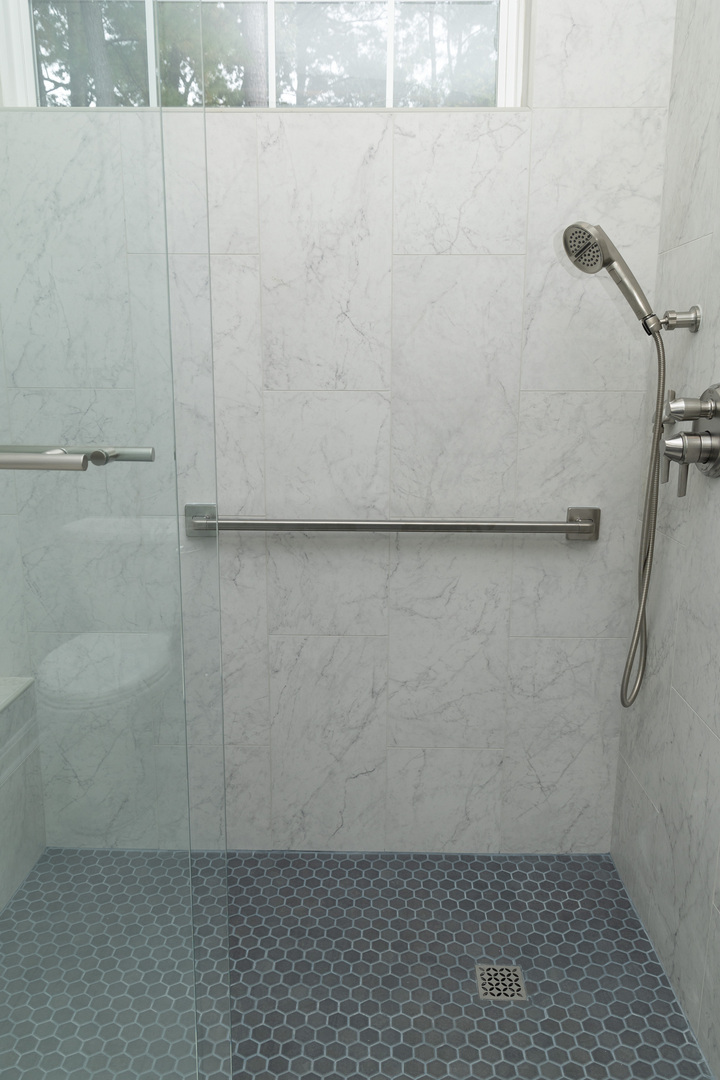
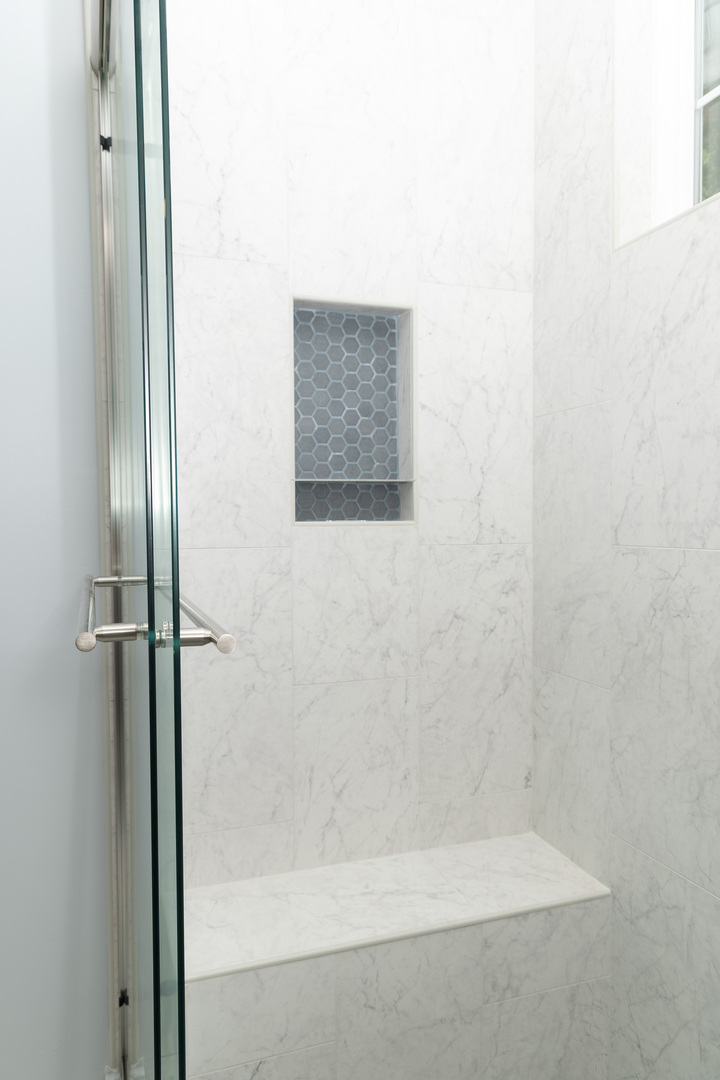
A new tiled shower with glass doors and a bench seat replaced the soaker tub. The tile on the shower walls and the bathroom floor is 12”x24” Carrara. The shower floor is accented with a hexagonal mosaic tile in Blue-Grey Moroccan Concrete.

In the space when the former linen closet was located, we added a double towel bar and two robe hooks. New mirrors, sink fixtures, and lighting complete the transformation.

Now, for a bit about the clients’ eye to the future.

As we mentioned earlier, Jim and Laurie love their home, and they plan to stay in it for a long time. With that in mind, we incorporated a few features that will make the bathroom more accessible, should the need arise.
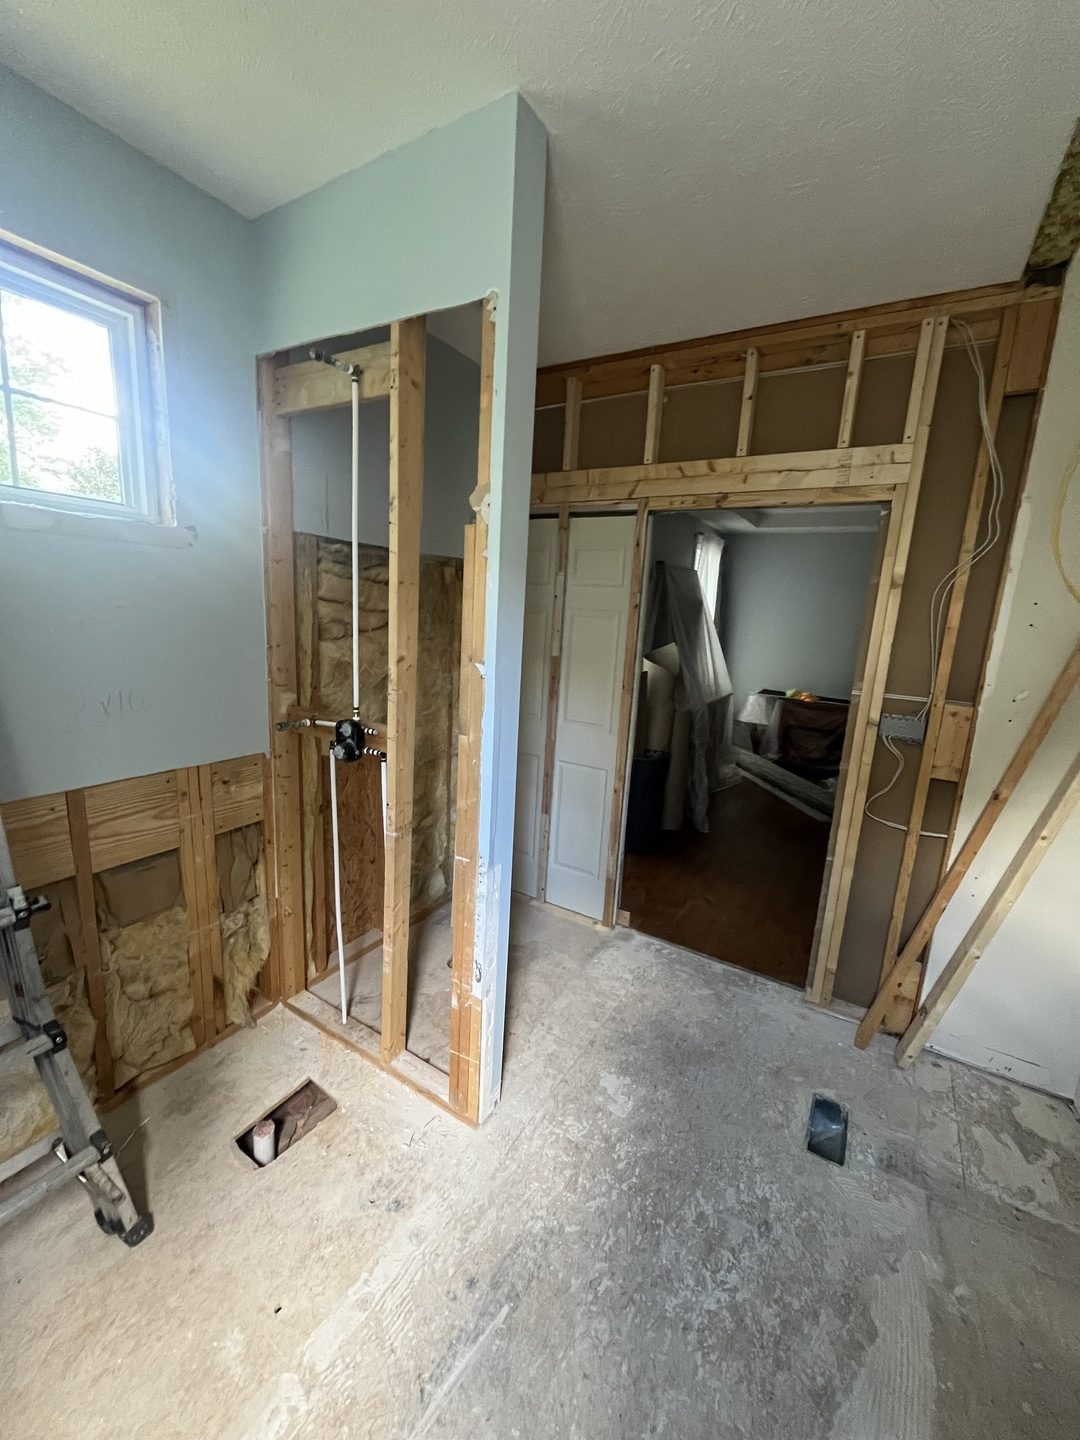
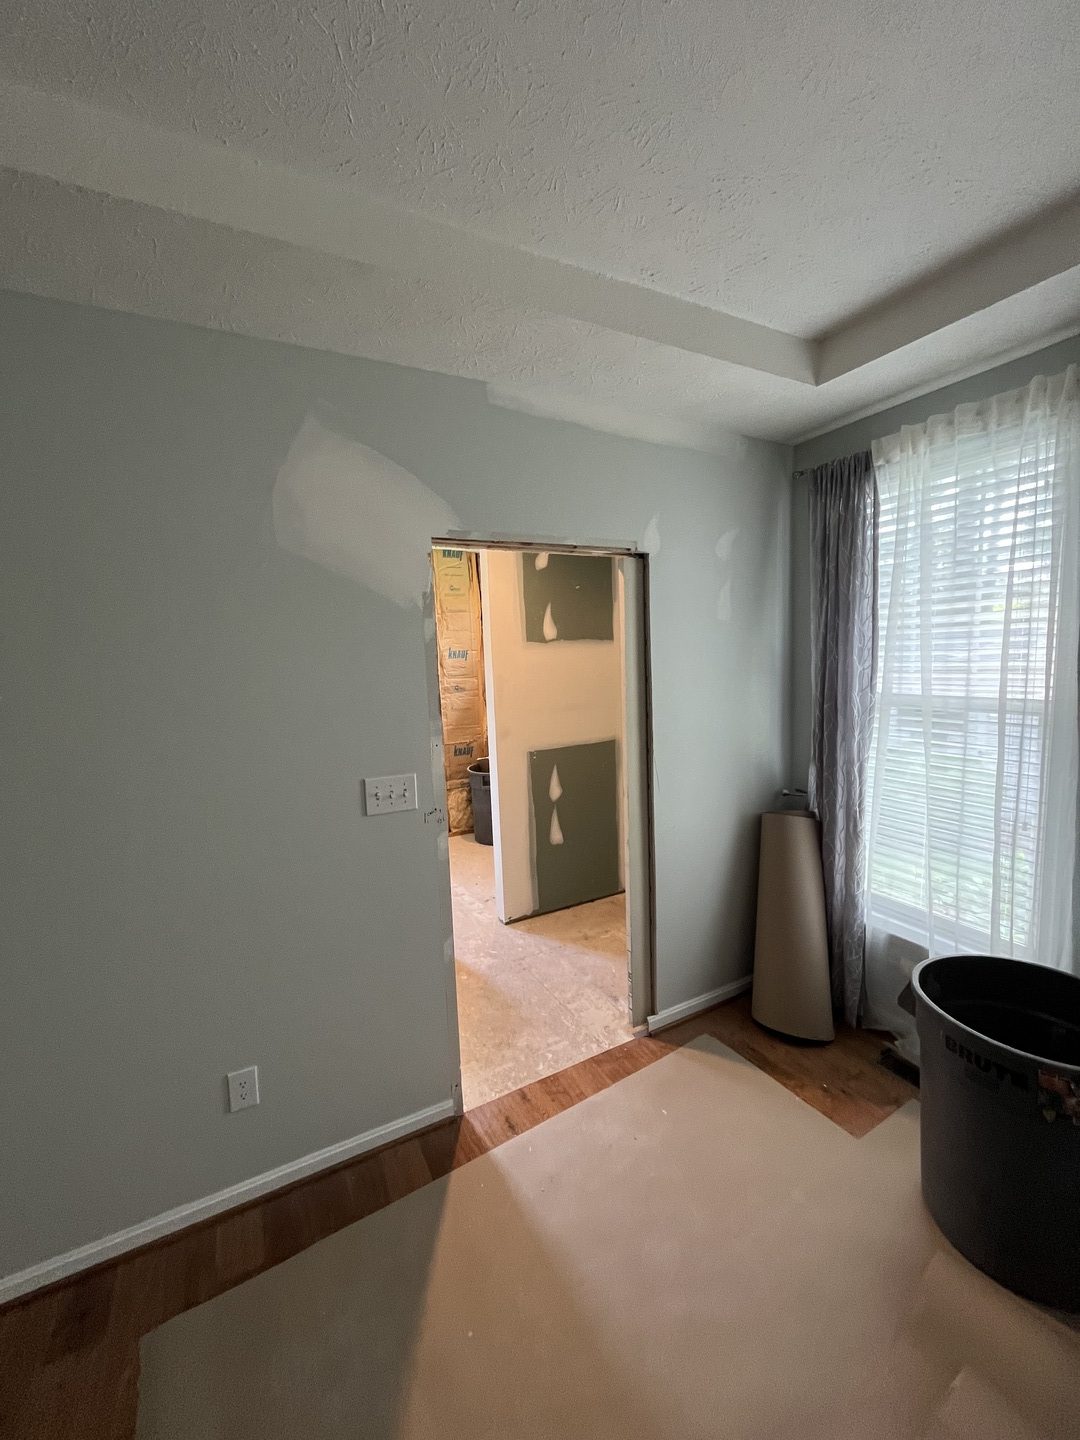
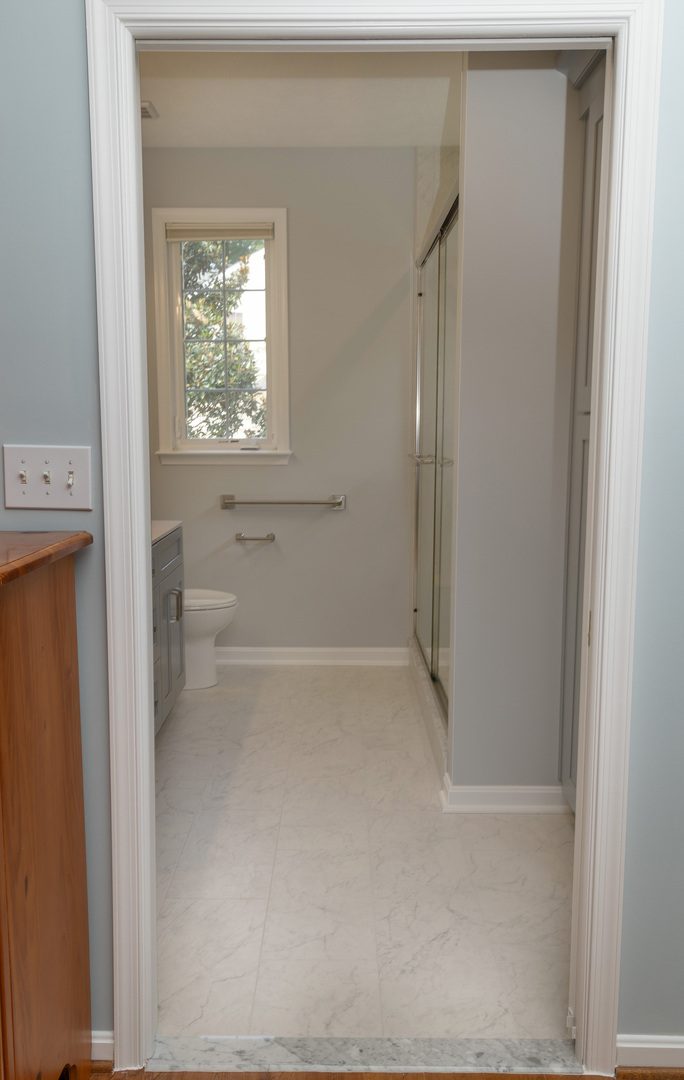
We widened the doorway and installed a pocket door. This will allow room for a walker or wheelchair to pass through the doorway easily. (Note: Because a pocket door needs special hardware to function properly, we had to remove drywall on the bathroom and bedroom sides for access and installation. This is something to keep in mind for barn doors as well – drywall repairs and paint will be needed in both rooms.)

Grab bars were installed in the shower and next to the toilet. If you aren’t ready for grab bars just yet, as part of your remodel, we can install the blocking in the wall that will be needed when the time comes. Just make note of the location before the tile goes up! By the way, grab bars are now available in a variety of styles and finishes to match the other hardware in your bathroom. The ones in this project are from the Delta “Bath Safety” line.

We also included a hand-held shower which will get plenty of use now and will make potential seated bathing easier in the future.
With our help, Jim and Laurie now have a beautiful bathroom that should serve them well, if their needs change in the future. Thoughtful bathroom remodeling can create a space that not only looks great today but continues to work for you for years to come.

We would love to help you create a design that adds form and function to your space!

Bathroom Makeover with an Eye to the Future Read More »

Cost vs. Value: Bathrooms

This is the third in a 4-part series that will examine the cost of remodeling or upgrades vs. the potential value or enjoyment of your home.

Whether it’s your master bathroom, a shared hall bathroom, or a simple powder room, updating it can be a great return on your investment. Here are a few trends that will bring your bathroom into the 21st century.

Tubs

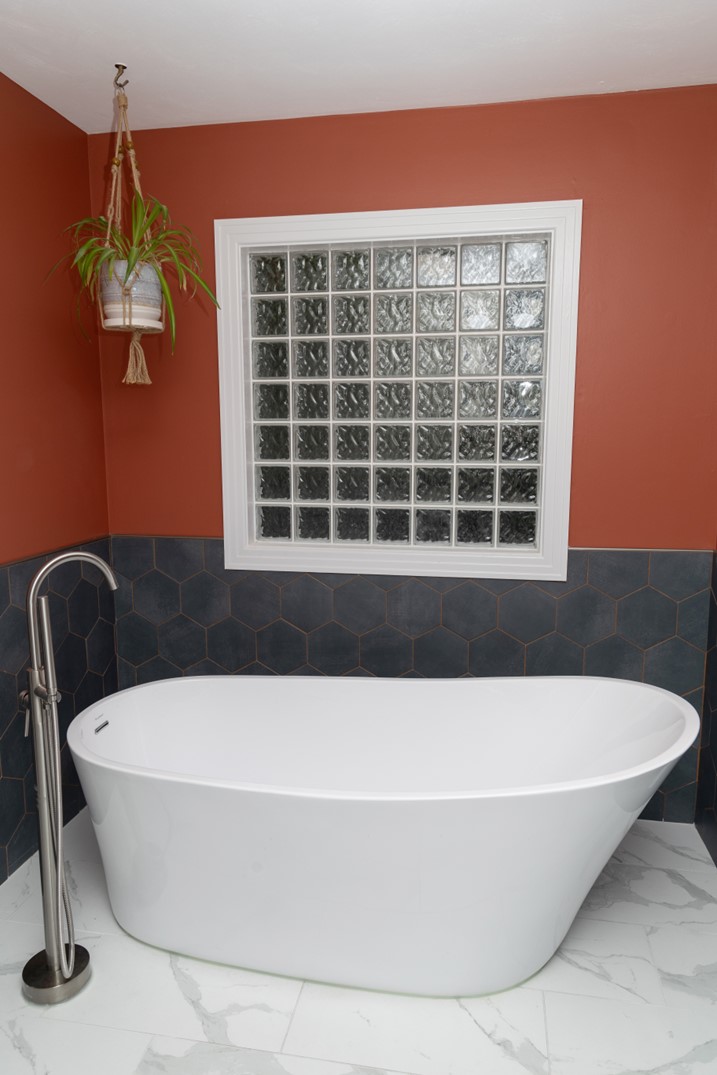
In the 80s and 90s, giant jetted soaker tubs were all the rage. Unfortunately, they used so much water that by the time you got the thing filled, the water was cold! Very inefficient. Today, many homeowners still want the luxury of a tub, but they want something that uses less water and is easier to maintain. A free-standing tub is a great option.

Showers

In those homes with the jetted tubs, you usually find a small glass and tile shower next to it. We’re seeing many homeowners remove the tub and the shower, so they have room to install a much larger spa-like shower. Tile and glass are still the most popular options, but we now have a wide range of acrylic wall options. These units look like tile, but they are molded acrylic – no grout to scrub each week! They can be installed with a traditional shower curtain, or with a custom pivot-style or sliding glass door.

Vanities

Like kitchen cabinets, we’re seeing more options for bathroom vanities. With a variety of styles and colors, there is something to suit everyone’s budget and design. Countertops range from the traditional culture marble with integrated bowls, to quartz or granite with ultra-modern glass “vessel” sinks.

Fixtures

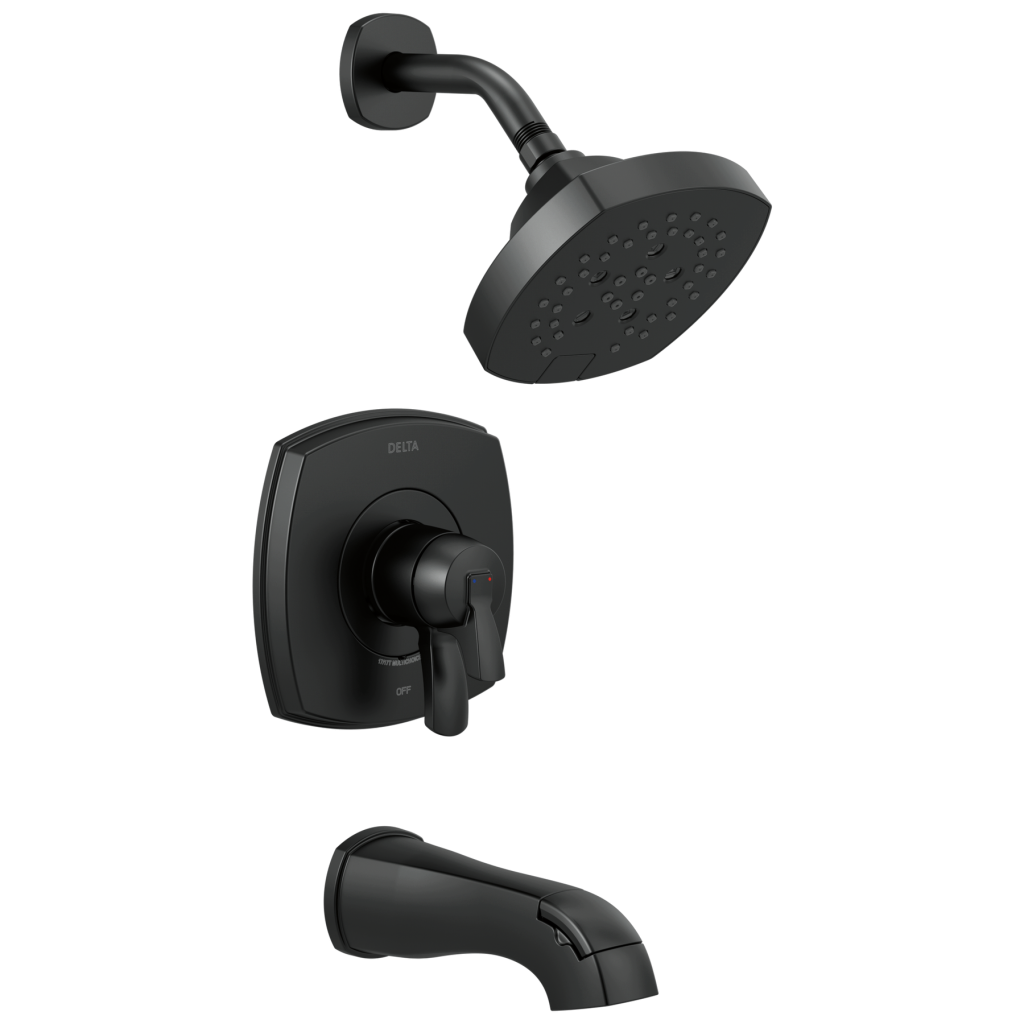
Faucets, shower heads, handheld sprayers. There are options galore! Whether you go with a traditional chrome faucet or sophisticated black rain shower, you’ll appreciate the look and functionality of these fixtures.

Lighting

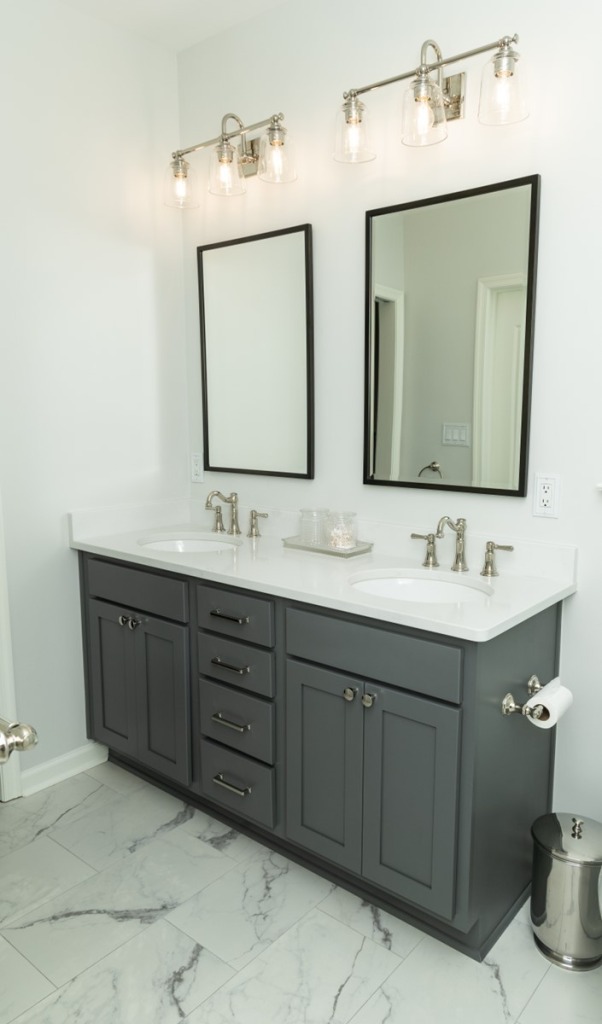
Again, there are so many options you may find it hard to choose. If you have the old “Hollywood” bar style light with 3 or 4 round bulbs, consider updating to a sleeker fixture. We love the multi-light fixture with square glass shades that we recently installed for one of our clients.

Flooring

Finally, update your floor covering. Simple sheet vinyl may have been all the rage when your house was built, but it can really date the space. Traditional tile or luxury vinyl tile (LVT) will give you a more contemporary look and feel.

PRO TIP: Working with a designer in conjunction with your builder can help you pull together all the elements of your new and improved bathroom!

Cost vs. Value: Bathrooms Read More »

New Master Suite in Norfolk

A few months ago, we talked a little about buying a “used house.” This was the case for a couple in Norfolk recently. The previous owner had been a do-it-yourselfer, and his skills left a bit to be desired. His addition off the master bedroom at the back of the house had some serious issues, the worst being a persistent roof leak. The ceiling was also lower here than in the other rooms, which made it cramped and dark.

Our first goal was to address the leak. Because the addition had a flat roof that had been tied in improperly, and because the tiled roof was showing its age, we knew a total replacement was in order. By dealing with the roof first, we were able to reframe the roof of the addition and create a cathedral ceiling in what would become the new master bathroom.

We installed CertainTeed Landmark Architectural shingles in Moire Black. These shingles carry a limited lifetime warranty, and are rated for wind speeds up to 110 mph. The gable ends of the new roof were finished with tan siding and trim that complemented the brick.

After a few conversations about what the homeowners envisioned for the interior, we got to work inside, creating a new master suite.

The bedroom received fresh paint and new Luxury Vinyl Plank (LVP) flooring. Between the bedroom and the new master bath, we installed a barn door with obscured glass. This door style is great for rooms where there isn’t enough space for a traditional door to swing open. The obscured glass still allowed the light to shine through, while giving privacy to the adjoining bathroom.

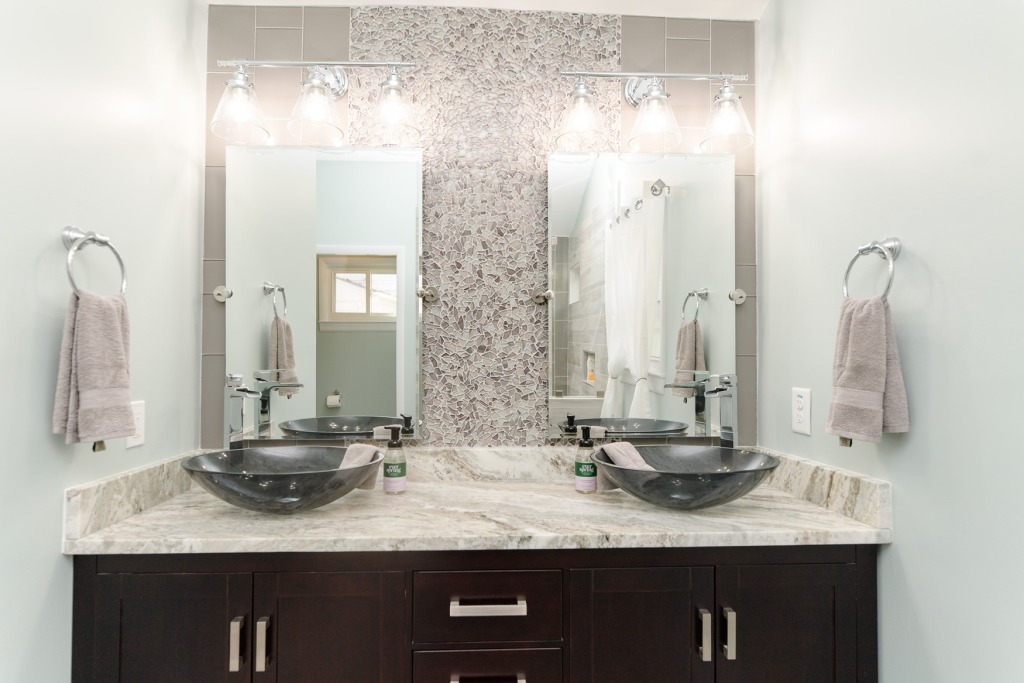
The bathroom is a true showplace that represents the homeowner’s style. Starting at the top, the new cathedral ceiling makes the room feel much larger. Windows, along with specialty and accent lighting reflected in the double mirrors, keep the space bright. The homeowner found a vanity and two vessel sinks she loved. We added a Fantasy Brown granite countertop, and the same material was used for the bench and threshold in the shower.

We love the new shower! Several sizes and styles of tile were used to create a unique look. A niche was built for shampoo and soaps, and the space was finished with a custom glass enclosure.

A lighter shade of LVP was installed on the bathroom floor, in the new water closet, and in the walk-in clothes closet. Pale blue walls and bright white trim completed the makeover.

Our clients said, “The master suite is still as gorgeous as the day it was finished. It has become the topic of conversation with all visitors.”


We hope this space will continue to be a relaxing retreat for many years!

New Master Suite in Norfolk Read More »

Different House, Same Address: Whole House and Kitchen Remodel in Running Man Neighborhood, Yorktown VA

untitled-11_3_5_Smooth

Mark Lownik grew up in the the Running Man Neighborhood of York County.  After College, his career took him to Connecticut where he met Jennifer and they started a family.  In 2015, with his parents desiring to downsize, Mark found himself contemplating moving his family from New England back to the very neighborhood and to the very home that he had grown up in.   We were referred to them in a quite round about fashion by a friend of a former client that had since moved to Florida.  The circuitous route by which they found us proved to be a perfect introduction to a great family who proved fun to work with when we helped to bring their vision of their new home to life!

Her Vision:

Mark & Jen Lownik had a unique opportunity to move back in to the house that Mark had grown up in but remodel it pursuant to a whole new vision.  Jen envisioned removing a wall in between the kitchen and the den, remodeling the kitchen, installing new hardwood floors, removing and replacing the textured ceilings with smooth ceilings, re-designing the guest bathroom, laundry room and storage room and removing and replacing the stained trim in the house with new white trim.

Always Keep The Main Thing The Main Thing:

The key element to the entire project was the kitchen.  

2015-05-29 14.58.31
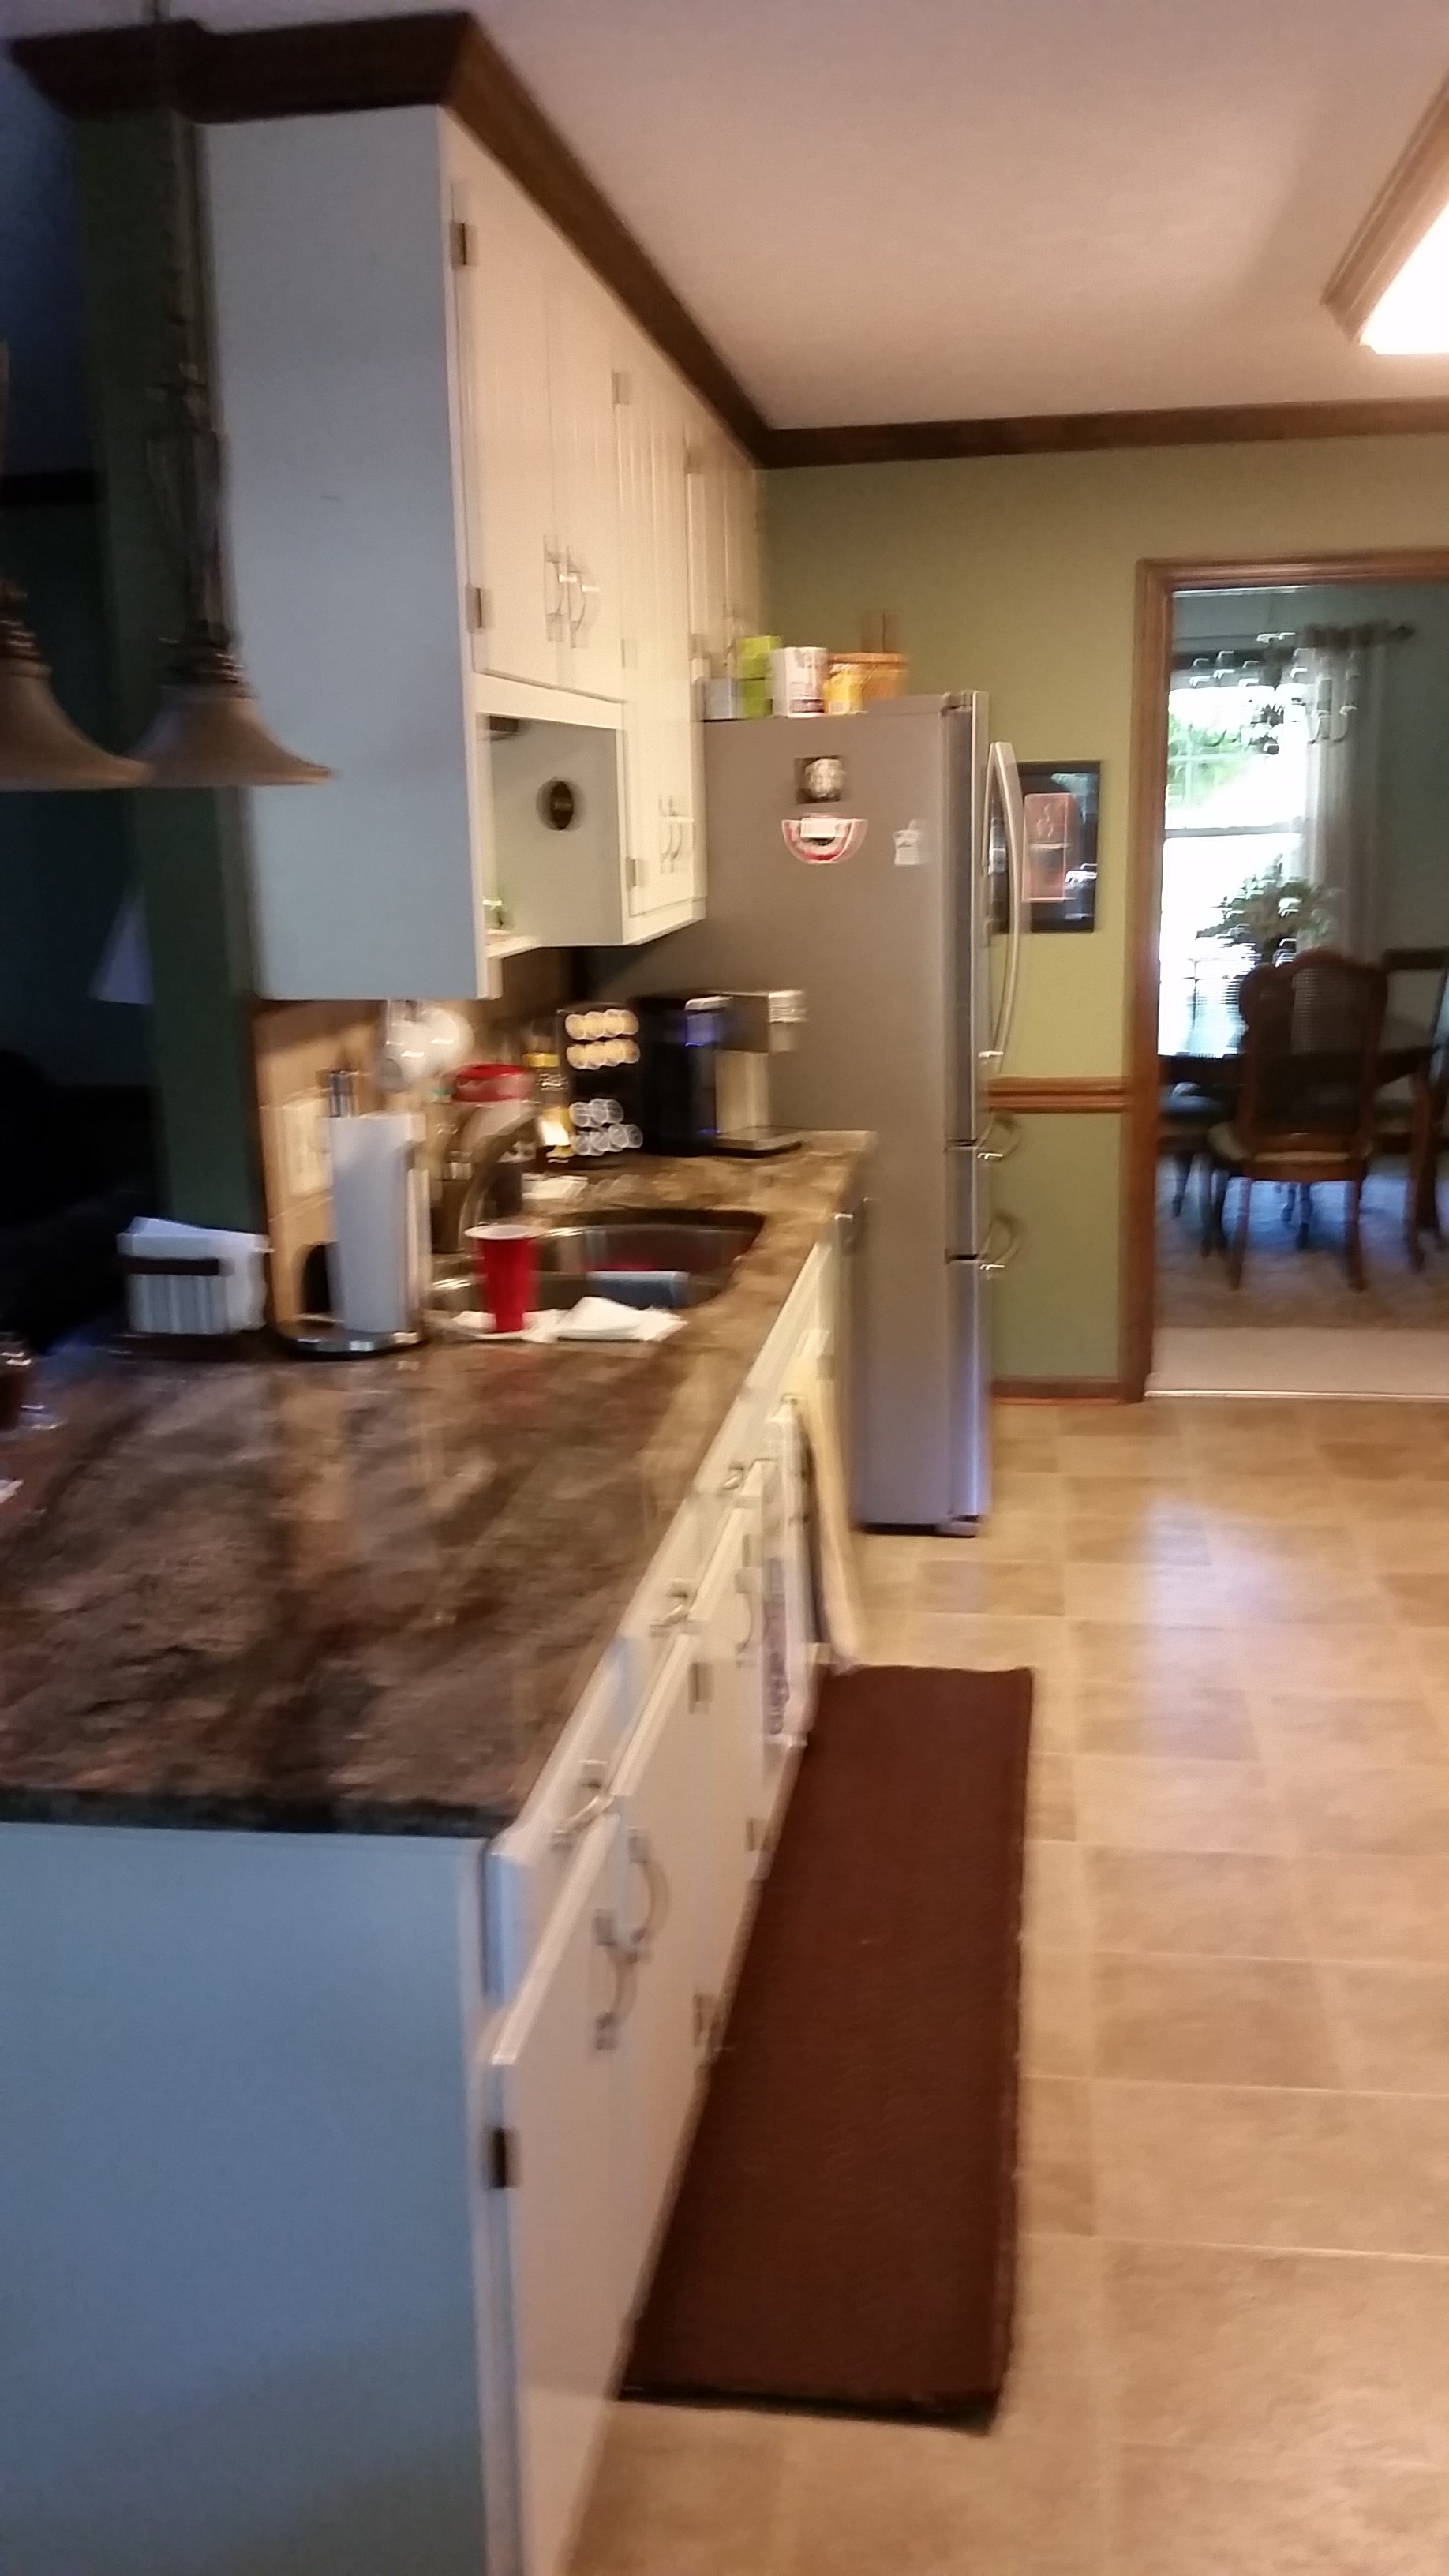
The existing kitchen with openings on the left and right that limited the amount of wall space that was available for cabinetry

The cased opening between the existing kitchen and the dining room was so close to the corner of the kitchen that it did not allow for enough cabinet space.  The doorway to the laundry room at the right end of the cabinets also limited how much cabinetry could be on the adjacent wall.

The existing kitchen in the house had a wall that separated it from the den (click on thumbnails for full size) :

The Plan:

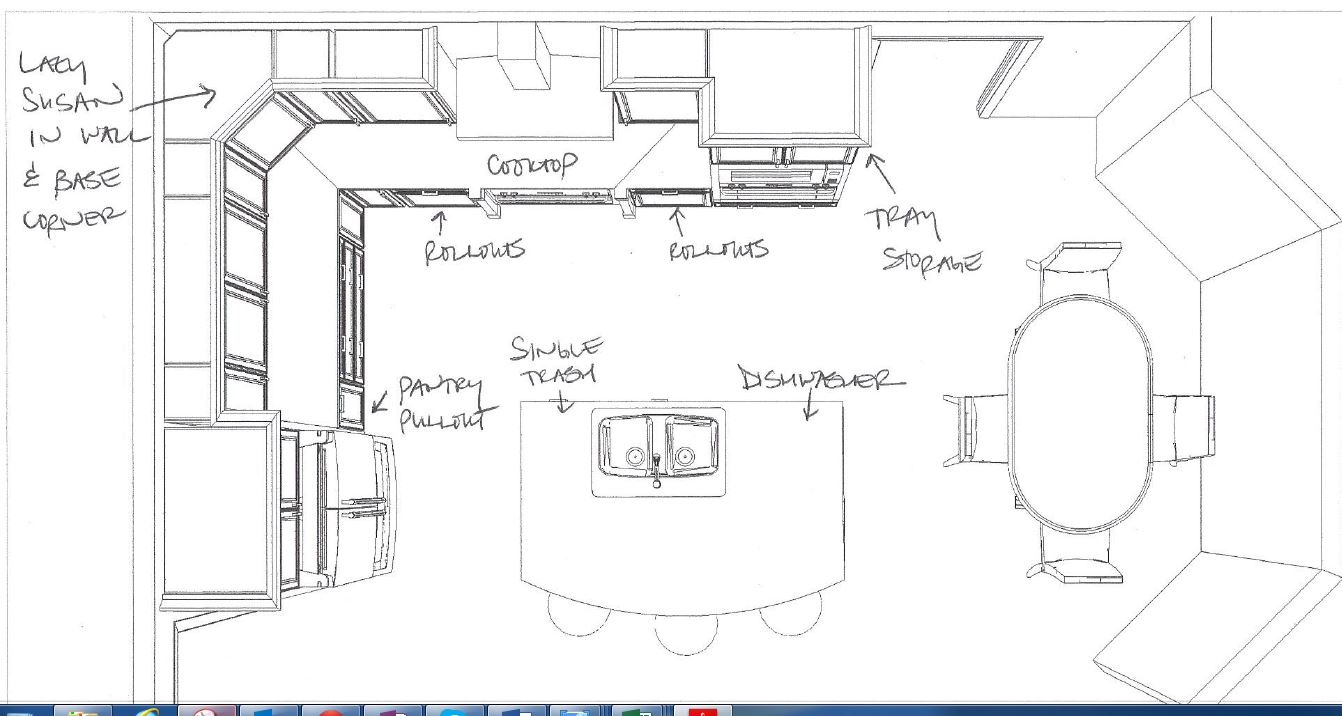
Remove the wall to create an open floor plan, move both the opening to the dining room and the door to the new pantry area to maximize the amount of wall space that was available for cabinetry.kitchen overhead

Where the wall had once existed, the view was now opened to the entire den:untitled-80

Moving the openings allowed for much more base and wall cabinets: untitled-25_6_7_Smooth

(click on thumbnails for full size)


Rethinking the Garage Entry:

Another area that the Lownik’s wanted  to reconfigure was the entry from the garage to the main house.  The current entry was into the laundry room that also had a spare bathroom and a storage room off of it. (click on thumbnails for full size)

The existing floor layout looked like this:

Lownik as built plan
The existing floor plan for the laundry room, bathroom storage area that connected the kitchen to the garage.

We redesigned it to look like this:

Lownik remodeled plan

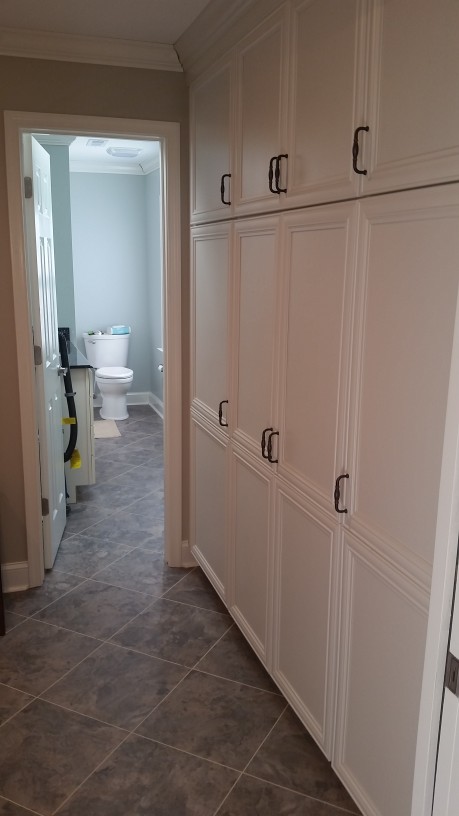
Here are some of the pictures from during construction of the new pantry cabinets looking into the new bathroom area (click on thumbnails for full size) :

The Vision Realized

The final result was nothing short of a stunning transformation resulting in a completely different house at the same address.

Contrary to what Thomas Wolfe once wrote, Mark & Jen proved that you could go home again.

Different House, Same Address: Whole House and Kitchen Remodel in Running Man Neighborhood, Yorktown VA Read More »

Bathroom Remodel with Walk-In Shower in Yorktown Virginia

Our clients in Yorktown were ready for a change with their Master Bathroom.   They had originally designed the bathroom they had when they built the house in 1988, but over the years found that some of their needs had changed.

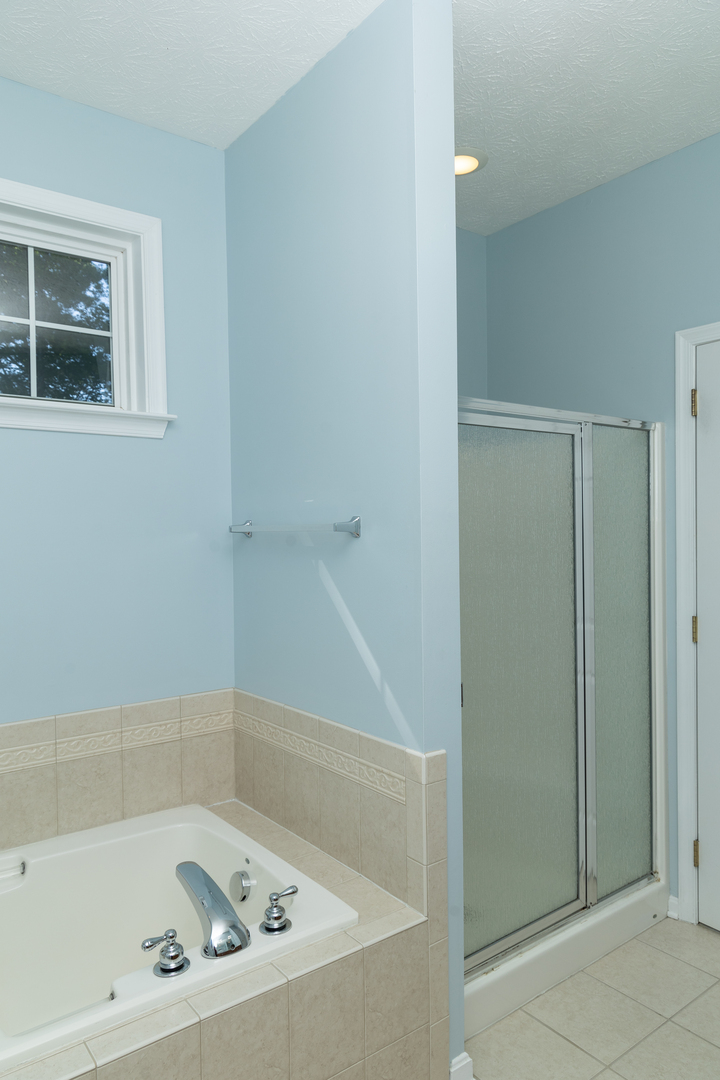
"Before" Picture showing vanity, soaking tub and shower
“Before” Picture showing vanity, soaking tub and shower

They no longer seemed to ever use the large soaking tub.  The shower was small and after 27 years the large step up into it (and out of it) seems a bit more precarious than it used to.

"Before" shot of shower that was too small with a large step to get in and out of
“Before” shot of shower that was too small with a large step to get in and out of

They had encountered the idea of a walk-in shower when on vacation while staying at a premium resort.   They asked us if we could build them one.

We removed the shower, the wall and the soaking tub and  went to work. The results speak for themselves!   The new shower is 7 feet long and 3.5 feet wide – that’s a foot wider than the standard home’s shower and 2 feet longer!  The controls are just inside the opening so that the owners can turn on and adjust the water without having to walk down to the end and get wet.  It has both a rain head and a multi-function hand-held shower head on a slide bar.  There is a half wall with a glass splash guard to allow the light to enter the bathing area.  The glass sits on a granite cap that was cut from the same piece of granite that the vanity top was cut from.

"After" Picture of walk in shower
“After” Picture of walk in shower

In addition to tiled niches in the walls for shower accessories it has two seats cut on a radius from the same piece of granite that the new vanity top and the cap on top of the half wall came from.

"After" picture of tiled walk in shower, half wall with glass and granite top on vanity.
“After” picture of tiled walk in shower, half wall with glass and granite top on vanity.

The floor was re-tiled.  A small custom made set of shelves was made for linen storage and placed at the opening of the shower area under the window.  The vanity was replaced.  The new vanity sports a new granite vanity top with undermount porcelain sinks.  The owners decided to change the one large vanity mirror to two smaller framed one with their own vanity lamps.  Only the toilet was re-used.

"After" Picture of new vanity with granite top, half wall with glass sitting on granite cap
“After” Picture of new vanity with granite top, half wall with glass sitting on granite cap

After the bathroom was painted, the owner changed her mind and had us repaint with another color.  It’s an owner’s prerogative to change their mind 🙂

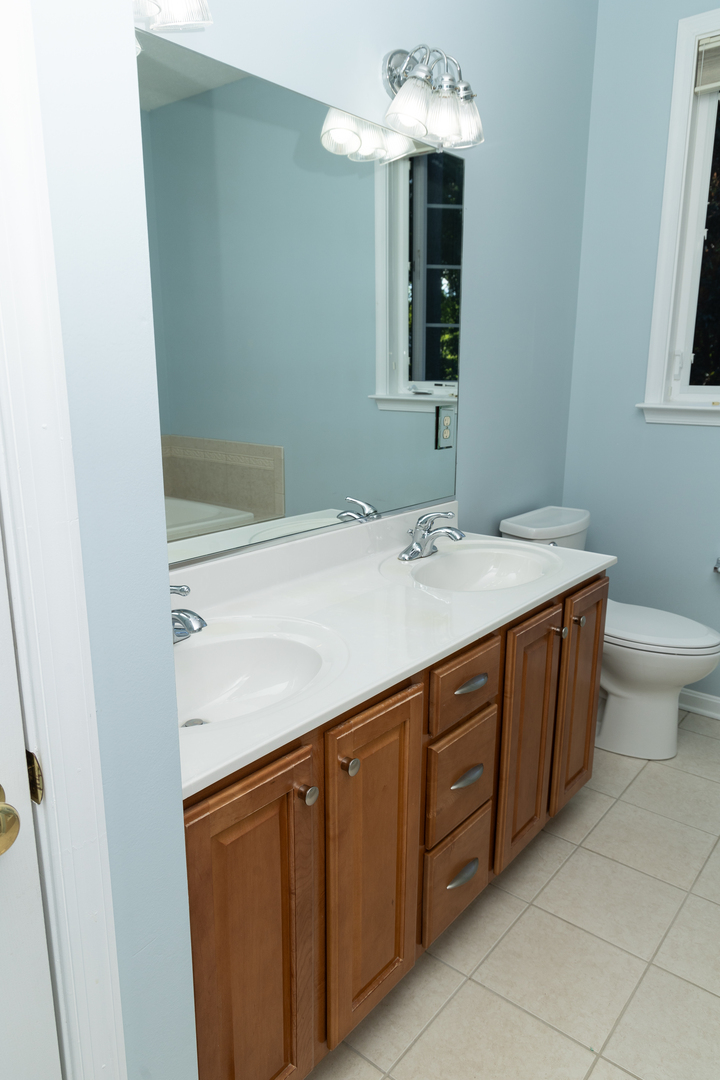
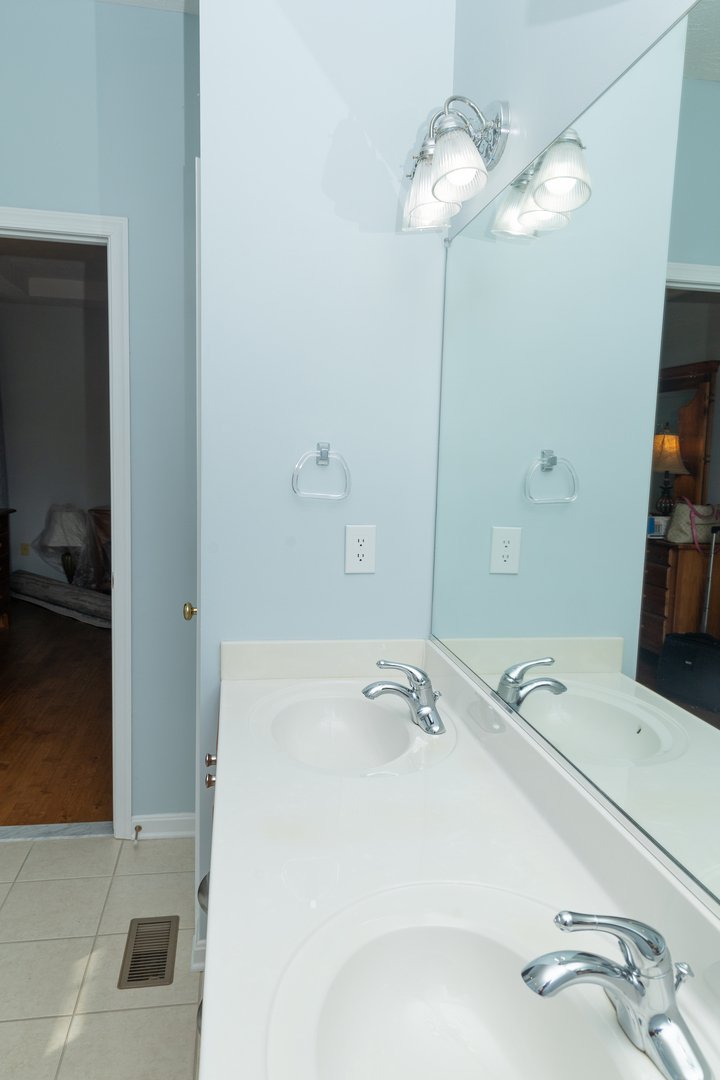
"Before" Picture of worn vanity with acrylic top
“Before” Picture of worn vanity with acrylic top
"After" Picture of new vanity with granite top, new mirrors and new lamps
“After” Picture of new vanity with granite top, new mirrors and new lamps
"Before" Picture of vanity with acrylic top, toilet and tile floor
“Before” Picture of vanity with acrylic top, toilet and tile floor
"After" picture of toilet that was re-used, new tile floor, new vanity with granite top, new mirrors and vanity lamps
“After” picture of toilet that was re-used, new tile floor, new vanity with granite top, new mirrors and vanity lamps


Bathroom Remodel with Walk-In Shower in Yorktown Virginia Read More »